9
6
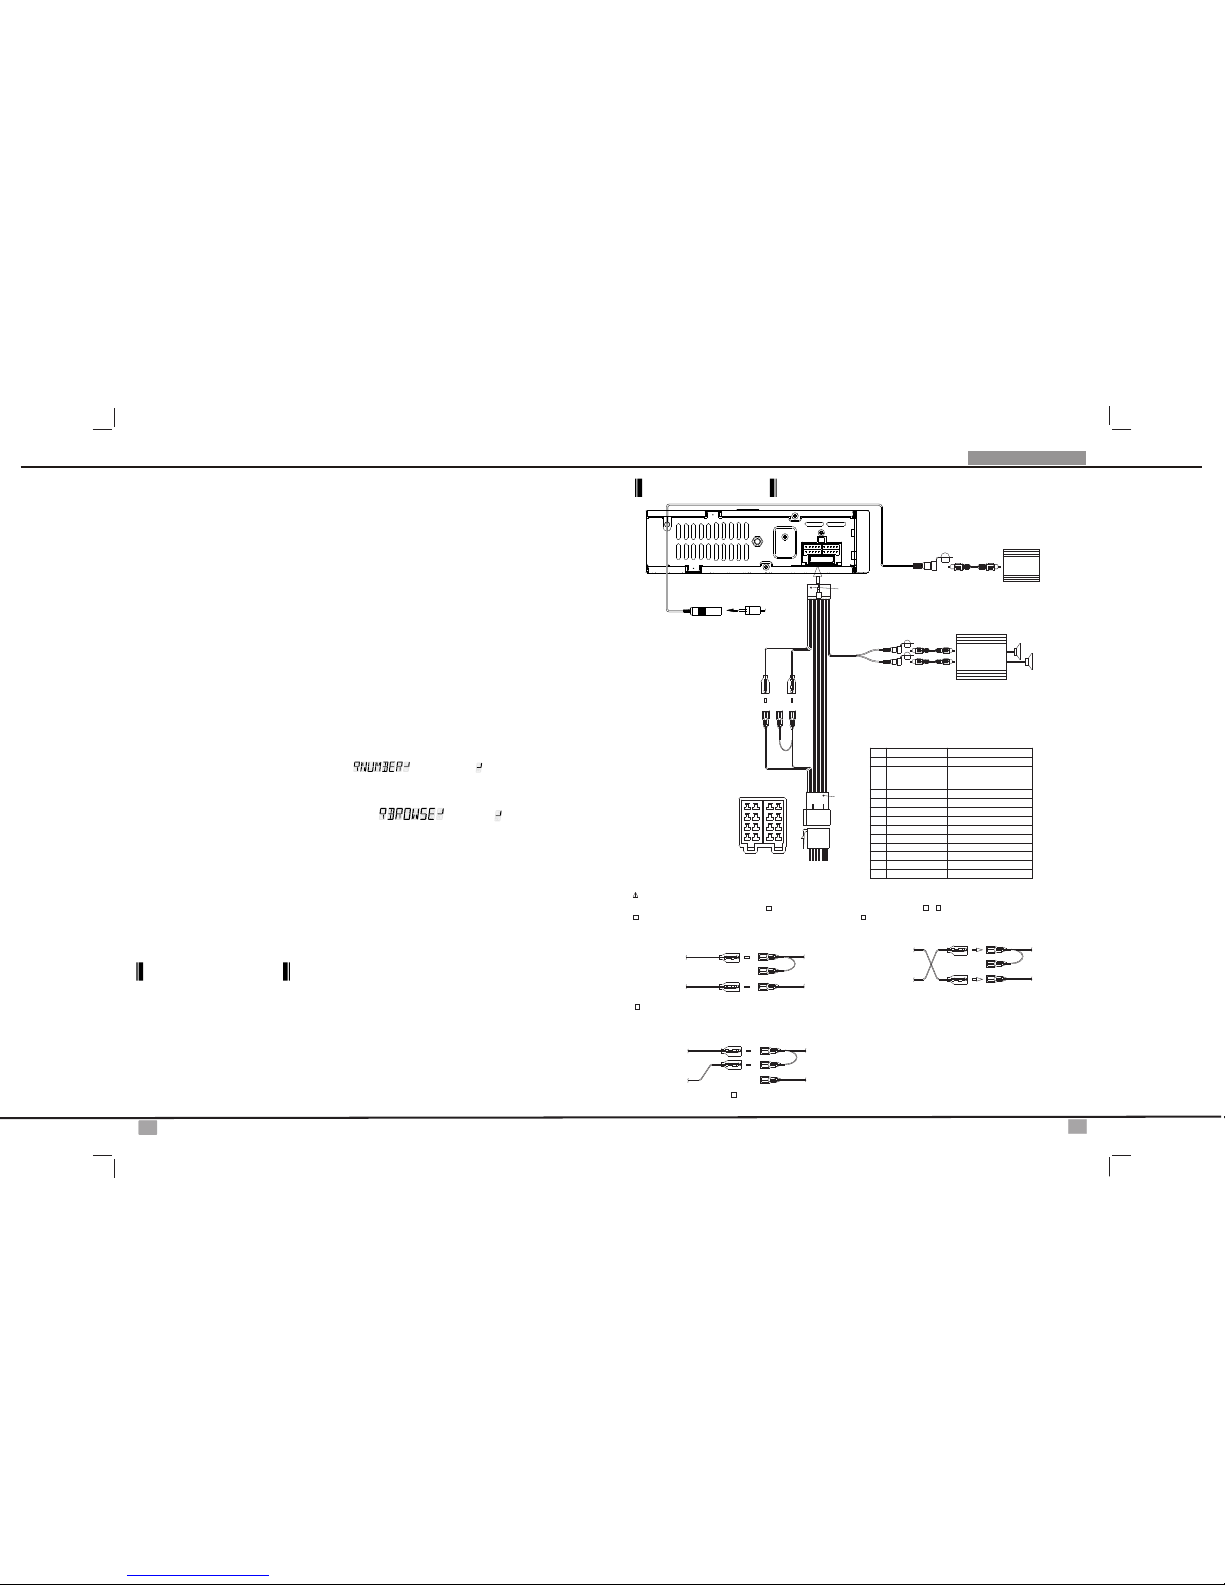
Installation Connection Manual
1
3
5
7
9
10 6
4
2
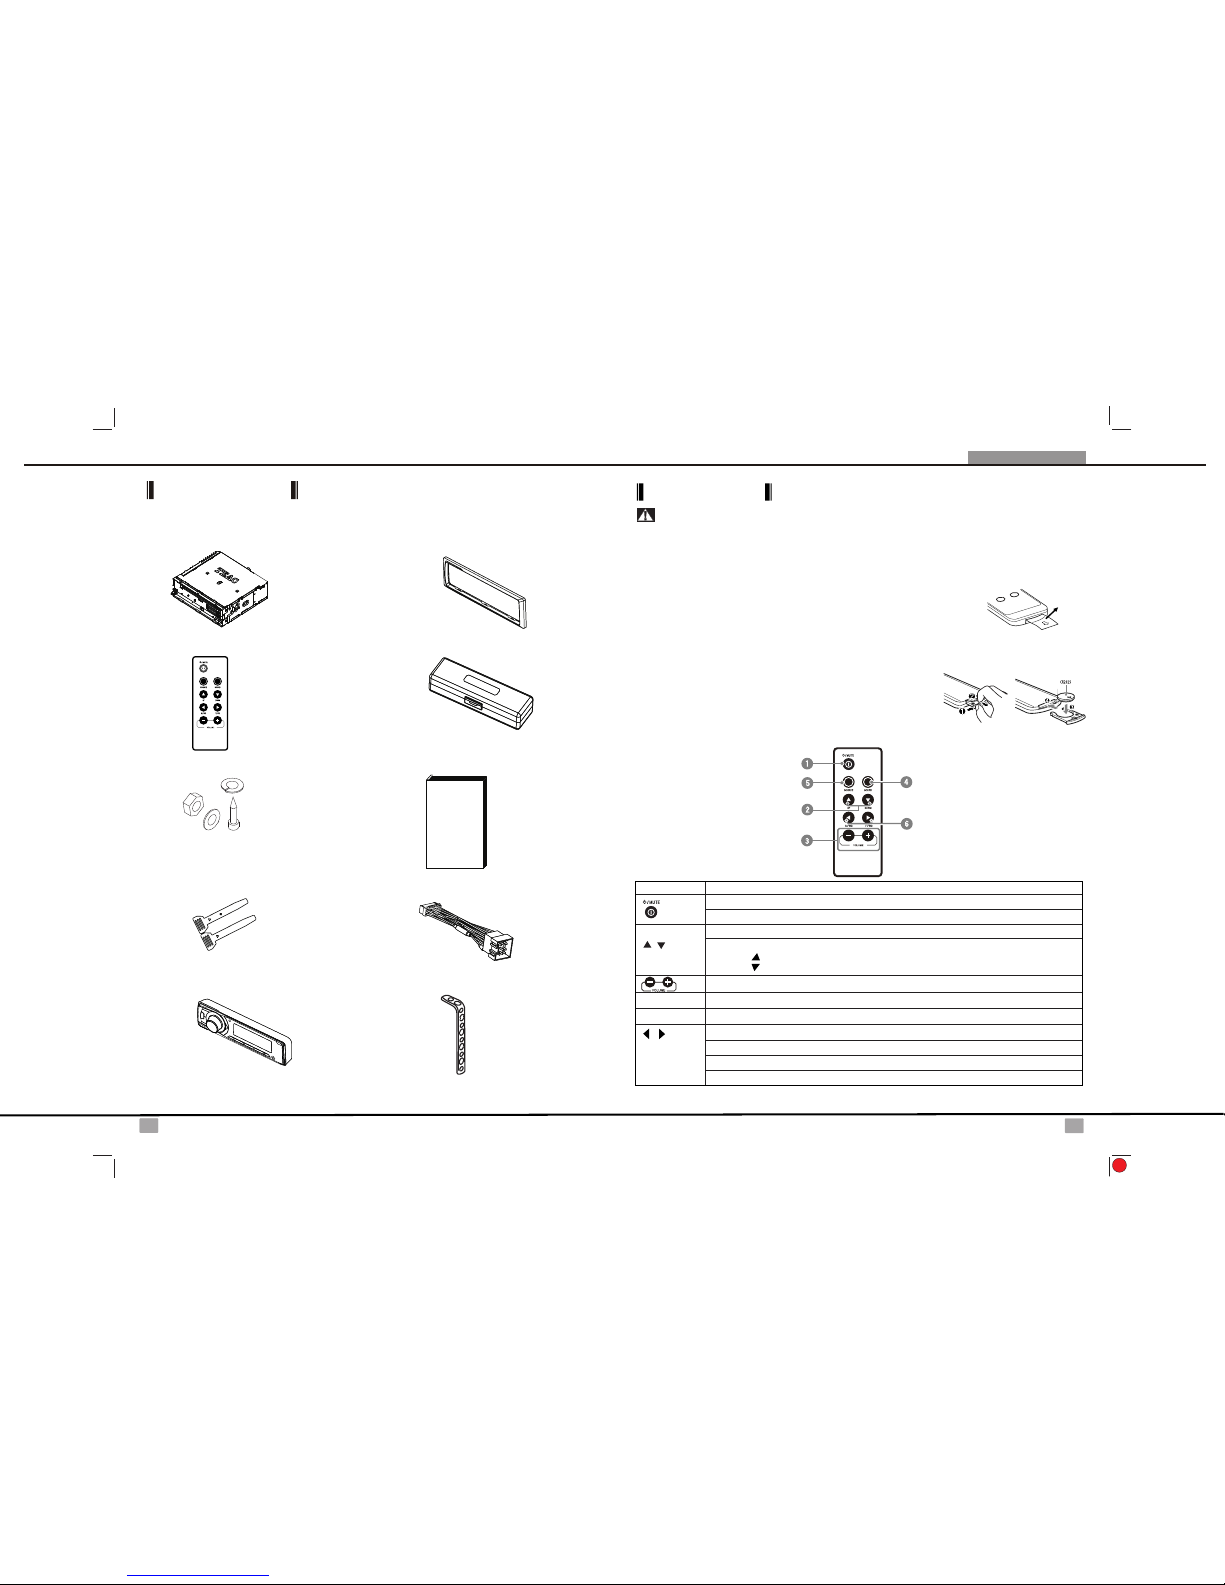
No. Item Decriptions
(RELEASE)
VOLUME KNOB
BAND
SYSTEM MENU
Short press this button to change between BAND FM1,FM2,FM3, AM1(MW1) or AM2 (MW2).
1
2
3
4
Press this button to open the control panel.
Rotate the encoder volume to increase and decrease the volume.( The Maximum
volume level is “50”.)
Press this button to access into the System Menu mode.
EQ
XBS
Press this button to select the preset Equalizer setting: FLAT -> CLASSICS ->
POP M -> ROCK M -> USER
Hold press this button to turn On / Off theiX-BASS booster function.
Under Tuner mode, Press this button briefly will be enter to the Clock mode.
Under Disc media playback mode, press this button repeatedly to display ID3 information:
Track number and elapsed play time->Folder->File->Album->Title->Artist->Clock.
INFO
Under Disc media playback mode, press and hold momentarily to fast forward/backward
the Disc.
Under tuner mode, press and hold momen-tarily to enter into the Auto Seek/Manual
Seek mode.
Under Disc media playback mode,press these buttons to skip a chapter/track/scene/file.
7
8
9
10
11
FILE UP/DOWN
PRESET
NUMERIC
BUTTONS
TUNE UP/DOWN
FAST FORWARD/
BACKWARD
Under Tuner mode, short press the Numeric Buttons to recall the preset stations. Hold press
the Numeric Buttons to store the listening station.
Under Disc media playback mode, short press the Numeric Buttons to perform the below operation:
MODE
Press this button to select different mode playback mode: AUX / TUNER / CDP PLAY.
Under Disc media playback mode, short press this button is access into the Music
Folder/File searching mode. Rotate the encoder
list. Once the desire file appearing on the LCD. Press
and start file play.
5
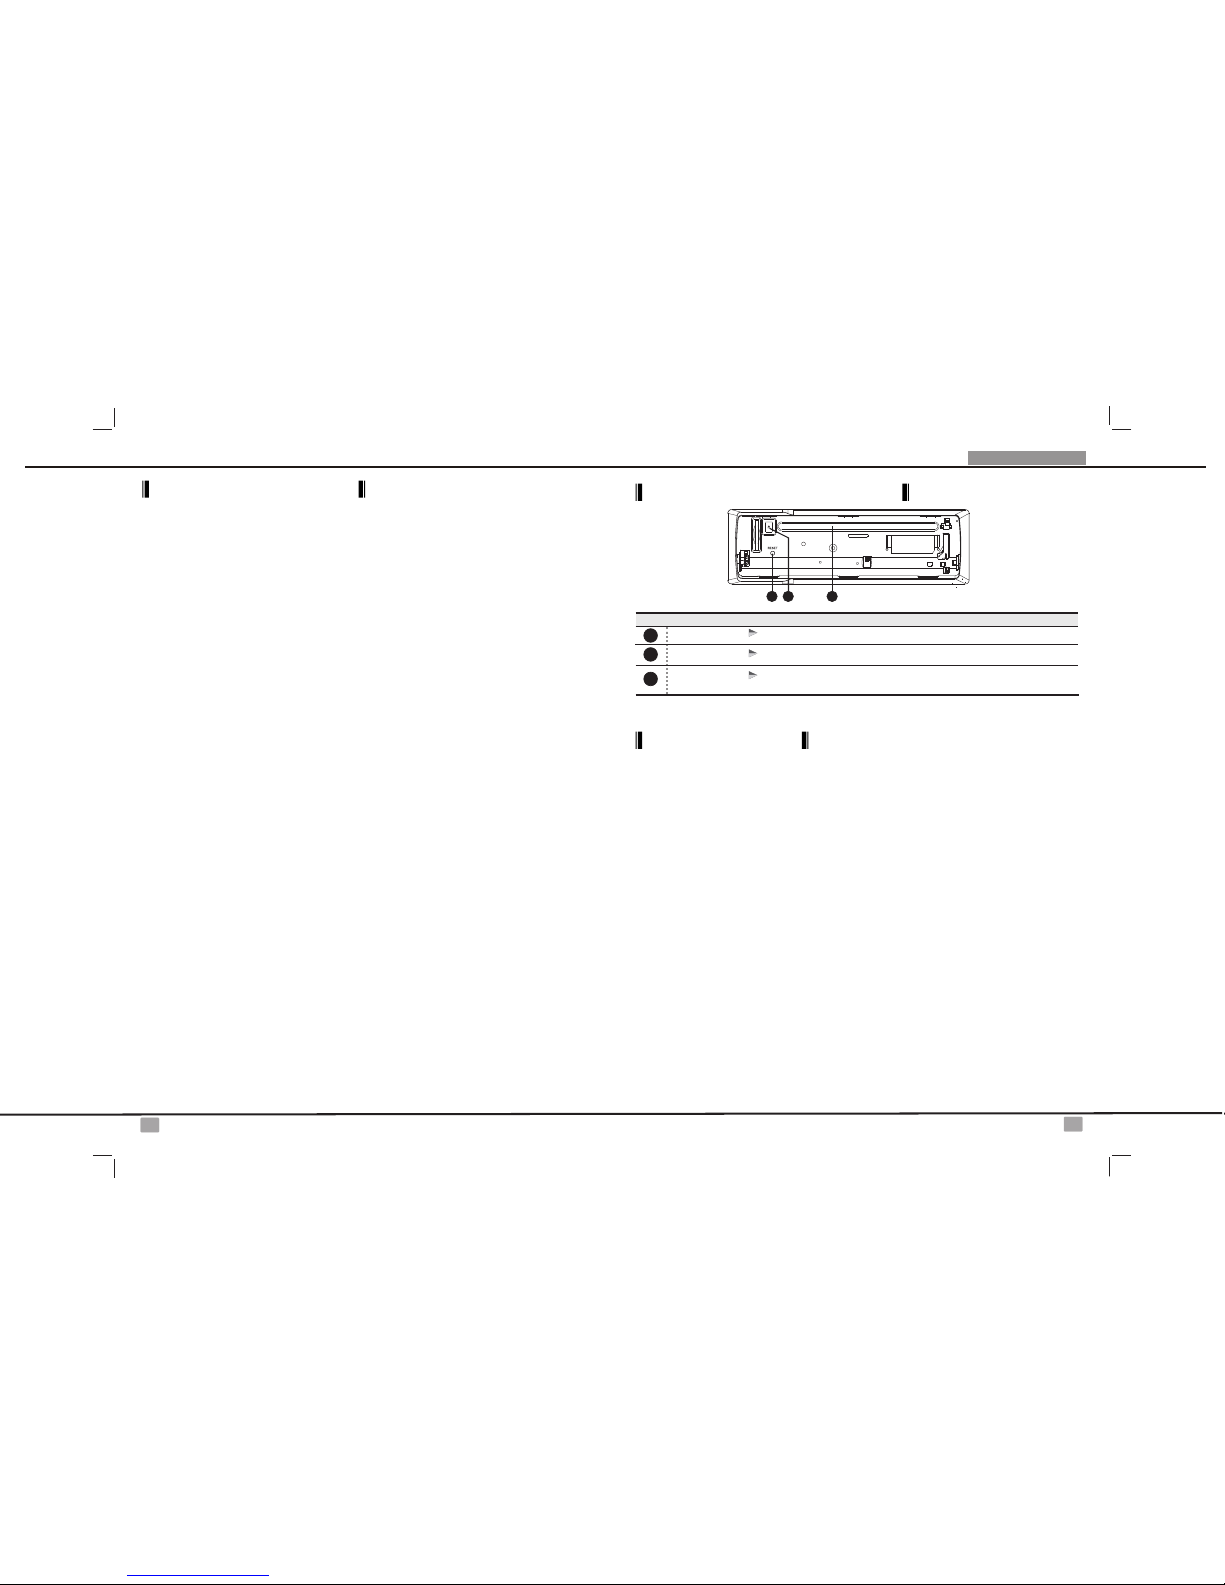
No.
Button
5 6
1 2 3 4
S-Pause/Play S-Intro S-Repeat
S-Random
Folder
Up Folder
Down
MUTE
Short press this button to turn the Mute On/Off.
(POWER)
Press this button or any other button on the front panel (except Release) to turn the unit
on. Long press this button again to turn the unit off.
AUX INAUX IN
UE
M T
RDM MENU
BAND INT RPT
INFO
M
B
64 53
21
E
Q
X
B
S
I
E
D
O
M
TE-9 00
TP
SD LOC
USB A F
iPo d
11
8
6AUDIO MENU
Press this button to access into the Audio Menu mode.
knob to navigate thru Folder and File
‘Power/Mute’ button to confirm
The major function on the front panel
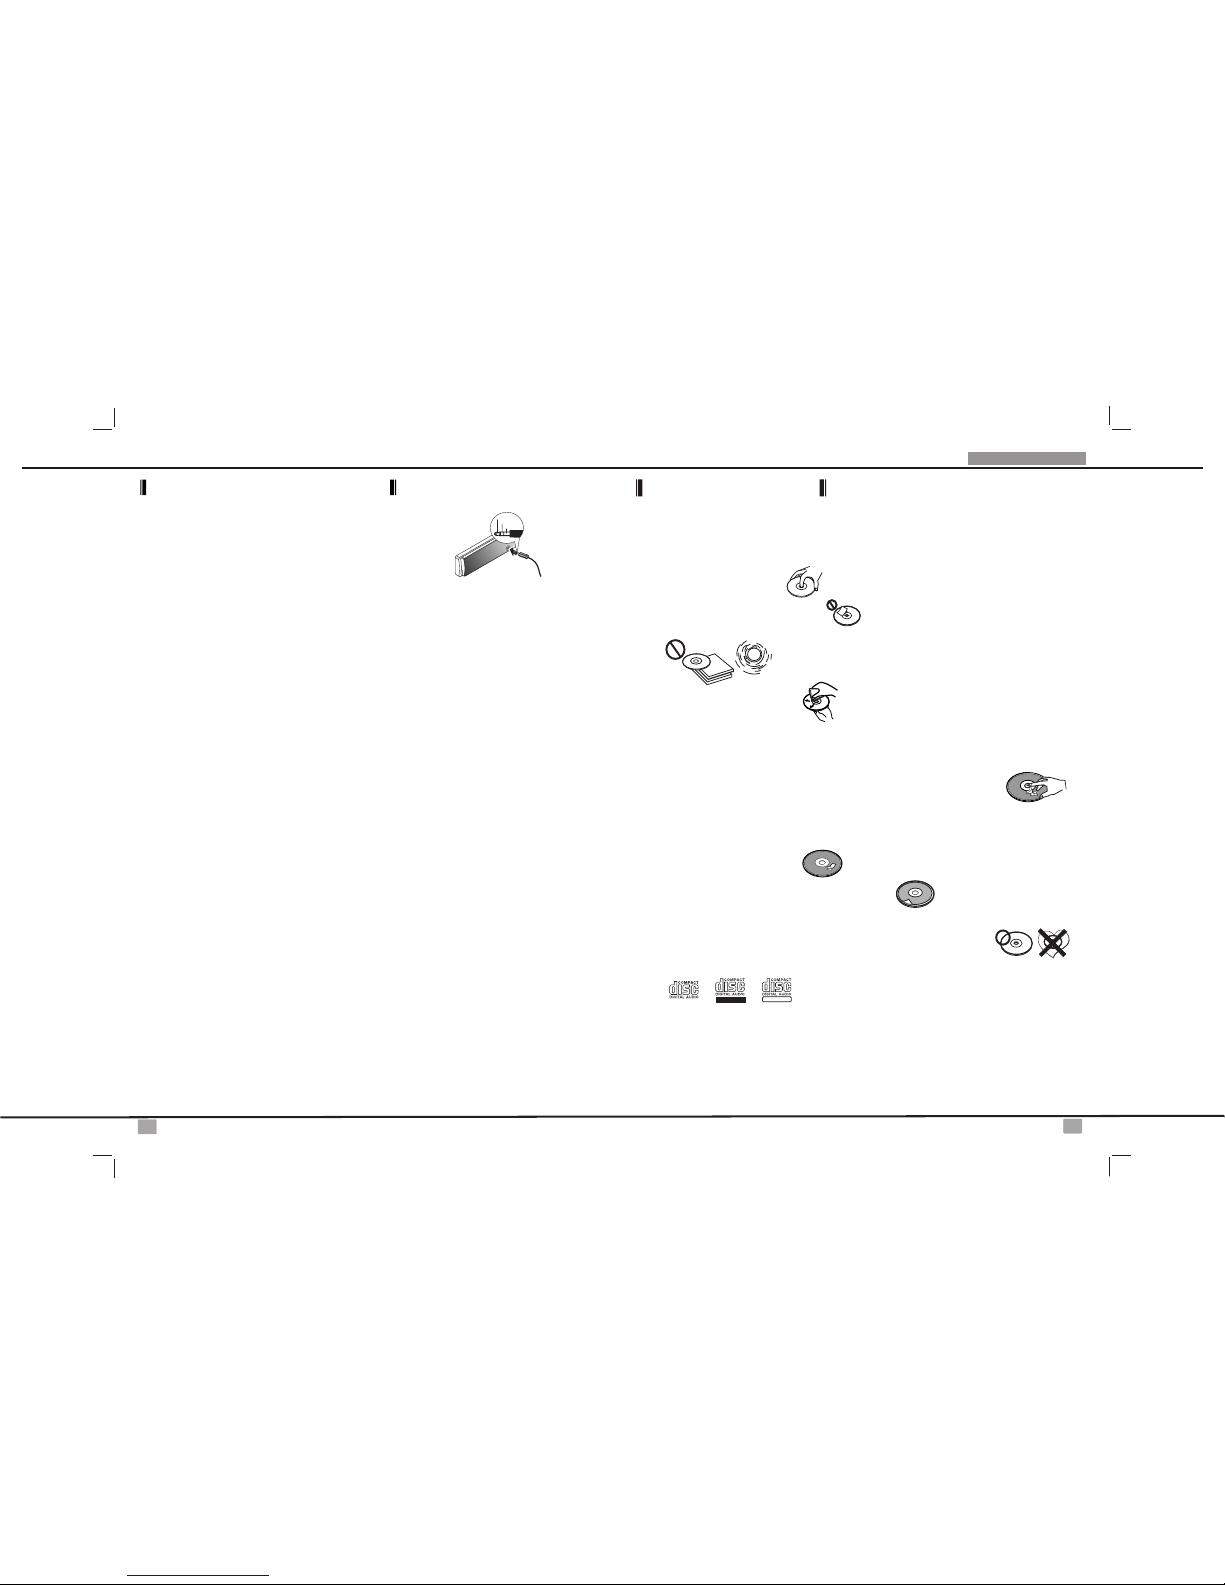
Insert a CD label-side up with the unit turned on, and the disc will begin to play. Press the Eject button to
stop CD play and eject the CD. The unit does not have to be turned on to eject the CD.
Press the PAUSE button to suspend disc play. Press the PAUSE button again to resume disc Play.
Press the Up Tuning or Down Tuning button ( ) for less than one second to advance to the next
track on the CD, The selected track number will appear on the display. Press and hold the Up Tuning
or Down Tuning button ( ) for more than one second to fast forward or fast reverse through the
disc. CD play starts when the button is released.
Press RPT (Repeat) button during disc play to continuously repeat the track. Press RPT (Repeat)
button again to stop Repeating.
Press RDM (Random) button during disc play to play all tracks on a CD in random, shuffled order.
Press RDM (Random) again to stop random play.
During disc play, press INT (Intro) button to play the first 10 seconds to each track on the disc. When the
desired track is reached, press INT (Intro) button again to end the scan and play the selected track.
CD-DA OPERATION
PAUSE BUTTON ( )
TRACK SELECT ( )
REPEAT BUTTON (RPT)
RANDOM BUTTON (RDM)
INTRO BUTTON (INT)
MP3/WMA operations
MP3 and WMA (Windows Media Audio) music files are audio compression format. This unit can play
MP3/WMA directly from files contained on a CD-R/RW.
Notes on MP3/WMA Play
This unit can play MP3 (MPEG1, 2, 2.5 Audio Layer 3). However, the MP3 recording media and
accepted formats are limited. When writing MP3/WMA, pay attention to the following restrictions.
Acceptable Medium Formats
The following formats are available for the media used in this unit. The maximum number of characters
used for file name including the delimiter (".") and three-character extension are indicated in parentheses.
ISO 9660 Level 1 (11 characters)
ISO 9660 Level 2 (31 characters)
Joliet (31 characters)
Romeo (31 characters)
Up to 200 characters can be displayed in the long file name format. For a list of available characters,
see the instruction manual of the writing software and the section “Entering File and Folder Names”
below. The media reproducible on this unit has the following limitations:
Maximum number of nested folders: 8
Maximum number of files per disc: 2000
Maximum number of files per media device: 2000
Maximum number of folders per disc: 255
MP3/WMA written in the formats other than the above may not be successfully played and their file
names or folder names may not be properly displayed.
MP3/WMA Encoder and CD Writer Settings
Use the following settings when compressing audio data in MP3 data with the MP3 encoder.
Transfer bit rate : 32- 320 kbps
Sampling frequency : 32,44.1,48 kHz(WMA) 16,22.05,24,32,44.1, 48kHz (MP3)
CD/MP3/WMA operations
INSERT AND EJECT CD
■
■
■
■
■
●
●
●
●
●
●
●
●
●
●
●
●
●
●
●
■