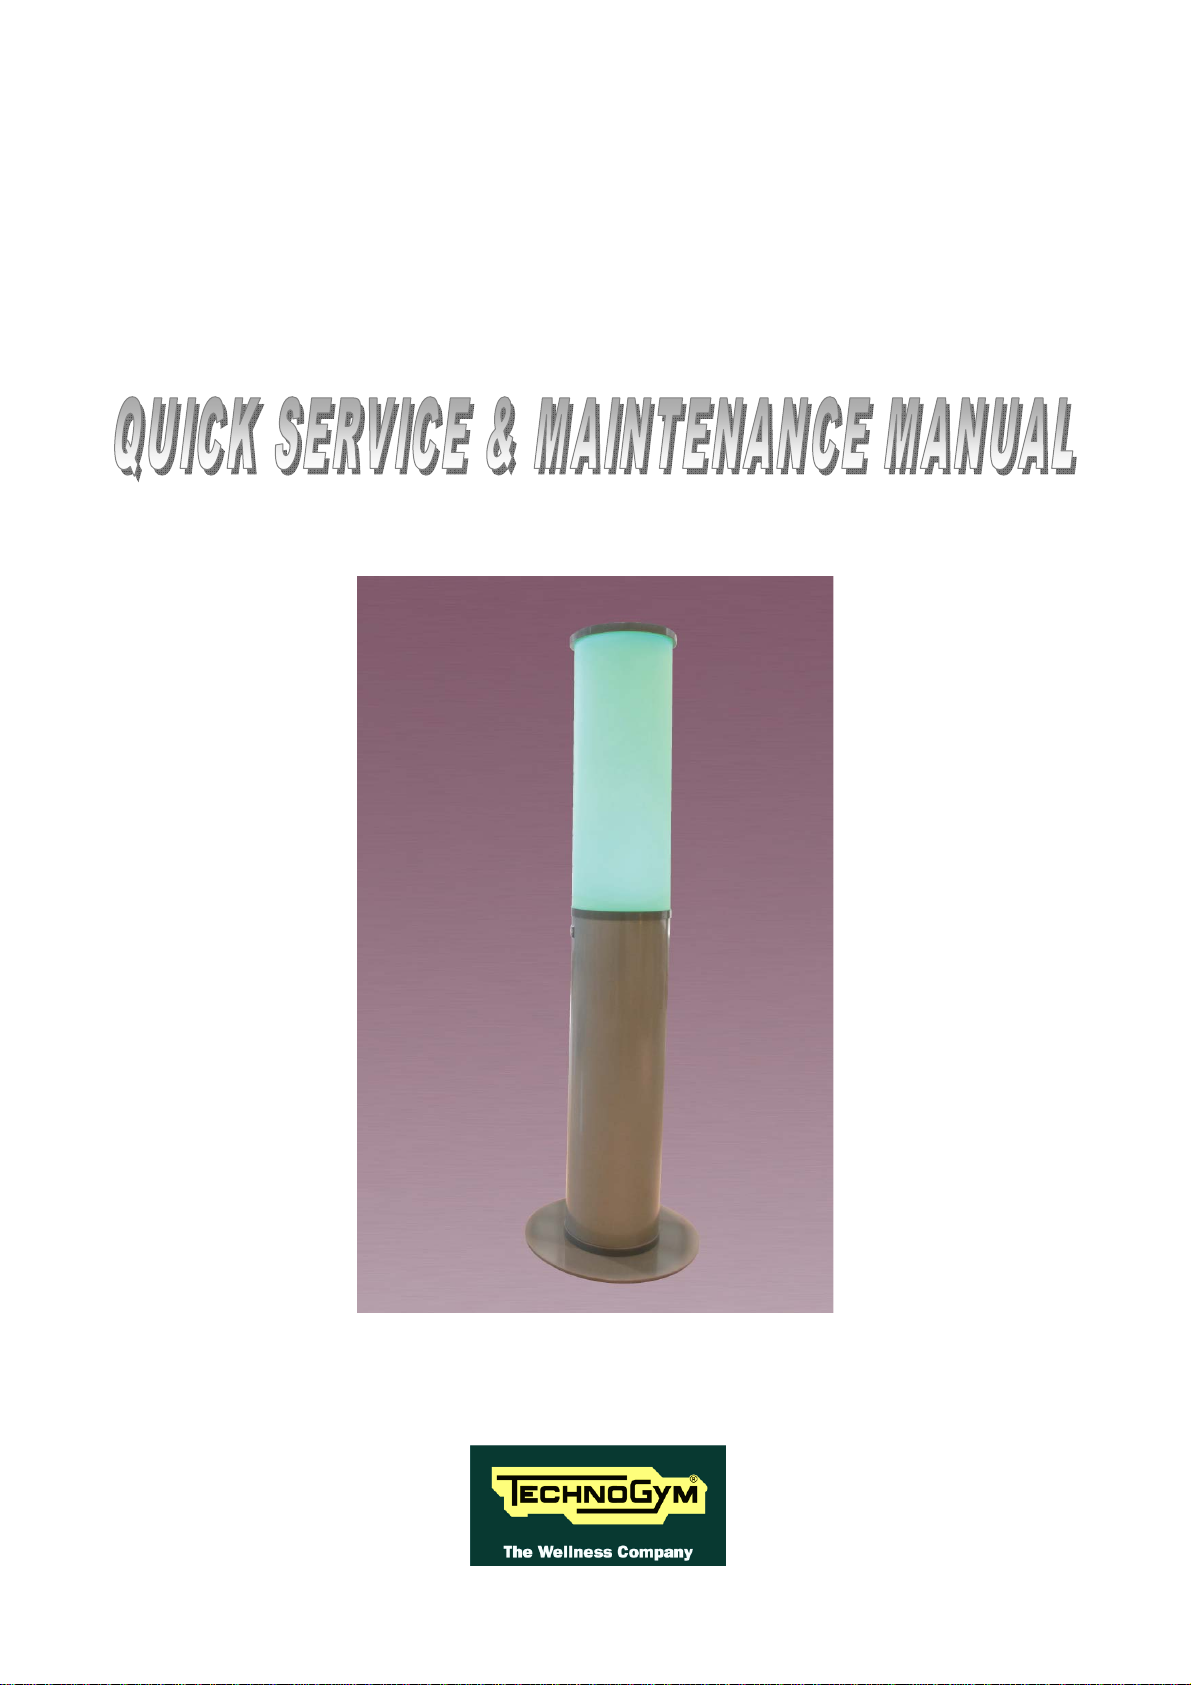
Easy Lamp: Quick Service & maintenance manual – rev. 1.0
Page i
Contents
1.
GENERAL NOTICES.............................................................................................................................................1.1
1.1.
I
NTRODUCTION
...................................................................................................................................................1.1
1.2.
R
ECOMMENDATIONS
..........................................................................................................................................1.1
1.3.
G
ENERAL RULES FOR REPAIR PROCEDURES
........................................................................................................1.2
2.
TECHNICAL SPECIFICATIONS ........................................................................................................................2.1
2.1.
EASY
LAMP.....................................................................................................................................................2.1
2.2.
BATTERY.........................................................................................................................................................2.1
2.3.
POWER
SUPPLY
(BATTERY
CHARGER)....................................................................................................2.2
2.4.
W
IRING DIAGRAMS
.............................................................................................................................................2.3
2.4.1.
GENERAL ..............................................................................................................................................2.3
2.4.2.
POWER SUPPLY CONNECTOR...........................................................................................................2.4
2.4.3.
ELECTRONIC BOARD..........................................................................................................................2.4
2.5.
C
ABLES
..............................................................................................................................................................2.6
2.5.1.
POWER SUPPLY CABLE......................................................................................................................2.6
2.5.2.
BATTERY CABLE..................................................................................................................................2.6
2.5.3.
REMOTE CONTROL SENSOR CABLE.................................................................................................2.6
2.5.4.
LED LAMPS CABLE..............................................................................................................................2.6
3.
PRINCIPLES OF OPERATION............................................................................................................................3.1
3.1.
ELECTRONIC BOARD
...........................................................................................................................................3.1
3.2.
TUBE
ASSEMBLY...........................................................................................................................................3.2
3.3.
REMOTE CONTROL SENSOR
.................................................................................................................................3.2
3.4.
REMOTE CONTROL
..............................................................................................................................................3.3
3.5.
POWER SUPPY
.....................................................................................................................................................3.3
3.6.
BATTERY
............................................................................................................................................................3.4
4.
TROUBLESHOOTING ..........................................................................................................................................4.1
5.
APPENDIX...............................................................................................................................................................5.1
5.1.
D
ISASSEMBLING
THE
CASING.........................................................................................................................5.1
5.2.
D
ISASSEMBLING
THE
ELECTRONIC
BOARD ................................................................................................5.2
5.3.
BEFORE
USING
THE
REMOTE
CONTROL..................................................................................................5.2