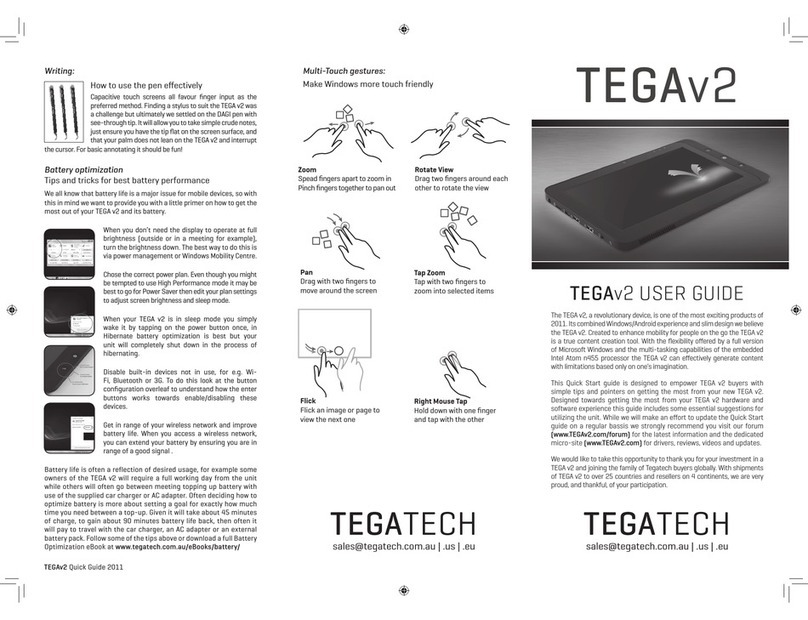
tegatech TEGA v2 User manual

TEGA v2
USER GUIDE
USER GUIDE

TEGA v2
Table of Contents
Brief introduction----------------------------------------------------------------Ⅱ
Package contents----------------------------------------------------------------Ⅲ
Exploring the Table PC-------------------------------------------------------------1
Front view----------------------------------------------------------------------1
Rear view----------------------------------------------------------------------3
side view----------------------------------------------------------------------5
Windows 7 system application------------------------------------------------------10
Using the Camera----------------------------------------------------------------26
Indicators----------------------------------------------------------------------8
Using the Multi-Touch Screen------------------------------------------------------26
General hardware problems--------------------------------------------------------27
Specification--------------------------------------------------------------------30
Ⅰ

TEGA v2
Ⅱ
Brief introduction
Safety Instructions
Use the following safety guidelines to help protect yourself and Tablet PC.
•Do not attempt to service the Tablet PC yourself. Always follow installation instructions
closely.
•Be sure that nothing rests on the AC adapter's power cable and that the cable is not located
where it can be tripped over or stepped on.
•Do not cover the AC adaptor with papers or other items that will reduce cooling; also, do not use
use the AC adapter while it is inside a carrying case.
•Use only the AC adapter, power cord, and batteries that are approved for use with this Tablet
PC. Use of another type of battery or AC adapter may cause risk of fire or explosion.
•If you use an extension cable with the AC adapter, ensure that the total ampere rating of the
products plugged in to the extension cable does not exceed the ampere rating of the extension cable.
•When you move the Tablet PC between environments with very different temperature and/ore
humidity ranges, condensation may form on or within the Tablet PC. To avoid damaging the
T
ablet PC, allow sufficient time for the moisture to evaporate before using the Tablet PC.
.
•When you disconnect a cable, pull on its connector or on its strain relief loop, not on the cable
itself. As you pull out the connector, keep it evenly aligned to avoid bending any
connector pins.
Also, before you connect a cable make sure both connectors are correctly oriented and aligned.
This guide shown may vary from Actual products,please follow the actual products.

TEGA v2
Ⅲ
Package contents
After opening the package, carefully inspect the contents. If any of the items is missing or appear damaged,
contact your dealer. The shipping carton should contain the following:
STANDARD
•A Tablet PC
•An AC adapter with power cord
•User's guide
•Driver CD (Installed on SSD)
WARNING
This Tablet PC driver put on SSD last partition,be careful do not delete or formate the files.
OPTIONAL
The following items are normally optional, but some vendors may include them in the standard package.Some
items may not be available in some countries, or some vendors may choose not to carry all the items. not to
carry all the items.
•
Pouch
•
Mini VGA Cable
•
Cleaning cloth
•
Earphone

TEGA v2
1
Exploring the Table PC
Front View
① ② ③
④
⑤
⑥

TEGA v2
①Camera
A built-in webcam that allows you to capture still images, record videos, and chat online.
②Touch screen
Use finger to control system & application.
③Indicators
Refer to "Indicators" on page 8~9 for details.
④Power button
Turns your Tablet PC on or off.
⑤Function button 1
Press and hold for “Esc” key,short press for call “Tablet input panel”.
(If not access the systems, press and hold for the arrow keys"up", short press for the arrow keys "down".)
⑥Function button 2
Press and hold for turn on /off 3G, short press that you can quick turn on/off Wi-Fi and bluetooth.
(If not access the systems, for the keys "enter".)
2

TEGA v2
Rear View
3
①
②

TEGA v2
① Speaker
Produces sounds from multimedia files or the operating system.
② Vents
Dissipate heat and keep your Tablet PC at an optimal temperature.
4

TEGA v2
Side view
5
Bottom side
Right side
①
②
③
④
⑤
⑥
Left side
Top side
⑦ ⑧ ⑨

TEGA v2
①Power jack
Connects AC power supply to power the Tablet PC and charge the battery.
③Mini VGA port
Connect an external display device (such as a monitor or projector) to the Mini VGA video jack of your
Notebook with a Mini VGA cable.
④USB ports
Connects peripherals such as mice, digital cameras and MP3 players that use the USB 2.0 interface.
⑤Audio output jack
Connects to an earphone/headset or external speaker for playing the Tablet PC audio.
⑥MIC
Receives sounds and voices for recording.
⑦Reset eject hole
When system abnormal (can’t start the system or turn off the system), insert a thin,straight object(such as
a paper clip) in the manual eject hole on the Tablet.
6
② Micro SD card slot
Insert a Micro SD memory card, you can exchange data material with Tablet PC.

TEGA v2
⑧ Vents
Dissipate heat and keep your Tablet PC at an optimal temperature.
7
⑨
3G SIM card slot
Insert a 3G SIM card( can not support PnP ),then you can connect to 3G network.
(For more information ,please contact local Telecom Operators.)

TEGA v2
Indicators
8
① ② ③

TEGA v2
①Wireless LAN indicator
When WLAN is turned on, it lights up in blue.
When WLAN is turned off, the light goes off.
②Battery status indicator
When the battery is charging, it lights up in red.
When the battery is low,it flashes in red.
When the battery is fully charged, it lights up in blue.
③Power indicator
When the system is on, it lights up in blue.
When the system is in Sleep mode, it flashes in blue.
When the system is off or in Hibernation mode, the light goes off.
9

TEGA v2
Windows 7 system application
Portrait view
Landscape view
Start use your Tablet PC
Connect the Tablet PC to the external power source via the AC adapter, press and hold the power button for 2~3
seconds , then start on your Tablet PC.Release the press when the power indicator is light up in blue.
And then follow the on-screen instructions to complete the initial Operating system setup.
The system home(destop) screen will appear as follows(The device’s built-in G-sensor movement and changes
its angle/orientation).
10

TEGA v2
11
Home(desk)
The default system desk include: ①Recycle Bin,②Virtual keyboard,③Work area, and④Taskbar.
①
②
③
④
Start Menu Taskbar Button Taskbar Area Show DeskNotification Area

TEGA v2
Work area
12
The onscreen area where users can perform their work, as well as store programs, documents, and their shortcuts.
]ou can add Gadgets for give users fast access to personally relevant information and simple tasks—without getting
in the way.
Gadgets(samples)

TEGA v2
Taskbar
13
The taskbar is the access point for programs displayed on the desktop, even if the program is minimized. Such programs
are said to have desktop presence. With the taskbar, users can view the open primary windows and certain secondary
windows on the desktop, and can quickly switch between them.
Start button: The access point for all programs and special Windows places (Documents, Pictures, Music, Games,
Computer, Control Panel), with "most recently used" lists for quick access to recently used programs and documents.
Deskbands: Minimized functional, long-running programs, such as the Language Bar. Programs that minimize to deskbands
don't display taskbar buttons when minimized. Deskbands are not recommended for Windows 7.
Notification area: A short-term source for notifications and status, as well as an access point for system- and program-related
features that have no presence on the desktop.
Thumbnail toolbar
Taskbar button Show desktop
start button Taskbar area Deskband Notification area
Pinned taskbar button

TEGA v2
Connect to a wireless networks
14
1. Make sure you are located within the wireless network service area. Press the Wi-Fi button to turn on Wi-Fi, and the Wi-Fi
indicator light up in blue.(If insert a 3G SIM card,and turn on 3G, you also can conncect to a 3G networks)
2. Click the network icon in the notification area, a list of available wireless networks will be displayed.
Note: WPS(Wi-Fi Protected Setup)
3. Choose a network and then click Connect. If security authentication is not required by the network you are using, there
will be a successful message showing that you have connected to the network.
(Wi-Fi hotspots and 3G networks will show up together in the same list.
Windows 7 also virtualises the Wi-Fi card so you can use it twice, for
example to connect WPS devices to a non-WPS access point.)
(To connect to some networks that require security authentication, you
may have to undergo another authorization process and enter username
and password. For details, please consult your network administrator.)
(For data security, it is strongly recommended to connect to
security-enabled wireless networks whenever possible.)
(When travelling by air, please be sure to turn off wireless networking to
avoid any possible risks to flight safety.)

TEGA v2
Bluetooth
15
1. Start BlueSoleil. (Double click the IVT Bluesoleil icon or in the Start Menu)

TEGA v2
2. Establish Bluetooth Connection.
16
On the server side, start the service.
On the client side, initiate the connection.
Start Service on Server
If BlueSoleil provides service, please start the service:
①. Change to Service Window.
②. Right-click the service icon, select Start Service on the pop-up menu.
Initiate Connection on Client
In Main Window:
①. Single click my device, the center ball, to search the Bluetooth devices in range.
②. Search the selected Bluetooth device service by double-clicking the device icon.
Service button on the top of the BlueSoleil Main Window will be highlighted if
the service is supported by the device. Enter the same Bluetooth passkey on both
devices if necessary to pair the two devices.
A connection is normally initiated from the client.
Table of contents
Other tegatech Tablet manuals
Popular Tablet manuals by other brands
Visture
Visture V20120824 user manual

Lenovo
Lenovo Tab P12 user guide
Samsung
Samsung SM-T385C user manual
Motorola
Motorola Verizon Droid Xyboard 10.1 Product safety & warranty information
i-onik mobile
i-onik mobile TP7-1200QC quick start guide

Blaupunkt
Blaupunkt ENDEAVOUR 1000HD Instructions for software installation
