terrapin Apple II User manual

L O G 0
fortheApple11
TECHNICAL
MANUA L

L O G 0
fortheApple11
TECHNICAL
MANUAL
Harold Abelson and Leigh Klotz, Jr.
Logo Project
Massachusetts Institute of Technology

Terrapin, Inc.
222 Third Street
Cambridge, Massachusetts 02142
(617) 492-8816
Copyright © 1982, 1983, 1984 Terrapin, Inc.
Copyright © 1981 Massachusetts Institute of Technology

Table of Contents
Table of Contents
1. Preparing
to Use Logo
1.1. Configuration
1.2. The Keyboard
1.3. Loading and Starting Logo
1.3.1. On Apples with Autostart ROM
1.3.2. On Apples without Autostart ROM
1.4.
Bugs in the Logo System
2. Use
of
the Logo
System
2.1. Modes of Using the Screen
2.1.1.
Nodraw Mode
2.1.2.
Edit Mode
2.1
.3.Draw Mode
2.2.
Editing
2.2.1.
Line Editor
2.2.2.
Screen Editor
2.3. Using Apple Peripherals
2.3.1.
Printing Procedures on a Printer
2.3.2. Printing Pictures
2.4.
Color Control
2.4.1.
Drawing on Colored Backgrounds
2.4.2.
Drawing without Color Control
2.5. The Logo File System
2.5.1. Disk Files
2.5.2. Saving Pictures
2.5.3. Configuring File Diskettes
3.
Logo System
Primitives
3.1.
Graphics Commands
3.2. Numeric Operations
3.3.
Word and List Operations
3
3
3
5
5
6
6
9
9
9
9
10
12
13
13
16
17
18
20
20
21
21
22 .
23
23
25
25
28
29
ii Logo for the Apple II: Technical Manual
3.4. Defining and Editing Procedures
3.5. Naming
3.6. Conditionals
3.7. Control
3.8. Input and Output
3.9. Filing and Managing Workspace
3.10. Debugging
3.11. Miscellaneous Commands
4. The Utilities Disk
4.1. Program Descriptions
4.1.1. Demonstration Programs
5. Changing the Turtle Shape
6. Assembly Language Interfaces to Logo
6.1. .EXAMINE and .DEPOSIT
6.2. Writing Your Own Machine-Language Routines
6.3. The Logo Assembler
6.3.1. Using the Assembler to Write 1/0 Routines
6.3.2. Syntax of Input to the Assembler
6.3.3. Saving Assembled Routines on Disk
6.4. Example: Generating music
6.5. Useful Memory Addresses
7. Miscellaneous Information
7.1. Using the Logo System as a Text Editor
7.1.1. Printing Files
7.2. Self-starting files
7.3. Printing to Disk Files
7.4. Various System Parameters
7.5. Memory Organization Chart
Index
31
33
33
34
36
38
39
40
43
44
49
53
59
59
60
62
63
64
67
67
73
77
77
78
79
80
82
85
87
CHANGESFORTERRAPINLOGOVERSION3.0
Version3.0 of TerrapinLogodiffersfromversions1.0-1.3 in thefollowingrespects:
The command to kill a line in the editor is now <CTRL>X instead of
<CTRL>K. (This change was necessary to permit use of all four cursor keys.)
The most recently deleted line/region can now be Yanked back into the editor
with <CTRL>Y .
The <DELETE> key on the Apple lie can be used to delete backwards one
character (just as the <ESC> key does). All four arrow keys may be used in
the editor to move the cursor .
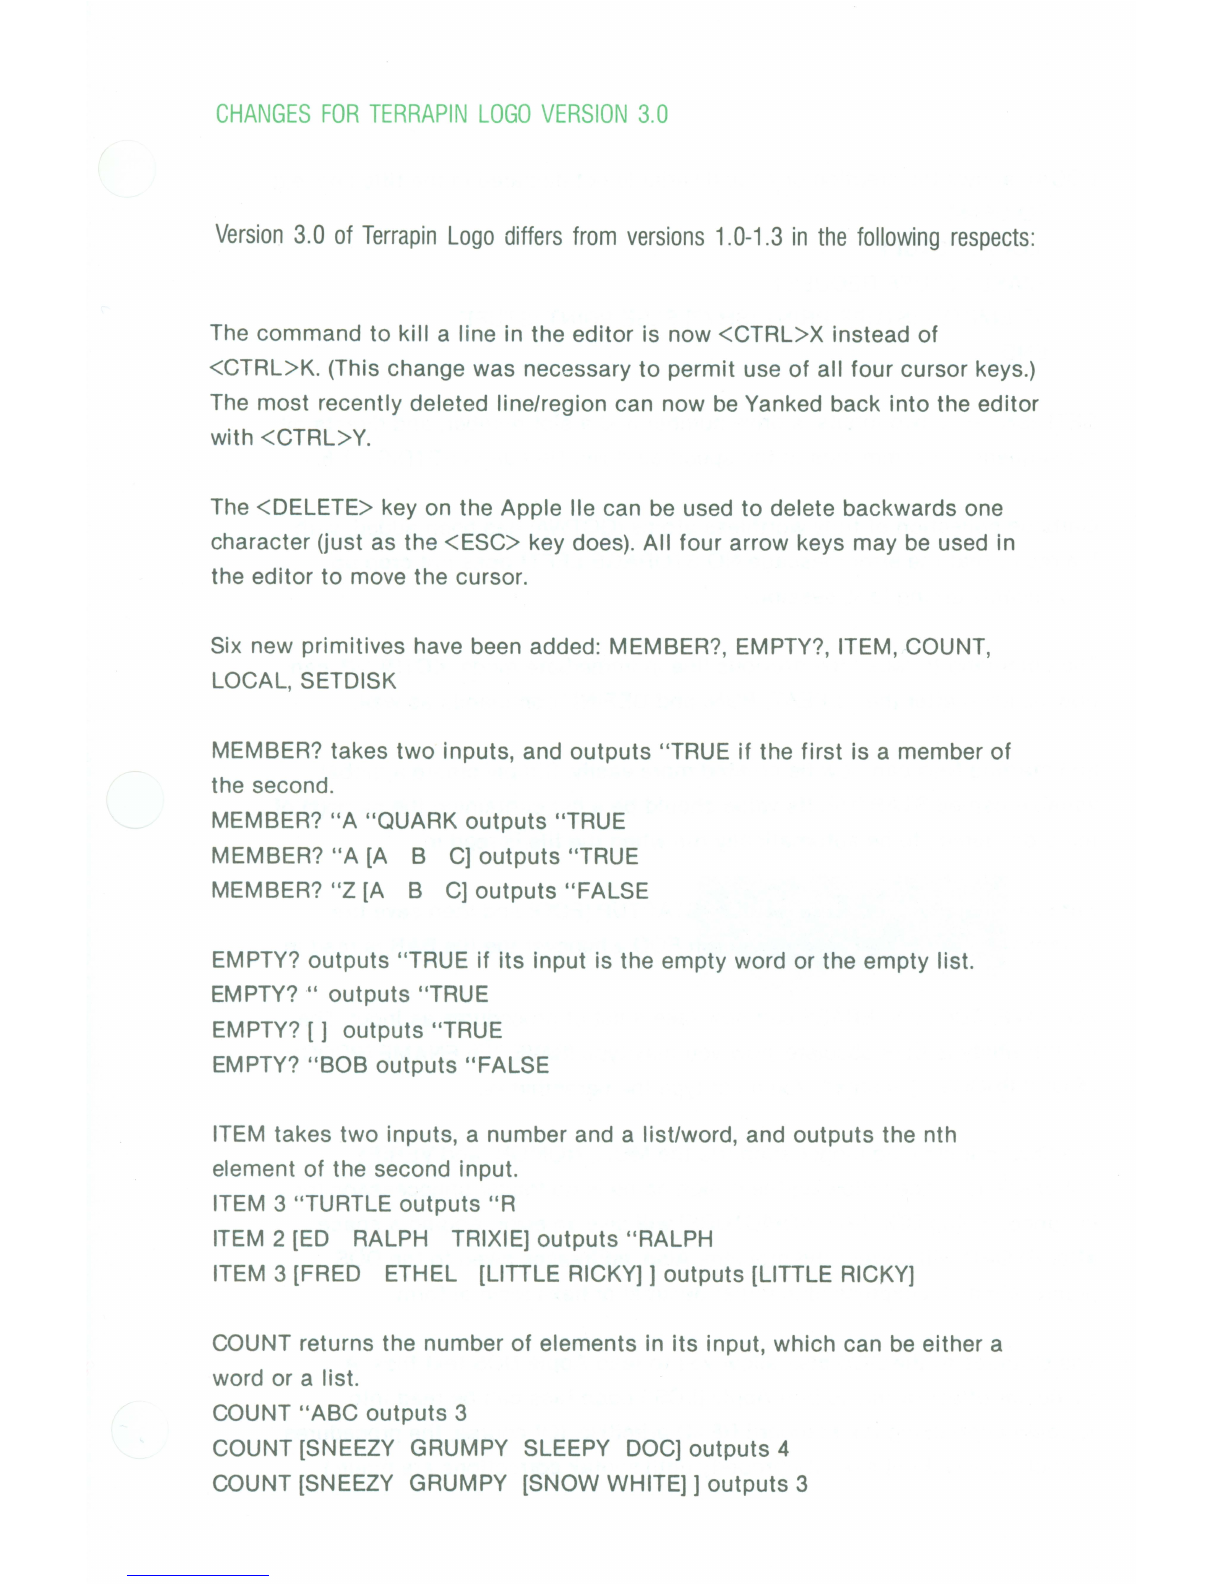
Six new primitives have been added: MEMBER?, EMPTY?, ITEM, COUNT,
LOCAL, SETDISK
MEMBER? takes two inputs, and outputs "TRUE if the first is a member of
the second .
MEMBER? "A "QUARK outputs "TRUE
MEMBER? "A [A B C] outputs "TRUE
MEMBER? "Z [A B
CJ
outputs "FALSE
EMPTY? outputs "TRUE if its input is the empty word or the empty list.
EMPTY? " outputs "TRUE
EMPTY? [
J
outputs "TRUE
EMPTY? "BOB outputs "FALSE
ITEM takes two inputs, a number and a list/word, and outputs the nth
element of the second input.
ITEM 3 "TURTLE outputs "R
ITEM 2 [ED RALPH TRIXIE] outputs "RALPH
ITEM 3 [FRED ETHEL [UTILE RICKY]] outputs [UTILE RICKY]
COUNT returns the number of elements in its input, which can be either a
word or a list.
COUNT "ABC outputs 3
COUNT [SNEEZY GRUMPY SLEEPY DOC] outputs 4
COUNT [SNEEZY GRUMPY [SNOW WHITE]] outputs 3
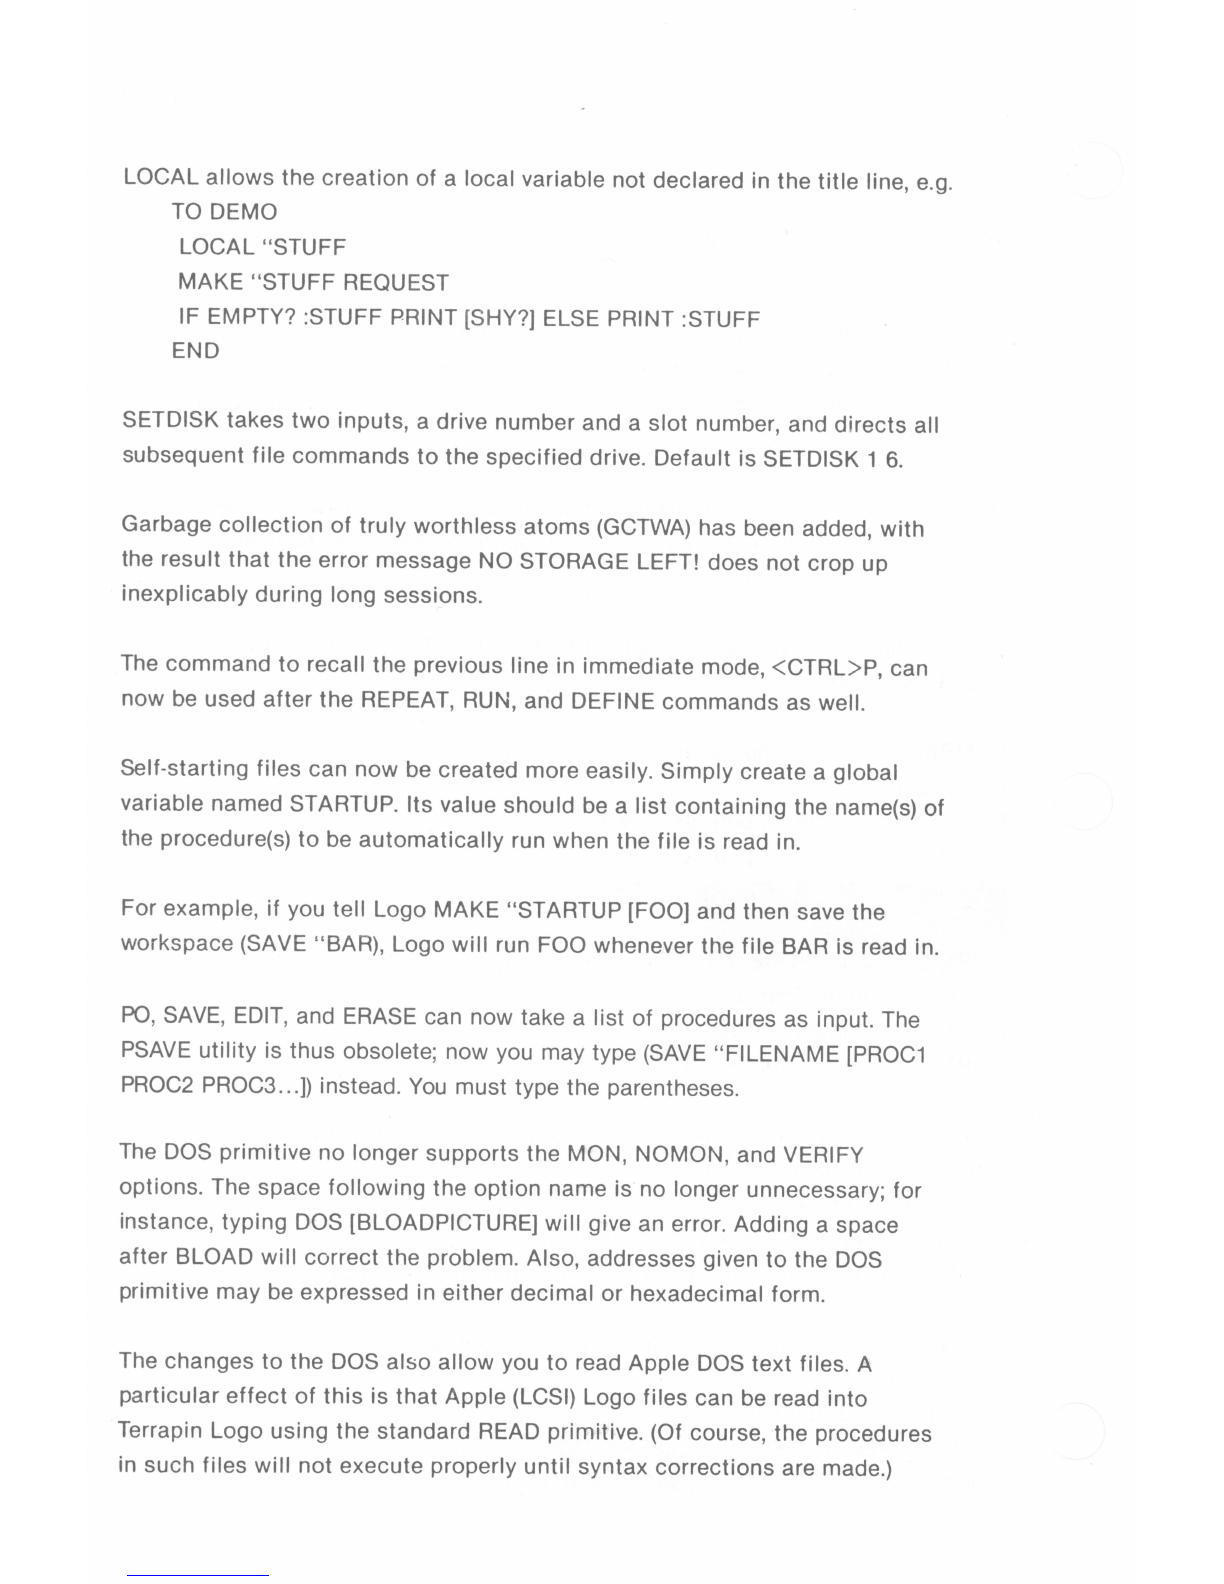
LOCAL allows the creation of a local variable not declared in the title line, e.g.
TO DEMO
LOCAL "STUFF
MAKE "STUFF REQUEST
IF EMPTY? :STUFF PRINT [SHY?] ELSE PRINT :STUFF
END
SETDISK takes two inputs , a drive number and a slot number, and directs all
subsequent file commands to the specified drive. Default is SETDISK 1 6.
Garbage collection of truly worthless atoms (GCTWA)has been added, with
the result that the error message NO STORAGE LEFT! does not crop up
inexplicably during long sessions .
The command to recall the previous line in immediate mode, <CTRL>P, can
now be used after the REPEAT, RUN, and DEFINE commands as well.
Self-starting files can now be created more easily . Simply create a global
variable named STARTUP. Its value should be a list containing the name(s) of
the procedure(s) to be automatically run when the file is read in.
For example, if you tell Logo
MAKE
"STARTUP (FOO) and then save the
workspace (SAVE " BAR), Logo will run FOO whenever the file BAR is read in.
PO, SAVE, EDIT, and ERASE can now take a list of procedures as input. The
PSAVEutility is thus obsolete ; now you may type (SAVE"FILENAME [PROC1
PROC2 PROC3...]) instead . You must type the parentheses.
The DOS primitive no longer supports the MON, NOMON, and VERIFY
options. The space following the option name is no longer unnecessary ; for
instance, typing DOS [BLOADPICTURE] will give an error. Adding a space
after BLOAD will correct the problem . Also, addresses given to the DOS
primitive may be expressed in either decimal or hexadecimal form .
The changes to the DOS also allow you to read Apple DOS text files. A
particular effect of this is that Apple (LCSI) Logo files can be read into
Terrapin Logo using the standard READ primitive. (Of course , the procedures
in such files will not execute properly until syntax corrections are made.)

Preface
1
Preface
This is a reference manual for an implementation of the Logo system for
the Apple II computer . The configuration required to run Logo on the
Apple is an Apple II computer with one "floppy disk" drive and 48K bytes
of memory, and with an additional 16K memory extension. The system
includes the Logo language together with fully integrated interactive
"turtle " graphics, screen editor, and disk file system.
1
The present manual
assumes that the reader is generally familiar with Logo and Logo
programming, and provides technical information about the
implementation of Logo for the Apple II, together with the list of primitive
commands included in the system.
This implementation of Logo was carried out by the Logo Group at the
Massachusetts Institute of Technology, in a project that was partially
supported by grants from the National Science Foundation. The
interpreter was implemented by Stephen Hain and Leigh Klotz. The text
editor , graphics. and file systems were implemented by Patrick
Sobalvarro . This work is based on previous Logo systems developed by
members of the MIT Logo Group with support from the National Science
Foundation , and on a specification of the Logo interpreter developed at
MIT with support from Texas Instruments, Inc. The Logo for the Apple II
implementation project is under the supervision of Professor Harold
Abelson.
11n addition , the present implementation is designed so that people familiar with
programming in assembly language on the Apple can modify and extend the Logo system's
capabilities . interlace it to new peripherals, and so on. To aid in this process, the Logo disk
includes a Logo program written by Leigh Klotz that serves as a 6502 assembler.


Preparing to UseLogo
Chapter 1
Preparing to Use Logo
3
This chapter discusses the hardware configuration required to run
Logo and points out some uses of the Apple keyboard that are
idiosyncratic to the Logo system. It also describes how to load and start
Logo on the Apple.
1.1. Configuration
This version of Logo requires an Apple II or Apple II Plus computer,
together with a "floppy disk" drive,
48K
of memory, and an additional
16K
memory extension .
1
The system includes two DOS
3.3
diskettes. One is
the Logo Language disk, used for starting Logo. The other is the Logo
Utilities diskette, containing the Logo programs described on page
43.
In addition to the Language diskette and the Utilities diskette, you will
need diskettes for saving programs that you write. The procedure for
creating Logo tile diskettes is explained in section
2.5.3.
1.2. The Keyboard
There are a few differences between the way that the Apple keyboard is
used in Logo, as opposed to other languages such as BASIC and Pascal.
These are explained in the paragraphs below.
The
SHIFT
key
Logo, like most Apple II systems, uses only uppercase letters, so the
shift key is not used for typing capital letters. The shift key is used,
however, when a given key contains two different symbols. For instance,
1Two popular memory extensions that can be used for Logo are the "Language Card"
distributed by Apple Computer , Inc. and the RAMCard distributed by Microsoft Consumer
Products .
4 Logo for the Apple II:Technical Manual
the character"(" is typed asshift-9.
Brackets
Logo uses the open and close bracket characters"[" and "]". These
are not marked on any key on the Apple keyboard. They are typed (when
using Logo) as shift-N and shift-M, respectively. Included with your Logo
package is a set of transparent stickers with brackets and other special
characters on them. Ifyou haven't already done so, you should affix these
stickers to your keyboard as indicated in the instructions attached to the
stickers.
The CTRL key
The key on the lower left of the keyboard marked CTRL (abbreviation for
"control'') is used to input so-called "control characters". CTRL is used
like a shift key. For example, to type "control G" hold down the key
marked CTRL and press the "G" key (rather than trying to press both CTRL
and "G" simultaneously). Throughout this manual, we specify control
symbols by the prefix "crnL", as in "CTRL·G".
The arrow keys
On the right hand side of the Apple keyboard there are two keys marked
with left and right-arrows. These are used in editing, to move the cursor to
the left and right.
The
ESC key
The key marked ESC (abbreviation for "escape") located at the upper
left of the keyboard is also used in Logo editing. When pressed, it deletes
the previous character that was typed. You might want to write the word
"DELETE" on the ESC key.
The REPEAT key
If you type a character and then hold down the key marked REPEAT, the
keyboard will repeatedly transmit the character for as long as REPEAT is
held down. REPEAT is occasionally useful in editing, in combination with
Preparing to UseLogo 5
the arrow keys.
The
RESET
key
When using Logo, Do not press the
RESET
key, ever! The Apple
RESET
mechanism unfortunately has been designed so as to be incompatible
with the use of complex interactive programming languages like Logo,
and pressing
RESET
will abort operation of the Logo system. Over the
years, Apple users have come up with ingenious methods for dealing
with
the frustrating problem that the
RESET
key is often hit by mistake, even
by
experienced typists. These solutions range from prying off the key-top
to
pasting cardboard over the key to buying or constructing plastic shields
to
put over the key. The newer model Apples also have a switch
that
disables the
RESET
key and forces the user to type
CTRL-RESET
in order
to
obtain the original
RESET
function.
Whatever solution you choose, beware that pressing
RESET
while using
Logo will cause you to lose all your work and necessitate reloading the
system following the procedure given in section 1.3.
1.3. Loading and Starting Logo
The method for starting Logo differs , depending on whether the Apple
computer you are using has "Autostart ROM" (for example, as is standard
on the Apple II Plus) or does not (for example, an unmodified Apple II).
1.3.1. On Apples with Autostart ROM
• With the computer turned off, load the Logo diskette into the
disk drive and turn the power on.
• A "] " character should appear, followed by the message
Loading, please wait ...
After about 30 seconds, Logo should start and a welcome
message:
6
Logo for the Apple II:Technical Manual
The Terrapin Logo Language
(C)
1981
MIT
(C)
1982 Terrapin, Inc.
Welcome to Logo
should appear on the screen, followed by a line beginning
with a question mark indicating that Logo is ready to accept
commands.
• Remove the Logo disk from the drive and put it in a safe place.
1.3.2. On Apples without Autostart ROM
• Place the Logo Language diskette in the disk drive and turn
on the power.
• Type 6 CTRL·Pand press return.
1.4. Bugs in the Logo System
Logo is, to our knowledge, the most complex and extensive program
written for the Apple II, and Version 1.1 still contains a few very obscure
bugs that may cause the system to crash. The clearest symptom of a bug
is when the computer stops executing Logo and instead returns to the
Apple monitor with the message
CONGRATULATIONS!YOUFOUNDA BUG!
TYPE300.311 <RETURN>ANDWRITE
DOWN
THERESULT. THENTYPECTRL-Y<RETURN>.
If you wish to report the bug, write down the indicated information
together with what you were doing in Logo at the time.
In most cases, operation of the Logo system can be successfully
continued by using the Apple monitor to restart Logo: type CTRL·Yand
RETURN.2
But even if this works, you should not assume that all is well.
2This monitor command restarts Logo at the "warm boot" address . See the addresses
listed with .BPT on page 40.

Preparing to UseLogo
7
The safest thing to do is to immediately attempt to saveyour workspace in
some temporary file; then reload Logo from disk and read your
procedures back in. For very serious bugs, the CTRL-Y method may not
work, in which case, the only safe recourse is to restart Logo using the
procedure given in 1.3.


Useof the Logo System
9
Chapter 2
Use of the Logo System
The Logo system includes a full interpreter for the Logo language, a
complete text editor for editing procedure definitions, and an integrated
"turtle graphics" system. This chapter provides notes on how these
different functions interact.
2.1. Modes of Using the Screen
The Logo system uses the display screen in three different
ways, or
"modes."
2.1.1. Nodraw Mode
This is the mode in which the system starts. Logo prompts the user for
a command with a question mark, followed by a blinking square called the
"cursor." You may type in command lines, terminated with RETURN.Logo
executes the line and prints a response, if appropriate.
Whenever the cursor is visible and blinking, Logo is waiting for you to
type something, and will do nothing else untii you do.
The system includes a flexible line editor that allows you to correct any
typing errors in a command line which you have typed in DRAW or
NODRAW mode. The available editing operations are the ones described
on page 14 corresponding to the keys: ESC,arrow keys, CTRL·A·,CTRL-0,
CTRL-E,CTRL-G,CTRL-K,CTRL-P.
2.1.2. Edit Mode
Executing the commands TO or EDIT places Logo in edit mode. For
example, if you enter Logo and type
TO POLY:SIDE :ANGLE
followed by RETURN,the system will enter the screen editor with the typed

10
Logo for the Apple II:Technical Manual
line of text on the screen. Logo indicates that it is in EDIT mode
by
printing "EDIT: Ctrl-C to define, ctrl-G to abort" in reverse-color letters at
the bottom of the screen.
At this point you _can use all of the editing operations described on page
14 to create and/or edit the text for the procedure. Typing CTRL-Cwill exit
the editor, cause the procedure to be defined according to the text you
havetyped, and enter nodraw mode. Typing CTRL-Gaborts the edit. Logo
will return to nodraw mode without any procedures being defined. If you
begin editing a procedure, and decide that you don't want to change it
after all (or would like to start over), type CTRL-G.The procedure you were
editing will not be changed.
In this mode, RETURN is just another character which causes the
cursor to move to the next line. In EDIT mode, CTRL-Ccauses Logo
to
evaluate the contents of the edit buffer just as RETURN in DRAW and
NODRA
W
modes causes Logo to evaluate the line just typed. See section
2.2.
To edit the most recently defined procedure, type just EDIT (or its
abbreviation, ED).
1
2.1. 3 .
Draw Mode
In draw mode, you use the turtle for drawing on the screen. If you
attempt to execute any turtle command while in nodraw mode, the system
will enter draw mode before executing the command. The NODRAW
command (abbreviated ND) exits draw mode and enters nodraw mode.
Actually, there are different types of draw mode.
1
In DRAW mode. this edits the current definition of the procedure most recently defined or
PO'd. In NODRAW mode. however. typing EDIT with no inputs returns to EDIT mode with the
contents of the edit buffer intact. For example, after a READ or SAVE, everything read or
saved will be in tile edit buffer . If you had aborted the definition of a procedure with CTRL·G,
the edit buffer 's contents at the time you typed CTRL·G will still be in the edit buffer; you can
retrieve it by typing EDIT not followed by a procedure name. Typing EDIT followed by the
procedure name would edit the procedure as it was last defined . This is all very complicated,
but is entirely intuitive.

Useof the Logo System
11
Splitscreen mode is the normal way in which draw mode is used. Four
lines at the bottom of the screen are reserved for text, and the rest of the
screen shows the field in which the turtle moves. The turtle field actually
extends to the bottom of the screen and so is partially masked by the four-
line text region. In fullscreen mode the text region disappears and you
can see the entire turtle field. You can still type commands, but they will
not be visible. If the system needs to type an error message, it will first
enter splitscreen mode so that the message will be visible .
You can use the characters CTRL-Fand CTRL-Sto switch back and forth
between splitscreen and fullscreen mode. Pressing CTRL-Fwhile in
splitscreen mode will enter fullscreen mode. Pressing CTRL-Swill restore
splitscreen mode. It is also sometimes convenient to be able to switch
back and forth under program control. The commands SPLITSCREEN
and FULLSCREEN are provided for this purpose.
Indraw mode, Logo displays just four lines of text. This is frequently
an
inconvenience, since error messages are sometimes longer than
four
lines. If you type CTRL-Twhile in graphics mode, the turtle picture will
disappear and you can use the entire screen for text, just as in nodraw
mode. The difference is that you are actually still in draw mode: turtle
commands can be executed, although you will not see the picture being
drawn. The CTRL·Tcommand is especially useful when an error message
in DRAW mode is more than four lines long. CTRL·Tis equivalent to the
TEXTSCREEN primitive. The only wayto make the graphics screen visible
after using CTRL-T is to type CTRL·Fto return to fullscreen mode, or CTRL-S
to go back to splitscreen mode.
TEXTSCREEN is different from NODRAW. NODRAW clears the text
screen, clears the graphics screen, and resets all the graphics parameters
(pencolor, turtle visibility, pen state, background color, and wrapping
mode).
Here is a list of control characters not related to editing functions.
All
are available in draw mode and nodraw mode. Some exist in edit mode,
also,and are specially indicated.

12
Logo for the Apple II:Technical Manual
Non-editing Control Characters
CTRL-f
CTRL-G
CTRL·S
CTRL·T
CTRL-W
CTRL-Z
CTRL-SHIFT
-M
CTRL-SHIFT·P
2.2. Editing
Ingraphics mode, gives full graphics screen.
In edit mode, exits the editor without processing the
edited text. In draw or nodraw mode, stops execution
and returns control to toplevel.
Ingraphics mode, gives mixed text/graphics screen.
Ingraphics mode, gives full text screen.
Stops program execution. Repeatedly typing CTRL-W
will cause Logo to stop after printing the next line (or
the next list element if lists are being printed). Typing
any character other than CTRL-W or CTRL-Gwill resume
normal processing. Try CTRL-Win conjunction with
the repeat key to obtain "slow motion" effects. See
TRACE (page 39).
Causes Logo to pause. You may type anything and
Logo will execute it as if it were a line of the current
procedure. Type CO or CONTINUEto continue.
Restores output to the screen . See OUTDEV, page 36.
This generates an underscore character. It is a
regular printing character, available all three modes.
The Logo system contains a fully-integrated screen editor, and a
compatible line editor. The screen editor is used for defining Logo
procedures in EDIT mode, and the line editor is used for typing Logo
commands to be executed in DRAWand NODRAW modes.
Table of contents


