manuals.online logo
Brands
  1. Home
  2. •
  3. Brands
  4. •
  5. TinkerHouse
  6. •
  7. Toy
  8. •
  9. TinkerHouse MAGLEV DEPOT V2 Manual

TinkerHouse MAGLEV DEPOT V2 Manual

MAGLEV DEPOT V2 BUILD INSTRUCTIONS
STEP 1
1. Fold as shown.
aa
aa
STEP 2
1. Glue piece e2 into piece e1, using glue in the notches where they t together to create an upright sub-assembly.
STEP 3
1. Fold, glue, and clamp as shown.
STEP 4
1. Glue d10 and d11 into the slots in d7 and d8.
2. Glue the assembly into the notches on d9 to create a foot sub-assembly.
STEP 5
1. Glue upright sub-assembly into the foot sub-assembly.
2. This will create a completed leg assembly.
3. Repeat Steps 1-5 three more times.
Note: make sure the ladder section is facing the correct direction in relation to the foot as shown in picture.
STEP 6
1. Fold, glue, and clamp as shown.
STEP 7
1. Slide pieces d4 and d5 together.
2. Fold piece d3 as shown.
3. Glue pieces d3, d4, d5, and d6 to piece d2 as shown.
NOTE:piece d6 will be loose until Step 8.
STEP 8
1. Glue piece d1 to existing pieces as shown.
2. This creates an elbow sub-assembly.
3. Repeat steps 7-8 three more times for a total of four elbow sub-assemblies.
STEP 9
1. Fold as shown.
STEP 10
1. Glue piece b1 into piece a1, using glue in the notches where they t together to creates a support sub-assembly.
2. Repeat steps 9-10 again so you have two support sub-assembies.
STEP 11
1. Glue an elbow sub-assembly to both ends of a support sub-assembly as shown.
2. Repeat one more time to create the gantry assembly.
NOTE: Make sure the support sub-assembly notched side is facing down as shown.
STEP 12
1. Fold, glue, and clamp as shown.
STEP 13
1. Glue pieces c1 and c2 to piece c4 as shown.
2. Slot and glue piece c3 into piece c1, c2, and c4 as shown.
3. Fold pieces c5 as shown and glue to piece c4 as shown to create a platform assembly.
4. Repeat one more time.
STEP 14
1. This is a top view of the completed platform assembly.
STEP 15
1. Fold, glue, and clamp as shown.
2. Repeat one more time.
STEP 16
1. Fold, glue, and clamp pieces b4 as shown.
2. Clamp and glue pieces a2 and a4 as shown.
STEP 17
1. Glue and assemble one piece b2, and a4 glued pieces as shown.
2. Then glue and assemble other piece b2 as shown.
Note: Make sure you’re using piece b2 that has a small hole all the way through when built (as shown in the inset). You can compare against step 18’s inset.
STEP 18
1. Glue and assemble pieces b4 as shown.
2. Then glue and assemble pieces b7 as shown to complete the crane rail assembly.
Note: Make sure you’re using piece a7 that does not have a small hole all the way through as shown in the inset. Compare against step 17 inset.
STEP 19
1. Glue and clamp pieces a5 as shown.
2. Fold, glue, and clamp other pieces as shown.
STEP 20
1. Glue and assemble as shown.
STEP 21
1. Glue and assemble pieces as shown.
2. This creates the completed crane assembly.
STEP 22
1. Fold, glue, and clamp pieces as shown.
STEP 23
1. Glue pieces e4 to piece e8 as shown.
2. Glue pieces e3 to piece e8 as shown.
3. This creates a oor sub-assembly.
STEP 24
1. Glue pieces e6 and e7 to oor sub-assembly as shown.
2. Glue piece e5 to assembly as shown.
3. This creates a completed walkway assembly.
4. Repeat Steps 22-24 three more times to create all four walkways.
STEP 25
1. Assemble as shown, attaching the crane to the rail.
Note: Do not glue these assemblies together. These parts are intended to move.
STEP 26
1. Assemble as shown, glueing the crane rail assembly to the gantries.
Note: The crane assembly is intended to slide back and forth so make sure not to glue it when glueing the other parts.
STEP 27
1. Assemble as shown, attaching the legs to the gantry.
Note: Do not glue these assemblies together. These parts are intended to be removed for storage.
STEP 28
1. Assemble as shown, attaching the platforms to the legs.
Note: Do not glue these assemblies together. These parts are intended to adjust up and down on the legs for alternate platform heights. (e.g. Platforms can be adjusted to match
height of SatComm Installation deck height.
STEP 29
1. Assemble as shown, attaching the walkways to the gantry with the rails facing out.
Note: Do not glue these assemblies together. These parts are intended to be removed for stoage.
STEP 30
1. Fold, glue, and clamp piece d14 as shown.
2. Glue and attach pieces d12 and d13 to create a ladder stand.
Note: These are for miniatures to stand on. They have notches to adjust for ladder pitch and can be moved throughout play to give your game a more accurate line of sight when
using ladders.
YOU’VE FINISHED THE MAGLEV DEPOT V2
Time to move on to another set!
aa
Copyright © 2021 TinkerHouse, Inc. All Rights Reserved.

Other TinkerHouse Toy manuals

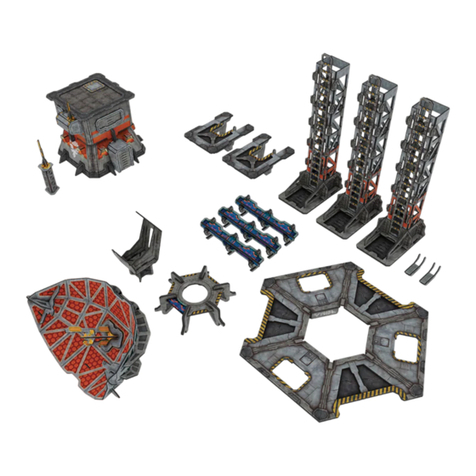
TinkerHouse SATCOMM INSTALLATION Manual

TinkerHouse

TinkerHouse SATCOMM INSTALLATION Manual

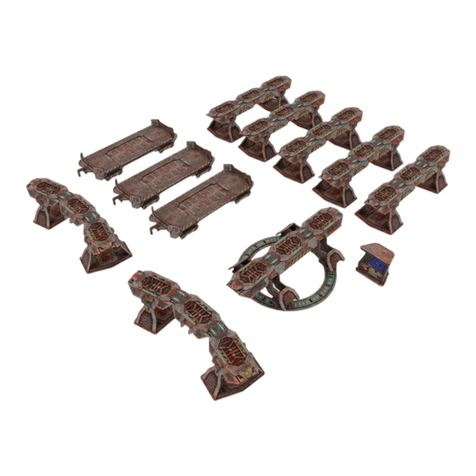
TinkerHouse MAGLEV RAIL STARTER Manual

TinkerHouse

TinkerHouse MAGLEV RAIL STARTER Manual

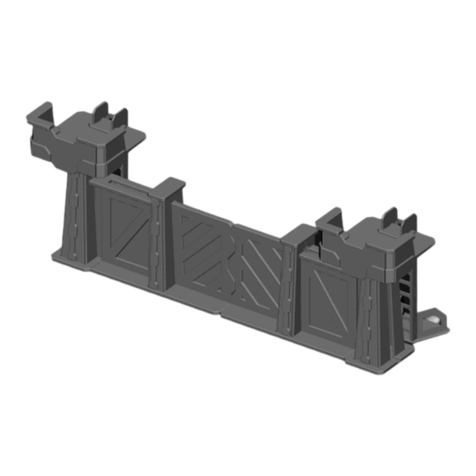
TinkerHouse PERIMETER GATE Manual

TinkerHouse

TinkerHouse PERIMETER GATE Manual

Popular Toy manuals by other brands

Spinmaster MECCANO THUNDERBIRD 2 15309 instructions

Spinmaster

Spinmaster MECCANO THUNDERBIRD 2 15309 instructions

Pro Boat PRB3650B owner's manual

Pro Boat

Pro Boat PRB3650B owner's manual

J. Perkins Nano Stik instruction manual
J. Perkins

J. Perkins Nano Stik instruction manual

Hobby King Blanik manual

Hobby King

Hobby King Blanik manual

Flis Kits Triskelion SP010 Assembly instructions

Flis Kits

Flis Kits Triskelion SP010 Assembly instructions

V-tech MARVEL SPIDEY AMAZING FRIENDS Spidey Learning... instruction manual

V-tech

V-tech MARVEL SPIDEY AMAZING FRIENDS Spidey Learning... instruction manual

KNEX Lincoln Logs Assembly instruction

KNEX

KNEX Lincoln Logs Assembly instruction

TopNotch Products BUSH HAWK XP Assembly manual

TopNotch Products

TopNotch Products BUSH HAWK XP Assembly manual

V-tech Laptop Deluxe user manual

V-tech

V-tech Laptop Deluxe user manual

Step 2 Rudolph the Rocking Reindeer 4827 manual

Step 2

Step 2 Rudolph the Rocking Reindeer 4827 manual

V-tech Magical Lights Unicorn Parents' guide
V-tech

V-tech Magical Lights Unicorn Parents' guide

Spinmaster Air Hogs Boeing Delta Air Rocket instructions

Spinmaster

Spinmaster Air Hogs Boeing Delta Air Rocket instructions

Spinmaster Purse Pets manual

Spinmaster

Spinmaster Purse Pets manual

AUTO GYRO MTO SPORT 2017 Pilot operating handbook

AUTO GYRO

AUTO GYRO MTO SPORT 2017 Pilot operating handbook

V-tech Marble Rush Parents' guide

V-tech

V-tech Marble Rush Parents' guide

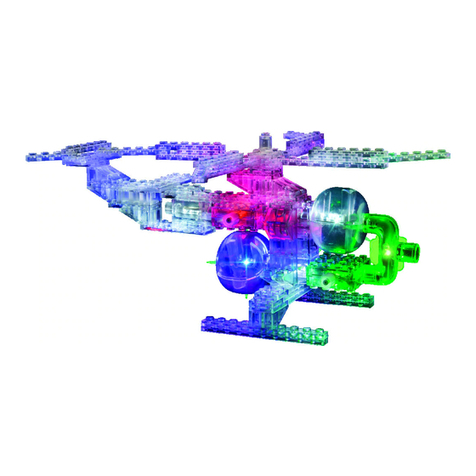
LaserPegs HELICOPTER V2.0 1270 Model instructions

LaserPegs

LaserPegs HELICOPTER V2.0 1270 Model instructions

PLAYTIVE JUNIOR HA-2195 Instructions for use

PLAYTIVE JUNIOR

PLAYTIVE JUNIOR HA-2195 Instructions for use

V-tech 80-067848 user manual

V-tech

V-tech 80-067848 user manual

manuals.online logo
manuals.online logoBrands
  • About & Mission
  • Contact us
  • Privacy Policy
  • Terms and Conditions

Copyright 2025 Manuals.Online. All Rights Reserved.