TIOGA 1981 ARROW User manual
TIOGA
ARRO
1981


INTRODUCTION
Welcome
to
the
recreational vehicle lifestyle and
the
grow-
ing family
of
motor
home owners.
We
sincerely
thank
you
for choosing
our
product.
Your
motor
home has been designed
to
provide you with
many years
of
carefree, pleasant traveling and vacationing.
This manual describes many features of
your
motor
home
and provides a guide
to
operating procedures so
~hat
you
can
obtain
optimum
performance from those features. Like
all
finely crafted equipment,
your
motor
home will require care
and regular maintenance
in
order
to
retain its maximum
performance characteristics. This manual. along with
the
information provided
in
your
Owner's Information Kit outlines
the
important
areas
of
maintenance and provides a mainten-
ance schedule
that
you should follow
to
assure safe, trouble-free
service from
your
motor
home. Study these instructions care-
fully. A good working knowledge
of
your
motor
home
and
how
to
care for
it
will help
you
enjoy many miles
of
recreational pleasure.
Your
motor
home
has been designed
to
conform with,
or
exceed
the
American National Standards Institute A119.2,
ANSI/NFPA 501
C,
Canadian CSA Standard Z-240
(Canadian-built,
or
units built for Canada),
and/or
applicable
motor
home vehicle standards. These standards establish
the
plumbing, heating, electrical, and
other
requirements for
quality and safety. Compliance with these standards
is
indicated by
the
seal
attached
just outside
the
entry
door.
This seal
is
the
outward sign
of
internal quality.
The
motor
home has been thoroughly inspected before ship-
ment. It
is
the
duty
of
your
dealer
to
inspect
the
motor
home
and
to
prepare it for you during
the
predelivery phase
of
the
sale.
He
will instruct you
in
its basic use; however, this should
be supplemented
by
your
reading
all
instructional material
furnished with
the
motor
home.
If,
after taking delivery
of
your
new
motor
home,
you
-feel
it requires additional
conditioning
or
adjustment, please return it
to
your
dealer
as
soon as possible.
If
you have any questions regarding operation, maintenance,
or
service, please
contact
your
dealer immediately so he can
assist
you.
Your dealer's service
or
sales
department
will
promptly handle any normal problem which might occur.
Customer service
is
of
utmost
importance
to
your
dealer,
as well as
to
the
manufacturer. If, for some reason, a
problem
is
not
handled
to
your
satisfaction, we make
the
following suggestions:
1.
Discuss
any
warranty-related problems directly with
the
General Manager
or
the Owner
of
the
dealership,
giving him an
opportunity
to
help his service depart-
ment
resolve
the
matter
for you.
2. Should a problem arise
that
cannot
be resolved to.
your
satisfaction by
your
local dealer,
contact
the
factory service supervisor. The back page
of
this
manual has a factory listing. Please
contact
the
one
'learest you.
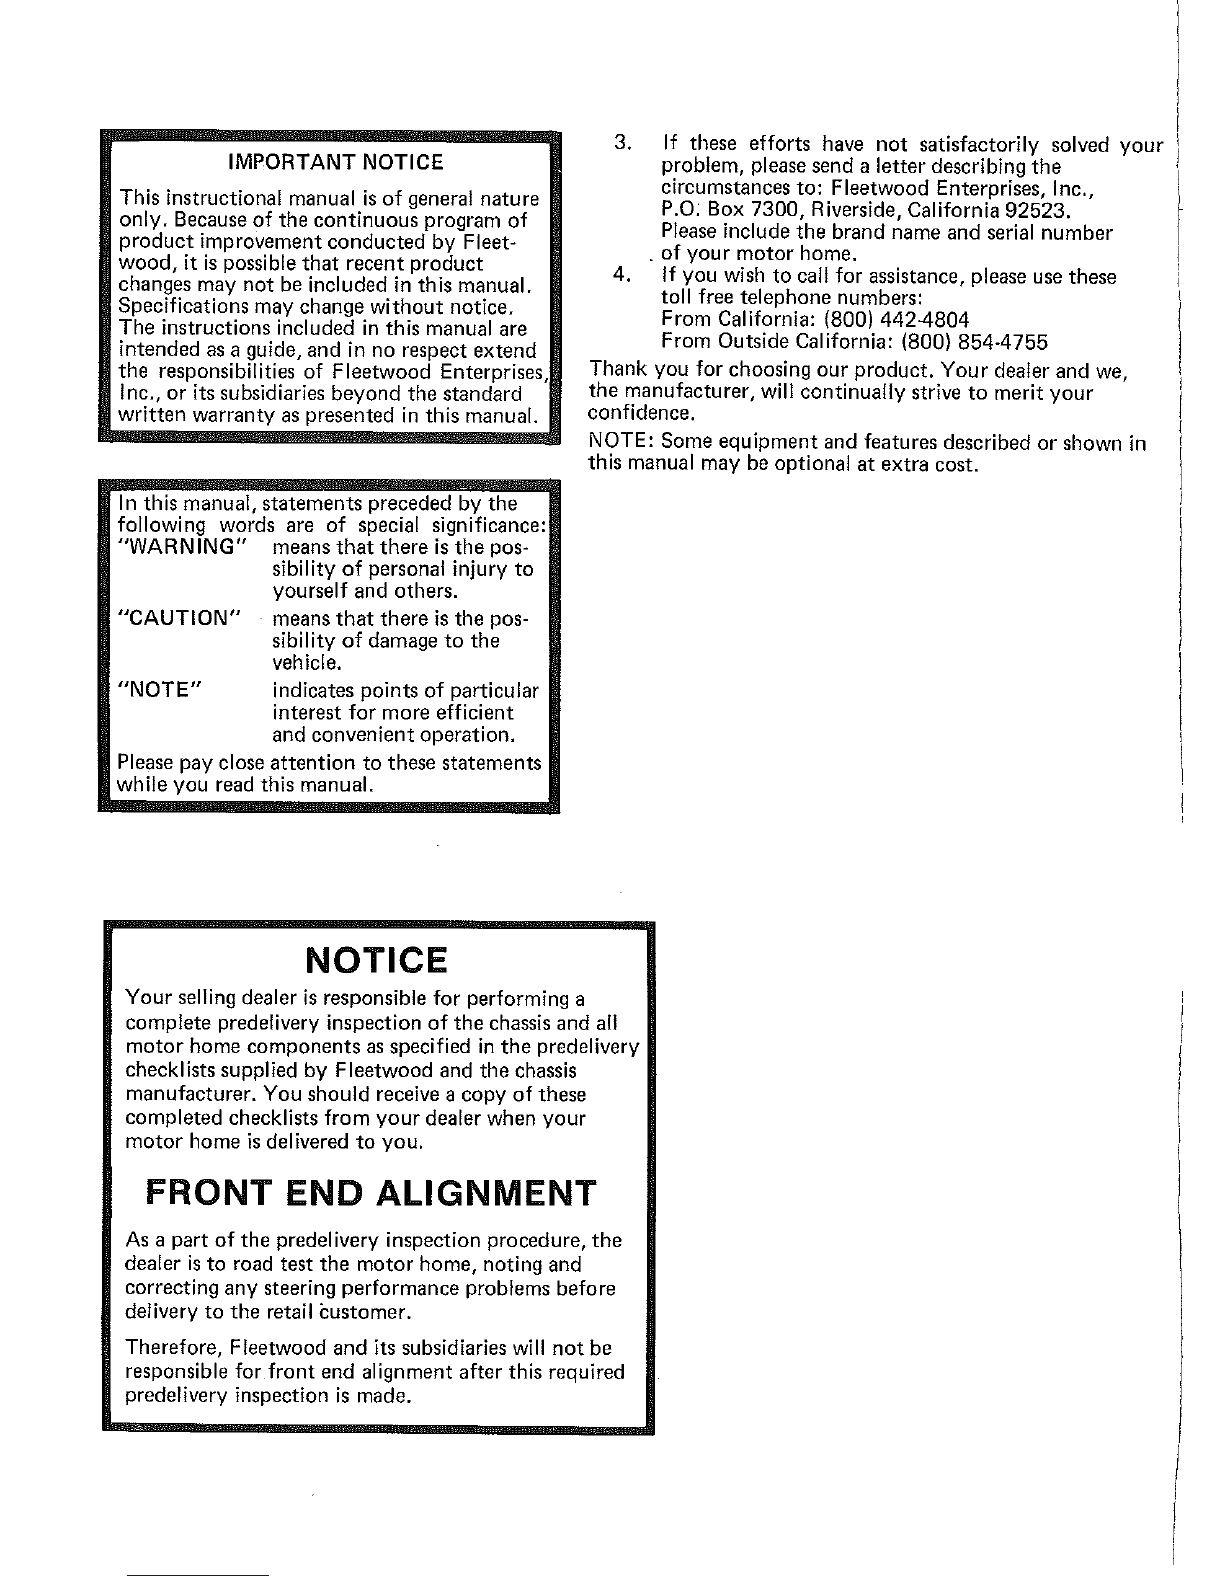
IMPORTANT NOTICE
This instructional manual
is
of
general nature
only.
Because
of
the
continuous
program
of
product
improvement
conducted
by
Fleet-
wood,
it
is
possible
that
recent
product
changes may
not
be included
in
this manual.
Specifications may change
without
notice.
The instructions included
in
this manual are
intended
as
a guide, and in no respect extend
the
responsibilities of Fleetwood Enterprises,
Inc.,
or
its subsidiaries
beyond
the
standard
written
warranty
as
presented
in
this manual.
3.
If
these efforts have
not
satisfactorily solved
your
problem, please send a letter describing
the
circumstances
to:
Fleetwood Enterprises, Inc.,
P.O: Box
7300,
Riverside, California
92523.
Please include
the
brand name and serial
number
.
of
your
motor
home.
4.
If
you wish
to
call for assistance, please use these
toll free telephone numbers:
From California: (800)
4424804
From Outside California: (800)
854-4755
Thank you for choosing
our
product.
Your
dealer and we,
the
manufacturer, will continually strive
to
merit
your
confidence.
In
this manual,
statements
preceded by
the
following words are
of
special significance:
"WARNING"
means
that
there
is
the
pos-
sibility
of
personal injury
to
yourself and others.
"CAUTION"
means
that
there
is
the
pos-
sibility
of
damage
to
the
vehicle.
"NOTE"
indicates points
of
particular
interest
for
more efficient
and convenient operation.
Please pay close
attention
to
these statements
while you read this manual.
NOTICE
NOTE: Some
equipment
and features described
or
shown
in
this manual may be optional
at
extra cost.
Your
selling dealer
is
responsible for performing a
complete predelivery inspection
of
the
chassis and all
motor
home
components
as
specified
in
the
predelivery
checklists supplied by Fleetwood and
the
chassis
manufacturer. You should receive a copy
of
these
completed checklists from
your
dealer when
your
motor
home
is
delivered
to
you.
FRONT
END
ALIGNMENT
As
a part
of
the
predelivery inspection procedure,
the
dealer
is
to
road test
the
motor
home, noting and
correcting any steering performance problems before
delivery
to
the
retail customer.
Therefore, Fleetwood and its subsidiaries will
not
be
responsible for
front
end
alignment after this required
predelivery inspection
is
made.

TABLE
OF
CONTENTS
PLANNING AND PREPARATION
....................
1
VEHICLE LOAD WEIGHING CAPACITY
..............
5
READY
TO
LEAVE
...............................
6
Starting
and
Warmup
.............................
6
Safety
Belts
....................................
6
ON
THE ROAD
..................................
7
Driving
and
Parking
..............................
7
Miscellaneous
Safety
Tips
.........................
7
Overheating
.............
"
.......................
8
Windshield Defrost -
Comfort
Control
...............
8
12-Volt
Fuse
Replacement
........................
8
Changing a Tire
.................................
8
Emergency
Start
System
(Optional)
.................
8
SERVICING
....................................
10
Motor Home Chassis
Operator's
Manual
.............
10
Battery Service
................................
10
Generator
Power Plant System Service
..............
10
Automotive
Air
Conditioner
(Optional)
.............
10
INTERIOR AND
FURNiSHINGS
....................
12
Swing-Down
Dinette
Table
.......................
11
Pedestal
Dinette
Tables
..........................
11
Pull-Out (Gaucho) Beds
..........................
11
Storage
......................................
11
Condensation
and
Ventilation
.....................
12
PLUMBING
.....................................
13
Fresh Water
...................................
13
External Water
Supply
..........................
13
Filling Fresh Water
Supply
.......................
13
Troubleshooting
Water
System
....................
14
Sanitizing Water
Tank.
:
.........................
14
Waste-Water
System
............................
15
Waste-Water Draining
...........................
15
Do's
and
bon'ts
-Waste Tanks
....................
16
Winterizing
the
Water
System
.....................
16
Winter
Storage
Checklist
.........................
16
ELECTRICAL
...................................
18
115-Volt
System
Power Cord
.....................
18
12-Volt
System
................................
18
115-Volt
AC
to
12-Volt
DC
Converter
..............
18
Fuses
.........................
"
...............
19
Auxiliary 12-Volt Battery
........................
19
Auxiliary
Generator
Power Plant (Optional)
..........
19
LIQUEFIED PETROLEUM GAS SYSTEM
.............
21
Using
Your
LP
Gas
System
at
Low
Temperatures
......
21
Operation
of
LP
Gas
System
......................
21
Filling
the
LP
Gas
Tanks
.........................
22
LP
Gas
System
Leak Checks
......................
22
APPLIANCES
...................................
23
LP
Gas Appliances
..............................
23
Roof
Air
Conditioner
(Optional)
...................
24

MAINTENANCE
.................................
25
Interior Cleaning
...............................
25
Windows
.....................................
26
Locksets and Latches
...........................
26
Plumbing
.....................................
26
Exterior
Care
..................................
27
Fire Safety
...................................
28
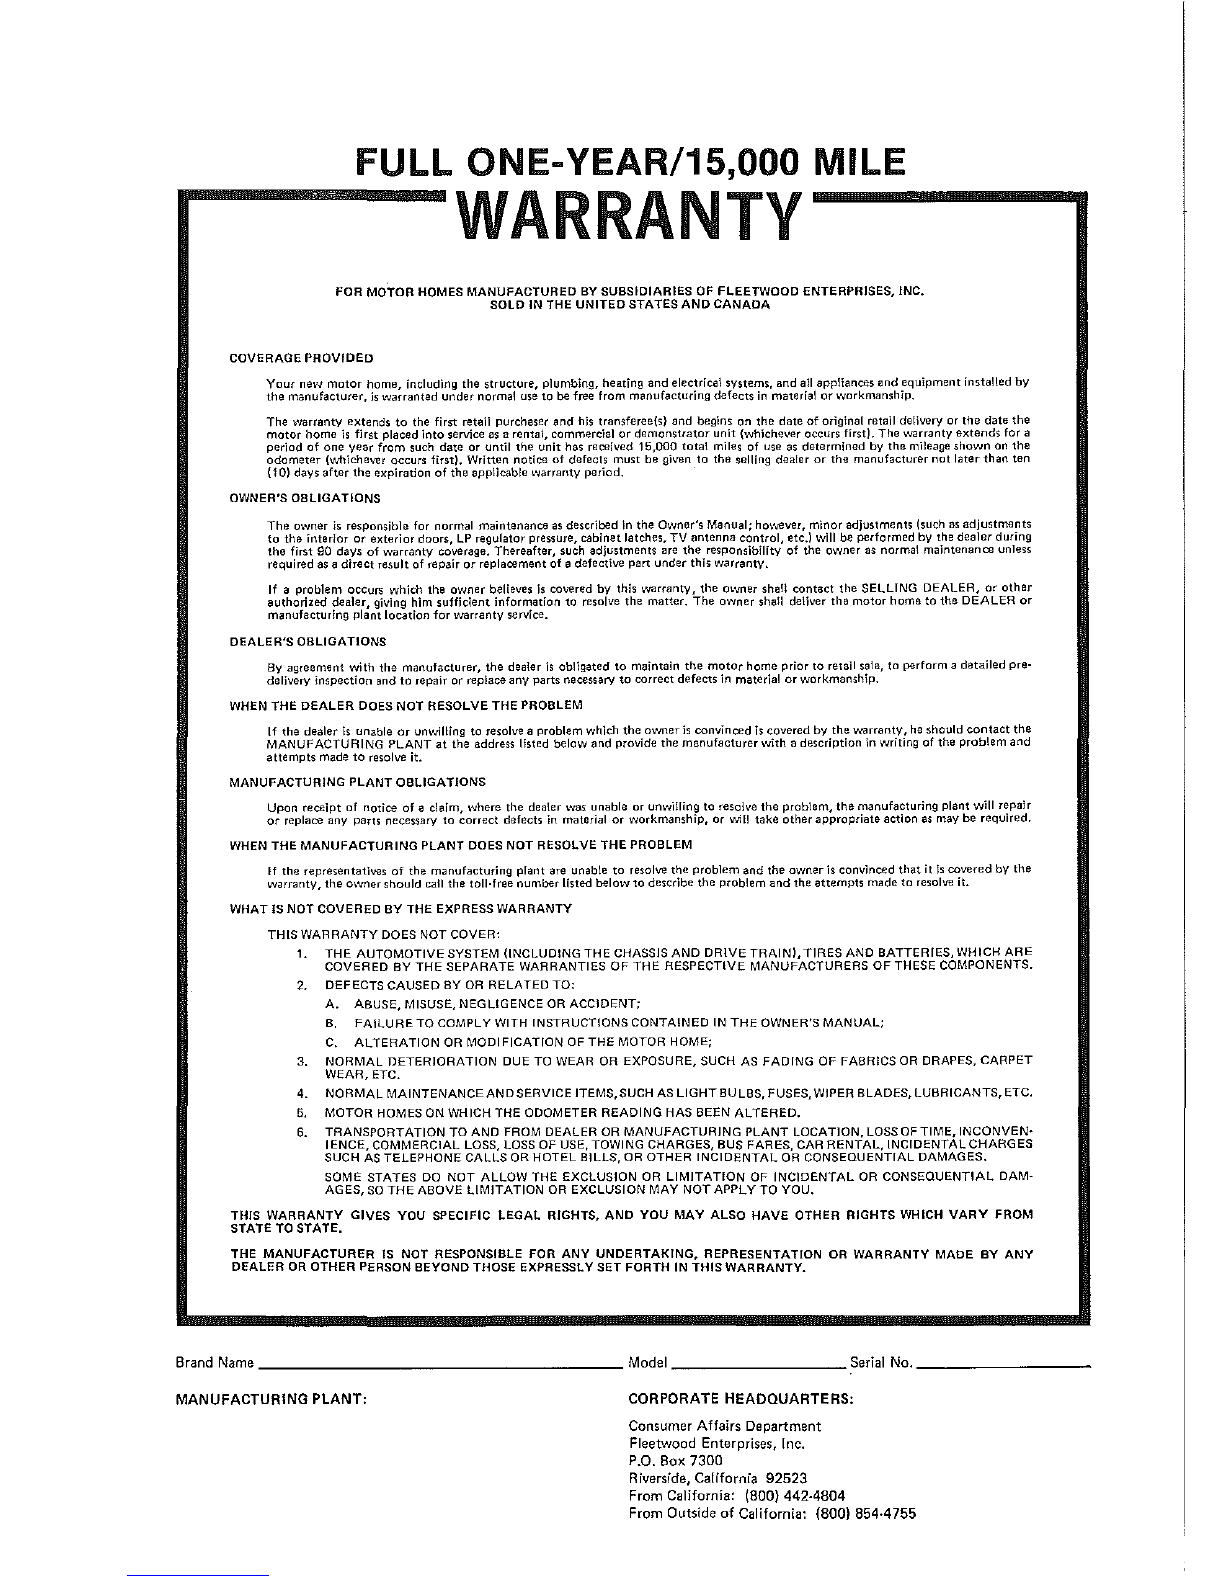
FULL
ONE-YEAR/15,OOO
MILE
~----WARRANTY----~
FOR MOTOR HOMES
MANUFACTURED
BY SUBSIDIARIES
OF
FLEETWOOD ENTERPRISES, INC.
SOLD
IN
THE
UNITED
STATES
AND
CANADA
COVERAGE
PROVIDED
Your new
motor
home, including the structure, plumbing, heating and electrical sYstems, and
all
appliancas and equipment installed
by
the
manufacturer.
is
warranted under normal use
to
be free from manufacturing defects
in
material
or
workmanship.
The warranty extends
to
the first fetail purchaser
and
his transferee(s}
and
begins on
the
date
of
original retail delivery or
the
date
the
motor
home
is
first placed into service as a rental, commercial
or
demonstrator
unit (whichever occurs first). The INarranty
extends
for a
period
of
one
year
from
such
date
or
until
the
unit
has
received
15,000
total
miles
of
use as
determined
by
the
mileage
shown
on
the
odometer
(1Nhichever
occurs
first).
Written
notice
of
defects
must
be
given
to
the
selling
dealer
or
the
manufacturer
not
later
than
ten
(10)
days
after
the
expiration
of
the
applicable
warranty
period.
OWNER'S
OBLIGATIONS
The
owner
is
responsible
for
normal
maintenance
as
described
In
the
Owner's
Manual;
ho.vever,
minor
adjustments
{SUch
as
adjustments
to
the
interior
or
exterior
doors,
LP
regulator
pressure,
cabinet
latches,
TV
antenna
control,
etd
will
be
performed
by
the
dealer
during
the
first
90
days
of
warranty
coverage.
Thereafter,
such
adjustments
He
the
responsibility
of
the
owner
as
normal
maintenance
unless
required
as a
direct
result
of
repair
or
replacement
of
a
defective
part
under
this
warranty.
If
a
problem
ocCurs
which
the
owner
believes
Is
covered
by
this
warranty,
the
Owner
shall
contact
the
SELLING
DEALER,
or
other
authoriZed
dealer,
giving
him
sufficient
information
to
resolve
the
matter.
The
owner
shall deliver
tha
motor
home
to
the
DEALER
or
manufacturing
plant
location
for
warranty
service.
DEALER'S
OBLIGATIONS
By
agreement
with
the
manufactUrer,
the
dealer
is
obligated
to
maintain
the
motor
home
prior
to
retail sale,
to
perform
a
detailed
pre-
delivery
inspection
and
to
repair
or
replace
any
parts
necessary
to
correct
defects
in
material
or
workmanship.
WHEN
THE
DEALER
DOES
NOT
RESOLVE
THE
PROBLEM
If
the
dealer
is
unable
or
unwilling
to
resolve a
problem
which
the
o;voer
is
convinced
is
covered
by
the
warranty,
he
should
contact
the
MANUFACTURING
PLANT
at
the
address
listed
below
and
provide
the
manufacturer
with
a
description
in
writing
of
the
problem
and
attempts
made
to
resolve it.
MANUFACTURING
PLANT
OBLIGATIONS
Upon
receipt
of
notice
of
a
claim,
where
the
dealer
was
unable
or
unwilling
to
resolve
the
problem,
the
manufacturing
plant
will
repair
or
replace
any
parts
necessary
to
correct
defects
in material
or
workmanship,
or
will
take
other
appropriate
action
as
may
be
required.
WHEN
THE
MANUFACTURING
PLANT
DOES
NOT
RESOLVE
THE
PROBLEM
If
the
representatives
of
the
manufacturing
plant
are
unable
to
resolve
the
problem
and
the
owner
is
convinced
that
it
Is
covered
by
the
warranty,
the
o.voer
should
call
the
toll·free
number
listed
below
to
describe
the
problem
and
the
attempts
made
to
resolve it.
WHAT
IS
NOT
COVERED
BY
THE
EXPRESS
WARRANTY
THIS
WARRANTY
DOES
NOT
COVER:
1.
THE
AUTOMOTIVE
SYSTEM
(INCLUDING
THE
CHASSIS
AND
DRIVE
TRAIN),
TIRES
AND
BATTERIES,
WHICH
ARE
COVERED
BY
THE
SEPARATE
WARRANTIES
OF
THE
RESPECTIVE
MANUFACTURERS
OF
THESE
COMPONENTS.
2.
DEFECTS
CAUSED
BY OR
RELATED
TO:
A.
ABUSE,
MISUSE,
NEGLIGENCE
OR
ACCIDENT;
B.
FAILURE
TO
COMPLY
WITH
INSTRUCTIONS
CONTAINED
IN
THE
OWNER'S
MANUAL;
C.
ALTERATION
OR
MODIFICATION
OF
THE
MOTOR
HOME;
3.
NORMAL
DETERIORATION
DUE
TO
WEAR
OR
EXPOSURE,
SUCH
AS
FADING
OF
FABRICS
OR
DRAPES,
CARPET
WEAR,ETC.
4.
NORMAL
MAINTENANCEANDSERVICE
ITEMS,SUCH
AS
LIGHTBULBS,
FUSES,
WIPER
BLADES,
LUBRICANTS,
ETC.
5.
MOTOR
HOMES
ON
WHICH
THE
ODOMETER
READING
HAS
BEEN
ALTERED.
6.
TRANSPORTATION
TO
AND
FROM
DEALER
OR
MANUFACTURING
PLANT
LOCATION,
LOSS
OF
TIME,
INCONVEN·
IENCE,
COMMERCIAL
LOSS, LOSS
OF
USE,
TOWING
CHARGES,
BUS
FARES,
CAR
RENTAL,INCIDENTALCHARGES
SUCH
AS
TELEPHONE
CALLS
OR
HOTEL
BILLS,
OR
OTHER
INCIDENTAL
OR
CONSEQUENTIAL
DAMAGES.
SOME
STATES
DO
NOT
ALLOW
THE
EXCLUSION
OR
LIMITATION
OF
INCIDENTAL
OR
CONSEQUENTIAL
DAM-
AGES,
SO
THE
ABOVE
LIMITATION
OR
EXCLUSION
MAY
NOT
APPLY
TO
YOU.
THIS
WARRANTY
GIVES
YOU
SPECIFIC
LEGAL
RIGHTS,
AND
YOU
MAY
ALSO
HAVE
OTHER
RIGHTS
WHICH
VARY
FROM
STATE
TO
STATE.
THE
MANUFACTURER
IS
NOT
RESPONSIBLE
FOR
ANY
UNDERTAKING,
REPRESENTATION
OR
WARRANTY
MADE
BY
ANY
DEALER
OR
OTHER
PERSON
BEYOND
THOSE
EXPRESSLY
SET
FORTH
IN
THIS
WARRANTY.
Brand
Name
____________________
Model
__________
Serial
No.
_________
_
MANUFACTURING PLANT, CORPORATE HEADQUARTERS,
Consumer Affairs Department
Fleetwood Enterprises, Inc.
P.O. Box 7300
Riverside, California 92523
From California: (800) 442-4804
From Outside
of
California: (800) 854·4755

1. Range hood
vent
2. Porch light
3.
Air
conditioner
4. Door latch •
5.
Clearance lights
6. Engine service hood
7.
Headlight
8. Parking,
turn
signal, •
emergency flasher lights
9. Fold
out
step
10.
Chassis
mounted
LP
gas
tank
11. Furnace
vent
12.
Hot
water
heater access
13. Generator access
door
5
14. Refrigerator
vent
• "
15.
Roof
rack
and
ladder
l\U~\\
16. Spare
tire
AllllC)W
17.
Tail,
turn
signal,
emergency flasher lights
18.
Sewer
hose
carrier/
bumper
19.
Storage
compartment
20. Gasoline
tank
fill
21.
City
water
connection
22.
Holding
tanks and valves
23. Electric cord access and
storage
24.
Refrigerator
service
door
25.
Water
tank
drain
26. Fresh
water
tank
fill
19
2 3 4 5
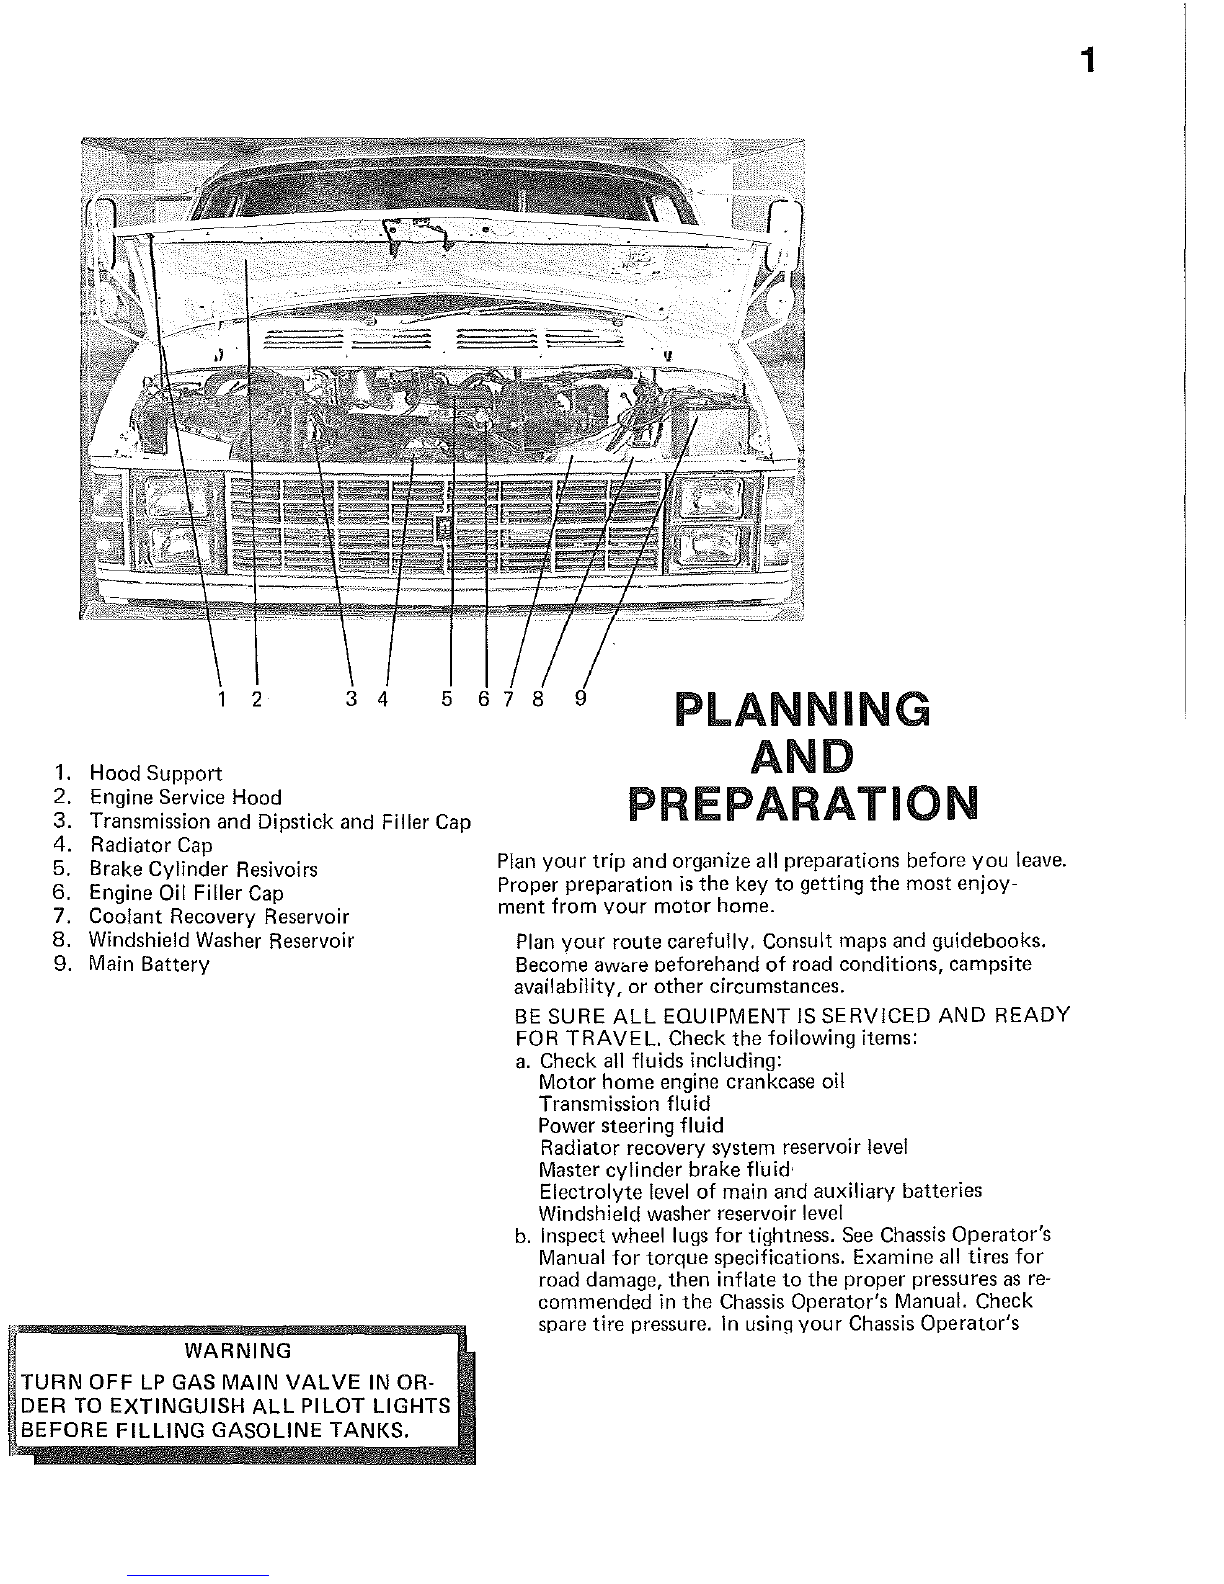
1.
Hood
Support
2.
Engine Service
Hood
3.
Transmission
and
Dipstick
and
Filler
Cap
4.
Radiator
Cap
5.
Brake
Cylinder
Resivoirs
6.
Engine Oil Filler
Cap
7.
Coolant
Recovery
Reservoir
8.
Windshield Washer Reservoir
9.
Main
Battery
WARNING
TURN
OFF
LP
GAS
MAIN
VALVE
IN
OR·
DER
TO
EXTINGUISH
ALL
PILOT
LIGHTS
BEFORE
FILLING
GASOLINE
TANKS.
PLANNING
AND
PREPARATION
Plan
your
trip
and
organize
all
preparations
before
you
leave.
Proper
preparation
is
the
key
to
getting
the
most
enjoy·
ment
from
Your
motor
home.
Plan
your
route
carefullv.
Consult
maps
and
guidebooks.
Become
aWare
oeforehand
of
road
conditions,
campsite
availability,
or
other
circumstances.
BE
SURE
ALL
EQUIPMENT
IS
SERVICED
AND
READY
FOR
TRAVEL.
Check
the
following
items:
a.
Check
all fluids
including:
Motor
home
engine
crankcase
oil
Transmission
fluid
Power
steering
fluid
Radiator
recovery
system
reservoir level
Master
cylinder
brake
fluid'
Electrolyte
level
of
main
and
auxiliary
batteries
Windshield
washer
reservoir level
b. Inspect wheel lugs
for
tightness. See Chassis
Operator's
Manual
for
torque
specifications.
Examine
all
tires
for
road
damage,
then
inflate
to
the
proper
pressures
as
reo
commended
in
the
Chassis
Operator's
Manual.
Check
spare
tire
pressure. In usinq
your
Chassis
Operator's
1
2
Manual,
note
that
tire pressures are given
for
cold tires
used under normal driving and load
conditions.
c.
Check
oi
I level
in
the
generator power
plant
(if
installed). Refer
to
instructions and maintenance manual
provided by
the
generator
manufacturer
for
other
pre·
use service requirements applicable
to
this equipment.
Check
that
extra oil and
other
service supplies are pro-
vided
for
the
generator power plant if
the
motor
home
is
to
be used for
extended
periods.
d. Check
that
jack, jack handle, and lug wrench are pro-
perly stowed. NOTE: The chassis lug wrench may
not
fit
the
spare tire bolts.
Be
sure you have
the
proper
siZll
wrench
to
remove
the
spare tire.
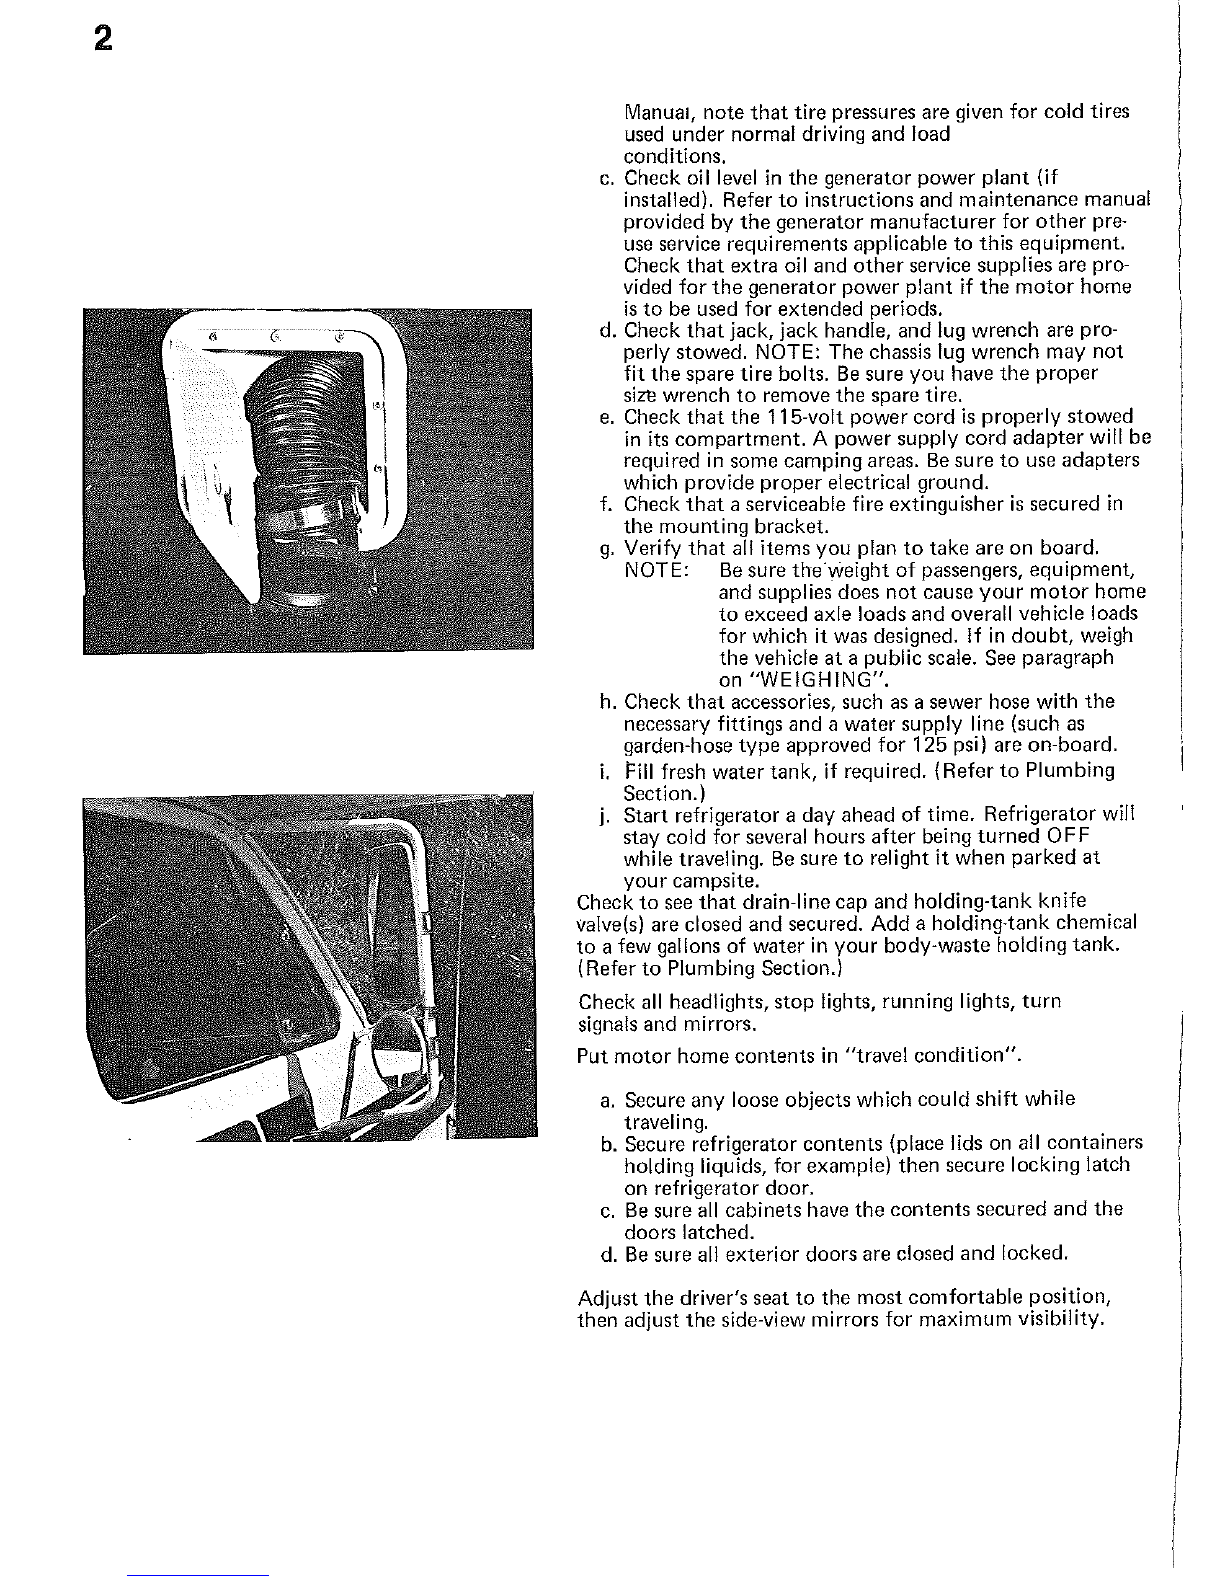
e.
Check
that
the
115-volt power cord
is
properly stowed
in
its
compartment.
A power supply cord
adapter
will
be
required
in
some camping areas.
Be
sure
to
use adapters
which provide
proper
electrical ground.
f.
Check
that
a serviceable fire extinguisher
is
secured
in
the
mounting bracket.
g.
Verify
that
all items you plan
to
take are
on
board.
NOTE:
Be
sure the\I'ieight
of
passengers, equipment,
and supplies does
not
cause
your
motor
home
to
exceed axle loads and overall vehicle loads
for which it was designed.
If
in
doubt,
weigh
the
vehicle
at
a public scale. See paragraph
on "WEIGHING".
h. Check
that
accessories, such
as
a sewer hose with
the
necessary fittings and a water supply line (such
as
garden-hose
type
approved
for
125 psi) are on-board.
i.
Fill
fresh water
tank,
if required.
(Referto
Plumbing
Section.)
j.
Start refrigerator a day ahead
of
time. Refrigerator will
stay cold for several hours
after
being
turned
OFF
while traveling.
Be
sure
to
relight it when
parked
at
your
campsite.
Check
to
see
that
drain-line cap and holding-tank knife
valve(s) are closed and secured. Add a holding-tank chemical
to
a few gallons of water
in
your
body-waste holding
tank.
(Refer
to
Plumbing Section.)
Check
all
headlights,
stop
lights, running lights,
turn
signals and mirrors.
Put
motor
home
contents
in
"travel
condition".
a.
Secure any loose objects which could
shift
while
traveling.
b.
Secure refrigerator
contents
(place lids on all containers
holding liquids, for example)
then
secure locking latch
on refrigerator door.
c.
Be
sure
all
cabinets have
the
contents
secured
and
the
doors latched.
d.
Be
sure all exterior doors are closed
and
locked.
Adjust
the
driver's seat
to
the
most
comfortable
position,
then
adjust
the
side-view mirrors for maximum visibility.
9
10
11
13
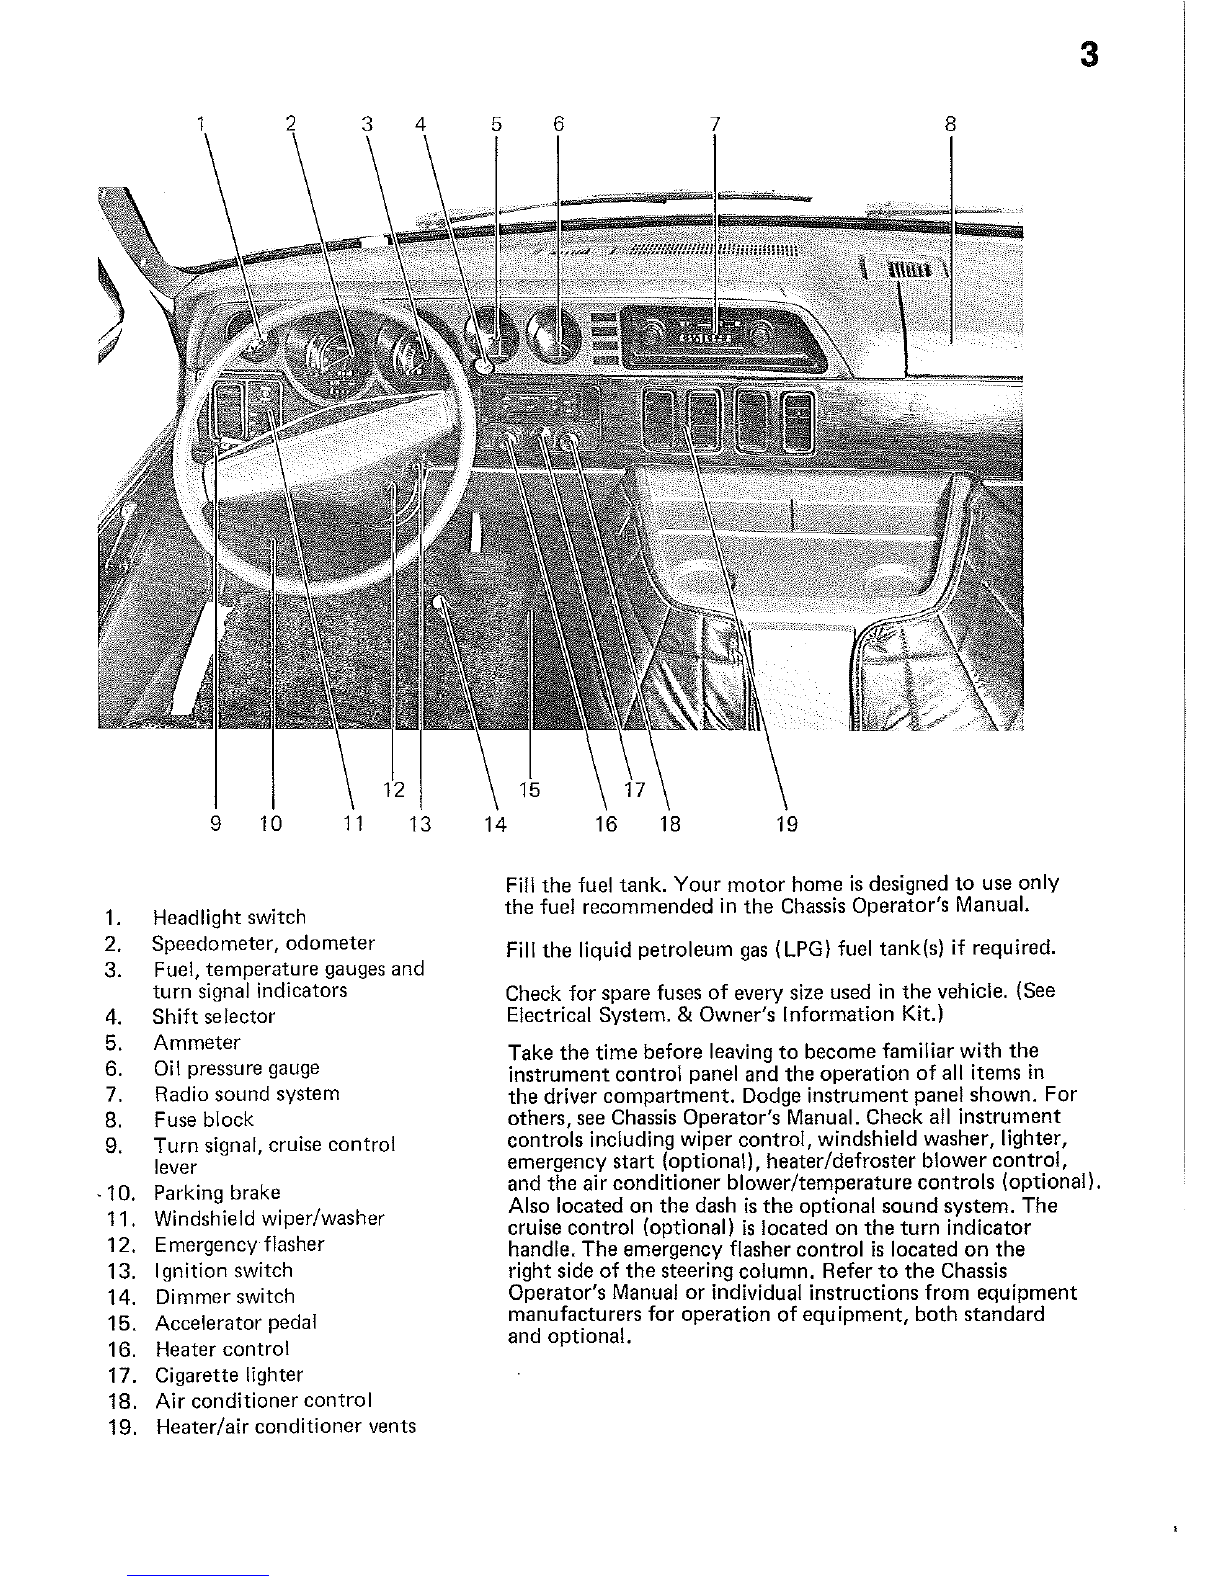
1.
Headlight switch
2. Speedometer,
odometer
3. Fuel, temperature gauges and
turn signal indicators
4. Shift selector
5. Ammeter
6.
Oil
pressure gauge
7. Radio sound system
8. Fuse block
9. Turn signal, cruise control
lever
. 10. Parking brake
11. Windshield wiper/washer
12. Emergency flasher
13. Ignition switch
14. Dimmer switch
15. Accelerator pedal
16. Heater control
17. Cigarette lighter
18. Air conditioner control
19. Heater/air conditioner vents
14
16
18 19
Fill
the
fuel tank. Your
motor
home
is
designed
to
use only
the fuel recommended in
the
Chassis Operator's Manual.
Fill
the
liquid petroleum
gas
(LPG) fuel tank(s) if required.
Check for spare fuses
of
every size used
in
the
vehicle. (See
Electrical System. & Owner's Information Kit.)
Take
the
time before leaving
to
become familiar with
the
instrument control panel and the operation
of
all items
in
3
the
driver
compartment.
Dodge instrument panel shown. For
others, see Chassis Operator's Manual. Check
all
instrument
controls including wiper control, windshield washer, lighter,
emergency start (optional), heater/defroster blower
control,
and
the
air conditioner blower/temperature
controls
(optional).
Also located on
the
dash
is
the
optional sound system.
The
cruise control (optional)
is
located on
the
turn
indicator
handle. The emergency flasher control
is
located
on
the
right side
of
the
steering column. Refer
to
the
Chassis
Operator's Manual
or
individual instructions from
equipment
manufacturers for operation
of
equipment,
both
standard
and optional.

4
Keep the
Chassis
Operator's Manual (provided
in
your
Owner's
Information
Kit)
in the glove compartment.
It
contains valuable reference
information.

WARNING
EXCEEDING
THE
GAWR OR GVWR
OF
YOUR
MOTOR HOME CAN CAUSE UN-
DESIRABLE
HANDLING CHARACTER-
ISTICS
AND
MAY
CREATE
A
SAFETY
HAZARD_ MODIFICATION
OF
YOUR
VEHICLE
BY
ADDITION OF RACKS NOT
SPECIFIED
BY
THE MANUFACTURER TO
CARRY
ADDITIONAL
EQUIPMENT
OR
VEHICLES
IS
NOT RECOMMENDED,
MAY
CREATE
A
SAFETY
HAZARD AND
MAY·
VOID
YOUR WARRANTY.
o
o
o
VEHICLE
LOAD
WEIGHING
CAPACITY
Your
motor
home
is
designed
to
carry
the
loads
defined
by
the
Gross Axle Weight Rating (GAWR)
and
Gross Vehicle
Weight Rating (GVWR)
shown
on
the
certification
tag
posted
on
the
driver's
door
jamb.
These ratings are
for
a fully-
loaded vehicle including passengers
and
normal belongings.
Periodically weigh
the
fully-loaded
motor
home
at
a
public
scale.
The
following
procedure
is
suggested,
although
any
method
recommended
by
the
scale
operator
which
correctly .determines
axle
loads
is
acceptable. During
all
measurements,
it
is
important
that
the
vehicle
be
kept
as level as possible.
1. Run
thefront
wheels
onto
the
scale
platform
and
obtain
a reading. (This first value
is
the
front
axle Gross Axle Weight.)
2. Next, place
the
entire
vehicle
(both
axles)
on
the
scale
and
obtain
a reading. (This
second
value is
Gross Vehicle Weight.)
3. Drive
forward
until
only
the
rear axle
is
on
the
platform
and
obtain
a reading. (This
third
reading
is
rear axle Gross Axle Weight.)
4.
Compare
reading 2
with
the
GVWR
of
your
vehicle.
If
this
reading
exceeds
the
GVWR rating,
it
will be
necessary
to
reduce
total
vehicle load.
5.
If
reading 2
is
less
than
the
GVWR
of
your
vehicle,
check
readings 1
and
3
to
verify
that
each
is
less
than
the
GAW R
on
the
certification
tag. If
either
exceeds
the
GAWR
for
the
axle,
redistribute
enough
equipment
from
front
to
back
or
back
to
front
to
ensure
that
loads on
front
and
rear axles
are
within
the
required limit.
Check vehicle
weight
periodically
to
obtain
optimum
mileage
from tires
and
improve handling. Tires
should
always be
inflated as
recommended
in
the
Chassis Manufacturer's
Instructions. See
your
Chassis
Operator's
Manual.
5

6
WARNING
USE
SEAT
BELTS WHILE THE VEHICLE
IS
IN
MOTION.
DO
NOT
OCCUpy
SEATS
THAT
PPED WITH
READY
TO
LEAVE
BESURETOPLACETHEENTRYSTEPINTRAVEL
POSITION.
STARTING
AND WARMUP
Follow
the
recommendations
in
your
Chassis
Operator's
Manual
when
starting
or
operating
your
engine. I
NOTE:
Be
sure transmission
is
in
"P"
park
and
parking brake
'I
is
engaged
to
keep
the
motor
home
from rolling. If
the
parking brake needs
adjustment,
see
the
Chassis
'I
Operator's Manual for
adjustment
instructions. ,
SAFETY
BELTS
Seat
belts are an
important
safety
feature
of
your
vehicle.
Belts should be fastened while
your
motor
home
is
in motion.
The driver's seat and all
other
seats designed
to
carry
passengers
while
under
way have been
equipped
with lap belts.
All
riders should be furnished with
and
use
seat
belts
while
the
vehicle
is
in
motion. Seats which are
not
equipped
with safety belts
should
not
be
occupied
while vehicle
is
in
motion
and
will be labeled:
"THIS
SEAT
NOT TO
BE
OCCUPIED WHILE
VEHICLE
IS
IN
MOTION."
PASSENGERS SHOULD NOT
BE
ALLOWED TO
RIDE
IN
THE CAB·OVER BED AREA.
Safety
belts are adjusted in
the
following
manner:
To
lengthen
the
belt,
tip
the
buckle
at
right angles
to
the
belt. Holding
the
buckle
in
this
position
permits
the
belt
to
slide
through.
Pull
on
'
the
buckle until
the
desired length
is
obtained.
To fasten
the
belts, make sure
the
belts are
not
twisted,
then
push
the
tongue
I'
end
of
one
belt
into
the
buckle
of
the
mating
belt.
Be
sure
it
goe:,
in
all
the
way and
that
it latches. Tighten
by
pulling
the
loose
end
of
the
belt while holding
the
buckle.
Adjust
the
belt
as
low
on
the
abdomen
and as snug as
comfort
will allow for
greatest safety. Never use a belt for
more
than
one
person
at
a time. I
NOTE:
If
your
belts have been
equipped
with retractors, be I
sure belt
is
pulled
all
the
way
out
of
retractor.
To
release
the
belt, depress
the
button
in
the
center
of
the
bUCkl)
and
sl
ide
the
tongue
out
of
the
buckle.
I
7
ON THE
ROAD
DRIVING AND PARKING
·Once
you
become accustomed
to
the
feel
of
the
controls
and
the
reference points from·the driver's seat, you will find driving
the
motor
home
comparable
to
driving
your
family car. Become
familiar with
the
position
of
the
motor
home
in
traffic,
and
be
cautious when driving
to
allow for
the
length and
width
of
the
vehicle. Always allow extra room
to
corner, change
lanes and pass. Learn
to
use
the
side mirrors
to
view
the
road behind.
Check
them
often
as a reference
to
keep a good road/lane
position.
Drive with consideration on
the
highway, observing
all
applicable
speed and-safety regulations. The best cruising speed for
your
motor
home will varv with road and weather conditions.
Gusting side-wind conditions may require a reduction
in
speed. Remember·that highter speeds may result
in
a sharp
increase
in
fuel consumption.
Driving on winding
or
mountain roads
is
not
difficult if
done
with reasonable care. Observe proper vehicle speeds when
ascending
or
descending hills and always operate in
the
proper
transmission range. Downshift ascending
on
hills
to
avoid
overheating
or
undue engine loads. Downshift when de·
scending grades. Engine braking power will help control
vehicle speed, and will help avoid overheating
the
brakes.
Allow for
the
extra height of
your
motor
home and avoid
areas having low overhead clearance. Check for low·hanging
tree branches or
other
obstructions whenever
you
drive
or
park.
Avoid low roofs when pulling
in
for service. This
may
be
particularly
important
if you drive with
the
overhead vents
open
or
if
the
motor
home
is
equipped with a roof
air
conditioner, a roof rack
or
CB
antenna.
When parking parallel, be sure
to
allow for poles
or
ob·
structions near
the
curb, as
the
front and rear
portions
of
the
motor
home
swing wider
than
an automobile. When park·
ing on an incline,
turn
the
front
wheels into
the
curb
in
the
direction of
the
roll
to
aid the parking brake. Always
shift
the
transmission
to
PARK
(P)
when parking, and
apply
the
parking brake.
MISCELLANEOUS SAFETY TIPS
• When backing
the
motor
home, have a person
stand
to
the rear
on
the
driver's side, if possible,
to
guide you.
• Before departing
on
a trip, check
your
routes. Remember,
some tunnels prohibit motorhomes with
LP
gas
systems.
• While traveling, make sure
all
occupants use
their
seatbelts.
• While traveling, make sure
all
doors are closed
and
that
cabinets, drawers, and loose objects are secure.
• Instruct
your
family on what
to
do
in case
of
fire, and
hold fire drills periodically.
• Keep a fire extinguisher handy. Two would be
better
..
one
in
front,
the
other
toward
the
rear.
• Install a
battery
operated smoke detector.

WARNING
LOOSENING THE REAR
LUG
BOLTS
MAY
RELEASE BOTH OUTSIDE AND INSIDE
WHEELS. DO NOT ATTEPT TO REMOVE
LUGS WITHOUT HAVING A JACK
IN
PROPER POSITION TO ABSORB WEIGHT.
• Keep a well stocked
first
aid
kit
handy.
• Keep a tool
box
handy.
• Check tires
often
while traveling. Inside rear duals should
receive special
attention,
as
these tires may go flat and
not
be noticed. Running a flat on an inside dual
could
lead
to
a tire fire
that
would be extremely difficult
to
extinguish.
Make it a habit
to
check tire pressures before each trip,
and when refueling give each tire a sharp rap on
the
tread
surface with a piece
of
pipe
or
similar object. Properly
infalted tires produce a
"bung"
sound when rapped.
If
the
tire
is
flat,
the
sound will be a dull
"thud".
OVERHEATING
The engine and cooling system on
your
vehicle
should
be
operated and serviced
as
recommended
in
your
Chassis
Operator's Manual.
WINDSHIELD DEFROST -COMFORT CONTROL
During winter months, it
is
important
to
keep
the
wind-
shield clear and keep
the
passenger
compartment
at
a comfortable
temperature
while on
the
road. This
can
be
done by use of
the
proper
combination
of
heater and
defroster controls.
12-VOLT FUSE REPLACEMENT
If
part
of
your
vehicle electrical system should fail while
on
the
road,
check
the
replacement circuit fuses located
in
the
automotive circuit. These are
automotive-type
fuses
available
at
most service stations. Refer
to
the
ELECTRICAL
section
for
information
on
living area 12-volt fuses.
TIRES
Your
motor
home
is
equipped with premium-grade
truck
tires.
U"nder
normal circumstances and with
proper
mainten-
ance, you should receive thousands
of
miles
of
trouble-
free service.
If
you have a flat tire, see
your
Chassis
Operator's
Manual
for tire changing insturctions. Remember
that
your
motor
home
is
extremely heavy. The wheel lugs
are
tightened
to
480
-
500
foot-pounds. and are very difficult
to
remove.
Each tire and wheel weighs
about
90
pounds
and
is
difficult
to
handle. Whenever possible,
obtain
road service.
Attempt
to
change tires yourself under emergency conditions
only.
EMERGENCY START SYSTEM (Optional)
An optional Emergency
Start
System may
be
installed
in
your
motor
home. This permits using auxiliary
battery
power
to
aid
in
starting
the
motor
home
engine if
the
vehicle
battery
has discharged.
When this occurs (indicated by
one
or
more clicking sounds
when
the
key
is
turned
to
the
START position), use
the
Emergency Start System
as
follows:
9
NOTE:
Shift
the
transmission
to
Park
(P)
and
apply
the
parking
brake.
1. Press down
and
hold
the
Emergency
Start
switch.
2.
Turn
the
key
to
start
engine
in
normal manner.
Hold EMERGENCY START
button
down
until
engine
is
running and
the
ALTERNATO R indicator
on
the
instrument
panel shows
that
the
engine
is
charging
the
battery.
3. Release EMERGENCY
START
button
and
operate
motor
home
in a normal manner.
When operating properly,
your
vehicle
alternator
wi
II
be
able
to
handle normal vehicle driving requirements and also recharge
the
battery
(or batteries)
in
a reasonable
time
when
on
the
road.
10
CAUTION
THE AUTOMOTIVE AIR CONDITIONER
PLACES AN ADDITIONAL LOAD ON
THE VEHICLE'S COOLING SYSTEM. IF
ENGINE RUNS ABNORMALLY HOT,
SHUT
OFF
AIR CONDITIONER UNTIL
ENGINE COOLS DOWN.
SERVICING
MOTOR HOME CHASSIS OPERATOR'S MANUAL
Refer
to
your
Chassis Operator's Manual
for
information on
chassis service recommendations.
Have
the
coolant,
the
battery
electrolyte,
and
the
engine
oil levels checked each
time
when refueling.
NOTE: Proper engine servicing
and
record
of
servicing
may be mandatory
to
ensure chassis
warranty
protection. Follow
th.e
manufacturer's
instructions
on periodic maintenance checks.
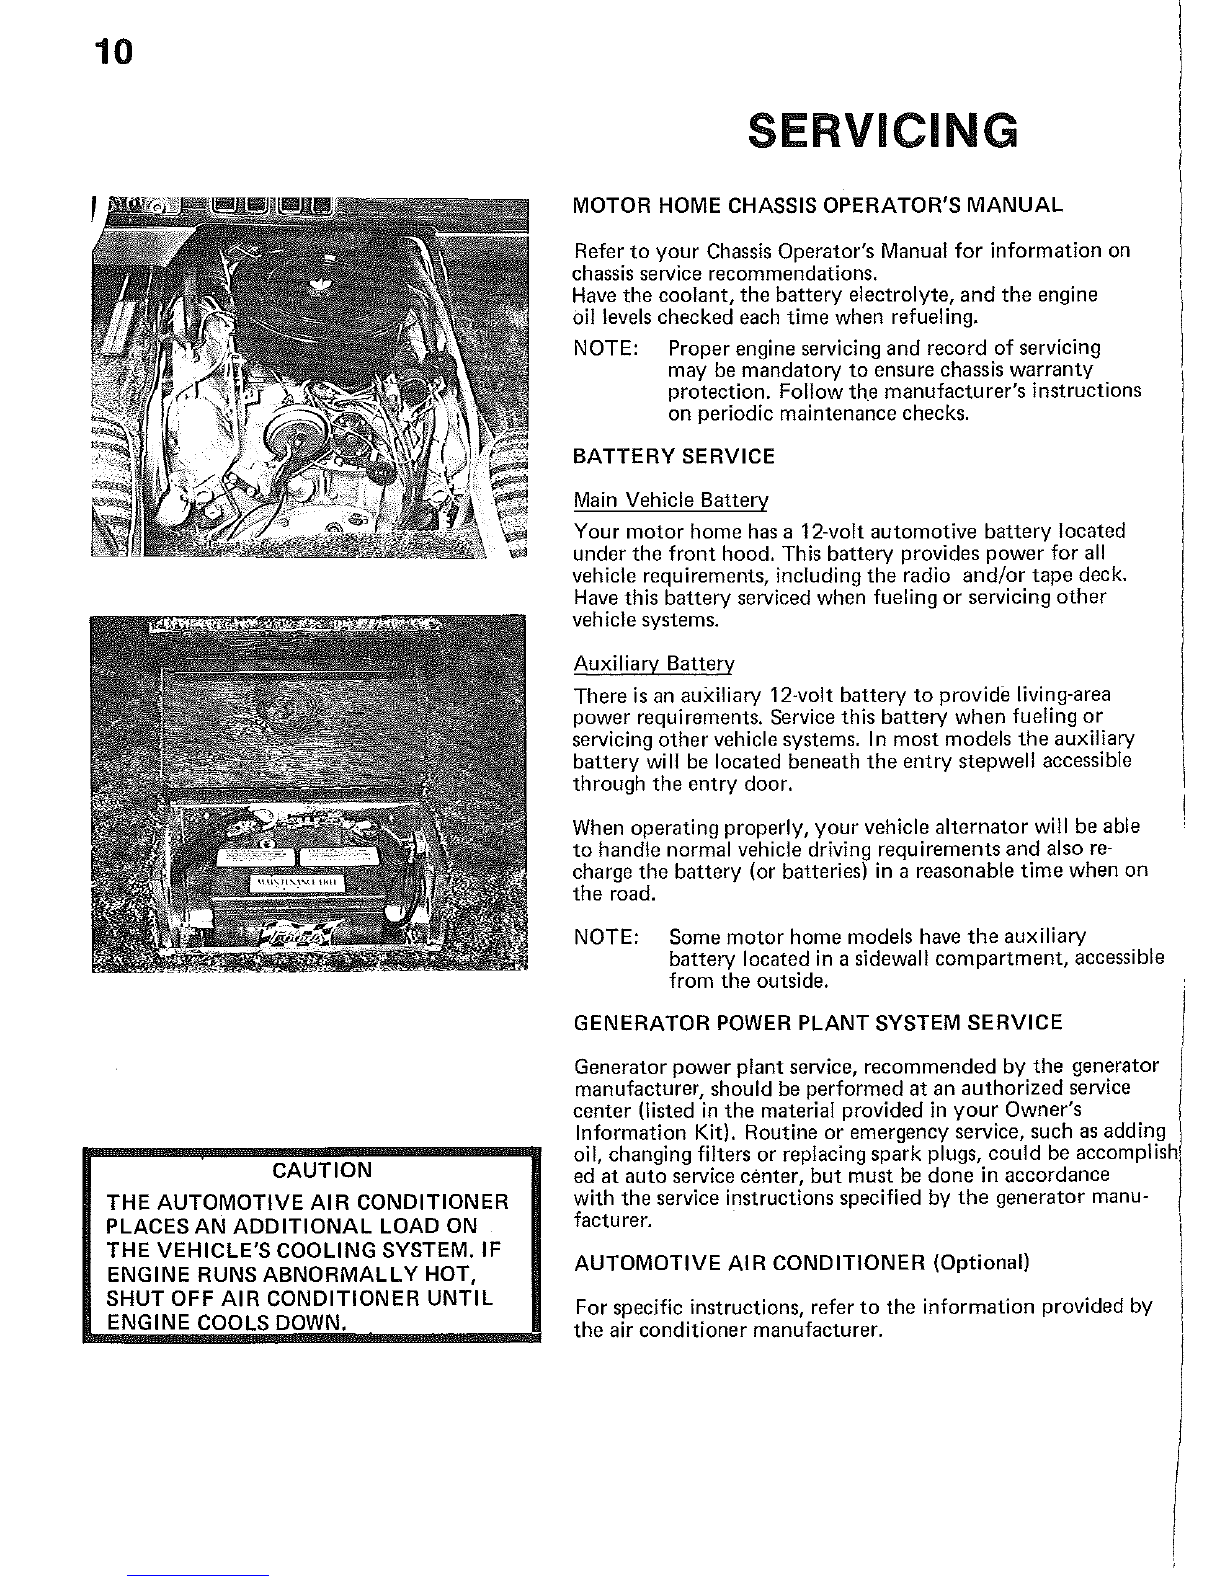
BATTERY SERVICE
Main
Vehicle Battery
Your
motor
home
has a 12-volt automotive
battery
located
under
the
front
hood. This battery provides power
for
all
vehicle requirements, including
the
radio
and/or
tape
deck.
Have this
battery
serviced when fueling
or
servicing
other
vehicle systems.
Auxiliary Battery
There
is
an auxiliary 12-volt battery
to
provide living-area
power requirements. Service this battery
when
fueling
or
servicing
other
vehicle systems.
In
most
models
the
auxiliary
battery will be located beneath
the
entry
stepwell accessible
through
the
entry
door.
When operating properly,
your
vehicle
alternator
will be able
to
handle normal vehicle driving requirements
and
also
re-
charge
the
battery
(or batteries)
in
a reasonable
time
when
on
the
road.
NOTE: Some
motor
home
models have
the
auxiliary
battery
located
in
a sidewall
compartment,
accessible
from
the
outside.
::::,:
:::~::~,:~:,~::::"::~:~'::
,""",""
I
manufacturer, should be performed
at
an
authorized
service I
center
(listed
in
the
material provided
in
your
Owner's I
Information Kit). Routine
or
emergency service, such
as
adding I
oil, changing filters or replacing
spark
plugs,
could
be accomplish!
ed
at
auto
service center,
but
must be
done
in accordance I
with
the
service instructions specified by
the
generator manu-
facturer. I
AUTOMOTIVE AIR CONDITIONER (Optional)
For specific instructions, refer
to
the
information provided by
the
air
conditioner
manufacturer. I
INTERIOR
AND
FURNISHINGS
11
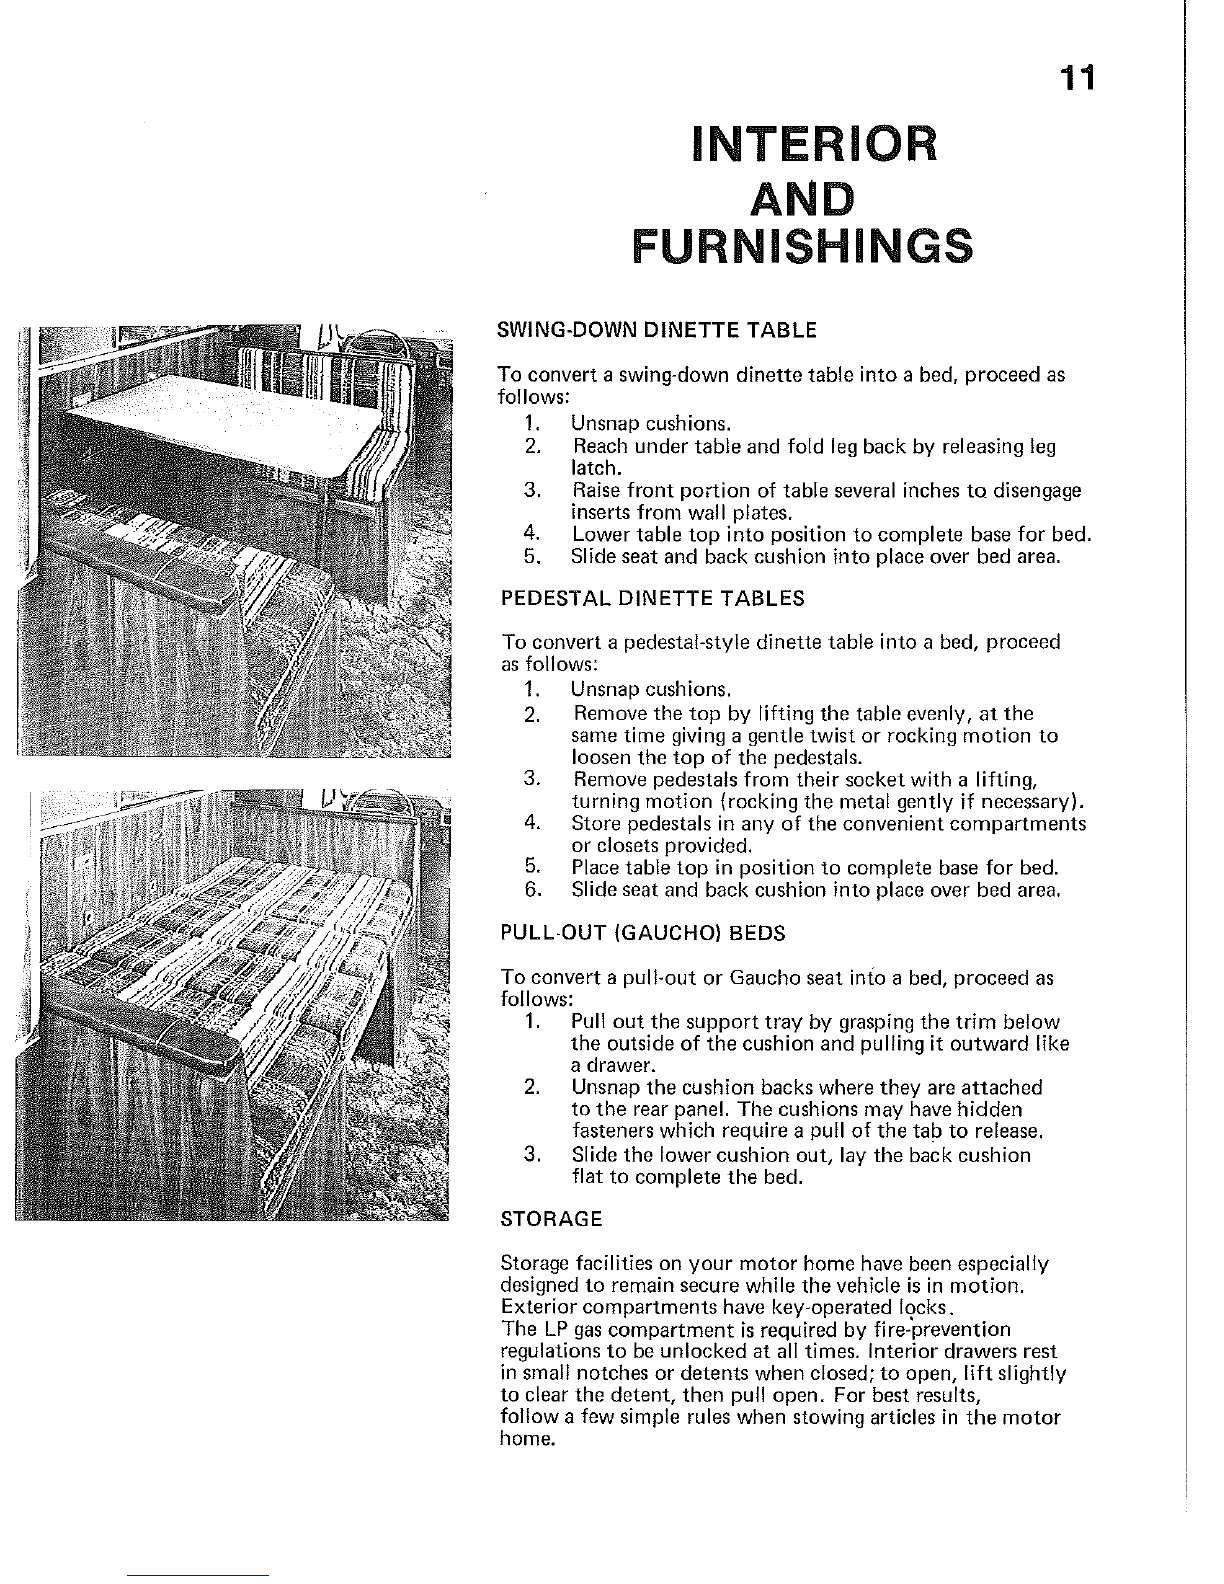
SWING-DOWN
DINETTE
TABLE
To convert a swing-down
dinette
table
into
a bed,
proceed
as
follows:
1.
2.
3.
4.
5.
Unsnap cushions.
Reach under
table
and fold leg back by releasing leg
latch.
Raise
front
portion
of table several inches
to
disengage
inserts from wall plates.
Lower table
top
into
position
to
complete base
for
bed.
Slide seat and back cushion into place over bed area.
PEDESTAL
DINETTE
TABLES
To convert a pedestal-style
dinette
table into a bed, proceed
as
follows:
1. Unsnap cushions.
2.
Remove
the
top
by lifting
the
table evenly,
at
the
same time giving a gentle twist
or
rocking
motion
to
loosen
the
top
of
the
pedestals.
3. Remove pedestals from their socket with a lifting,
turning
motion
(rocking
the
metal gently if necessary).
4. Store pedestals
in
any
of
the
convenient
compartments
or
closets provided.
5.
Place table
top
in position
to
complete base for bed.
6. Slide seat and back cushion into place over bed area.
PULL-OUT
(GAUCHm
BEDS
To convert a pUll-out
or
Gaucho seat into a bed,
proceed
as
follows:
1. Pull
out
the
support
tray
by grasping
the
trim
below
the
outside
of
the
cushion and pulling it
outward
like
a drawer.
2.
Unsnap
the
cushion backs where
they
are
attached
to
the
rear panel. The cushions may have
hidden
fasteners which require a pull
of
the
tab
to
release.
3. Slide
the
lower cushion
out,
lay
the
back cushion
flat
to
complete
the
bed.
STORAGE
Storage facilities on
your
motor
home have been especially
designed
to
remain secure while
the
vehicle
is
in
motion.
Exterior
compartments
have key-operated locks.
The
LP
gas
compartment
is
required by fire-'prevention
regulations
to
be unlocked
at
all times. Interior drawers rest
in
small notches
or
detents
when closed;
to
open,
lift slightly
to
clear
the
detent,
then
pull
open.
For best results,
follow a few simple rules when stowing articles
in
the
motor
home.
12
1.
Always keep tools and
equipment
stored in areas
where they will
not
shift while traveling.
2. Wherever possible, place heavy articles
in
storage
compartments which are low and between
the
axles
for
better
weight distribution.
3.
Use
a "packing" technique
of
the
articles
ina
com-
partment
to
prevent shifting.
If
necessary, secure
articles with straps
to
prevent movement.
4.
Be
sure
that
containers holding liquids are capped
and
cannot
tip
or
spill. When glass containers (or
dishes) are transported, secure
them
well
to
protect
against accidental breakage.
5. Always lock latch on refrigerator
door
before getting under way.
6. Exterior storage
compartments
may
not
be water-
tight
in
all
climate conditions. Any articles which
could be damaged by water should be carried
inside
the
motor
home.
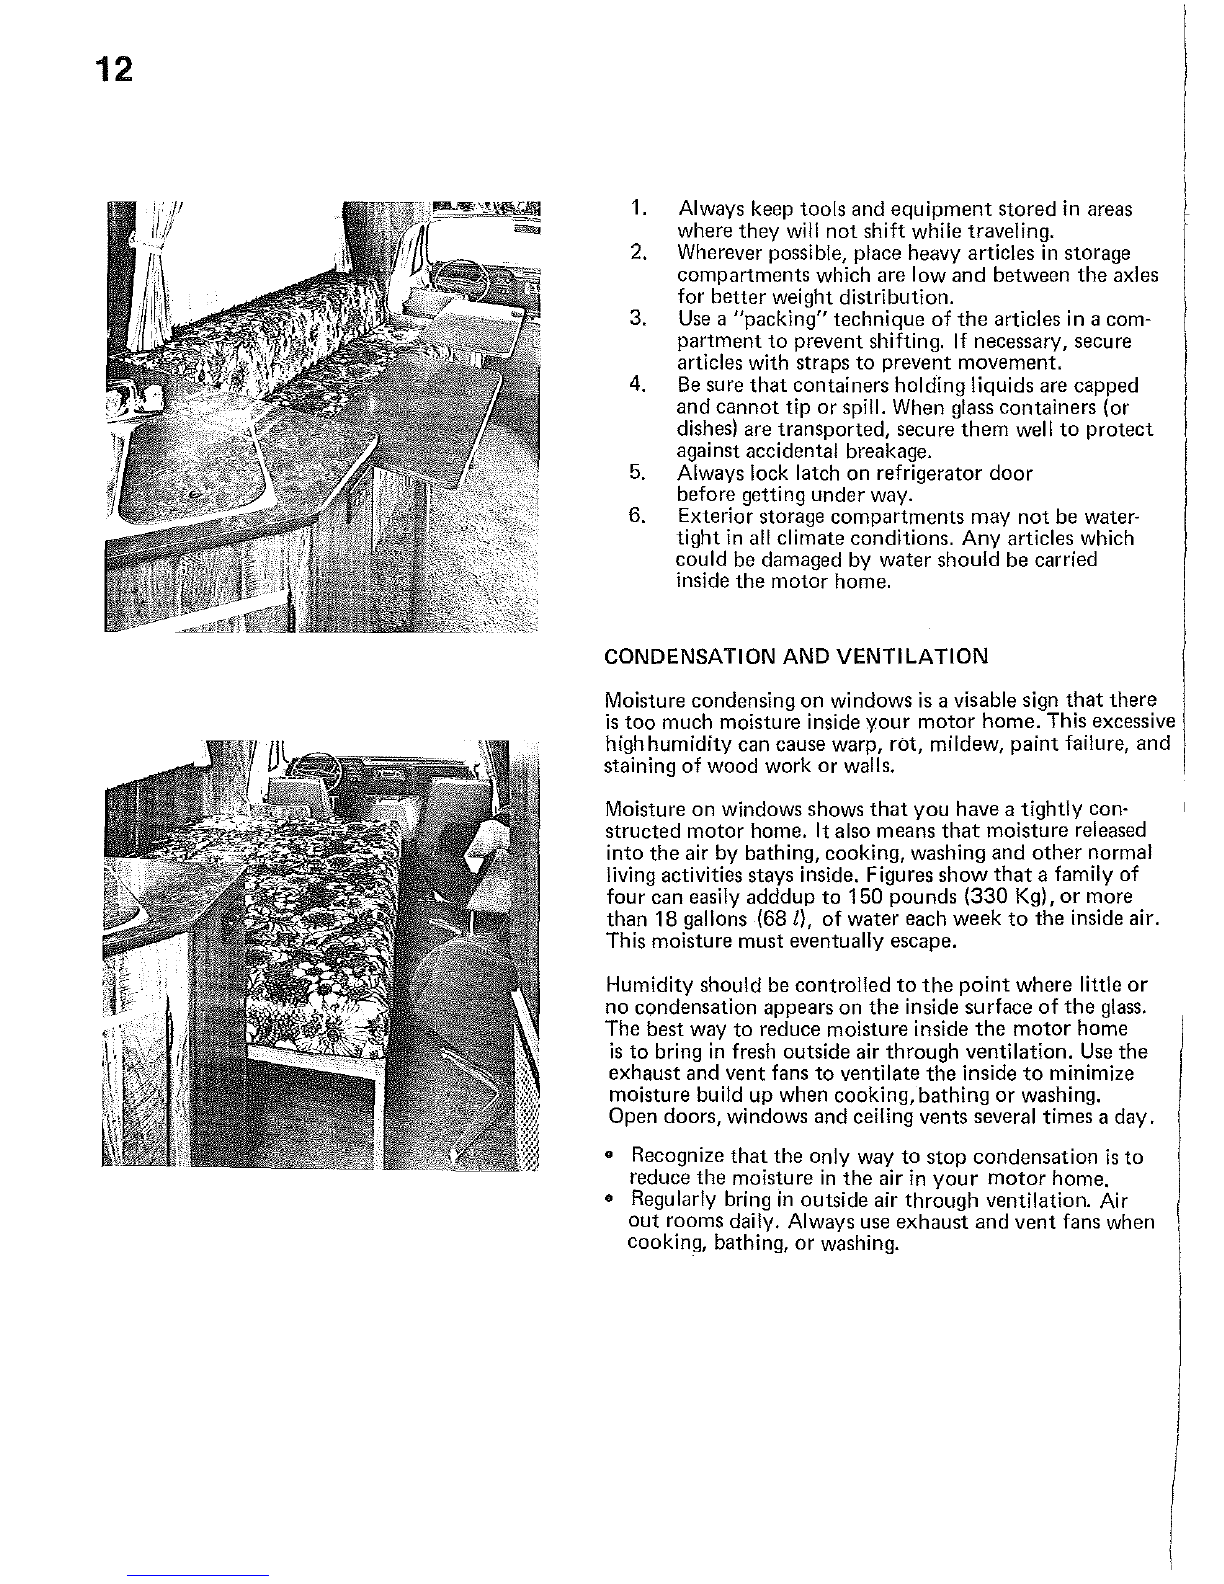
CONDENSATION AND VENTILATION
Moisture condensing on windows
is
a visable sign
that
there
is
too
much moisture inside
your
motor
home. This excessive I
high humidity can cause warp, rot, mildew,
paint
failure,
and
I
staining
of
wood work
or
walls.
Moisture on windows shows
that
you
have a tightly con-
structed
motor
home. It also means
that
moisture released
into
the
air by bathing, cooking, washing and
other
normal
living activities stays inside. Figures
show
that
a family of
four can easily adddup
to
150 pounds
(330
Kg),
or
more
than 18 gallons
(68l),
of
water each week
to
the inside air.
This moisture must eventually escape.
Humidity should be controlled
to
the
point
where little
or
no condensation appears on
the
inside surface
of
the
glass.
The best way
to
reduce moisture inside
the
motor
home
is
to
bring
in
fresh outside air through ventilation.
Use
the
exhaust and vent fans
to
ventilate
the
inside
to
minimize
moisture build up when cooking, bathing
or
washing.
Open doors, windows and ceiling vents several times a day.
• Recognize
that
the only way
to
stop
condensation
is
to
reduce the moisture
in
the
air
in
your
motor
home.
• Regularly bring
in
outside air through ventilation. Air
out
rooms daily. Always use exhaust and
vent
fans when
cooking, bathing,
or
washing.
I
Table of contents
Popular Motorhome manuals by other brands


PREVOST
PREVOST Le Mirage XL owner's manual

Triple E
Triple E 1991 Empress Class A owner's manual

Airstream
Airstream Flying Cloud 2017 Series owner's manual

NewMar
NewMar Scottsdale Class A 2006 owner's manual

Escapod
Escapod Original TOPO Series owner's manual

Pleasure-Way
Pleasure-Way PLATEAU TS 2020 owner's manual