TJERNLUND DRYER DUCT BOOSTER LB2 User manual
Other TJERNLUND Fan manuals

TJERNLUND
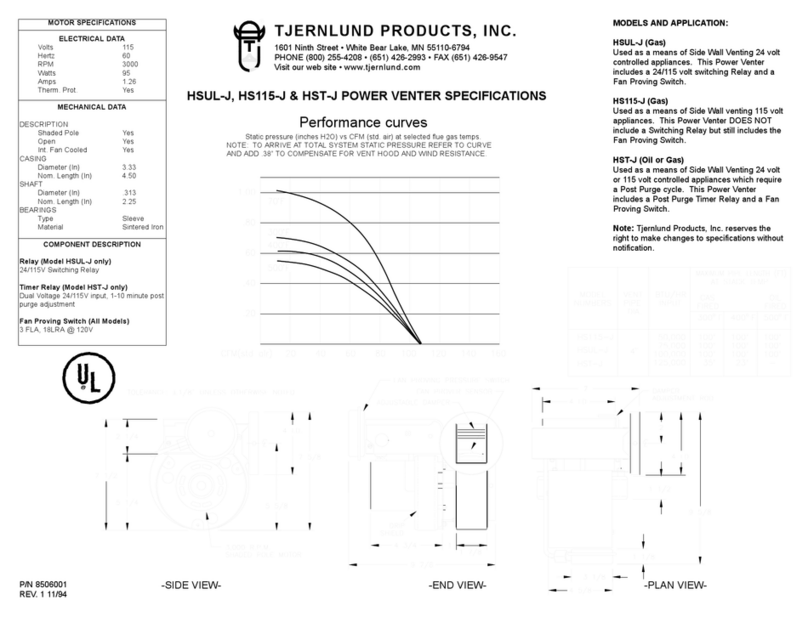
TJERNLUND HSJ User manual
TJERNLUND
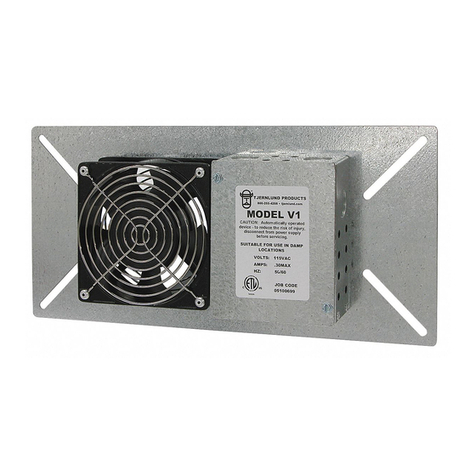
TJERNLUND V1, V1D, V2D CRAWL SPACE VENTILATORS 8504129 User manual
TJERNLUND
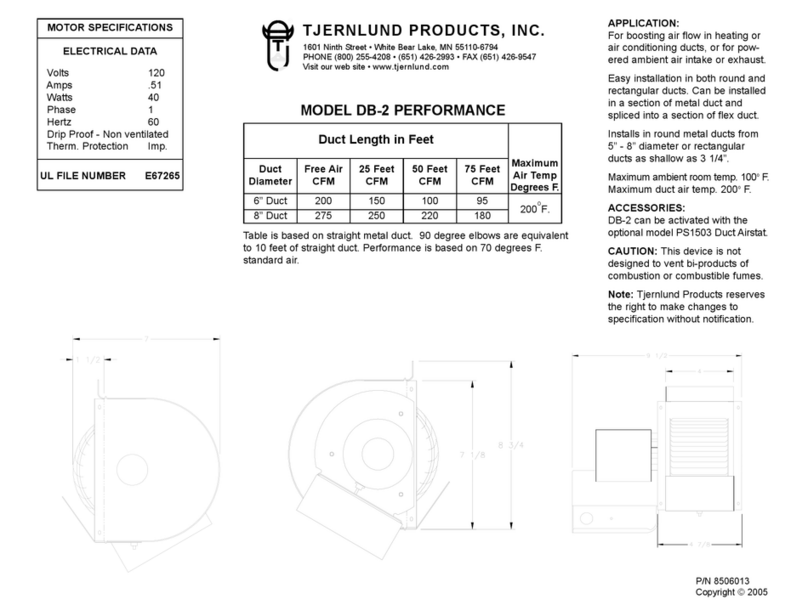
TJERNLUND DB2 DUCT BOOSTER User manual
TJERNLUND
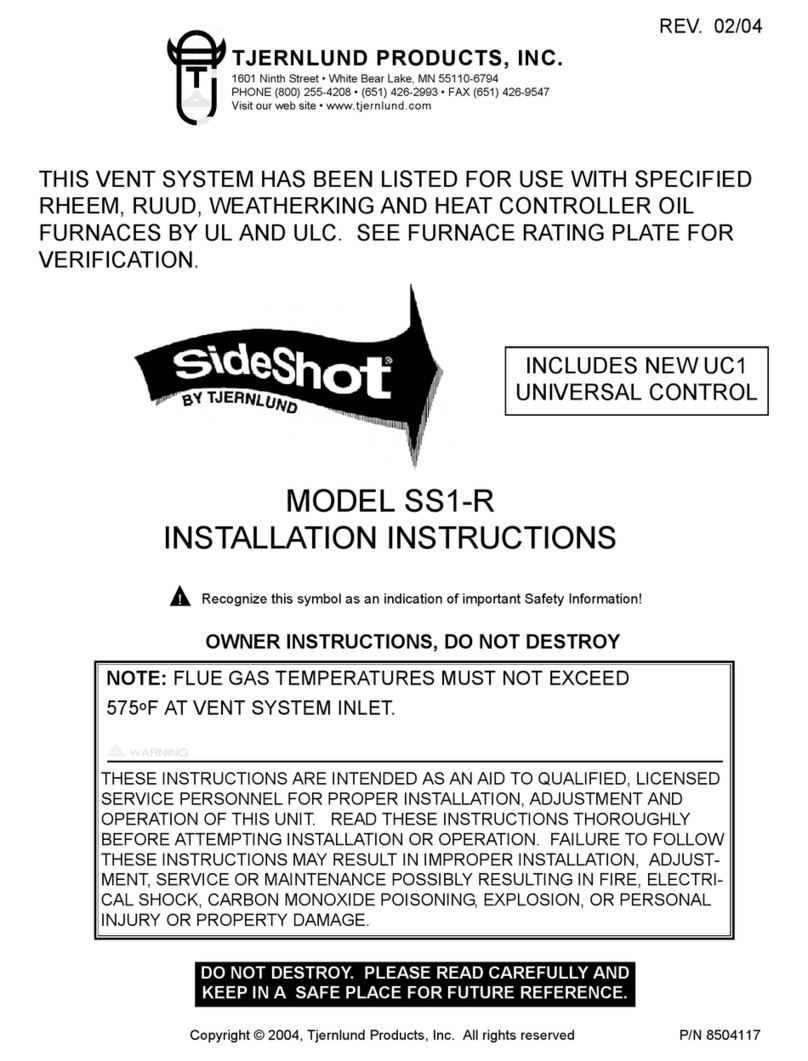
TJERNLUND SS1R SIDESHOT WITH UC1 UNIVERSAL CONTROL (VERSION X.04) 8504117 REV... User manual

TJERNLUND
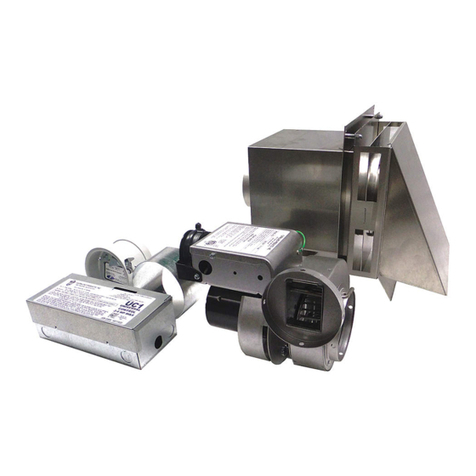
TJERNLUND AireShare AS1 User manual
TJERNLUND
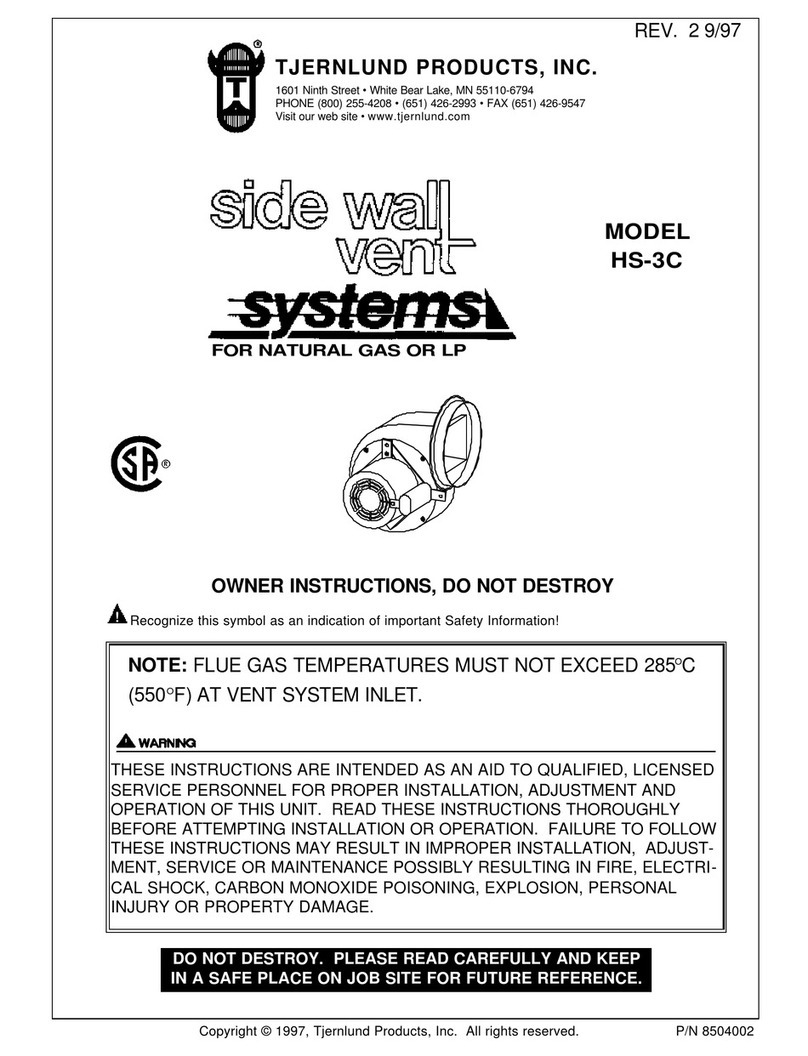
TJERNLUND GPAK-J User manual
TJERNLUND
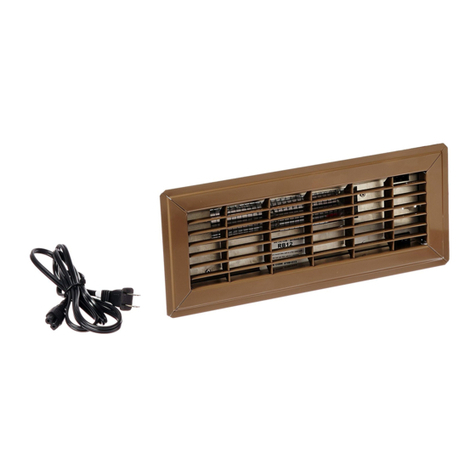
TJERNLUND HS-3C CANADIAN 8504002 REV 2 0997 User manual
TJERNLUND
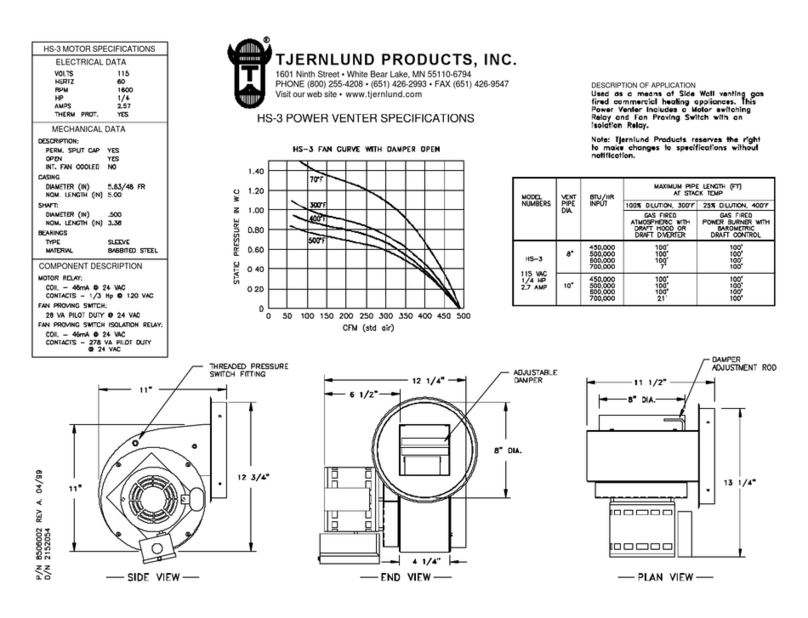
TJERNLUND Duct Booster RB10 User manual
TJERNLUND
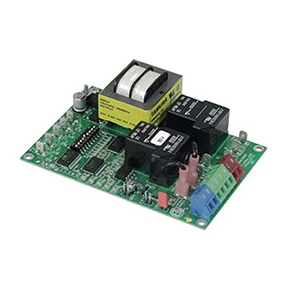
TJERNLUND HS-3 User manual
TJERNLUND
TJERNLUND SS1 SIDESHOT WITH UC1 UNIVERSAL CONTROL (VERSION X.06) 8504102 REV D... User manual
TJERNLUND
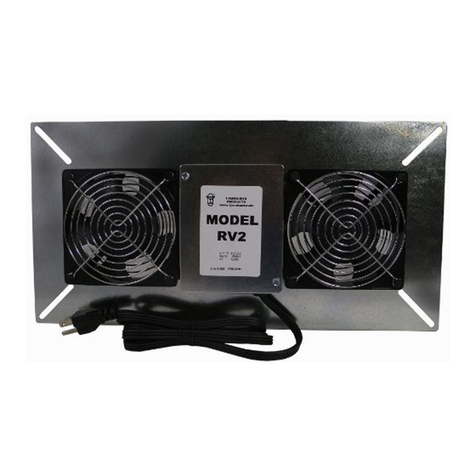
TJERNLUND RV2 User manual
TJERNLUND
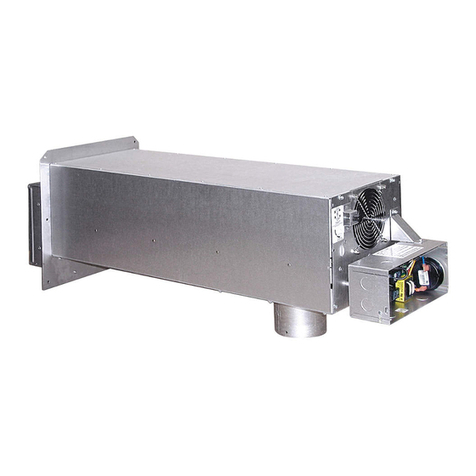
TJERNLUND SS2 SIDESHOT (DISCONTINUED VERSION-PRE UC1 UNIVERSAL CONTROL) 8504063 REV B... User manual
TJERNLUND
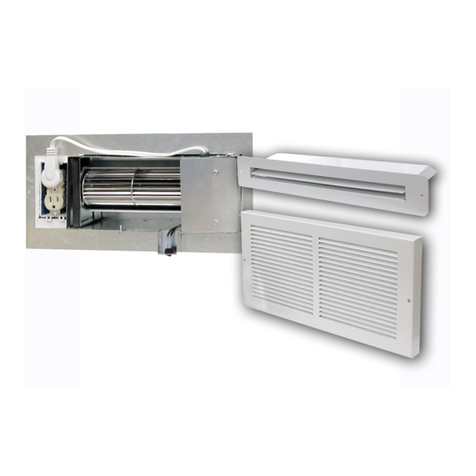
TJERNLUND aireshare as1p User manual
TJERNLUND
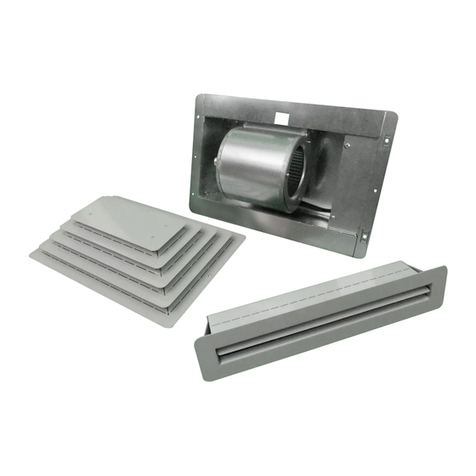
TJERNLUND 1 User manual
TJERNLUND
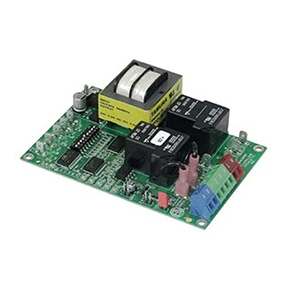
TJERNLUND AIRESHARE AS2 User manual
TJERNLUND
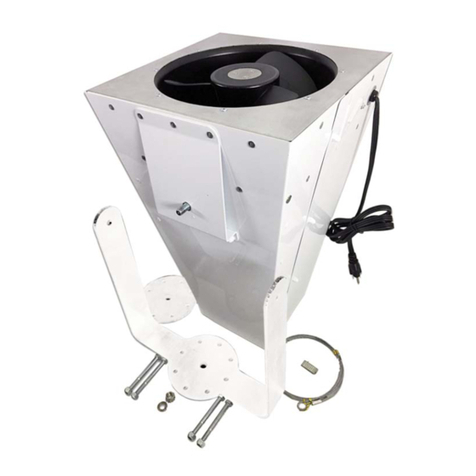
TJERNLUND SS2 SIDESHOT WITH UC1 UNIVERSAL CONTROL (VERSION X.06) 8504105 REV C... User manual
TJERNLUND
TJERNLUND DSF2B User manual
TJERNLUND
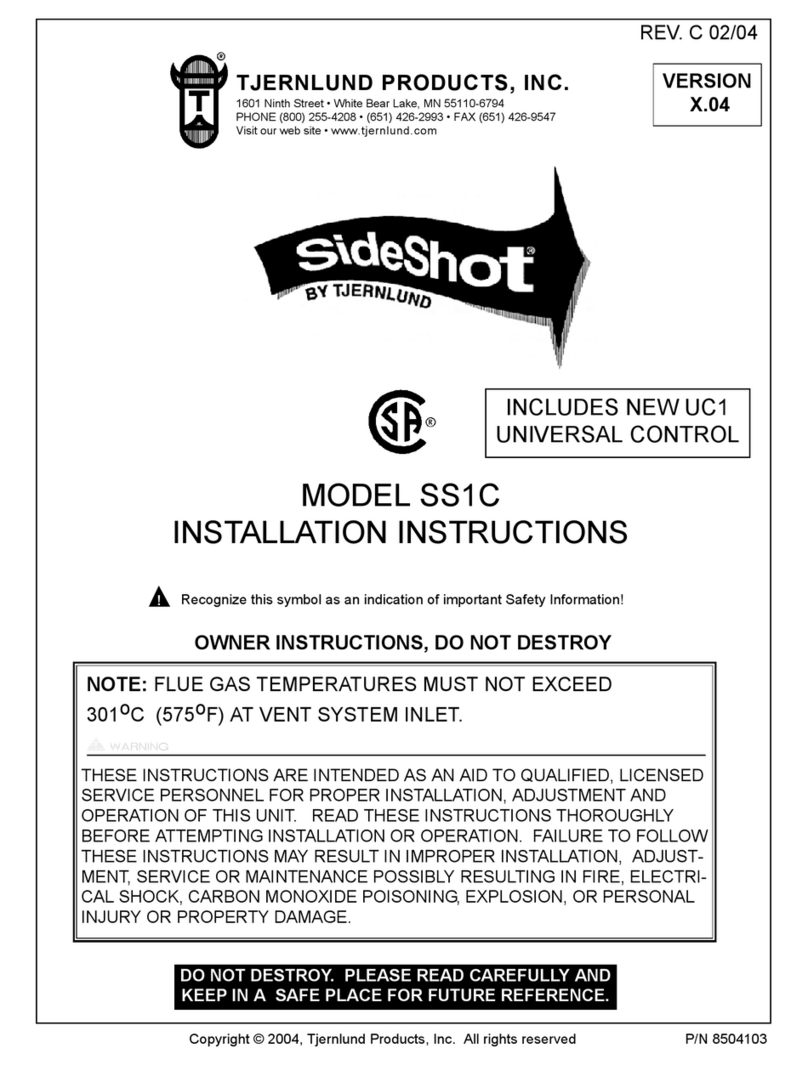
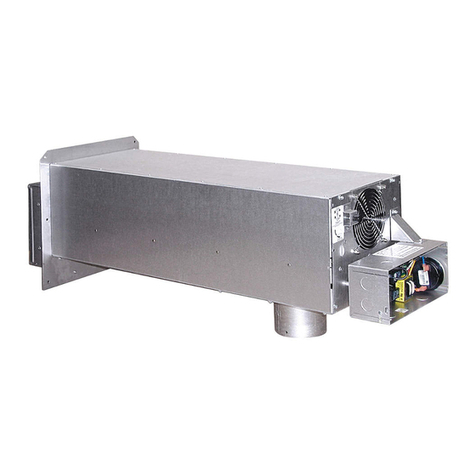
TJERNLUND SS1C SIDESHOT WITH UC1 UNIVERSAL CONTROL (VERSION X.04) 8504103 REV C... User manual
TJERNLUND
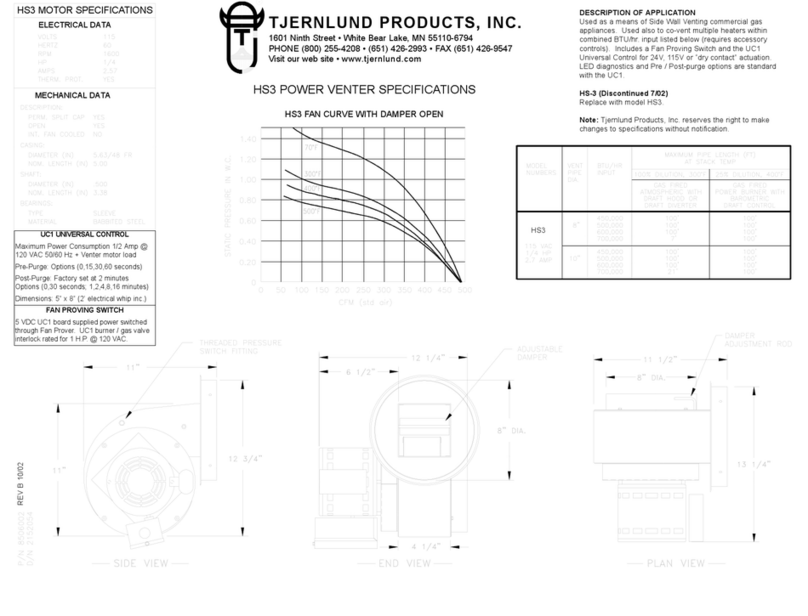
TJERNLUND SS2 SIDESHOT WITH UC1 UNIVERSAL CONTROL (VERSION X.02) 8504105 REV... User manual
TJERNLUND
TJERNLUND HS-3 User guide
TJERNLUND
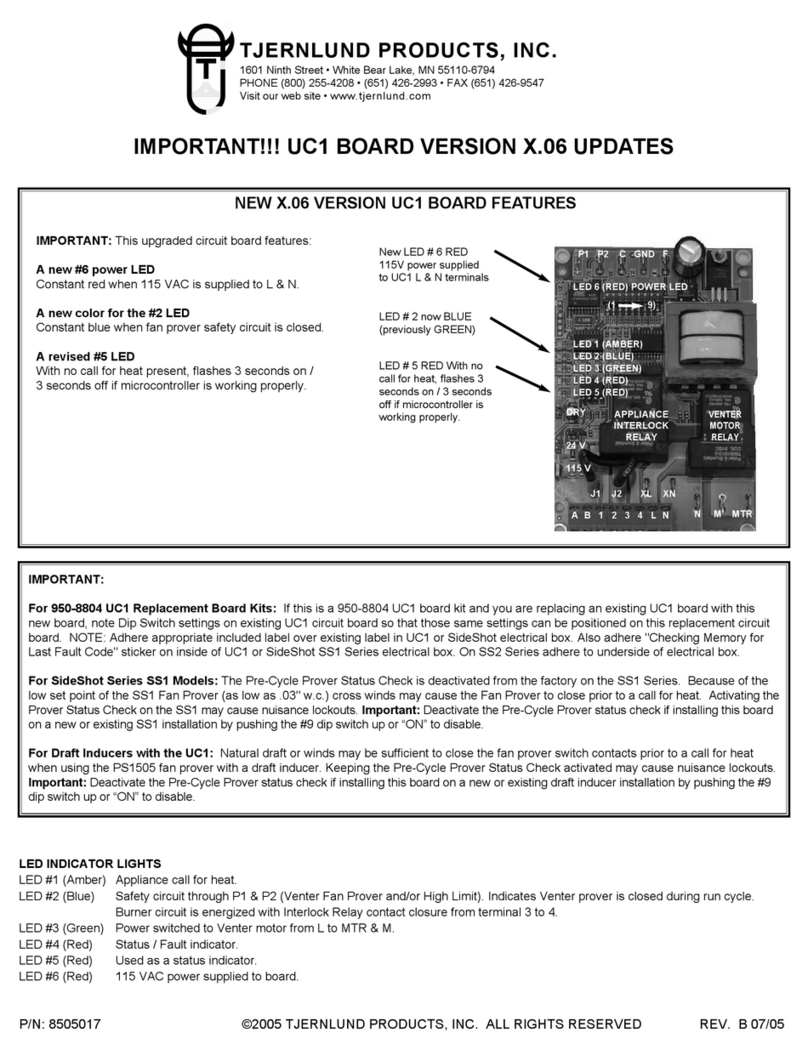
TJERNLUND SS1C SIDESHOT WITH UC1 UNIVERSAL CONTROL (VERSION X.06) 8504103 REV D... User manual
TJERNLUND
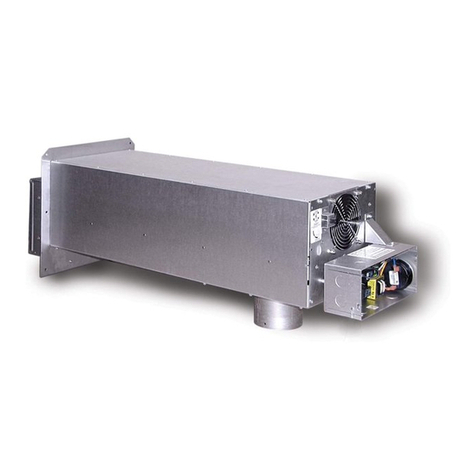
TJERNLUND SS1 SIDESHOT WITH UC1 UNIVERSAL CONTROL (VERSION X.02) 8504102 REV... User manual
TJERNLUND
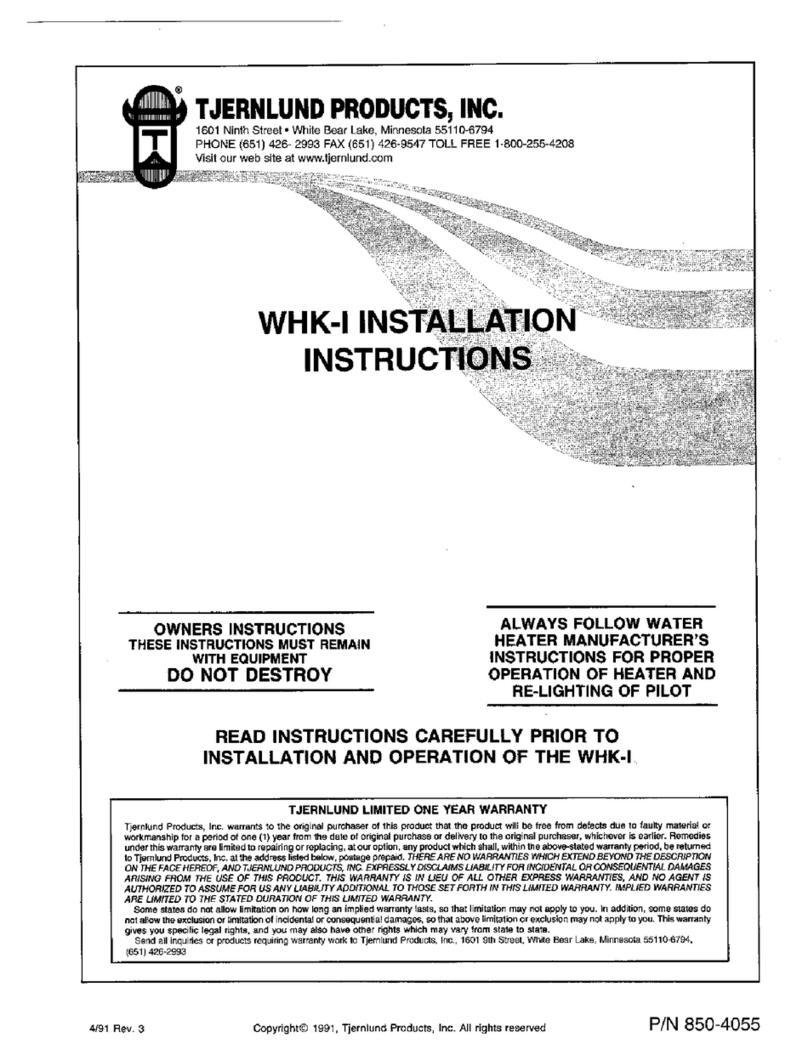
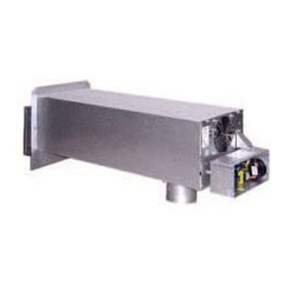
TJERNLUND WHKI MILLIVOLT APPLIANCE INTERLOCK (RECOMMEND WHKE FOR USE WITH UC1) 8504055 REV 3... User manual
TJERNLUND
TJERNLUND SS1 SIDESHOT (DISCONTINUED VERSION-PRE UC1 UNIVERSAL CONTROL) 8504041 REV A... User manual
Popular Fan manuals by other brands

Harbor Breeze
Harbor Breeze RLG52NWZ5L manual

Allen + Roth
Allen + Roth L1405 instruction manual

ViM
ViM KUBAIR F400 ECOWATT Technical manual

HIDRIA
HIDRIA R10R-56LPS-ES50B-04C10 user guide

BLAUBERG Ventilatoren
BLAUBERG Ventilatoren CENTRO-M 100 L user manual

Triangle Engineering
Triangle Engineering HEAT BUSTER SPL Series owner's manual


