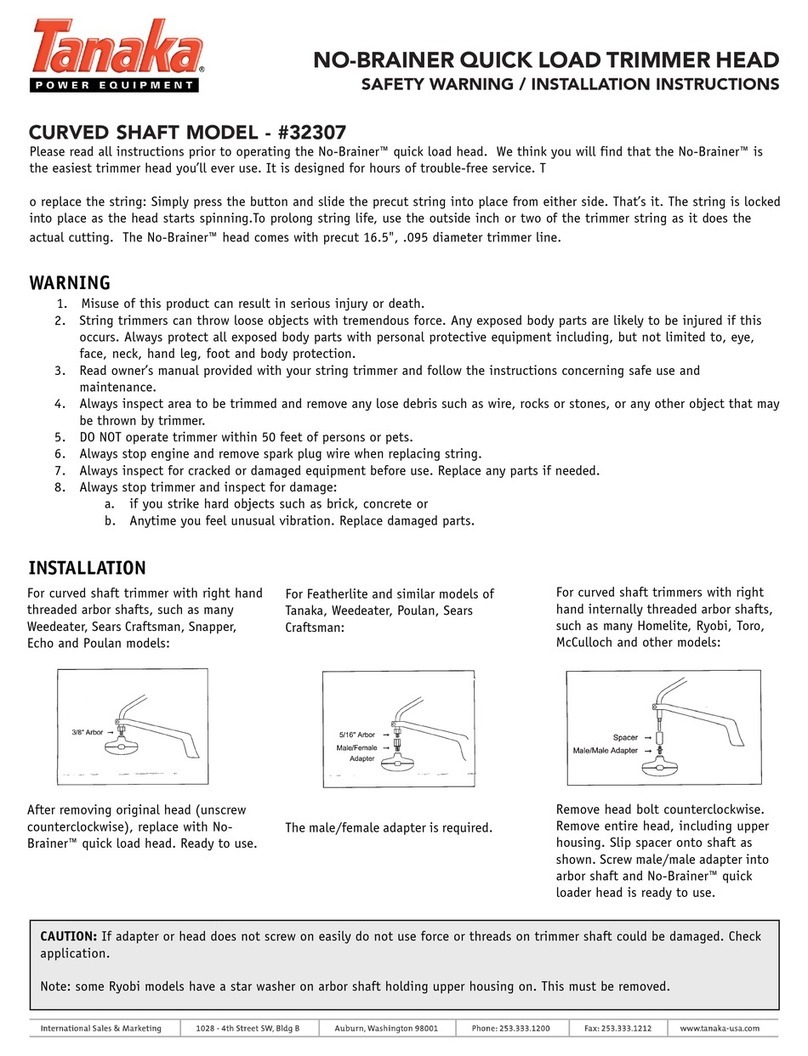
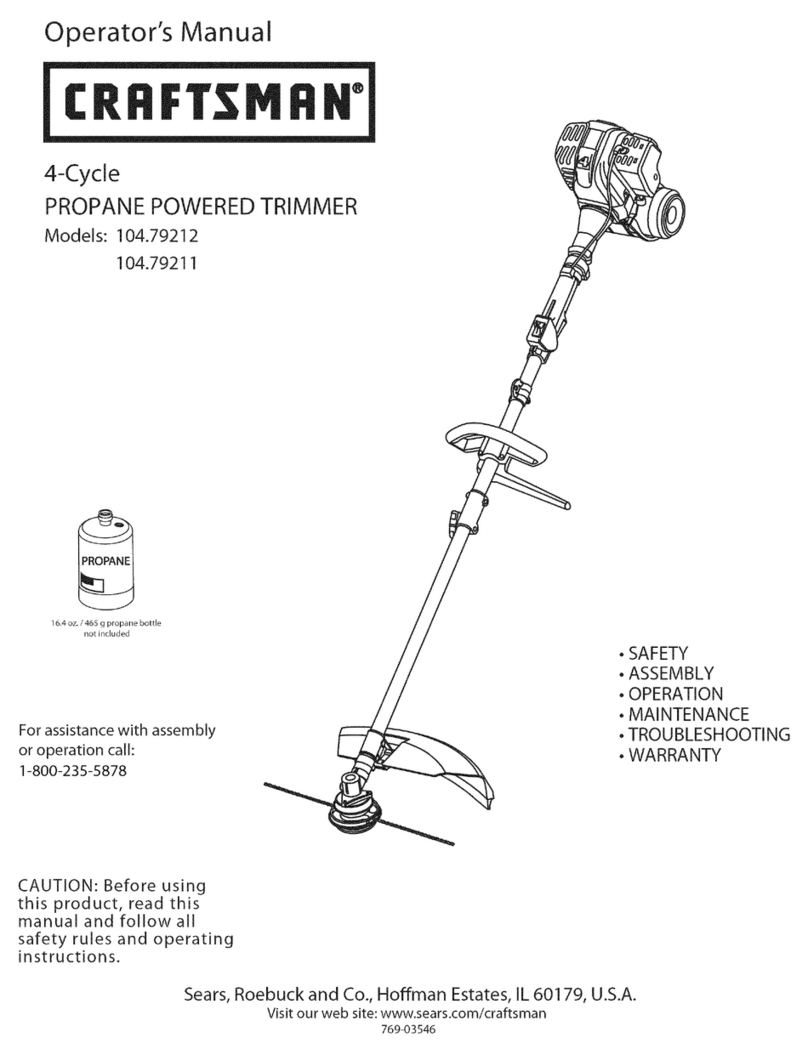
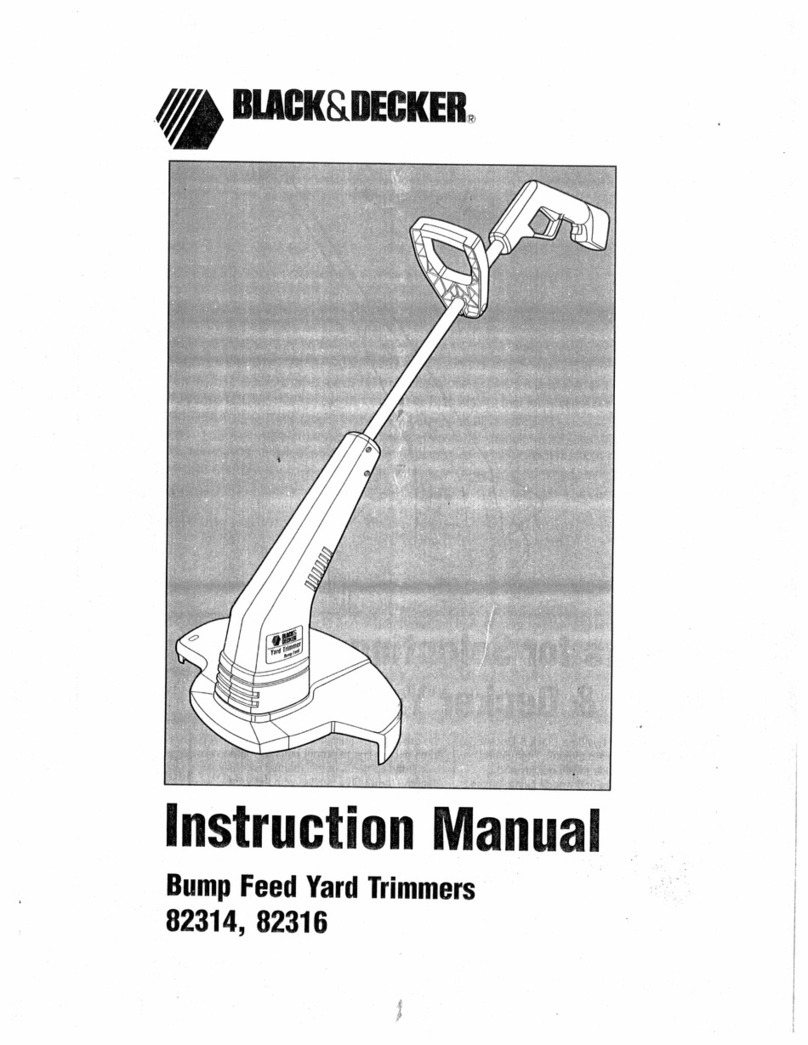
Toolex 596168 User manual

INSTRUCTION MANUAL
596168
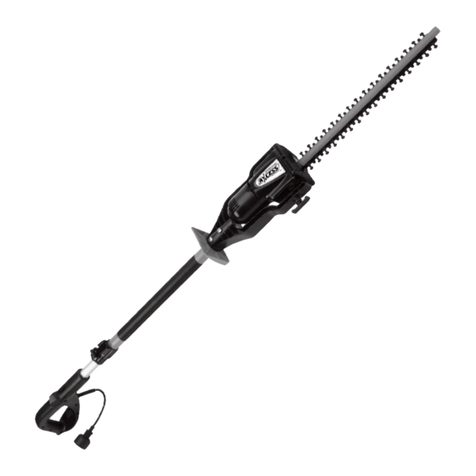
PETROL HEDGE TRIMMER

1. PARTS
1. Rear handle 7. Blade 13. Gear case
2. Safety lock lever 8. Muffler 14.Throttle cable
3. Engine stop switch 9. Choke lever 15.Spark plug
4. Fuel cap 10. Fuel tank 16.Grease nipple
5. Starter 11. Lock lever 17.Right handle
6. Front handle 12. Throttle lever 18.Plate receive
-1-

2. SYMBOLS
a) Choke ON
b) Choke OFF.
c) Handle adjustment
d) Unlock Handle adjustment
-2-

3. SAFTEY PRECAUTION
I. Before using the hedge cutter:
a. Read this owner ’s manual carefully to unders tand how to operate the
Trimmer properly.
b. The product has been designed for trimming leaves and branches from
trees and hedges, and it should never be used for any other application.
c. Never use this hedge trimmer:
•under the influence of alcohol or medication
•when suffering from exhaustion or lack of sleep,
d. Do not run the engine indoors. The exhaust gases contain harm ful
carbon monoxide.
e. Never operate the hedge trimmer in the following circumstances:
1. When the ground is slippery or dangerous.
2. At night, or during bad visibility.
3. During rain or lightening storms, or at any other times of bad
II.WORKING GEAR AND CLOTHING
a. When using your hedge-trimmer , you shoul d wear proper clothing
and protective equipment as follows.
(1). Head protection and ear protection
(2). Eye and face protector
(3). Gloves
(4). Non-slip-sole work boots
-3-

■WARNING - HANDLING OF FUEL
a. The 2 stroke fuel mixture is highl y flammable. No not sm oke while
operating the hedge-trimmer or refueling
b. If any fuel spillage occurs during refu eling, use a dry rag to wipe up
spills before turning the engine back on engine.
c. After refueling, screw the fuel cap back tightly onto the fuel tank and
then carry the hedge-trimmer to a spot 3m or more away from where it
was refueled before turning on the engine.
■ BEFORE USING YOUR HEDGE-TRIMMER
a. Check the blades are not damaged or warn. Nev er use the blades that
are bent, warped, cracked, broken or damaged.
b. Check the Bl ade bolt fasteners and be sure the blad e moves s moothly
without abnormal noise.
-4-

4. OPERATION
■ FUEL MIXTURE
● Use 2 -Stroke Oil and Petrol Mixture at 30:1 ratio.
■ SAFETY LOCK
WAR N I N G
To operate the throttle the safety lock must
be depressed.
■ STARTING THE ENGINE
Warning - The blades will start to m ove when the engine is started. Keep
the blades clear of any objects.
a. Make sure that the throttle lever is at idling position. Release th e
throttle lever and make sure it is fully back.
b. Set the engine switch to the “I (RUN)” position.
c. Push the primer bulb until fuel overflows out the fuel line.
d. Move the choke lever to the ON position.
e. While holding the unit firmly, pull the starter cord.
f. After the engine has started, allow the engine to warm up. T urn OFF
the Choke and pull on the throttle lever.
-5-

■ STOPPING THE ENGINE
a. Release the throttle lever completely.
b. Press the stop switch “O Stop”
■ WA R NING
a. Keep the cutting blades clear of fences, posts, wires, and rocks to
prevent kickback and damage to the blades.
HANDLE
For easy of working the handle can be
swiveled through 90° left or right.
a. Free the handle by turning the locking lever.
b. Turn the handle until the locking lever clicks into place.
DURING OPERATION
● Use only as much throttle as is needed to do the job. Excessive engine
speed is not recommended.
● Avoid cutting thick branches, for which will damage the blades and
shorten the life of drive systems.
● Tilting the trimmer 5 ° to 10°to the cutting object will make the
work easy and bring a good result.
-6-

● When a n ew machine is first operated, in the first few m inutes grease
may come out of the gear case.
5. MAINTENANCE
WAR N I N G
Before cleaning, inspecting or repair ing the unit, make sure that th e
engine has stopped and is cool.
■ Blade
● Check the blade an d fasteners at tight, check fo r cracking or
bending.
● Check the cutting edges and reform with a flat file.
Point:
a. Keep the end corner sharp
b. Round the root of the edge
■ You need not to adjust the gap between upper blade and lower blade as
this product is designed to have op tional gap when it is properly set
up.
(1) Nut
(2) Spacer
(3) Bolt
IMPORTANT
When mounting the blade, make sure to fasten th e spacer, bolt, and then
tighten the nut.
-7-

■ ANTI-VIBRATION SYSTEM
WAR N I N G
A deformed or damaged anti-vibration system may cause serious damage.
● Check periodically that the rubber cushions are not deform ed or
damaged.
● Check periodically that the springs are not deformed or damaged.
■ AIR CLEANER
Clogged air cleaner reduces engine performance.
Undo air cleaner cover and remove ducts. If the element is dirty, carefully
wash it wi th war m water containing neutral deter gent. If the element is
deformed or damaged, replace it with new one.
■ FUEL FILTER
When the engine runs short of fuel supply, check the fuel strainer for
blockage.
■ AIR COOLING
The engine is air -cooled. Dust cl ogged between cylinde r fins will cause
overheating of the engine. Periodically check and clean the cylinder fins
after removing the air cleaner and the cylinder cover.
■ SPARK PLUG
Starting failure is often caused by a f ouled spark plug. Periodically clean
the spark plug and replace with a new one if necessary.
-8-

Spark gap: 0.5-0.6mm
■ GREASE GEARCASE
Use a grease pump, feed grease until it comes out of the base of blades.
■ ADJUSTING CARBURETOR
The carburetor has been adjusted at the factory . Shoul d your unit need
readjustment due to the dif ference of altitude or ope rating conditions,
please let your skillful dealer make the adjustment.
■ THROTTLE WIRE
Throttle wire play should be 1-2mm.
AFTER 50 HOURS OF USE
Please check and tighten all the scr ews, bolts and nuts after the unit is
used at every 50 hours.
AFTER 100 HOURS OF USE
■ MUFFLER
a. Remove the muffler, insert a screwdriver into the vent, and wipe away
any carbon buil dup. W ipe away any carbon buil dup on t he m uffler
exhaust vent at the same time.
-9-

b. Tighten all screws, bolts, and fitting.
c. Check to see if any oil or grease has worked its wa y in between the
clutch lining and drum , and if it has, wipe it away using lead-free
gasoline.
■ MAINTENANCE BEFORE STORAGE
a. Extract fuel from the tank and run the engine until it stops naturally.
b. Remove the spark plug and put in 1-2 cc of 2 stroke oil in the engine.
Pull the starting ropes 2-3 times, re place the plug, and stop it at the
contraction position.
c. Apply anti-rust oil to th e metal parts such as th e throttle wire etc. Pu t
the cover on the blade, and keep it indoor avoiding being damp.
-10-

6. SPECIFICATIONS
Model No. 596168
Type Double blade (single blade)
Blade width 600mm
Engine model 1E32FL
Displacement 2
2
.5cc
Ignition system C.
D.I
Spark plug NH
SP LD L9T
Fuel Mixed
Fuel tank capacity 0.
6L
Starter Re
coil starter
Clutch Ce
ntrifugal type
Reduction ratio 5:
1
Dry weight 5.
3kg
-11-
Table of contents

