tooz MY SMART GLASSES Manual

MY SMART GLASSES
GUIDEBOOK
tooz technologies GmbH tooz My Smart Glasses Guidebook

tooz technologies GmbH tooz My Smart Glasses Guidebook 2
MY SMART GLASSES GUIDEBOOK
THE KEY TO YOUR SMART GLASSES
1. Unfold the charged glasses and put them on.
2. The animated tooz logo will show during boot up, followed by the start screen showing the time, battery status and cardinal direction. If you do not
see this screen, please make sure that the glasses are charged. Restart the glasses by folding and unfolding the temples.
3. Open My Smart Glasses, accept the Terms of Use and conrm that you have read the Privacy Statement. Finish setting up the glasses and follow
the onboarding screens.
4. To put the glasses into Pairing Mode, swipe backwards on the touchpad of the glasses towards the ear and long tap at the end of the touchpad.
5. In My Smart Glasses, tap ‘Connect Glasses’ and accept the Bluetooth pairing request.
Explore innite possibilities by connecting your tooz Smart Glasses to the My Smart Glasses app. With this companion app, you can set up and
manage your glasses, compatible apps and smart functionality. tooz Smart Glasses enable you to stay present and better connected with the world,
by delivering content and notications via My Smart Glasses discreetly into the wearer’s eld of view.
GETTING STARTED
If the tooz Smart Glasses do not appear in My Smart Glasses, please try the pairing process again by tapping ‘Scan Again’.
If the tooz Smart Glasses were paired to another device and you switch to a new one, you will need to pair the glasses with the device again.
Please note that the tooz Smart Glasses will stay active in Bluetooth pairing mode for ve minutes. After this time, you may need to put the glasses
into pairing mode again by using the touchpad gesture.
TROUBLESHOOTING
Pairing Mode
Home Grid Stack Settings
tooz technologies GmbH tooz My Smart Glasses Guidebook 3
MY SMART GLASSES GUIDEBOOK
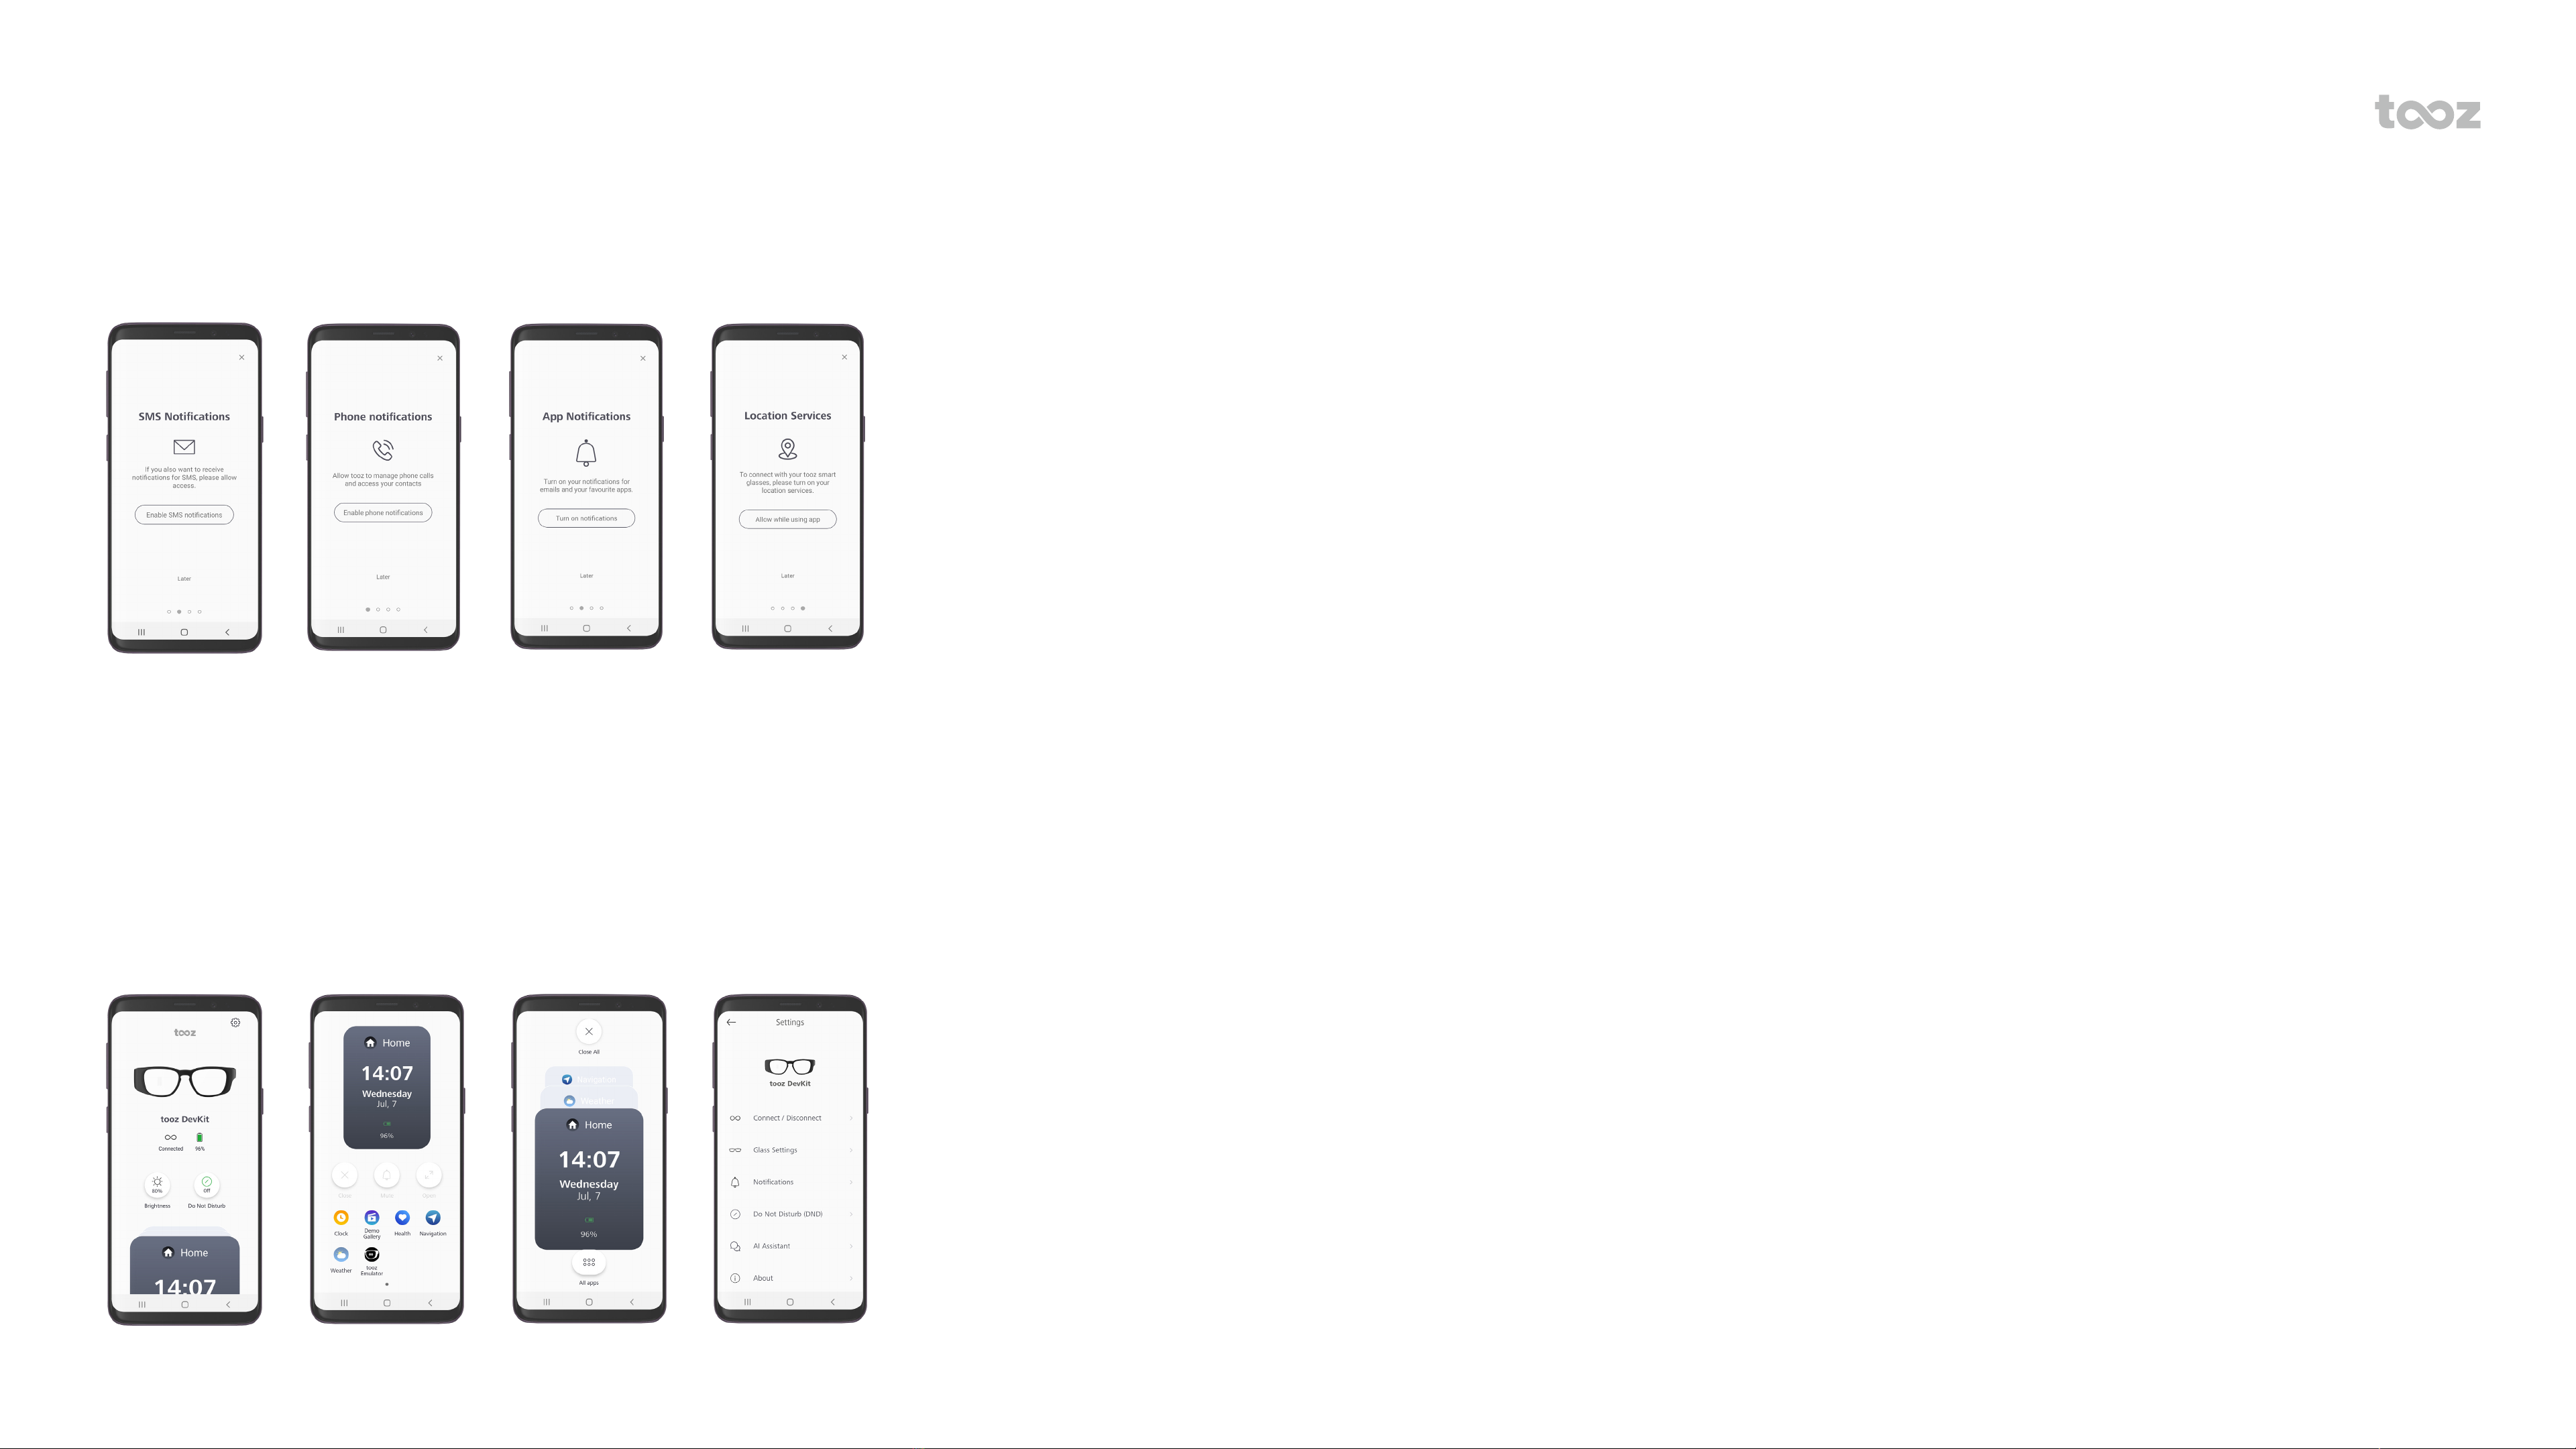
ONBOARDING
Once you have accepted the Terms of Use and read the Privacy Statement, you will be prompted to continue setting up your tooz Smart Glasses.
Follow the instructions to enable SMS, Phone, App Notications and location services. You can also change these options in the app settings later.
APP VIEWS
Once your tooz Smart Glasses are connected, you will be able to see and manage the current status of the glasses. Access the glasses’ Settings using
the gear icon in the top right hand corner. Swipe up from the Home Screen to the Grid View, which displays the integrated functions by tooz and
third-party applications.
Open individual apps by clicking on the icons. The screen shown from the app will also be displayed in your eld of view via the tooz Smart Glasses.
All open apps will be shown in the stack view, which you can access by tapping on the app screen.

tooz technologies GmbH tooz My Smart Glasses Guidebook 4
USING THE GLASSES AS A HEADSET
Your tooz Smart Glasses can also be used like a regular Bluetooth headset. To enable this feature, connect the glasses via the prompt in the app or in
your device’s Bluetooth Settings and allow access to Calls and Audio.
MY SMART GLASSES GUIDEBOOK
GOOGLE ASSISTANT APP ACTIONS
Use Google Assistant with My Smart Glasses and control your tooz Smart Glasses completely hands-free. It is recommended to have the tooz Smart
Glasses connected as a Bluetooth headset before using the Voice Assistant.
To activate the assistant, long tap on the touchpad and try some of the following phrases after invoking the Google Assistant.
‘Open My Smart Glasses and:
... show me the weather for (City)’.
... show me the time’.
... take me to (City/ Place/ Address)’.
... show me the Demo Gallery’.
Activate Voice Assistant

tooz technologies GmbH tooz My Smart Glasses Guidebook 5
MY SMART GLASSES GUIDEBOOK
DEMO GALLERY
My Smart Glasses comes with a pre-loaded Demo Gallery to preview and test your app designs.
Import your images via Android device:
1. Open My Smart Glasses.
2. Navigate to the Demo Gallery and grant access to the local storage.
3. Connect your phone to a PC. Find your phone’s device name and open it. Navigate to the folder Android > data > com.tooztech.bto.toozos > Demo
Gallery.
4. There are eight sub-folders in the folder Demo Gallery named: A, B, C, D, 1, 2, 3, 4.
5. There is some sample content in these folders. You can add your own images (400 x 640px) into these subfolders.
6. When the glasses are connected, you can navigate to the Demo Gallery and play your customized slide show.
Import your images via iOS device:
1. Connect your iOS device to your Apple Computer.
2. Open the Finder window and select your device from the menu on the left-hand side.
3. Select the ‘Files’ tab and then choose ‘My Smart Glasses’ from the app list and expand the les.
4. There is some sample content in these folders. You can directly add and delete pictures (400 x 640px) to and from the Demo Gallery here.
5. In the My Smart Glasses app, there are eight sub-folders in the folder Demo Gallery named: A, B, C, D, 1, 2, 3, 4. To add your images in the
respective folders, you must name your image les with the appropriate prex.
6. When the glasses are connected, you can navigate to the Demo Gallery and play your customized slide show.
Table of contents
Other tooz Smart Glasses manuals


