CheckingtheEngineOilLevel............................14
BreakingInaNewMachine................................14
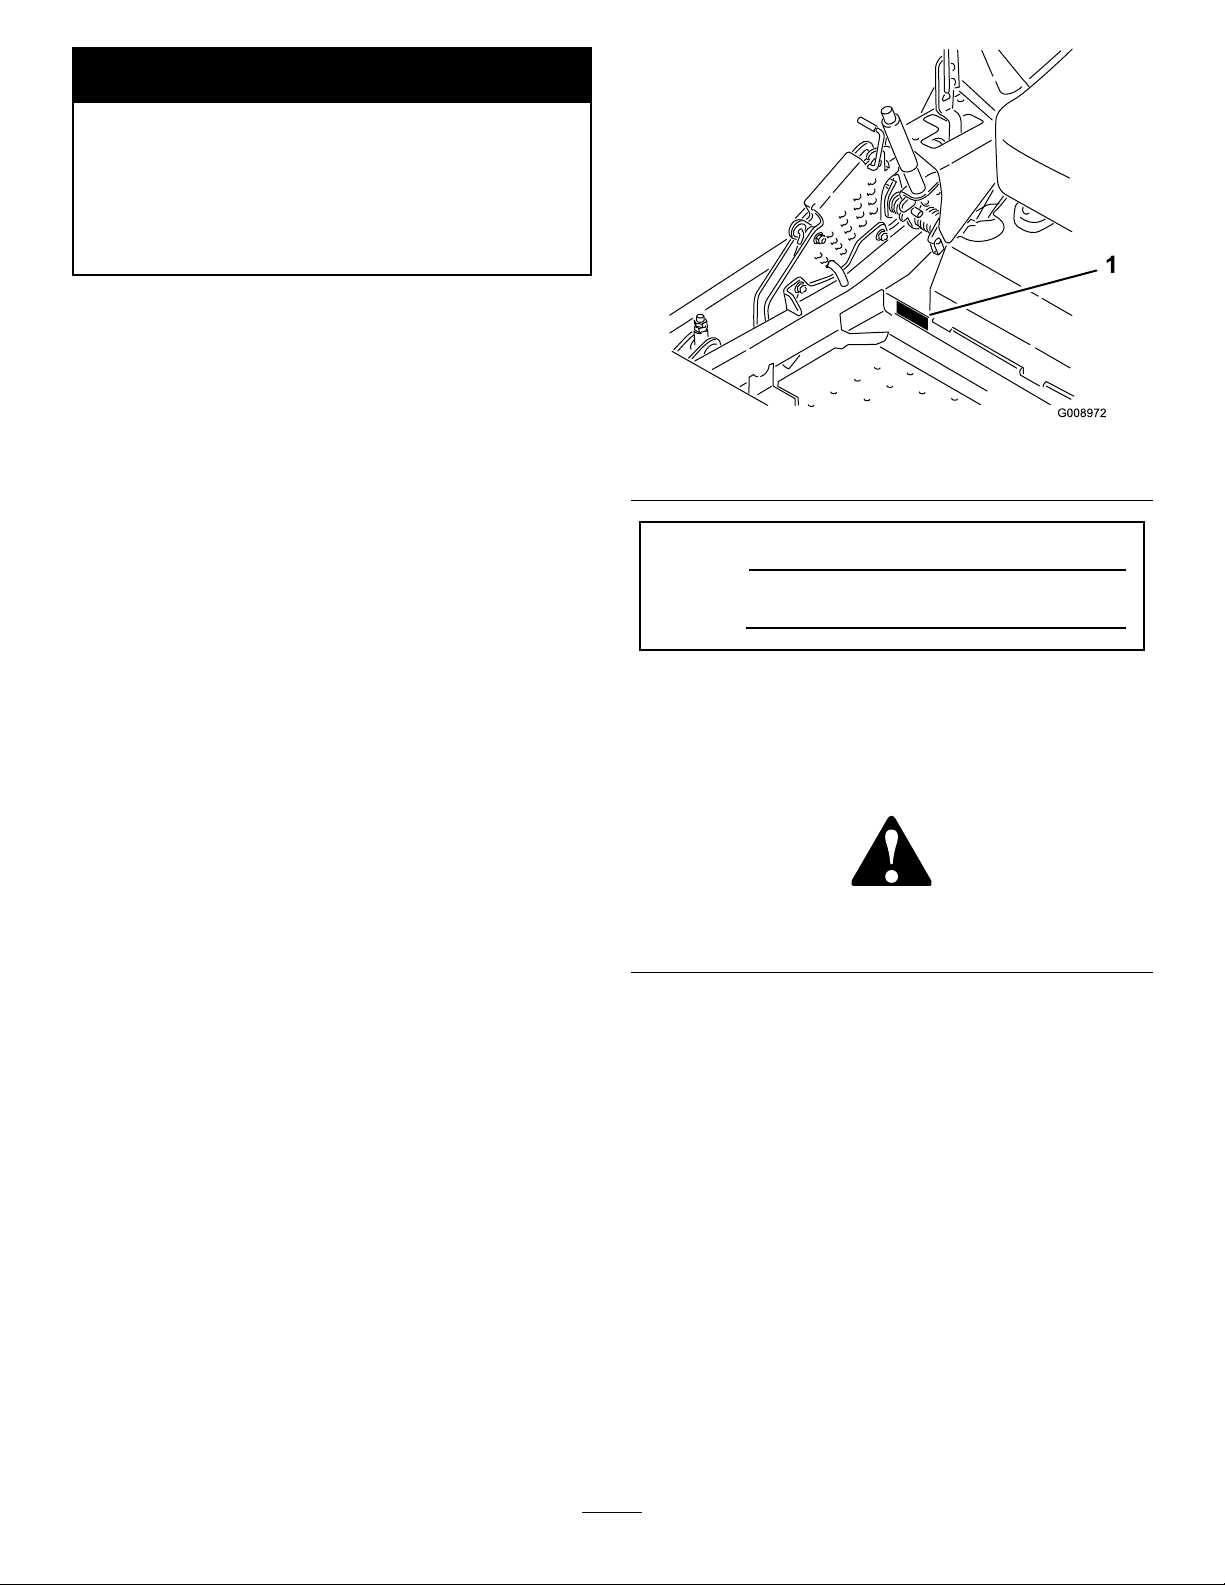
UsingtheRolloverProtectionSystem
(ROPS)..........................................................14
ThinkSafetyFirst...............................................15
OperatingtheParkingBrake...............................16
OperatingtheMowerBladeControlSwitch
(PTO)............................................................16
OperatingtheThrottle.......................................17
OperatingtheChoke..........................................17
OperatingtheIgnitionSwitch.............................17
UsingtheFuelShut-OffValve............................18
StartingandStoppingtheEngine........................18
TheSafetyInterlockSystem................................19
DrivingForwardorBackward.............................20
StoppingtheMachine.........................................22
AdjustingtheHeightofCut................................22
AdjustingtheAnti-ScalpRollers.........................23
AdjustingtheFlowBafeCamLocks..................24
PositioningtheFlowBafe.................................24
PositioningtheSeat............................................25
UnlatchingtheSeat.............................................25
UsingtheDriveWheelReleaseValves.................25
UsingtheSideDischarge....................................26
TransportingMachines.......................................26
LoadingMachines..............................................27
OperatingTips...................................................28
Maintenance...............................................................29
RecommendedMaintenanceSchedule(s)................29
Lubrication.............................................................30
GreasingandLubrication...................................30
WheretoGreasetheMower...............................30
LubricateCasterWheelHubs.............................31
EngineMaintenance...............................................32
ServicingtheAirCleaner....................................32
ServicingtheEngineOil.....................................33
ServicingtheSparkPlug.....................................36
CheckSparkArrester(ifequipped)......................37
FuelSystemMaintenance.......................................38
ReplacingtheFuelFilter.....................................38
ServicingtheFuelTank......................................38
ElectricalSystemMaintenance................................39
ServicingtheBattery...........................................39
ServicingtheFuses.............................................41
DriveSystemMaintenance.....................................41
CheckingtheSeatBelt........................................41
CheckingtheRolloverProtectionSystem
(ROPS)Knobs...............................................41
AdjustingtheTracking........................................42
CheckingtheTirePressure.................................42
CheckingtheWheelHubSlottedNut..................43
AdjustingtheCasterPivotBearing......................43
UsingtheClutchShim........................................43
CoolingSystemMaintenance..................................45
CleaningtheEngineScreenandEngineOil
Cooler............................................................45
CleaningtheEngineCoolingFinsand
Shrouds..........................................................45
CheckandCleantheHydraulicUnit
Shrouds..........................................................46
BrakeMaintenance.................................................47
AdjustingtheParkingBrake................................47
BeltMaintenance....................................................48
InspectingtheBelts............................................48
ReplacingtheMowerBelt...................................48
ReplacingtheHydraulicPumpDrive
Belt................................................................49
ControlsSystemMaintenance.................................50
AdjustingtheControlHandlePosition................50
AdjustingtheMotionControlLinkage................50
AdjustingtheMotionControlDamper...............51
AdjustingtheMotionControlNeutralLock
Pivot..............................................................51
HydraulicSystemMaintenance...............................52
ServicingtheHydraulicSystem...........................52
MowerDeckMaintenance......................................54
LevelingtheMowerDeck...................................54
ServicingtheCuttingBlades...............................56
RemovingtheMowerDeck................................59
ReplacingtheGrassDeector.............................60
Cleaning.................................................................61
CleaningUndertheMower.................................61
WasteDisposal...................................................61
Storage.......................................................................61
CleaningandStorage..........................................61
Troubleshooting.........................................................63
Schematics.................................................................65
3