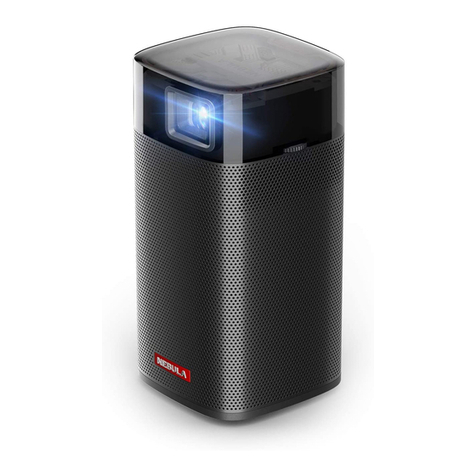
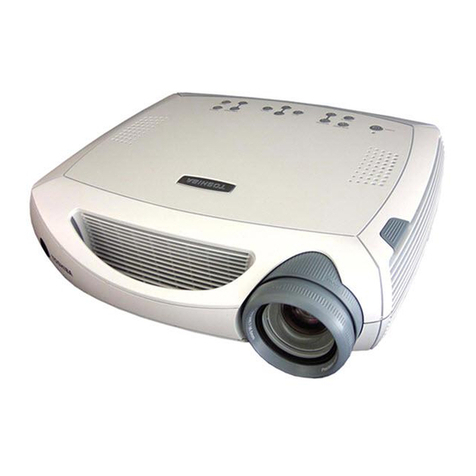
TOWOND M8-TPH Instruction manual

Mini Smart Home Theater
※ Quick User Guide

●Before using the product, please read the instruction manual
carefully and keep it in a safe place in case of urgent use.
Safety Precautions
●Please use the machine carefully, and do not drop or hit it at
high altitude to avoid damage to the original machine. Put on the
lens protection cap after use to avoid scratches.
●Please use the standard adapter to supply power to avoid
excessive bending and damage of the power cord.
High Temperature Attention
●When the projector is working, it is forbidden to block the air
inlet or outlet of the product; the distance between the air inlet/
outlet of the machine and the wall must be at least 30cm to avoid
damage caused by excessively high temperature caused by poor
ventilation.
Electric shock prevention
●Prevent foreign objects such as paper dust, wire, screws from
falling into the machine. In case something falls into the machine,
be sure to turn off the power and take it out by professional
maintenance personnel.
●In order to prevent electric shock, please do not disassemble
the machine by yourself if there is any problems with the product.
(there are no customer-serviceable parts in the machine).
●To prevent fire and electric shock, do not expose the machine
to rain or moisture.

List of accessories
Projector ×1
HDMI cable ×1
Power cord ×1 Instruction ×1
Avline ×1
Remote control ×1

Catalog
Appearance and function description---------------------1
Device connection instructions------------------------------2
Projection screen debugging----------------------------------3
Device connection instructions------------------------------- 5
Bluetooth connection operation ----------------------------- 7
Multi-screen interactive instructions-------------------------8
Support file format and projection distance and size ---- 14
Product Warranty Card-------------------------------------- 15

Appearance and function description
Focus knob
On/Off button
Trapezoid correction knob
Indicator light
Navigation + OK
return key
menu Source key
Volume down Volume up Mute button
1. Top view
1

2. Rear view
Speaker port
HMDI port
AV cable port TF card port
VGA portUSB port
IR remote control receiving window
2

Projection screen debugging
● When the image of the screen is blurred (Figure 1), it is
recommended to adjust the focus knob until the image is clear.
Standard picture
3
● When the image is distorted in vertical trapezoid (Figure 2), it is
recommended to adjust the keystone correction knob until the
screen is vertical
● When the screen is rotated (Figure 3), please place the
projector on a horizontal surface.
● When the size of the two sides of the screen is different (Figure
4), please adjust the position of the projector so that the lens is
facing the screen.
Figure 1 Blur
Adjust the
focus knob
Figure 2 Trapezoidal tilt
Adjust the
keystone
correction knob

Figure 3 Picture rotation Keep the projector horizontal
Figure 4 The size of the
two ends are inconsistent
Let the projector lens face the
curtain vertically
4

Device connection instructions
headset
Speaker
TF
card
AV cable
VCD / DVD player
Notebook/ Computer
VGA cable
DVD Blu-ray player
HDMI
cable
※: Represents the signal flow direction
The yellow end of the AV cable is the video
signal, white is left channel, red is right channel.
laptop
5
U disk
Phone

Video AV
Click the remote control signal or the S button of the
projector, select the signal channel shown above, then connect the
relevant playback device.
6
VGA Bluetooth USB
TF card HMDI SETUP
Multi-screen
1. Select the video AV, you can connect the VCD or DVD by connecting
the AV cable.
2. Select VGA connection, you can connect it to desktop or laptop
computer through VGA cable.
3. Select USB connection, you need to insert a USB flash drive.
4. Select TF card connection, you need to insert TF card.
5. Select HDMI connection, you can connect to computer, high-definition
DVD, PS4, XBOX, SWTICH and other devices through HDMI cable.
6. Multi-screen interaction and Bluetooth connection belong to WIFI and
Bluetooth wireless communication respectively, and can be directly
connected wirelessly through mobile phones.
7. Select the setting, you can change the projection mode, zoom the
screen and adjust the text size.

Bluetooth connection operation
Pause / play
Select the Bluetooth connection of the projector, enter the
interface below, open the Bluetooth of the mobile phone ,
search for the "projectorBT" signal of the projector, match it,
and the projector will give a voice prompt when the match is
successful. After the connection is successful, the phone can
play music synchronously through the projector.
Previous
※ The projector only supports receiving Bluetooth signals
from mobile phones or similar products, and does not
support transmitting Bluetooth signals, such as connecting
Bluetooth speakers.
※ When the energy-saving mode is selected , the
projector light will go out and enter the energy-saving mode;
you can press the up key or the down key to wake up the
projector again.
7
Next Energy saving mode

Multi-screen interactive connection instructions
Our projector's mobile wireless connection feature has two
connectivity channels, the Android phone connection channel and
the Apple phone connection channel.
8
Wireless same-screen channel selection:
Android phone connection select Sansr connection (interface as
MIRACAST)
Apple phone connection select Apple Connection Channel
Connection (interface as IOS Display)
both Android phones and Apple phones are unified
with the Apple Connection Channel (IOS Display)
Just turn on the projector power, into the "multi-screen
interaction" function, it takes about 20 seconds to wait,
double-click "OK" key to complete the channel switch
If normal lying on, when converting from another
function to Multi-Screen Interaction, just wait about 5
seconds and double-click the OK key to complete the
channel switching
Note: When the word "Switching" appears in the upper
left corner, the channel is switching
Video push channel selection:

1: Apple Wired Connection Operation
1.1 Switch channels (Android and Apple channels switch by double-
clicking confirmation key) appear in the following interface.
1.2 Plug in the data line, connect apple phone, if the data lineis no
problem, there will be a pop window of the trust device, be sure
to choose trust, click after waiting for about 1 second will achieve
the same screen.
9
2:Apple wired connection operation
First open the Apple mobile phone network, open the console,
tap the screen image, connect the projector device name, the
connection can be successfully achieved on the same screen.

3: Android Wired same screen
Enter the channel interface. (There are only two icons in the
interface)
3.2 Connect the data cable, open the developer option for
yourphone, and then click on the USB debug option.
Note: The Developer Options for different phones are opened
differently, if you need to, please go online to find out how to
open the Developer Options for your model.
3.3 Wait for about 1 second to achieve the same screen.
10
3.1

4.2 Open your phone WIFI, connect to any network, then enter the
phone settings, click "More link means"-"wireless display",
and then select connect your projector, wait 1 second to achieve
the same screen.
(Different phone locations are different, the function name may
also be different)
(wireless same screen function name is mostly: wireless display,
wireless connection, multi-screen interaction)
4: Android Wireless Same Screen
Double-click key to switch small board mode, enter the
following interface (the interface only has two icons)
11
4.1

5.wireless video push operation of Android&Apple
5.1 Push function uses three target interfaces
5.2 Turn on the phone's WIFI, connect to the LOLLIPOP-819686 device,
and enter the password 12345678.
The device name will change according to different machine, but all
start with LOLL, and the password is 12345678.
5.3 Open the browser and enter 192.168.49.1 directly in the
browser.
12

5.4 Enter the WIFI setting interface and select WiFi AP. Click
Scan,enter to find WIFI in your home andEnter the password
and click "Connect" .
5.5 When the projection interface becomes the following
picture, it means that the connection is successful (the same
WIFI only needs to be connected once)
5.6 Click on any APPs that support projection,choose the
video you like,click the projection button and enjoy your
movie on the projector
Notice:applied to both android and IOS devices.
13

Support file format
Audio
file
TXT file
picture
file
video
file
MP3/WMA/ASF/OGG/ACC/WAV
JPEG/BMP/PNG
3GP(H.263,MPEG4)/AVl(XVID,DIVX,H.264)/
MKV(XVID,H.264,DIVX)/FLV(FLV1)/
MOV(H.264)/MP4(MPEG4,AVC)/MEP(MEPG1)/
VOB(MPEG2)/MPG(MPG-PS)/RMVB(RV40)
TXT
※ This projector supports movies up to 1080P resolution. Does not
support Dolby audio and DTS source, when playing directly through
U disk or TF card, there will be no sound on the screen
Phenomenon, but it can be decoded by a computer or mobile
phone and connected to a projector for playback.
●
The transmission ratio of this projector is 1.2: 1, subject to the actual
product, the following picture is for reference only.
14
Projection distance and size

WARRANY CARD
Customer's name
(Mr./Miss)
______________________________________
Custaact phone
Customer's
address
SN
Store's name
Store's address
Date of purchase _________________________________________
15
_________________________________________
_________________________________________
_________________________________________
_________________________________________
_________________________________________

※ Product warranty policy description
1.Within 7 days from the date of purchase, failures caused by improper
use or man-made causes are determined to be failures caused by
product components. You can enjoy the return service with valid
purchase bills and valid three-guarantee certificates.
2. Within one year from the date of purchase, the failure caused by
improper use or human causes is determined to be caused by the main
components of the product. With the valid purchase ticket and the
valid three guarantee certificate, you can enjoy free maintenance
services.
3. Within three months from the date of purchasing the accessories of
mini smart home theater projector, if the product accessories are
detected by the company's after-sales service center due to the failure
caused by the components and parts, the valid purchase certificate and
the valid three guarantee certificate can be used Enjoy free warranty
service.
The company has the final right to interpret the Three Guarantees
service. The following problems are not covered by the Three
Guarantees service:
①The device casing, instruction manual, packaging, promotional items
and random gifts are not included in the Three Guarantees service;
② Damage caused by the user's own disassembly or dismantling,
refitting or upgrading of the service repair point not authorized or
designated by the company;
④ Damage caused by using the machine not in accordance with the
product instructions;
⑤ Unable to provide valid purchase notes and valid three guarantees
Table of contents

