even with the built-
•
only be performed by a qualified technician.
•While cooking any overflowed fat or oil on the cooktop may ignite. There is a risk of burning and fire; therefore, control
•- boil over causes smoking and
greasy spillovers that may ignite.
•When the unit is on, do not touch outside the control panel as the surface may contain residual heat.
•To protect against electric shock, do not immerse cord plugs or cooker in water (or other liquid substances).
• When using any electric appliance around children, close supervision is strongly suggested.
•
manner. Read the seller’s guidelines for warranty repairs and returns.
•Do not cook on a broken or damaged cooktop as spillovers may penetrate surface and create a risk of electric shock.
•
•
•Do not let the cord dangle over the edge of a table or counter. Keep the cord away from hot surfaces.
•Do not place cooktop on or near: hot gas, electric burner, or heated oven.
•
•Do not store and temperature-
sprays, etc.
•
•
•
•The cord should be arranged so that it will not drape over the countertop or tabletop where it can be pulled on by
children or tripped over.
•Do not use with empty pans/pots.
•Do not use cooktop for another use than directed by the manufacturer.
•Wear proper apparel -
•In case of appliance failure, immediately disconnect the appliance from the main power source and contact the
manufacturer.
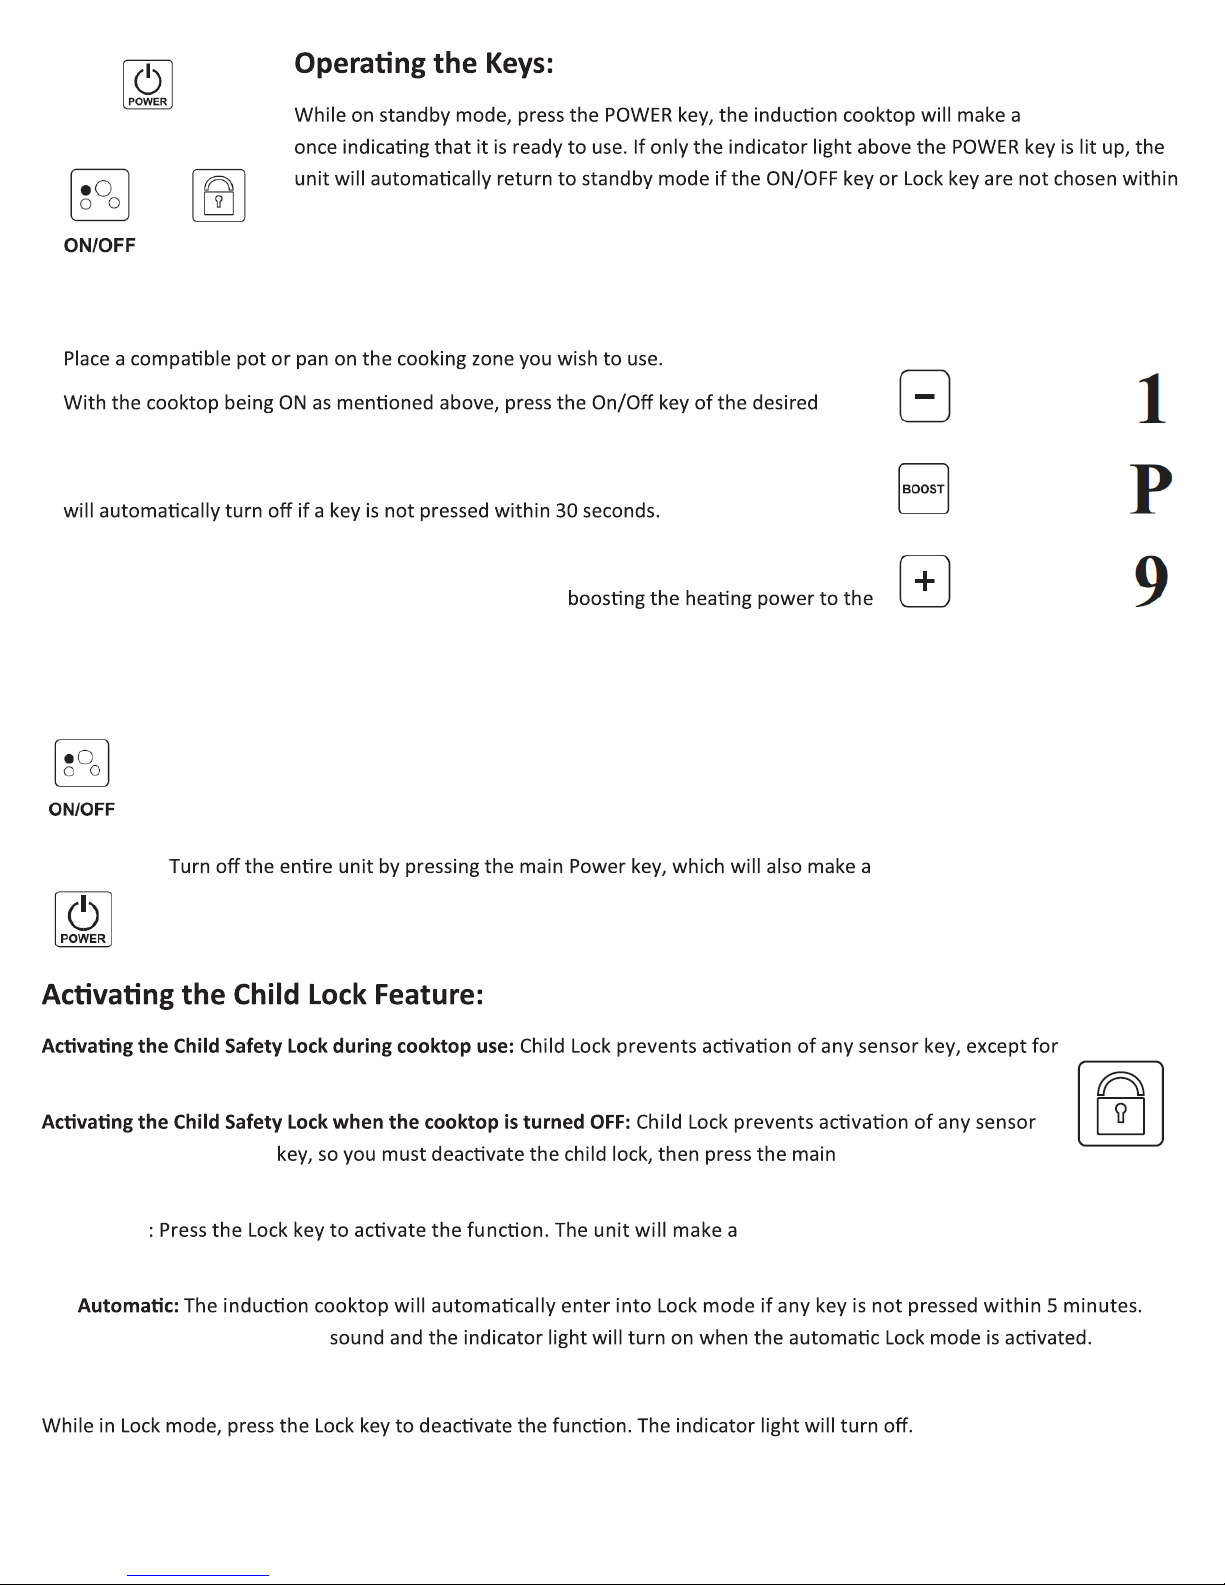
1
•