Trufrost IC-35BWA User manual

USER MANUAL
Ice Machines:
IC-35BWA
IC-50A
IC-50BWA

Ice Machine Introduction 1
1
2
3
4
5
5
6
7
8
9
Receiving and Inspection
Structure and Interface Name
Foot Mounting
Installation of water supply
Electrical Safety Precautions
Adjust Ice Thickness
Maintenance
Daily Cautions
Fault Code
Working procedure
Contents

1. Adoptted advanced technology and accompanied with strict and comprehensive
quality inspection to ensure excellent product performance.
2. Compressor,the core part of the ice machine is made of world famous products,
and our reasonable refrigeration system will make the ice macgine more reliable
and lower energy consumption.
3. Stainless steel shell is beautiful,better anti-corrosion,easy to clean and durable.
4. Water cooled ice machine has stable cooling capacity and is hard to be affected
by ambient temperature.
5. The advanced industrial microcomputer control system has achieved automatic
ice making and ice collecting,and also has a variety of protection functions,which
is more convenient and safe.
1. The packing of the machine is in good condition;
2. Is the machine model constent with your purchase order?
3. In apparent good condition;
4. whether all assembly part are complete.
5. whether Machine internal components is intact.
In the process of logistics and transportation,if any improper stacking or
handling might have caused the lubricant of the compressor to flow into the
refrigeration pipeline, resulting in severe oil shortage of the compressor.
Therefore, it is strongly recommended that after receiving the goods,the
Ice machine should be properly placed for 24 hours, make sure that the lubricant
return to the compressor,before it is installed and operated.
Ice Machine Introduction
Receiving and Inspection
Thank you for choosing our automatic Ice machine.In
order to safeguard your rights and in interests,please pay
attention to the following items when receiving the goods:
1

Door of Ice Bin
Decorating Plate
Wcrking Status Indicator
Supporting Feet
Nodel Label
Drain Pipeline
(Black)Power Filter
Ice making water inlet
(white)
Structure and Interface Name
2

Foot mounting
3
1. Screw the foot to the bottom of the ice machine.
2. Each leg must be screwed to the bottom and fastened to avoid bending.
3. Place the ice maker in a firm and level position.
4. Adjust the height of the foot to level the ice machine.
5. The ice machine is not suitable for outdoor, the normal operating ambient
temperature is 10
6. Ice machine should not be installed in where is no sewer. and it is forbidden to
put together with high temperature equipment (such as refrigerator,oven).
7. For the Air-cooled ice machine, above 15cm of space should be reserved in each
direction of front, back, left and right.
will seriously reduce the production of ice.
℃~38℃,water temperature is between 5℃~30℃, high humidity

Installation of water supply
Installation Drawing (Integrated Ice Machine)
4
1. Ice machine must use room-temperature drinkable water.
2. Water pressure must be controlled between 0.15 MPa and 0.3 MPa.
3. Inlet hose with 3/4” internal thread (20mm) and 1/2” internal thread (15mm) joints
at both ends,which has a stone guire seal washer so that there is no need to wrap
raw tape.
4. Filter is equipped with filter element, use a wrench to unscrew the filter element
before using, take out the filter element, tear off the packaging film of the filter
element, install back as it is and tighten it. A new filter element should be replaced
every six months.
5.The direction of inlet and outlet is marked on the filter cover. Please pay attention
to the installation.
6.Connect the 3/4’ joint to the machine inlet (white 3/4’ male thread)1/2 joint to the
water supply pipe.
7.For water cooling ice machine, the machine added two 3/4’ pipe joint at the place
of in and out, which color is black to distinguish the ice making inlet.
8.The ice machine drains water by gravity, so it is necessary to ensure adequate
slope and drop.
Drain Pipeline
(Black)Power
Filter
Ice making water inlet
(white)
Before using filter,must take out
the filter element, tear off the
packaging film of the filter
element, install it and tighten it.

Daily Cautions
Electrical Safety Precautions
5
1. When transporting and moving, the ice machine must not tilt more than 45
degrees.
2. Using independent source of water and checking regularly to prevent low water
pressure, fluctuations or filter clogging.
3.Do not store any sundries in the ice bin. do not freeze any food in the ice bin,
and keep the ice shovel clean.
4.Please gently open or close the ice bin door, do not hit the door, And please close
the ice bin door immediately after taking out the ice.
5.Ice machine should be away from heat source, prohibited exposure in high or low
temperature environment, should try to avoid direct sunlight, so as not to affect the
heat dissipation of the machine
6.It is forbidden to splash water directly on the surface of ice machine otherwise it
may cause short circuit, electric leakage and other faults.
7.If it needs be stopped working for a long time,it should be switched on and run 4
to 6 hours every two months.
1.Do not unplug when your hands are wet.Unplug before any maintenance or
cleaning works.
2.The socket must be securely grounded.
3.The electric control system has a voltage of more than 36V, do not open or touch
it when working. If you need to repair,please contact the manufacturer, or please
handle it by qualified professional and technical personnel.
4.The power connection shall be according to instruction of the nameplate, and the
specified power supply shall be required. Ensure the specification of the wire which
used for connecting shall be determined to meet the requirements. If possible,
please use specific power socket and fuse.
5.The power plug should be unplugged or cut off when the ice macgine stops working.
Place smoothly Be well ventilated Avoid sunshine

Adjust Ice Thickness
Ice thickness Setup:
6
Press the + or - botton for 3 seconds, the digital tube display C1 at the first two
place, the last two start flashing and enter the ice thickness setting state. At this
point, every time you press the + (or -) button, the number displayed on the
digital tube increases(or decreases) by 1, that means the thickness of the ice
increases (or decreases) by 1 minute, the adjustment range is 0~35 minutes. If the
button is not pressed within 10 seconds, the digital tube will stop flashing and enter
the normal operation state. At the same time, the ice thickness data is saved. If the
cleaning button is pressed, the ice thickness data is directly saved and entered into
normal operation mode.

Fault Code
7
Code
E01
Fault phenomenon
Ice plate or Ice full switch fault
E02 Ice making timeout
1.Ice plate is not reset or false position;
2.Ice full switch is abnormal;
1.High ambient temperature;
2.The cooling effect of the condensing
is poor;
3.Compressor refrigerant leakage;
4.Water shortage;
1.Check the condensation
cooling system;
2.Whether there is leakage in
the refrigeration system;
3.Whether the sink leaks;
4.Whether the outlet hole of
water sprayer is blocked;
E03 Ice falling timeout
1.Heating valve fault;
2.Condensation temperature is too low;
3.Ice set too thin;
4.Too little water in the tank;
1.Check the heating valve
circuit;
2.Check ice thickness
detector;
3.Check inlet system;
E04 High temperature failure
1.Excessive ambient temperature;
2.Cooling fan damaged;
3.Comdenser not clean;
Check related parts
E05 Water shortage fault
1.There is on water in the inlet pipe;
2.Low water pressure in the inlet pipe;
3.The inlet valve damaged;
4.The tank is leaking;
Check related parts
E06 Pressure overruns
1.Exccssive condenser temperature;
2.Refrigeration system clogging;
3.Pressure switch failure;
1.Check refrigeration system
pressure;
2.Check the condensing and
cooling system;
E07 Condensation temperature
sensor open circuit fault
1.Sensor damage;
2.Connector problem; Check related parts
E08 Condensation temperature
sensor Short fault
1.Sensor damage;
2.Connector problem; Check related parts
E09 Evaporation temperature
semsor open circuit fault
1.Sensor damage;
2.Connector problem; Check related parts
E10 Evaporation temperature
semsor Short fault
1.Sensor damage;
2.Connector problem; Check related parts
E11 Cooling poor
1.Water temperature Sensor damage;
2.The circulating pump is not working;
3.Compressor is not working;
4.The refrigeration system is inefficient;
Check related parts
Check related parts
Cause Treatment

Working procedure
8
1.Automatic cleaning
Automatic cleaning after power on (Once,2 minutes)
Each time when the ice machine is switched on, it performs a 2-minute automatic
cleaning procedure, to rinse the floaters out of the ice trays and tank. In 2 minutes,
the water tank is continuously filled and the pump is running. Operator can hear the
sound of pumps working, and water flows down to the tank from the top of the ice grid.
Then the water spills out of the tank and flow away from the outlet of ice bin.
2.Ice making(Cycle,up to 40 minutes)
After automatic cleaning, the pump will start up in 45 seconds, then the ice making
begins. While making ice, the pump continues to work. Water flows from the top of the
ice grid down into the tank, and the water slowly cools until it freezes. In the process of
ice making, the thickness of the ice is measured by an ice thickness detector, When the
setting ice thickness is reached, the program moves to the ice-shedding step. If the gap
of ice thickness detector is too large, once the ice making time exceeds 40 minutes, it
will also be forced into the ice-shedding process
3.Ice-shedding(Cyele,up to 40 minutes)
During the Ice-shedding process,the ice grid is heated and the surface of ice at
where sticking to ice grid become melting, because of the gravity of ice itself, it will
fall off and complete a shedding process.
The falling ice blocks will push the baffle to turn over, and the baffle will be reset due
to itself-weight, then the machine started making ice again. However, when there are
too many ice blocks in the ice bin, the ice blocks against the baffle and so that the baffle
cannot be reset, the control chip indicates that the ice is full and the ice machine will
stop temporarily until the baffle is reset.
1.Water pump Directly observe whether there is water flowing from the ice
grid. If there is no water, the pump will be failure.
The steps of an ice machine are divided into there parts:
Fault self-diagnosis
2.Refrigeration After 10 minutes of ice making, the water in the sink becomes
noticeably colder, that you can easily feel the low temperature.
3.Water feeding In the process of automatic cleaning, water can be observed
to flow continuously from the overflow pipe of the water tank into the ice bin. However,
water will normally account for more than half of the water tank.

Maintenance
9
Please carry out the maintenance according to the requirements of this manual,
so as to improve the reliability and service life of the ice machine. And avoid increasing
the energy consumption coefficient of ice production while maintaining sanitation.
1.Clean the area around the ice machine regularly, to keep the blinds of the ice
machine which are used for ventilation from clogging.
2.Clean the shell with a neutral cleanser, then wipe it clean with a soft cloth. If
necessary, commercial stainless steel cleaner and polishing agent can be used.
3.Filter element should be checked regularly. Most of the filter element within 6 months
should be replaced, or according to the instructions on time replacement.
4.The water tank and ice bin can be cleaned with water pipes, but do not have
excessive water pressure. Do not directly flush the water pump and upper part of ice
grid, to prevent the circuit flooding.
5.Condenser of air cooled Ice machine:Clean the condenser every three months. Use
a soft brush or a vacuum cleaner with a brush to scrub the condenser’s fins from up
to down along the fin direction to avoid damaging the fin and affecting the cooling
effect.
The instruction manual is an integral part of the product, please keep it properly.
Any maintenance of the ice
machine is not covered by the
manufacturer’s warranty.
The filter element should be
replaced regularly.
The edge of wind condenser fin
is sharp, please be careful
when cleaning.
Before cleaning and
maintenance, make sure to turn
off the water and power
sources and pull the plug.
Please pay attention to cleaning
the scale inside the ice maker
to ensure that the waterway is
not blocked.

Marketed globally by:
TRUFROST COOLING PRIVATE LIMITED
1215, 12th Floor, Tower B, Emaar Digital Greens, Golf Course Extn. Road,
Sector 61, Gurugram –122102 (India)
T. +91-7303166766 info@trufrost.com
www.trufrost.com
This manual suits for next models
2
Table of contents
Other Trufrost Ice Maker manuals
Popular Ice Maker manuals by other brands
Manitowoc
Manitowoc CrystalCraft Premier Installation, operation and maintenance manual
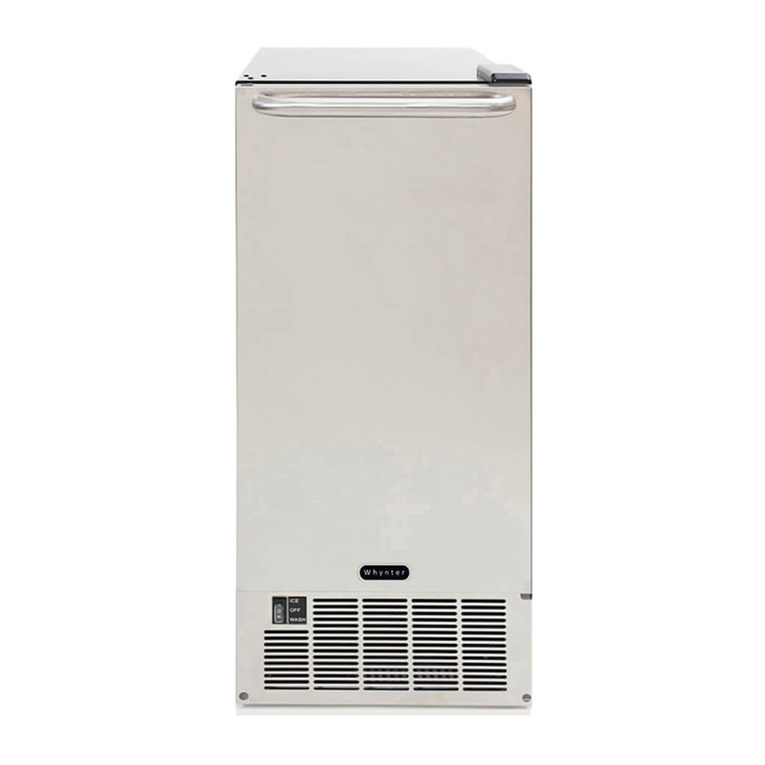
Whynter
Whynter UIM-501SS instruction manual
Hoshizaki
Hoshizaki F-1000MAE50 parts list
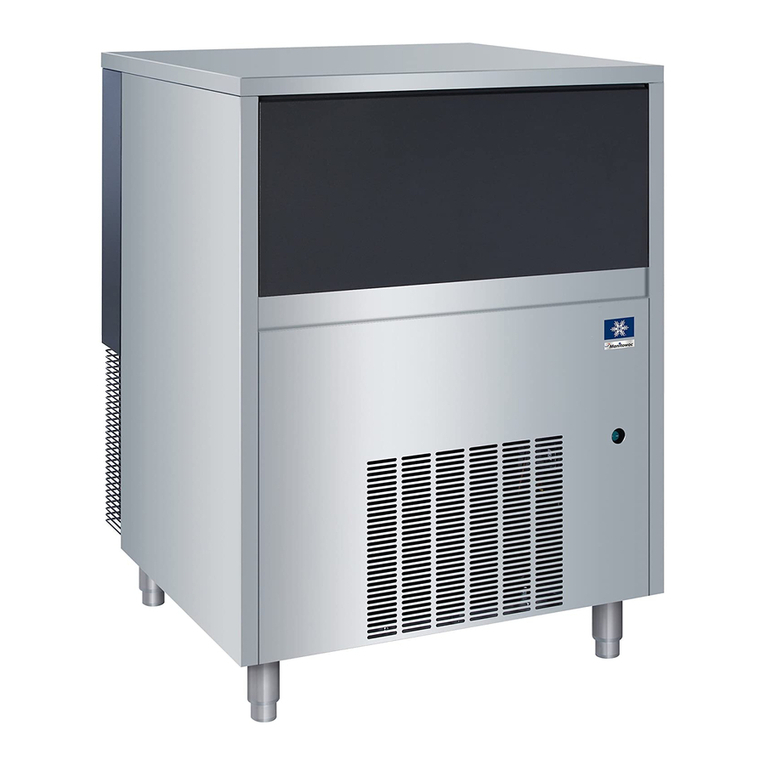
Manitowoc
Manitowoc RF Installation and use manual
Princess
Princess SILVER ICE CUBE MAKER Instructions for use
Nordcap
Nordcap SDH 30 L manual
