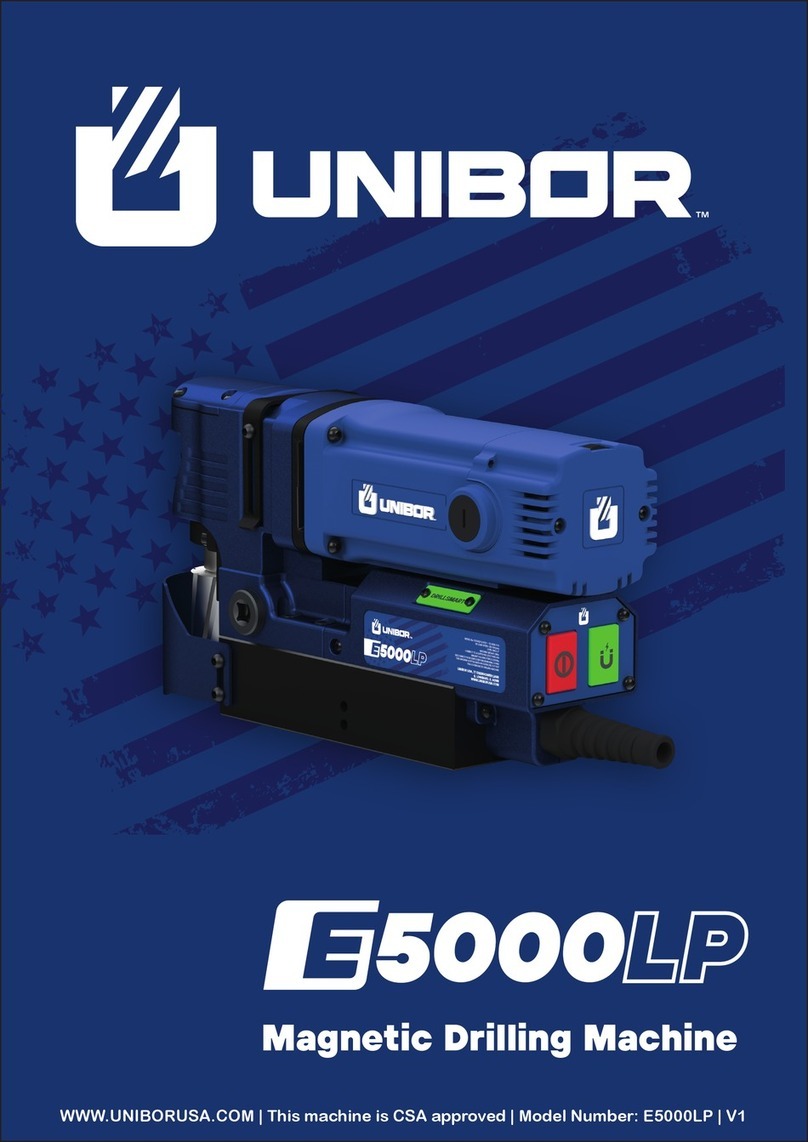
Unibor E6000 PIVOT User manual

1
Magnetic Drilling Machine
WWW.UNIBORUSA.COM | This machine is CSA approved | Model Number: E6000 PIVOT | V1

2

23
Contents
Page
Intended Use 4
General Safety Rules 5
Information Plate Symbols 7
Specication 8
Operational Safety Procedures 9
10
11
12
13
14
15
16
17
19
21
22
23
25
26
Operating Instructions
Control Panel
Gear Selection
Extension Cable Selection
Mounting Of Cutters
Troubleshooting
Wiring Diagram
Machine Parts
Motor & Gearbox Parts
Fitting the Chuck
Pipe Adapter
Maintenance
Cutting Speed Selection
Warranty Statements
P/N List of Contents with Magnetic Drill Unit
RDC4083 Safety belt
RD4152 3mm hexagonal spanner
RDC4084 13mm Chuck
CA120 Arbor assembly – 6mm hexagonal spanner included
RDC4086 Drift
RDC4087 Arbor shank
RDC4089 Spare brush 110V
RD32059 25mm Arbor Extension Body

4
Intended Use
The intended use of this magnetic drill is to drill holes in ferrous metals. The magnet is
used to hold the drill in place whilst the drill is functioning. It is designed for use in fabrica-
tion, construction, railways, petrochemical and any other applications when drilling ferrous
metal.
Any deviation from its intended use will not be covered by warranty.

45
General Safety Rules
WARNING! Read and understand all instructions. Failure to follow all instructions listed
below, may result in electric shock, re and/or serious personal injury.
SAVE THESE INSTRUCTIONS
Work Area
1. Keep your work area clean and well lit. Cluttered benches and dark areas invite acci-
dents.
2. Do not operate power tools in explosive atmospheres, such as in the presence of
ammable liquids, gases, or dust. Power tools create sparks which may ignite the dust
or fumes.
3. Keep bystanders, children, and visitors away while operating a power tool. Distrac-
tions can cause you to lose control.
Electrical Safety
1. Grounded tools must be plugged into an outlet properly installed and grounded in ac-
cordance with all codes and ordinances. Never remove the grounding prong or modify
the plug in any way. Do not use any adaptor plugs. Check with a qualied electrician if
you are in doubt as to whether the outlet is properly grounded. If the tools should elec-
trically malfunction or break down, grounding provides a low resistance path to carry
electricity away from the user.
2. Avoid body contact with grounded surfaces such as pipes, radiators, ranges and re-
frigerators. There is an increased risk of electric shock if your body is grounded.
3. Don't expose power tools to rain or wet conditions. Water entering a power tool will
increase the risk of electric shock.
4. Do not abuse the cord. Never use the cord to carry the tools or pull the plug from an
outlet. Keep cord away from heat, oil, sharp edges or moving parts. Replace damaged
cords immediately. Damaged cords increase the risk of electric shock.
5. When operating a power tool outside, use an outdoor extension cord marked "W-A"
or "W". These cords are rated for outdoor use and reduce the risk of electric shock.
Personal Safety
1. Stay alert, watch what you are doing and use common sense when operating a power
tool. Do not use tools when tired or under the inuence of drugs, alcohol, or medica-
tion. A moment of inattention while operating power tools may result in serious person-
al injury.
2. Dress properly. Do not wear loose clothing or jewelry. Contain long hair. Keep your
hair, clothing, and gloves away from moving parts. Loose clothes, jewelry or long hair
can be caught in moving parts.
3. Avoid accidental starting. Be sure switch is o before plugging in. Carrying tools with
your nger on the switch or plugging in tools that have the switch on invites accidents.
4. Remove adjusting keys or wrenches before turning the tool on. A wrench or a key
that is left attached to a rotating part of the tool may result in personal injury.
5. Do not overreach. Keep proper footing and balance at all times. Proper footing and

46
General Safety Rules
Tool Use and Care
1. Use clamps or other practical way to secure and support the workpiece to a stable
platform. Holding the work by hand or against your body is unstable and may lead to
loss of control.
2 . Do not force tool. Use the correct tool for your application. The correct tool will do
the job better and
safer at the rate in which it is designed.
3. Do not use tool if switch does not turn it on or off. Any tool that cannot be controlled
with the switch is dangerous and must be repaired.
4. Disconnect the plug from the power source before making any adjustments, chang-
ing accessories, or storing the tool. Such preventive safety measures reduce the risk of
starting the tool accidentally.
5. Store idle tools out of reach of children and other untrained persons. Tools are dan-
gerous in the hands of untrained users.
6. Maintain tools with care. Keep cutting tools sharp and clean. Properly maintained
tools, with sharp cutting edges are less likely to bind and are easier to control.
7. Check for misalignment or binding of moving parts, breakage of parts, and any other
condition that may affect the tools operation. If damaged, have the tool serviced
before using. Many accidents are caused by poorly maintained tools.
8. Use only accessories that are recommended by the manufacturer for your model.
Accessories that may be suitable for one tool, may become hazardous when used on
another tool.
9. Always use safety chain. Mounting can release.
SERVICE
1. Tools service must be performed only by qualified repair personnel. Service or
main-tenance performed by unqualified personnel could result in a risk of injury.
2.When servicing a tool, use only identical replacement parts. Follow instructions in
the Maintenance section of this manual. Use of unauthorized parts or failure to follow
Maintenance Instructions may create a risk of electric shock or injury.

67
Information Plate Symbols
1. Refer to the user manual for operational and safety issues with regards to
this machine.
2. Dispose of the machine and electrical components correctly.
3. Eye protection must be worn when operating the machine.
4. Ear defenders must be worn when operating the machine.

8
Maximum
Arbor
hole cutting capacity in .2/.3C steel = 2-3/8” dia. x 3”
deep bore = MT2
Suitable only for a single phase 50-60Hz A.C. power supply
DO NOT USE ON D.C. SUPPLY
Do not use your magnetic drill on the same structure when arc welding is in pro-
gress. D.C. current will earth back through the magnet and cause irreparable dam-
age.
WARNING: THIS APPLIANCE MUST BE EARTHED!
NB: ANY MODIFICATIONS TO THIS MACHINE WILL INVALIDATE THE GUARANTEE
Motor Unit
Voltages 120V 50-60Hz
Normal Full Load 14A
Size 10-7/8” long
7-1/2" wide
Holding Force at 20°C with 1"
minimum plate thickness
1900lbs
The use on any material less than 1" thick will progressively reduce the magnetic
performance. If possible, substitute material should be positioned under the mag-
net and work piece to equate to a suitable material thickness. If this is not
possible, an alternative secure method of restraining the machine MUST be used.
Overall Dimensions
Height - Maximum 23-13/64”
Width (inc Capstan Fitting) 7-1/2”
Length Overall (inc Guard) 12-1/2”
Nett Weight 39lbs
Part E5000PIVOT
s
Specication

89
s
Operational Safety Procedure
READ BEFORE USING THE MACHINE
• When using electrical tools, basic safety precautions should always be followed to reduce the
risk of electric shock, fire and personal injury.
• Ensure the magnet is off before plugging in the machine.
• Do not use in wet or damp conditions. Failure to do so may result in personal injury.
• Do not use in the presence of flammable liquids, gases or in high risk environments. Failure to do so
may result in personal injury.
• Before activating the machine, inspect all electrical supply cables (including extension leads)
and replace if damaged. Do not use if there are any signs of damage.
• Only use extension cables approved for site conditions.
• Before activating the machine, always check the correct function of all operational systems, switches,
magnet etc.
• Before operating, the machine must be securely restrained to a fixed independent feature by using
safety strap RDC4083 and stationary rings RDC4082.Affix the stationary rings into the magnet,
uppermost side hole to reduce the potential free movement. Should the magnet become detached
from the work piece. Failure to do so may result in personal injury.
• Always wear approved eye protectors, ear defenders and recommended PPE when operating the
machine.
• Disconnect from power source when changing cutters or working on the machine.
• Cutters and swarf are sharp, always ensure that hands are adequately protected when changing
cutters or removing swarf. Use a tool or brush where necessary to remove any swarf or the cutter from
the arbor.
• Before operating the machine, always ensure cutter-retaining screws are secured tightly.
• Regularly clear the work area and machine of swarf and dirt, paying attention to the underside of the
magnet base.
• Always remove tie, rings, watches and any loose adornments that might entangle with the rotating
machinery before operating.
• Always ensure that long hair is securely enclosed by an approved restraint before operating the
machine.
• Should the cutter become stuck in the work piece, stop the motor immediately to prevent personal
injury. Disconnect from power source and turn arbor to and from. Do not attempt to free the cutter by
switching the motor on and off. Wear safety gloves to remove the cutter from the arbor.
• If the machine is accidentally dropped, always thoroughly examine the machine for signs of damage
and check that it functions correctly before resuming drilling.
• Regularly inspect the machine and check for any damaged or loose parts.
• Always ensure when using the machine in an inverted position that only the minimum amount of
coolant is used and that care is taken to ensure that coolant does not enter the motor unit.
• Cutting tools may shatter, always position the guard over the cutter before activating the
machine. Failure to do so may result in personal injury.
• On completion of the cut, a slug will be ejected.
• When not in use always store the machine in a safe and secure location.
• Always ensure that approved Unibor ™ agents conduct repairs.
10
s
Operational Instructions
Keep the inside of the cutter clear of swarf. It restricts the operating depth of the cutter.
• Ensure that the coolant bottle contains sufficient cutting oil to complete the required operating
duration. Refill as required.
• Occasionally depress the pilot to ensure cutting fluid is being correctly metered.
• To start the machine, follow the control panel operation instructions.
• ALWAYS switch off the motor by depressing the MOTOR stop button. DO NOT switch off the motor
by depressing the MAGNET switch.
• Apply light pressure when commencing the cut of a hole until the cutter is introduced into the work
surface. Pressure can then be increased sufficiently to load the motor. Excessive pressure is
undesirable, it does not increase the speed of penetration and will cause the safety overload protection
device to stop the motor, (the motor can be restarted by operating the motor start button), and may
cause excessive heat which may result in inconsistent slug ejection
• Always ensure that the slug has been ejected from the previous hole before commencing to cut the
next.
• If the slug sticks in the cutter, move the machine to a flat surface, switch on the magnet and gently
bring the cutter down to make contact with the surface. This will usually straighten a cocked slug and
allow it to eject normally.
• Apply a small amount of light oil lubricant regularly to the slide and arbor support bearing.
• Cutter breakage is usually caused by insecure anchorage, a loosely fitting slide or a worn bearing in
the arbor support. (Refer to routine maintenance instructions).
• Only use approved cutting fluid do not use water diluted cutting oil.

10 11
s
Control Panel

12
s
Gear Selection
The UNIBOR E5000 magnetic drill is fitted with a 2-speed gearbox. The gear is used to
reduce the output speed when using larger cutters.
Slide Selector Position Up Slide Selector Position Down

12 13
s
Extension Cable Selection
The machines are factory fitted with a 9 ¾ft length of cable having three conductors 14AWG
LIVE, NEUTRAL and EARTH. If it becomes necessary to fit an extension cable from the power source,
care must be taken in using a cable of adequate capacity. Failure to do so will result in a loss of
traction by the magnet and a reduction of power from the motor.
Assuming a normal AC supply of the correct voltage, it is recommended that the following extension
lengths shall not be exceeded:
For 120v supply: 11 ½ft of 3 core x 14AWG
ALWAYS DISCONNECT THE MACHINE FROM THE POWER SOURCE BEFORE CHANGING CUTTERS.

14
s
Mounting Of Cutters
• The machine has been made to accept cutters having 3/4” dia. Weldon shanks.
• The following procedure is to be used when mounting cutters:
• With the machine in the upright position, ensure the Arbor Assembly (CA120) is fully inserted into
Arbor Spindle (RDC4009).
• Take appropriate pilot and place through the hole in cutter shank. Insert shank of cutter into
bore of Arbor Assembly, ensuring alignment of two drive flats with socket screws.
• Tighten both screws using hexagon key.

15
s
Troubleshooting
Magnet and motor do not function.-Damaged or defective wiring.
-Defective fuse.
- Defective control unit.
- Defective power supply.
- Damaged or defective wiring
- Carbon brushes are stuck or worn out
- Defective on / off switch
- Defective control unit
- Defective armature and/or field
- Defective protective reed switch
- Play in the guide
- Bent spindle
- Shaft extending from the motor is bent
- Pilot bent
- Bent spindle
- Shaft extending from the motor is bent
- Triangular guide not mounted straight
- Dirt between spindle and the guide
- Armature Gear ring worn out
- Gear(s) worn out
- No grease in gear box
- Armature damaged
- Field coil burnt
- Carbon brushes worn out
- Damaged or defective wiring
- Damage to armature or field coil
- Damaged or defective brushes
- Guide is set too tight
- Guide is dry
- Guide/Rack/Pinion is dirty or damaged
- Bottom of magnet not clean and dry
- Bottom of magnet not flat
- Work piece is not bare metal
- Work piece is not flat
- Work piece is too thin less than 3.5mm
- Defective control unit
- Defective magnet
- Damaged / defective wiring
- Motor seriously dirty
Magnet does function, the motor does not.
Hole cutters break quickly, holes are
bigger than the hole cutter.
Motor running roughly and/or seizing up.
Motor making a rattling sound.
Motor humming, sparks and motor has no force.
Motor does not start or fails.
Guiding takes a great deal of effort.
Insufficient magnetic force.
Frame under voltage.
- Damaged or defective wiring
- Wrong value fuse
- Defective magnet switch
- Defective control unit
- Damaged or defective wiring
- Wrong value fuse
- Motor running roughly
- Defective armature and / or field
- Carbon brushes worn out
- Defective control unit
- Loose or defective gear-rack
- Defective rotation system
Fuse blows when magnet switch is turned on.
Fuse blows when motor is started up.
Rotation system free stroke too long.

16 16
s
Wiring Diagram

17
s
Machine Parts

18
s
Machine Parts

18 19
s
Motor & Gearbox Parts

18 20
s
Motor & Gearbox Parts
Table of contents
Other Unibor Drill manuals

Unibor
Unibor COMMANDO 40 User manual

Unibor
Unibor CR35 User manual

Unibor
Unibor ELP50 User manual

Unibor
Unibor E100 PLUS User manual

Unibor
Unibor EQ35 User manual

Unibor
Unibor COMMANDO 35 User manual

Unibor
Unibor ELP50/1A User manual

Unibor
Unibor Airbor 2 User manual

Unibor
Unibor E100 User manual

Unibor
Unibor UA5000 User manual
Popular Drill manuals by other brands

Makita
Makita DDF480 instruction manual

Hilti
Hilti TE 6-A36 operating instructions

Parkside
Parkside PABS 20-Li C3 Translation of the original instructions

Stomer Professional
Stomer Professional SMD-1200 user manual

EDM Product
EDM Product 08374 instruction manual

Draper
Draper STORMFORCE CSDS20SF user manual