This is the movement to bring a new slide on the screen.
To change:
1.Press SETUP, use and to select Slide Show Effect.
2.Use and to select the effect.
3.Press EXIT to conrm and get out.
The “COLOUR BOOSTER” function uses proprietary
technology to boost your photo’s quality by enhancing its colour,
sharpness and contast.
To enable this function simply repeatedly press COLOUR
BOOSTER, it cycles through the three display modes: original
photo, comparison and enhanced photo.
You can adjust your photo’s brightness, contast and colour
saturation following these steps:
1. While viewing the photo, press and hold ENTER, the
“adjustment bars” appears on the screen.
2. Use to select brightness ( ), contrast ( ) and colour
saturation ( ).
3. Repeatedly press to adjust the settings.
4. Press EXIT to conrm and save the change, and get out.
You can use any photo stored in the Internal Memory for
opening screen photo when the Photo Frame is rst turned on.
1. Select Internal Memory.
2. Display the photos in thumbnail mode.
3. Press COPY, “Set boot logo?” appears, select “OK” and press
ENTER to conrm.
You can access all function settings below by pressing SETUP.
You can zoom in (1.3, 1.5, 2) your photos by repeatedly pressing
ZOOM. On zoom-in photo, use to pan through the
enlarged image, and press EXIT to return to the original
You can rotate your photos to view them at different angles.
1. Select your desired photo.
2. Repeatedly press ROTATE to rotate the photos to your
desired angle.
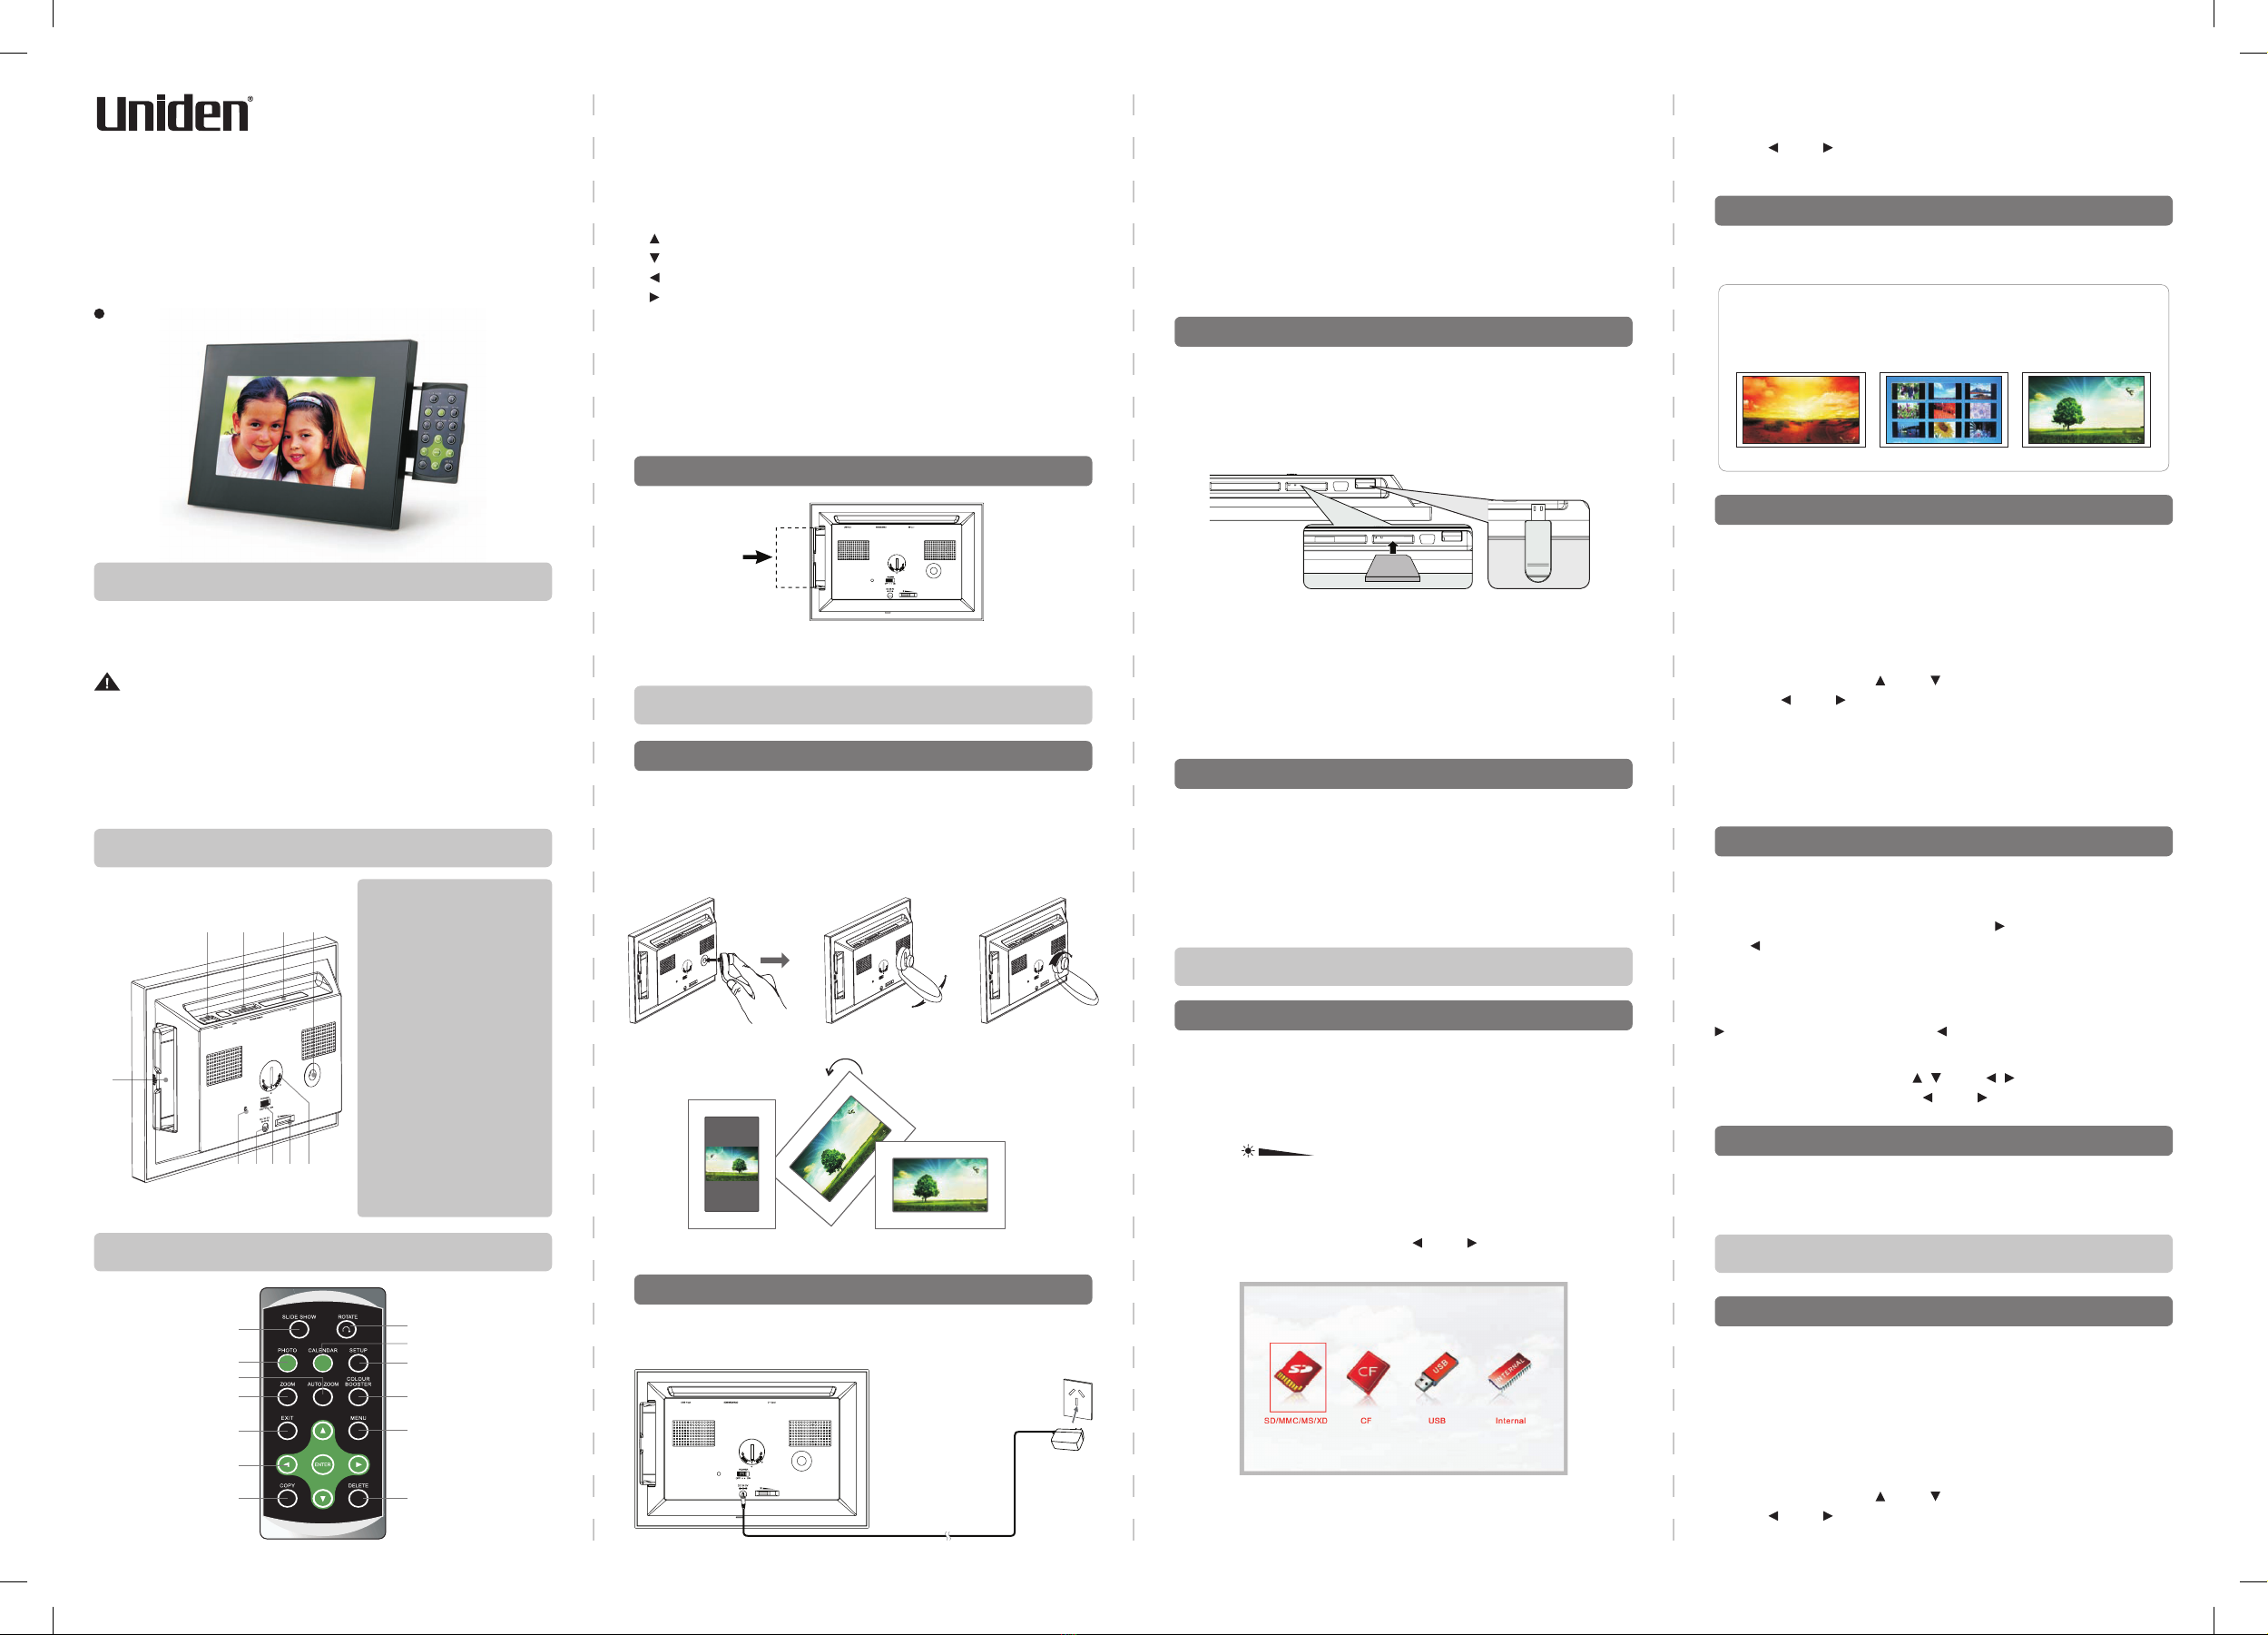
You can view photos in three formats: Original, Full Screen, Auto
Zoom. Repeatedly press AUTO ZOOM to view Original, Full
Screen, Auto Zoom. In Auto zoom mode, if your original photo
is too small, the Photo Frame may not be ablet o ll the photo in
the whole screen.
Specications are subject to change without notice. While efforts have been made
to ensure accuracy, the manufacturer will not be held liable for any innacuracies or
errors in the information contained within.
© 2009 Uniden Australia Pty Ltd. Uniden New Zealand Ltd.
Printed in PRC
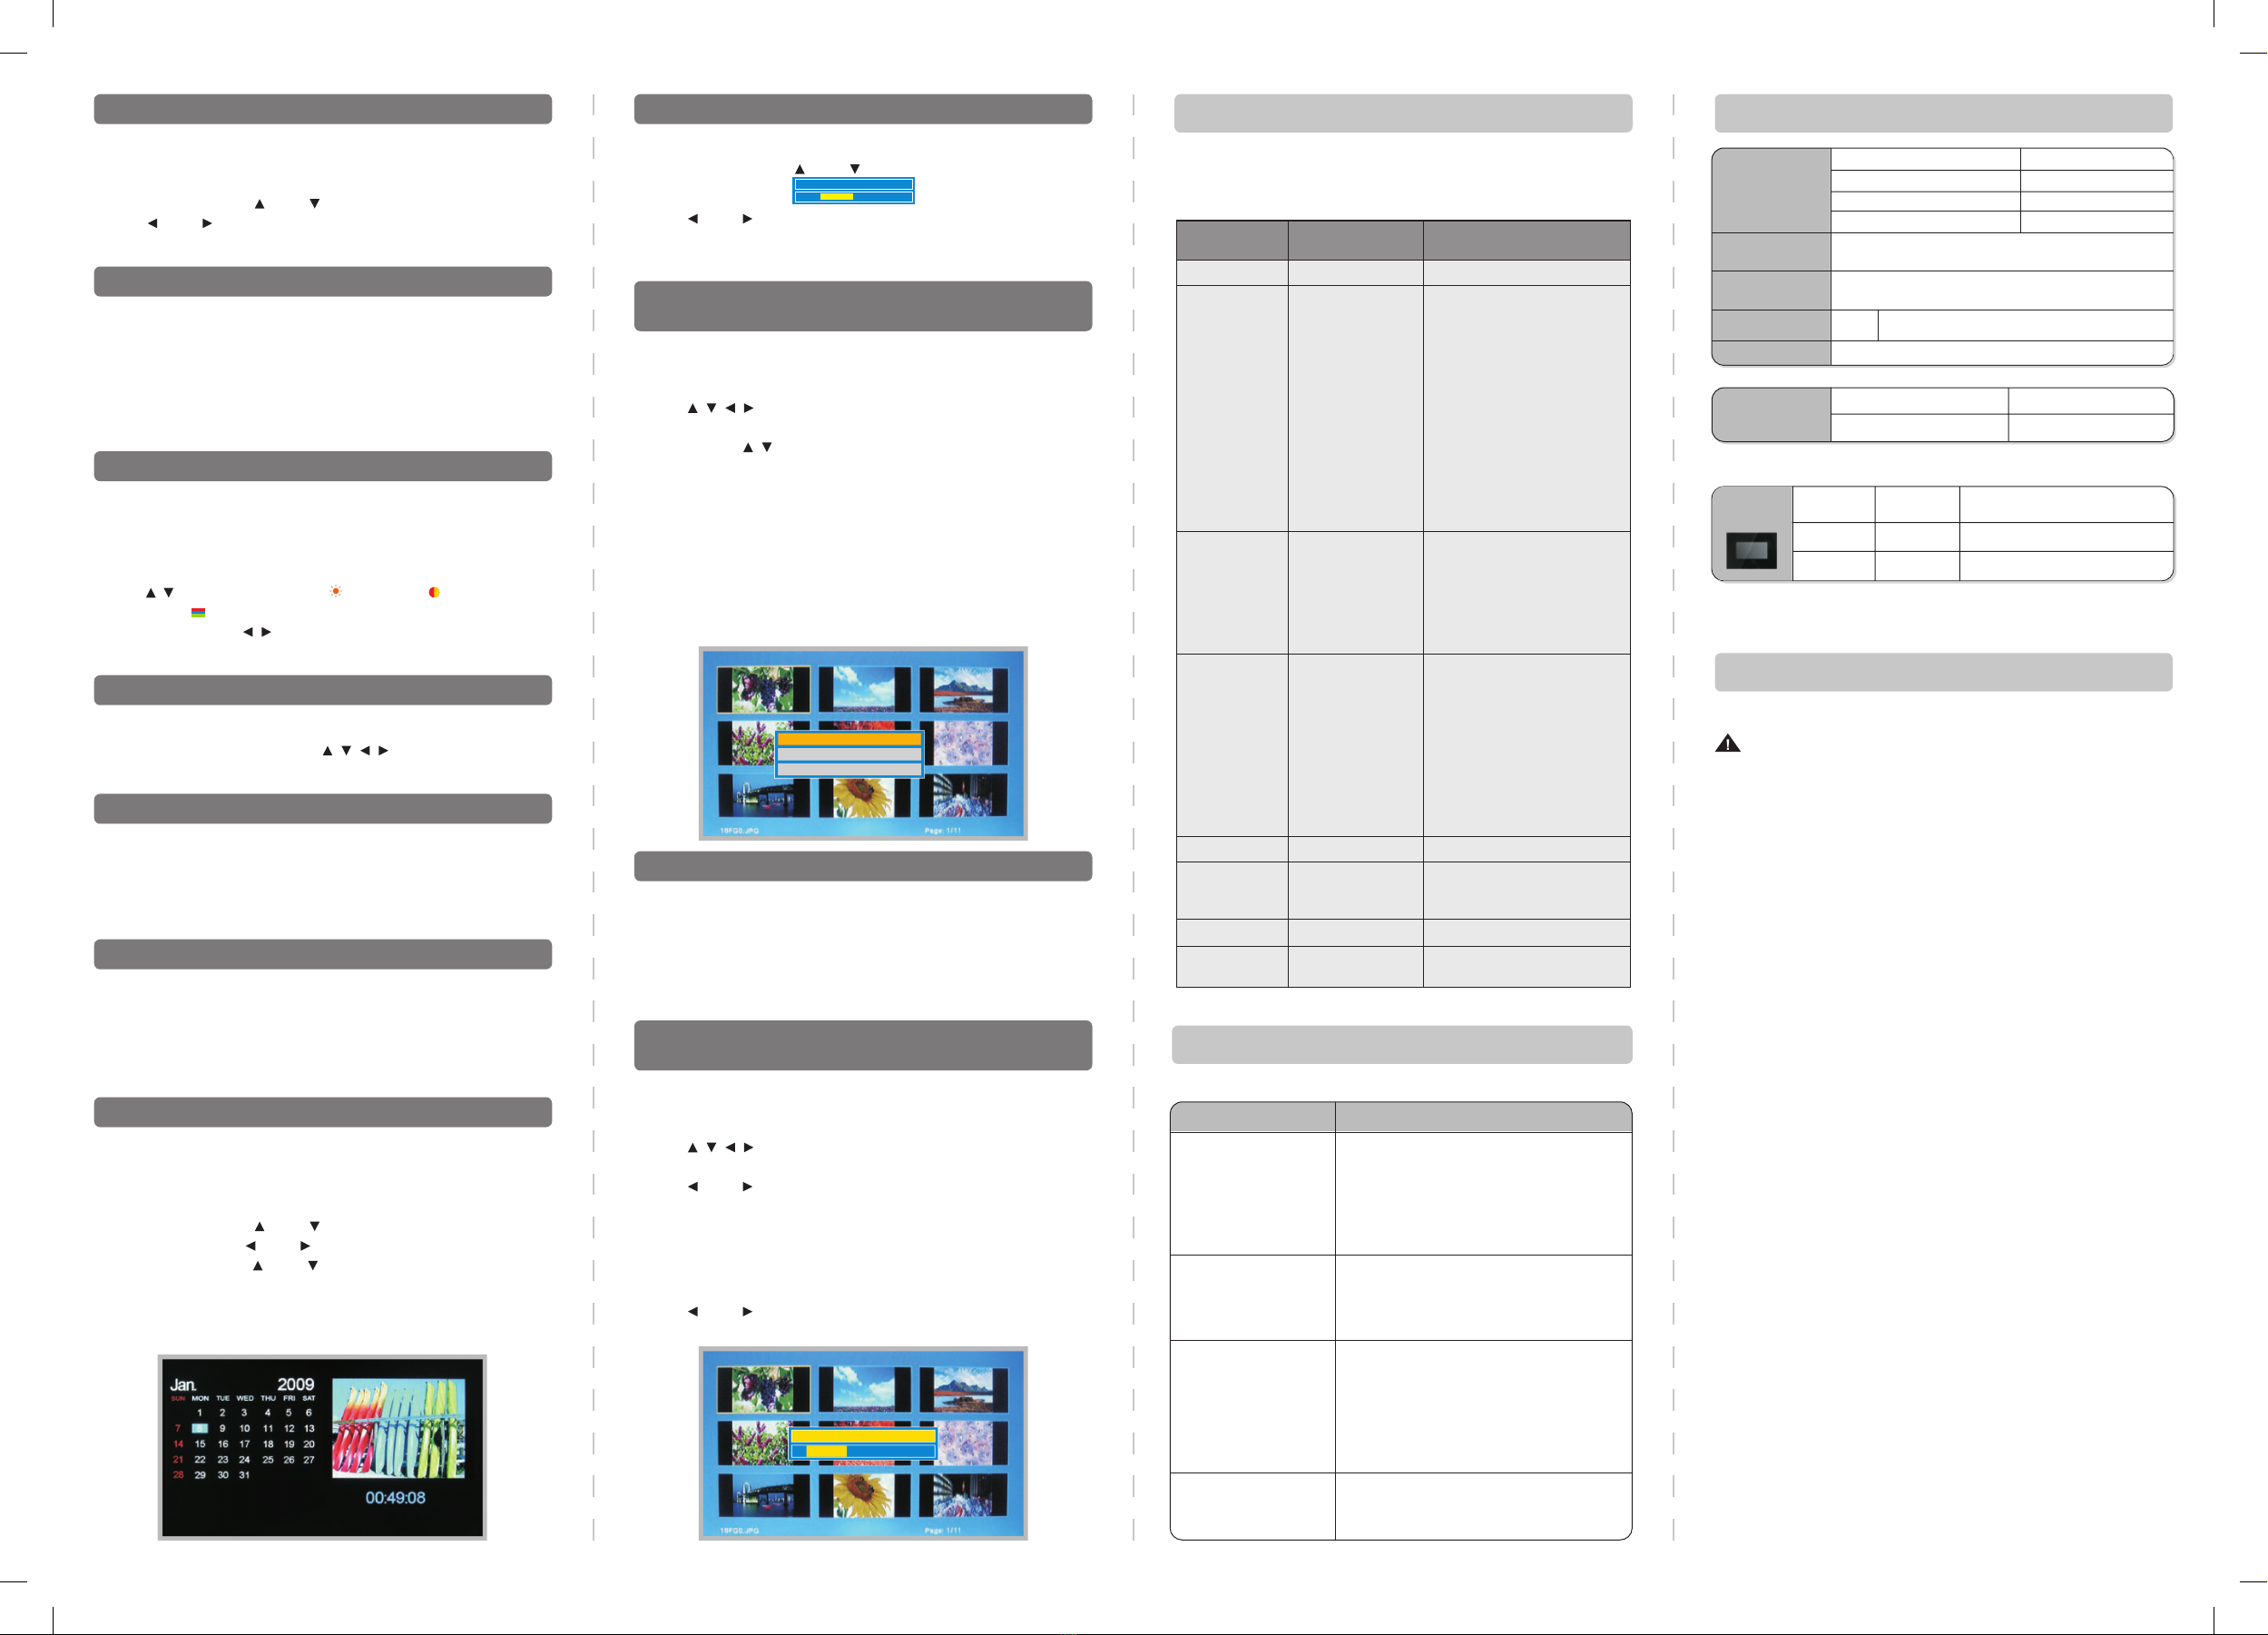
You can display time and calendar any time by pressing
CALENDAR, press EXIT to get out.
Follow these steps to set date and time:
1.Press SETUP, use and to select Time Set.
2.Repeatedly press and to select the year, month, day
and time, then use and to set the correct settings.
3.Press EXIT to conrm and get out.
Note: In the case of a power interruption, the built-in battery
maintains the correct time and date.
Method 1:
1. Select the media source (memory card, USB).
2.Display the photos in thumbnail mode.
2.Use to select the photos to be copied, press
COPY and the target storage devices dialog appears on the
screen, use to make your selection, and press ENTER
to make the copy, “File Copied” appears, press ENTER to
conrm.
3.Repeat step 3 to copy another photo.
Method 2:
1. Select the media source (memory card, USB).
2.Display the photos in browse or slide show mode.
3.Press COPY, “Copy To Internal Memory” dialog appears on
the screen, and press ENTER to conrm.
4.Repeat step 3 to copy another photo.
Method 1:
1. Select the media source (memory card, USB, internal memory).
2.Display the photos in thumbnail mode.
3.Use to select the photos to be deleted.
4.Press DELETE and the dialog box appears on the screen.
5.Use and to select “OK”, and press ENTER to delete.
6.Repeat step 3 to 5 to delete another photo.
Method 2:
1.Select the internal memory.
2.Display the photos in browse or slide show mode.
3. Press DELETE and the deleting dialog box appears on the screen.
4.Use and to select “OK”, and press ENTER to delete.
5.Repeat step 3 to 4 to delete another photo.
Follow these steps to set Default value:
1.Press SETUP, use and to select Default.
2.Press ENTER and
Reset Settings?
Yes No appears on screen.
3.Use and to select ‘Yes’, press ENTER to conrm and
get out.
Note: Reset to default setting will not change the time and date.
Zooming
Rotating Your Photos
Default Setting
AUTO ZOOM
Showing Time and Calendar
Slideshow Effect
Enhancing Photo Quality
Adjusting Brightness, Contrast and Colour
Changing Opening Screen Photo
Deleting Photos from memory cards, USB or
internal memory
Copying from Memory Card or USB to
Internal Memory
Setup Menu Functions
Troubleshooting
Specications
Copy To Card
Copy To CF Card
Copy To Internal Memory
OK Cancel
Delete File?
OSD Menus
Language
Auto Slide Set
Time Set
Default
Colour Booster
Slideshow
Effect
Slideshow
Duration
Display Mode
Sub-Menus
English
Slideshow On/Off
2008 01 01 00 00
Reset Settings
On
Demo
Off
None
Zigzap Top/Bottom
Box
Blinds
Shutter
Spiral
Bardoor 1/2
Cross/Cross Comb
Stripe
Mask
Diagonal 1/2
Brick
Checker
Stretch
Random
3Sec
5Sec
15Sec
1Min
15Min
1Hour
1Day
Original
Full Screen
Auto Zoom
Description and Function
of Operation
Language Setting
Set the slideshow mode
Set the date and time
Return settings to the default
(factory) settings.
Set photo colour dazzling function
Select style of transition
Select speed of slideshow
Original: display the photo in its
original form.
Auto Zoom: enlarge the photo to
ll the entire screen,
part of photo maybe
cut off (cropped).
Full Screen: stretch the photo,
in its entirety, to ll
the entire screen
but the photo is
distorted.
Does not recognize USB,
USB-Card Reader or
memory cards
No display
The automatic photo
rotation when the Photo
Frame is turned 90 degree
does not work
No photos displayed while
Memory Card or USB
stick has been inserted
1. Check if the card or USB is inserted correctly
and has a good contact with the socket.
2. The USB, or USB-card reader, or Memory
Card does not comply with the USB or card
reader of the Photo Frame, and you need to
use computer to transfer the photo to a
compliant USB or memory card.
1. Make sure the AC Power cord is securely
plugged into an AC outlet.
2. Check Power switch is at ON position.
3. Check the Brightness Adjustment knob is
not set at the minimum.
The sensor may be stuck, shake or tap the Photo
Frame to loosen up the sensor.
1. Remove and insert Memory Card or USB and
make sure the are properly inserted in place.
2. Make sure the image les are in correct
format (JPEG, BMP).
Note: You may use the Microsoft Paint program
to display the wrong-format image and save
the image as standard JPEG or BMP before
displaying on this Photo Frame.
Symptom Check
Power Requirements
TFT-LCD Size
7”/9” (High resolution)
Resolution
800 (RGB) (H) X 480 (V)
Power Consumption
Operating Temperature Range
Operating Voltage
Photo
IN: 100~240V AC OUT: 5V/1.5A DC
General
Display
Readable
Memory
Readable File
AC Adaptor
Internal
Flash Memory
Standard JPEG, BMP.
SD/MMC/MS/xD/CF card and USB (Host)
3 images storage
Input: 100~240V AC
Max 5W
+10°C~ +40°C
5V DC
Weight and Dimensions
TFT-LCD
Size Weight Dimensions
7” 410g 211(W)x143(D)x32(H)mm
9” 602g 256(W)x168(D)x32(H)mm
Style
Important: Evidence of original purchase is required for warranty service.
Warrantor: Uniden Australia Pty Limited A.B.N. 58 001 865 498
Uniden New Zealand Limited
Warranty is only valid in the original country of purchase.
ELEMENT OF WARRANTY: Uniden warrants to the original retail owner for the
duration of this warranty, its UDV-90HD / UDV-70HD (herein after referred to as
the Product), to be free from defects in materials and craftsmanship with only the
limitations or exclusions set out below.
WARRANTY DURATION: This warranty to the original retail owner only, shall
terminate and be of no further effect ONE (1) year after the date of original retail
sale. This warranty will be deemed invalid if the product is;
(A) Damaged or not maintained as reasonable and necessary,
(B) Modied, altered or used as part of any conversion kits, subassemblies, or
any congurations not sold by Uniden,
(C) Improperly installed,
(D) Repaired by someone other than an authorized Uniden Repair Agent for a
defect or malfunction covered by this warranty,
(E) Used in conjunction with any equipment or parts or as part of a system not
manufactured by Uniden, or
(F) Where the Serial Number label of the product has been removed or
damaged beyond recognition.
Warranty only valid in the country of original retail/sale.
PARTS COVERED: This warranty covers for one (1) year, the Product and
included accessories.
STATEMENT OF REMEDY: In the event that the Product does not conform to this
warranty at any time while this warranty is in effect, the warrantor at its discretion,
will repair the defect or replace the Product and return it to you without charge for
parts or service. This warranty does not provide for reimbursement or payment of
incidental or consequential damages.
This EXPRESS WARRANTY is in addition to and does not in any way affect
your rights under the TRADE PRACTICES ACT 1974 (Cth) (Australia) or the
CONSUMER GUARANTEES ACT (New Zealand).
PROCEDURE FOR OBTAINING PERFORMANCE OR WARRANTY: In the event
that the product does not conform to this warranty, the Product should be shipped
or delivered, freight pre-paid, with evidence of original purchase (e.g. a copy of the
sales docket), to the warrantor at:
UNIDEN AUSTRALIA PTY LIMITED UNIDEN NEW ZEALAND LIMITED
Service Division Service Division
345 Princes Highway, 150 Harris Road,
Rockdale, NSW 2216 East Tamaki, Manukau 2103
Fax (02) 9599 3278 Fax (09) 274 4253
www.uniden.com.au www.uniden.co.nz
Limited One Year Warranty
NOTE: Please keep your sales docket as it provides
evidence of warranty.
UDV-70HD / UDV-90HD