UUGear MEGA4 User manual

Copyright © 2021 Dun Cat B.V. All rights reserved.
UUGear is a trade name of Dun Cat B.V.
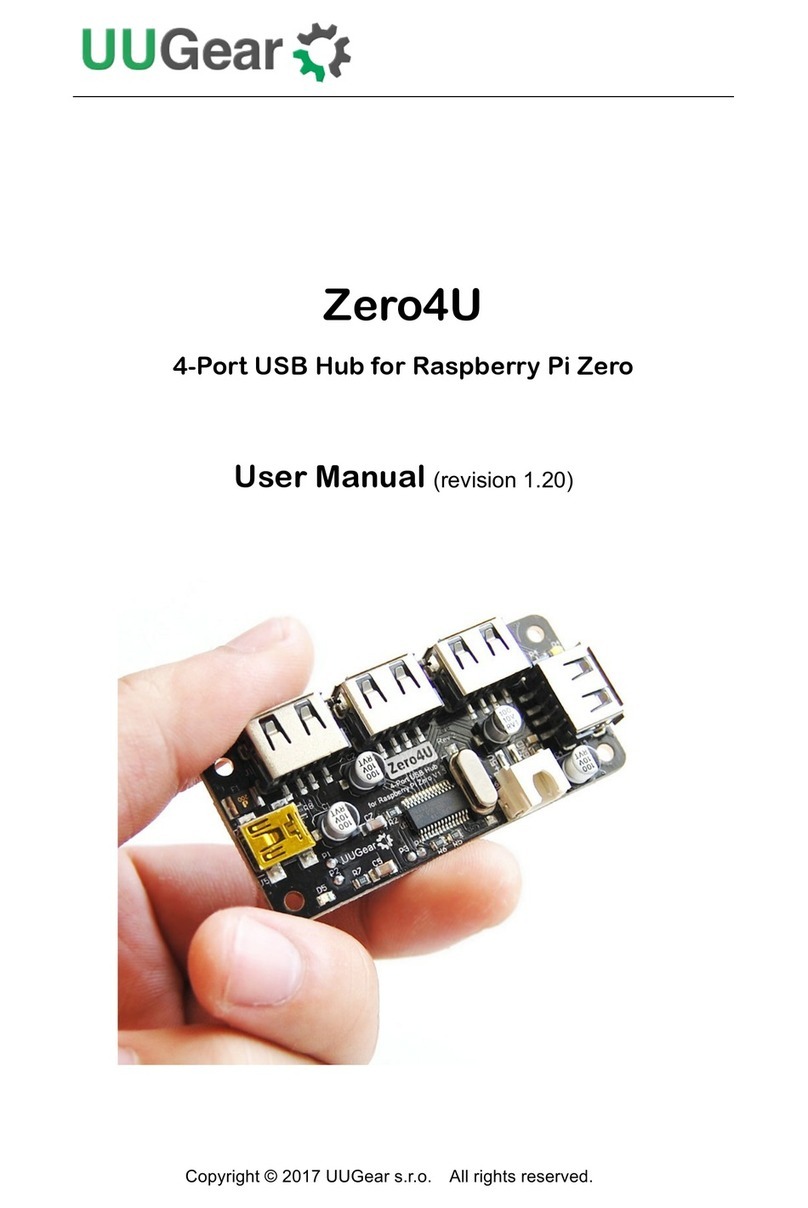
MEGA4: 4-Port USB 3.1 PPPS Hub
for Raspberry Pi 4B
User Manual (revision 1.00)

Copyright © 2021 Dun Cat B.V. All rights reserved.
UUGear is a trade name of Dun Cat B.V.
Table of Content
Product Overview............................................................................................... 1
Package Content................................................................................................ 3
Specifications..................................................................................................... 4
No Back-Power.................................................................................................. 5
About PPPS (Per-Port Power Switching)............................................................ 6
Remotely Reset a USB Device.................................................................... 6
Save Energy ............................................................................................... 6
About Output Current......................................................................................... 7
About MTT and STT........................................................................................... 7
Mount MEGA4 under Raspberry Pi 4B............................................................... 8
Connect Power Supply....................................................................................... 9
Voltages Header and Reset Header................................................................. 10
Software Installation and Usage........................................................................11
Interactive BASH Script..............................................................................11
UUGear Web Interface (UWI).................................................................... 12
Daisy-Chaining MEGA4 Devices...................................................................... 14
Direct Daisy-Chaining ............................................................................... 14
Chaining via USB 3 Extension Cable ........................................................ 14
Stacking Multiple MEGA4 Devices............................................................ 15
Revision History............................................................................................... 18

1
Product Overview
MEGA4 is a 4-Port USB 3.1 PPPS (Per-Port Power Switching) hub designed for
Raspberry Pi 4B. It adds 4 more USB 3.1 ports to Raspberry Pi 4B, and the power on
each port can be turned ON or OFF separately via software.
MEGA4 has the same board size as Raspberry Pi 4B, and can be mounted
underneath. The U-shaped adapter (included) can make data and power connection
between MEGA4 and Raspberry Pi.
MEGA4 is also a powered hub and you can connect 5V power supply to its USB type
C connector and significantly increase its current output ability.
You can turn on/off the power on each USB port via the software or via UUGear Web
Interface (UWI) on PC, Tablet or Smartphone.
Although MEGA4 is designed for Raspberry Pi 4B, you can use it as a USB 3.1 hub
on other computers. You may want to use a USB3.1 extension cable for the
connection.

2
The picture below shows how the board look like:
1~4) Downstream USB port with white LED as power indicator and blue LED as
activity indicator
5) Upstream USB port
6) USB type C power in (DC 5V)
7) Voltages header
8) Reset header
9) Red LED as power indicator for the whole board

3
Package Content
Each package of MEGA4 contains:
MEGA4 board x 1
U-shaped adapter x 1
M2.5 x 10+6mm Copper Standoff x 4
M2.5 screws x 4
M2.5 nuts x 4

4
Specifications
Dimension:
85mmx 56mm x 9mm (USB plug is 7mm protrude)
Weight
29g (net weight without any accessory)
USB Hub Controller
VL817 Q7 (firmware rev 90.23)
Per-Port Power Switch
AP2511 (datasheet)
Ideal Diode MOSFET
AO4447 (datasheet)
Standards
USB 3.1 Gen1 (USB 3.0), 2.0 and 1.1 compatibility
Multiple Transaction Translator (MTT)
Per-Port Power Switching (PPPS)
Per-Port Over Current Protection
Data Speed
USB v3.1 Gen 1: up to 5 Gbps
USB v2.0: up to 480 Mbps
USB v1.1: up to 12 Mbps
USB Ports
Upstream: 1 (A-type USB 3.0 plug)
Downstream: 4 (A-type USB 3.0 female connector)
Output Current
Bus powered only: up to 1.2A in total (limited by
Raspberry Pi 4B)
With supplemental power supply: up to 5A in total, and
2.5A per port (also depends on the power supply)
Static Current
64mA
Operating Temperature
0℃~70℃
Humidity
0~80% RH, no condensing

5
No Back-Power
Back-power (or back feeding power) here means the USB hub provides electronic
power to Raspberry Pi. Because Raspberry PI 4B does not like back feeding power,
MEGA4 does not support back-power either.
On MEGA4 board, there is an "ideal diode" implemented with MOSFET (AO4447).
This "ideal diode" connects the Vbus on Raspberry Pi 4B's USB 3.1 port and the 5V
trace on MEGA4. Hence MEGA4 can draw current from Raspberry Pi 4B and get
powered.
MEGA4 has a USB type C connector, which allows you to connect a supplemental 5V
power supply to increase MEGA4's current output ability. Because of the existence of
"ideal diode", the power provided via USB type C connector will not be fed to
Raspberry Pi 4B.

6
About PPPS (Per-Port Power Switching)
The concept was firstly introduced in USB 2.0 specification, that a USB hub can
advertise three different kinds of power switching on its USB ports:
no power switching
ganged power switching (turn on/off all ports together)
per-port power switching (turn on/off port individually)
The last one is what PPPS stands for. This information can be found if you run
command "sudo lsusb -v".
Although PPPS is included in USB standard for very long time, it is rather difficult to
find a USB hub in the market that actually supports PPPS.
MEGA4 supports PPPS (Per-Port Power Switching).
Not everyone needs PPPS, but it is very useful in some specific cases:
Remotely Reset a USB Device
Some USB devices have their quirks and they might not work correctly after a long
run. After a lot of efforts on troubleshooting, people may find the most simple way to
make the device work again is to reset it (unplug and plug it back). Unfortunately this
cannot be done when the device is in a remote site, and it is a typical scenario that
PPPS can help.
If you have a USB hub that supports PPPS (let's say MEGA4), and that hub is
connected to a computer that has network access (let's say Raspberry Pi 4B), then
you can turn on/off every port on the hub remotely. If you turn off a port and later turn it
on again, the USB device connected to that port will get a full power cycle and hence
will get reset.
Save Energy
Some USB devices are power hungry. You may not want to turn on all USB devices all
the time, especially when your system is powered by battery. If the device is
connected to a USB hub that supports PPPS, you can turn it off when you don't need
it, and that will save energy.

7
About Output Current
If you do not connect a dedicated power supply to MEGA4's USB type C connector, it
will get powered from Raspberry Pi 4B's USB bus. In such case it can draw current up
to 1.2A and its total output current will not exceed that limit.
If you want to connect some high-current devices to MEGA4, you should connect a 5V
power supply to its USB type C connector. In such case the total output current mainly
depends on your power supply, however please keep in mind the USB type C
connector is rated as 5A.Also there is a per-port current limit 2.5A, which comes from
the per-port power switch (AP2511).
About MTT and STT
A USB hub may have two possible ways for organizing Transaction Translators (TTs).
I could have one TT for all downstream ports that have USB devices attached (which
is called Single Transaction Translator, STT), or it could have one TT for each
downstream port (which is called Multiple Transaction Translator, MTT) .
With Single Transaction Translator (STT), connecting one USB 1.1 device to the hub
will force all ports to process data with USB 1.1 standard, thus slowing down all USB
devices on the same USB hub. While with Multiple Transaction Translator (MTT),
each downstream port has its own transaction translator to provide the best USB
performance no matter what class of USB device is connected.
So MTT is better than STT, if the higher price is acceptable.
MEGA4 has Multiple Transaction Translator (MTT).

8
Mount MEGA4 under Raspberry Pi 4B
The recommended way to use MEGA4 is to mount it under your Raspberry Pi 4B. The
first step is to put the 4 copper standoffs on the board and secure them with the
copper screws.
Then you can put your Raspberry Pi 4B on top, and secure it with the copper nuts.
The last step is to plug in the U-shaped adapter and finish the connection.

9
Connect Power Supply
Because MEGA4 can draw power from Raspberry Pi 4B (via the "ideal diode"), it can
work without connecting supplemental power supply, as long as the USB devices on
MEGA4 do not consume more than 1.2A current in total. In such case you can just
connect 5V power supply to your Raspberry Pi 4B.
If you are going to connect some power hungry devices to MEGA4, it is better to
connect another 5V power supply to MEGA4. This will significantly increase its ability
of outputting high current.

10
Voltages Header and Reset Header
There is a voltages header (P1) on the edge, which breaks out some important
voltages on the board.
Vbus: the voltage from Raspberry Pi's USB bus
5V: the main power for the hub (direct connects to USB type C)
3V3: the 3.3V used by VL817
1V1: the 1.1V used by VL817
The voltages header can be used to:
test the device
provide voltages to external devices (for very low current devices only).
connect a 5V supplemental power supply (between 5V and GND).
There is also a reset header (P2), which will fully reset the hub when the two pins in
this header are shorted for a moment. It is mainly for testing/debugging purpose. If
you want, you can also make your very own reset button with this header.

11
Software Installation and Usage
You can use MEGA4 as a USB 3.1 hub without installing any software, however if you
wish to turn on/off the power on each USB port, you will need to use the software.
MEGA4's software is a wrapper of uhubctl, and it provides intuitive interface for
controlling the power on each USB port, and also allows you to control your MEGA4
via UUGear Web Interface (UWI).
To install the software, pleaser run the two commands below. Doing so in home
directory is recommended.
The installation script will install the software in "mega4" directory and it will also
install UUGear Web Interface (UWI) in "uwi" directory. After the installation you should
reboot your Pi so the UWI server will be running in the background.
The installation script needs to run with sudo because it will also disable "USB auto
suspend" by modifying the /boot/cmdline.txt file.
Interactive BASH Script
You can enter the "mega4" directory and run the mega4.sh (with sudo):
Please don't forget to use sudo when running mega4.sh, because uhubctl needs sudo
to work properly. This interactive script will list all your MEGA4 devices.
In the middle of the device you will find the ID of the hub ("1-1.2" on the picture below).
If any USB port is turned off, you will see "OFF" text under the port number, otherwise
you will see "ON" instead. If there is a USB device connected to a port, that port will
have a label "*ON", meaning the port also has USB activity.
The picture below shows how it looks like:
pi@raspberrypi:~ $ wget https://www.uugear.com/repo/MEGA4/install.sh
pi@raspberrypi:~ $ sudo sh install.sh
pi@raspberrypi:~ $ cd mega4
pi@raspberrypi:~/mega4 $ sudo ./mega4.sh

12
Here you can input "1" and then specify the port(s) you want to turn ON. You can use
comma to separate multiple ports, or use '-' to specify a range. Some examples:
1(will turn on port 1)
1,3 (will turn on port 1 and port 3)
1-3 (will turn on port 1, port 2 and port 3)
You can also input "2" and then specify the port(s) you want to turn OFF. Again you
can use comma to specify multiple ports, or use '-' to specify a range.
Remarks: if you have multiple MEGA4 hubs daisy-chained, the software will list all of
them and each of them has its own ID. In such case you will also need to specify the
hub you want to control, before specifying the port(s).
UUGear Web Interface (UWI)
You can also monitor and control your MEGA4 device(s) via UUGear Web Interface
(UWI). With default settings you should be able to access your MEGA4 with address
http://raspberrypi:8000/mega4/ on web browser, however if your Raspberry Pi has
been configured to a different host name, you need to specify the correct host name
(or IP address) in the uwi.conf file (in "uwi" directory).

13
The UWI page will list all your MEGA4 devices, and here you can see the status of
every port (powered or not, has USB activity or not). There is a virtual power button on
every USB port, so that you can turn on/off its power.
You can also click the round button on the top-right corner, so it will automatically
refresh the state of your MEGA4 device.
Remarks: turning off the power of a port may take longer than you expected (UWI will
block your input for a few seconds until it is done), because the device driver in Linux
kernel is surprised by USB device being turned off and automatically tries to power it
back on. The workaround is to use the -r option with uhubctl to keep turning the port
off until the kernel gives up (as mentioned in uhubctl's FAQ). This works but it makes
the turning off process longer than expected.
Remarks: if you have multiple MEGA4 hubs daisy-chained, the port that connects to
another MEGA4 device cannot be turned off. You will see its virtual button gets
disabled.

14
Daisy-Chaining MEGA4 Devices
MEGA4 is a USB hub, and it can be daisy-chained like other USB hubs.
By daisy-chaining the device you can build a network of USB ports. In theory you can
have a up to 127 USB ports in the network, and that includes all those ports used for
creating the network tree. Also the network can have up to 7 tiers, which includes the
root hub and the device at the end of the chain.
Remarks: each MEGA4 will draw rather high current during the initialization. When
two or more MEGA4 devices are daisy-chained, it is strongly recommended to
connect another 5V power supply to the USB type C connector on the first MEGA4
board, otherwise the initialization may fail and you will see the LED indicators keep
blinking.
Direct Daisy-Chaining
Because the upstream port on MEGA4 is a USB 3 male connector (plug), the device
can be directly daisy-chained like this:
This is simple and straightforward, but it will be hated by perfectionists because the
two boards are not well aligned, and they are not even on the same plane!
But still, this kind of chaining can be used for quick testing or prototyping. If the whole
system will be placed in a case and the hubs do not need to expose their USB ports,
this can also be an acceptable way for chaining.
Chaining via USB 3 Extension Cable
You can also use a USB 3 extension cable to finish the chaining. MEGA4's upstream
port can be easily connected with the extension cable.

15
Please make sure to use USB 3 extension cable. If you use USB 2 extension cable
instead, the hub can be recognized, but it will work as a USB 2.0 hub.
You can also connect MEGA4 to other computers via USB extension cable.
Stacking Multiple MEGA4 Devices
This is the recommended way to chain multiple MEGA4 devices together. It is elegant
and doesn't need any extra accessory. Assume you have mounted a MEGA4 device
under Raspberry Pi 4B, and now you want to mount another.

16
The first step is to replace two screws with copper standoffs (from another package of
MEGA4), and place other two standoffs on the free mounting holes, as marked in
picture above. You will need to use two copper nuts to fix the newly placed standoffs,
as shown in picture below:
Then you can place the second MEGA4 device on it, and make sure the upstream
port (USB IN) aligns to port 4 of the first MEGA4 device. You can use copper screws
to secure the second board and then use the U-shaped adapter to connect two
MEGA4 devices. Now you are all set!

17
What if you want to mount more? The idea will be the same, but starting from the third
MEGA4 device, you don't change the positions of copper standoffs, and you just
replace the copper screws with standoffs in place.

18
Revision History
Revision
Date
Description
1.00
2021.07.30
Initial revision
Table of contents
Other UUGear Switch manuals
Popular Switch manuals by other brands

Eaton
Eaton PV-25A-4P-AC-I2/SVB-SW/N Instruction leaflet

Cisco
Cisco MDS 9000 Series Configuration guide

Generac Power Systems
Generac Power Systems RTG24SHA1 owner's manual

Johnson Controls
Johnson Controls CSDECM-ADJ Series installation guide

Enerwave
Enerwave WF15S installation instructions

MBA Instruments
MBA Instruments MBA888 Installation and operation instructions