VISTEON CD6 User manual

PREMIUM AM/FM STEREO IN – DASH SIX CD RADIO
(CD CHANGER COMPATIBLE)
Welcome
Please take a few minutes to review this User Manual to become familiar
with your new Visteon In-Dash Six CD Radio features and operation of
controls.
For any information about your Visteon In-Dash Six CD Radio, please
call 1-800-367-3333.
1
Welcome
AUDIOPHILE AM/FM STEREO IN–DASH SIX CD RADIO
(CD CHANGER COMPATIBLE)
1
SHUF SCAN DSP
MUTE
DISC
TUNE
CD
PUSH
ON
AM
FM
2 3 4 5 6
MENU
SEEK
BASS
TREB
BAL
FADE
SEL
REW FF
EJ
LOAD
1
SHUF SCAN COMP
MUTE
DISC
TUNE
CD
PUSH
ON
AM
FM
23456
MENU
SEEK
BASS
TREB
BAL
FADE
SEL
REW FF
EJ
LOAD

2
Warranty and Service
Limited Warranty
The CD 6 Audio System Limited
Warranty is provided by Visteon.
Visteon will provide at no cost for
the repair or replacement of covered
components during the Limited
Warranty Period in accordance with
the following terms, conditions, and
limitations.
Eligibility
Original and subsequent purchasers
of the CD 6 Audio System, installed
by an authorized VISTEON Sales and
Service Center or Sales Center, are
eligible to enforce the conditions
and terms of this limited warranty for
the duration of the applicable
Limited Warranty Period.
Limited Warranty Period
New Vehicle
• If the CD 6 Audio System is
installed prior to delivery to initial
vehicle owner: three (3) years from
date the vehicle was delivered to the
original vehicle owner, or the first
36,000 miles as registered on the
vehicle’s odometer from time of
installation, whichever expires first.
• If the CD 6 Audio System is
installed up to 90 days after new
vehicle delivery: three (3) years from
date of installation, or the first
36,000 miles as registered on the
vehicle’s odometer from the time of
installation, whichever expires first.

3
Warranty and Service
• If the CD 6 Audio System is
installed after the first 90 days after
new vehicle delivery: one (1) year
from the date of installation.
Used Vehicle
• If the CD 6 Audio System is
installed on a used vehicle: one (1)
year from the date of installation.
Parts and Services
Except as follows, all the CD 6 Audio
System parts (and applicable labor)
are covered at no charge when failure
is due to a defect in a part, material
or workmanship during normal use
for the duration of the applicable
Limited Warranty Period.
Limitations and Exclusions
The Limited Warranty does not
cover:
• Repairs and replacement due to
recalls by vehicle manufacturer.
• Repairs caused by damage or
unreasonable use, road hazard,
accident, fire or other casualty,
misuse, negligence, or failures
caused by modifications or parts not
authorized by or supplied by the
vehicle manufacturer or the CD 6
Audio System manufacturer or
warrantor.
• Damage from the environment
(airborne fallout, acts of war,
flood, chemicals, tree sap, salt,
hail, windstorm, lightning).

4
Warranty and Service
• Damage due to theft, vandalism
or riot.
• Customer–applied chemicals or
accidental spills.
• Repairs needed to a covered part
caused by a non-covered part.
• Repairs if the odometer is altered,
disconnected, broken, repaired or
replaced so that the actual mileage
cannot be determined.
• To the extent allowed by law, loss
of use of vehicle and/or the CD 6
Audio System, loss of time, inconve-
nience commercial loss, consequen-
tial damages and personal expenses.
• Repairs performed outside of the
50 states and Canada, repairs
required because of operation
outside of the 50 states and
Canada.
• Any CD 6 Audio System installed
or repaired by any entity other than
an authorized VISTEON Sales and
Service Center or Sales Center.
• There are no express
warranties except as listed above.
• The warrantor shall not be liable
for incidental or consequential
damages resulting from the use of
this product, or arising out of any
breach of this warranty. All express
and implied warranties, including
the warranties of merchantability
and fitness for a particular
purpose, are limited to the
applicable limited warranty period
and terms set forth above.

5
Warranty and Service
Some states do not allow limita-
tions on how long an implied
warranty lasts, so the above
limitation may not apply to you.
Some states do not allow the
exclusion or limitation of
incidental or consequential
damages, so the above limitation
or exclusion may not apply to you.
This warranty gives you specific
legal rights, and you may also have
other rights, which may vary from
state to state.
Procedures For Obtaining Repair
During the applicable Limited
Warranty Period, call the Visteon
Global Customer Service Operations
Call Center at 1-800-367-3333 to
locate the Visteon Sales and Service
Center or Sales Center in the area.
Proof of the CD 6 Audio System
installation date, vehicle delivery
date, and proof of vehicle mileage at
time of installation is required to
obtain limited warranty repair. For
further information on limited
warranty performance and coverage,
contact the the CD 6 Audio System
Warrantor, VISTEON, through its
Customer Service Operations Call
Center at 1-800-367-3333 or write
to:

6
Warranty and Service
WARRANTOR:
VISTEON Global Customer Service
PO Box 532290
STE 400C
Livonia, MI 48153-2290 USA

Table of Contents
7
Welcome ..................................................................................... 1
Warranty and Service
Limited Warranty ............................................................................................... 2
Parts and Services ............................................................................................ 3
Procedures For Obtaining Repair .................................................................. 5
Controls and Features
Volume/power control ....................................................................................... 9
AM/FM select
AM/FM select in radio mode ......................................................................... 9
AM/FM select in CD mode ............................................................................ 9
Tune adjust
Tune adjust in radio mode .............................................................................. 9
Tune adjust for CD mode ............................................................................. 10
Seek function
Seek function in radio mode ........................................................................ 10
Seek function in CD mode ........................................................................... 10
Scan function
Scan function in radio mode ........................................................................ 11
Scan function in CD mode ........................................................................... 11
Radio station memory preset ......................................................................... 11
Setting memory preset stations .................................................................... 12
Autostore
Starting autostore .......................................................................................... 13
CD select ............................................................................................................ 13
Display description........................................................................................... 14
Load ..................................................................................................................... 14
Auto load ............................................................................................................ 15
Eject ..................................................................................................................... 15
Auto eject ........................................................................................................... 16
Rewind ................................................................................................................. 16
Fast forward........................................................................................................ 17
Shuffle feature ................................................................................................... 17
Compression feature (if equipped) ..............................................................17
Bass adjust ......................................................................................................... 18

Table of Contents
8
Treble adjust ...................................................................................................... 18
Speaker balance adjust .................................................................................... 18
Speaker fade adjust .......................................................................................... 18
Radio Data System (RDS)............................................................................... 19
Traffic announcements .................................................................................. 19
Find type.......................................................................................................... 20
Show in display .............................................................................................. 20
Menu mode ...................................................................................................... 21
Digital signal processing (if equipped) ....................................................... 22
Phone mode ...................................................................................................... 23
Setting the clock .............................................................................................. 23
Cleaning and Care
Troubleshooting the CD changer (if equipped) ....................................... 24
Cleaning compact discs.................................................................................. 24
CD and CD changer care ............................................................................... 25
Radio frequency information ..................................................... 25

9
Controls and Features
Volume/power control
Press the control to turn the audio
system on or off.
Turn the control to raise or lower
volume.
If the volume is set above a certain
level and the ignition is turned off,
the volume will come back on at a
“nominal” listening level when the
ignition switch is turned back on.
AM/FM select
The AM/FM select control works in
radio and CD modes.
AM/FM select in radio mode
This control allows you to select AM
or FM frequency bands. Press the
control to switch between AM, FM1
or FM2 memory preset stations.
AM/FM select in CD mode
Press this control to stop CD play
and begin radio play.
Tune adjust
The tune control works in radio or CD
mode.
Tune adjust in radio mode
• Press to move to the next
CD
AM
FM
PUSH
ON
PUSH
ON
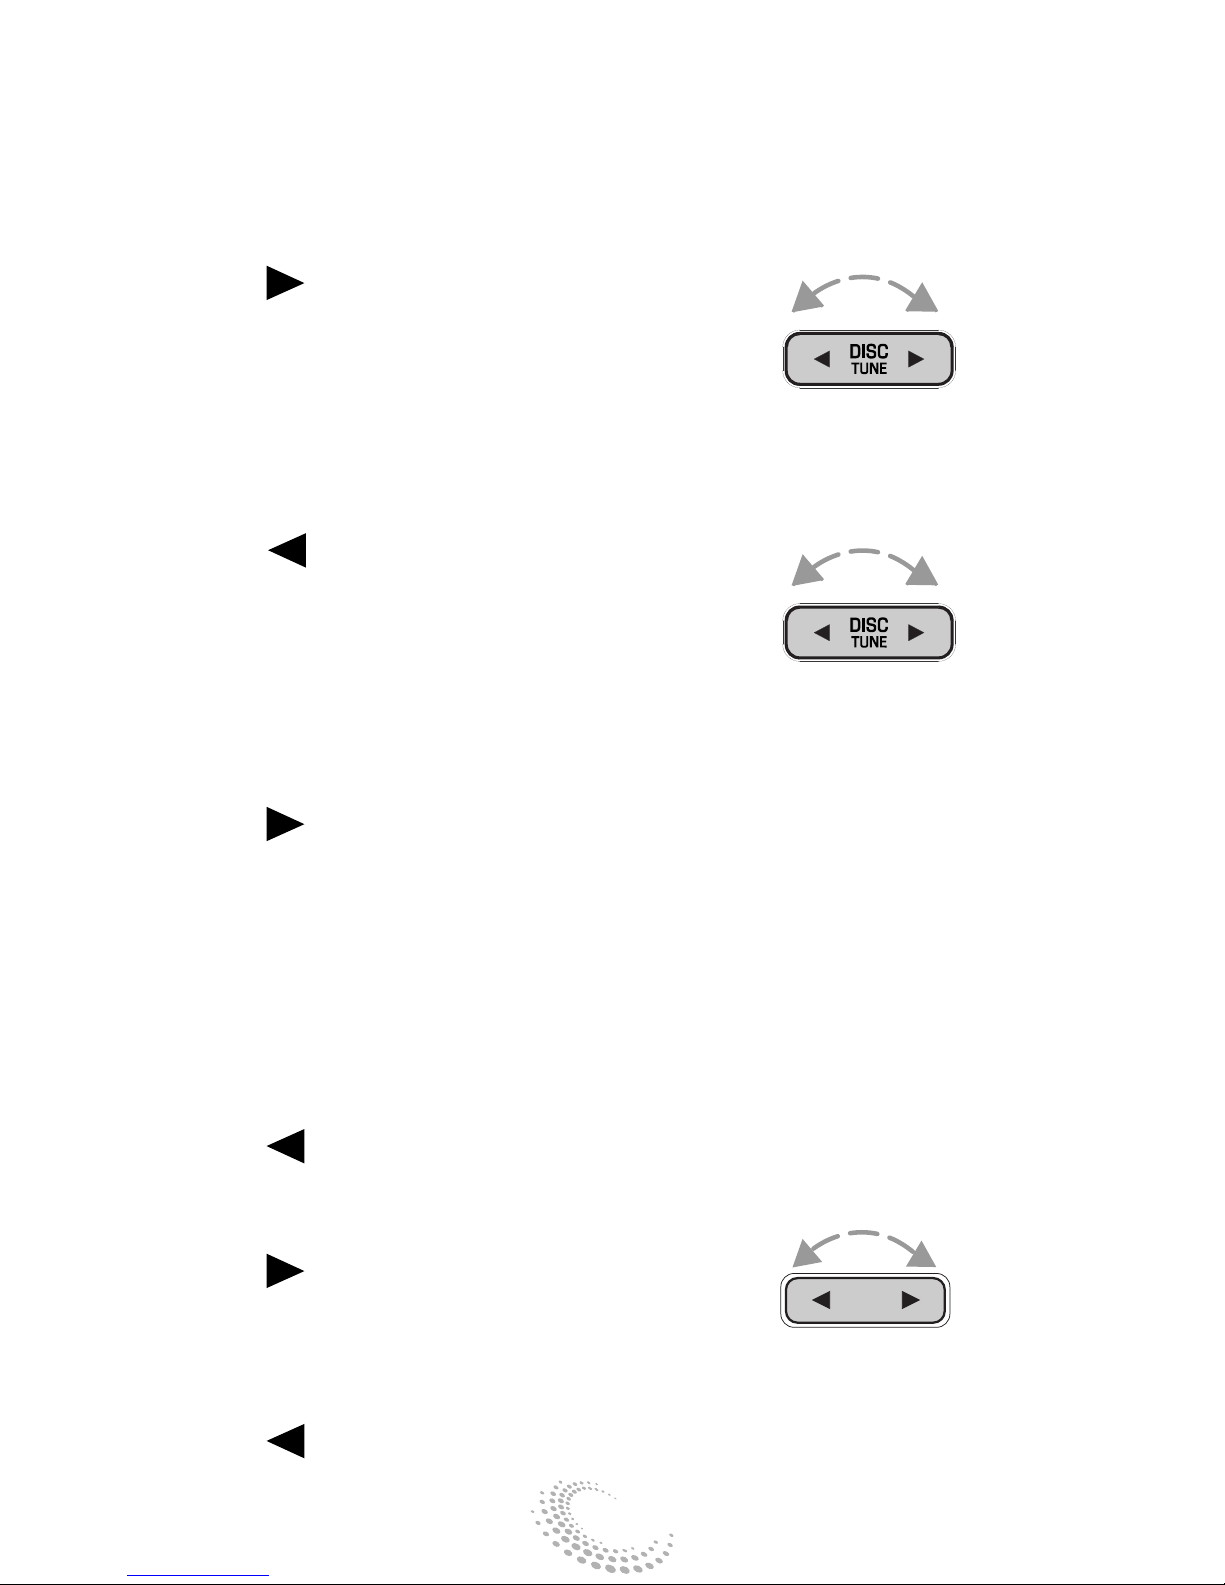
10
Controls and Features
frequency down the band (whether
or not a listenable station is located
there). Hold the control to move
through the frequencies quickly.
• Press to move to the next
frequency up the band (whether or
not a listenable station is located
there). Hold the control to move
through the frequencies quickly.
Tune adjust for CD mode
• Press to select the previous
disc. (Play will begin on the first track
of the disc unless shuffle mode is
engaged.) Hold the control to
continue reversing through the discs.
Refer to Shuffle feature for more
information.
• Press to select the next disc.
Hold the control to fast-forward
through the remaining discs.
Seek function
The seek function works in radio or
CD mode.
Seek function in radio mode
• Press to find the next listenable
station down the frequency band.
SEEK DOWN will display.
• Press to find the next listenable
station up the frequency band. SEEK
UP will display.
Seek function in CD mode
• Press to revert to the previous
SEEK

11
Controls and Features
track of the current disc. If the
beginning of the disc is reached, the
CD player seeks to the beginning of
the last track on the current disc and
begins playing.
• Press to advance to the next
track of the current disc. After the last
track has been completed, the first
track of the current disc will automati-
cally replay.
Scan function
The scan function works in radio or
CD mode.
Scan function in radio mode
• Press the SCAN control to hear a
brief sampling of all listenable stations
on the frequency band. Press the
SCAN control again to stop the scan
mode.
Scan function in CD mode
• Press the SCAN control to hear a
short sampling of all selections on the
CD. (The CD scans in a forward
direction, wrapping back to the first
track at the end of the CD.) To stop
on a particular selection, press the
control again.
Radio station memory preset
The radio is equipped with six preset
station memory controls. These
controls can be used to select up to
12 preset AM stations and 18 preset
FM stations (six in AM, six in AM
SEEK
SCAN
12
Controls and Features
Autostore, six in FM1, six in FM2, and
six in FM Autostore).
There are a total possible of 30
preset stations.
Setting memory preset stations
• Select the frequency band with the
AM/FM select control. Press the AM/
FM control to toggle between AM,
FM1, or FM2.
• Press the SEEK control to access
the next listenable station up or down
the frequency band. Press the TUNE
control to go up or down the
listening band in individual
increments.
• Select a station. Refer to Seek
function for more information on
selecting a station.
• Press and hold a memory preset
control. The playing media will mute
momentarily. When the sound
returns, the station is held in memory
on the control you selected. The
display will read SAVED.
Autostore
Autostore allows you to set the
strongest local radio stations without
losing your original manually set
preset stations. This feature is helpful
on trips when you travel between
cities with different radio stations.
123456
13
Controls and Features
Starting autostore
• Press and momentarily hold the
AM/FM control.
• AUTOSTORE will flash in the display
as the frequency band is scrolled
through.
• When the six strongest stations are
filled, the station stored in memory
preset control 1 will start playing.
If there are less than six strong
stations available on the
frequency band, the remaining
memory preset controls will all store
the last strong station available.
To deactivate autoset and return to
your audio system’s manually set
memory stations, press the AM/FM
control again.
CD select
CD mode may be entered by pressing
the CD control and then loading a
CD into the audio system. The first
track of the disc will begin playing.
After that, CD play will begin where it
stopped last.
If an alternative CD is desired, press
the corresponding preset control
(1– 6) of a loaded CD, or press the
DISC control to access the other
loaded CDs.
NO CD will display if the CD control
is activated when there is not a CD
present in the audio system.
If the CD control is pressed followed
by a preset number, and that
CD
AM
FM
CD
AM
FM

14
Controls and Features
particular slot is empty, NO CD will
display and the system will begin to
play the next available disc.
If your vehicle is equipped with a CD
changer, pressing the CD control
again will allow you to toggle between
accessing the multi–disc system and
the CD changer. The display will read
CD or CDDJ.
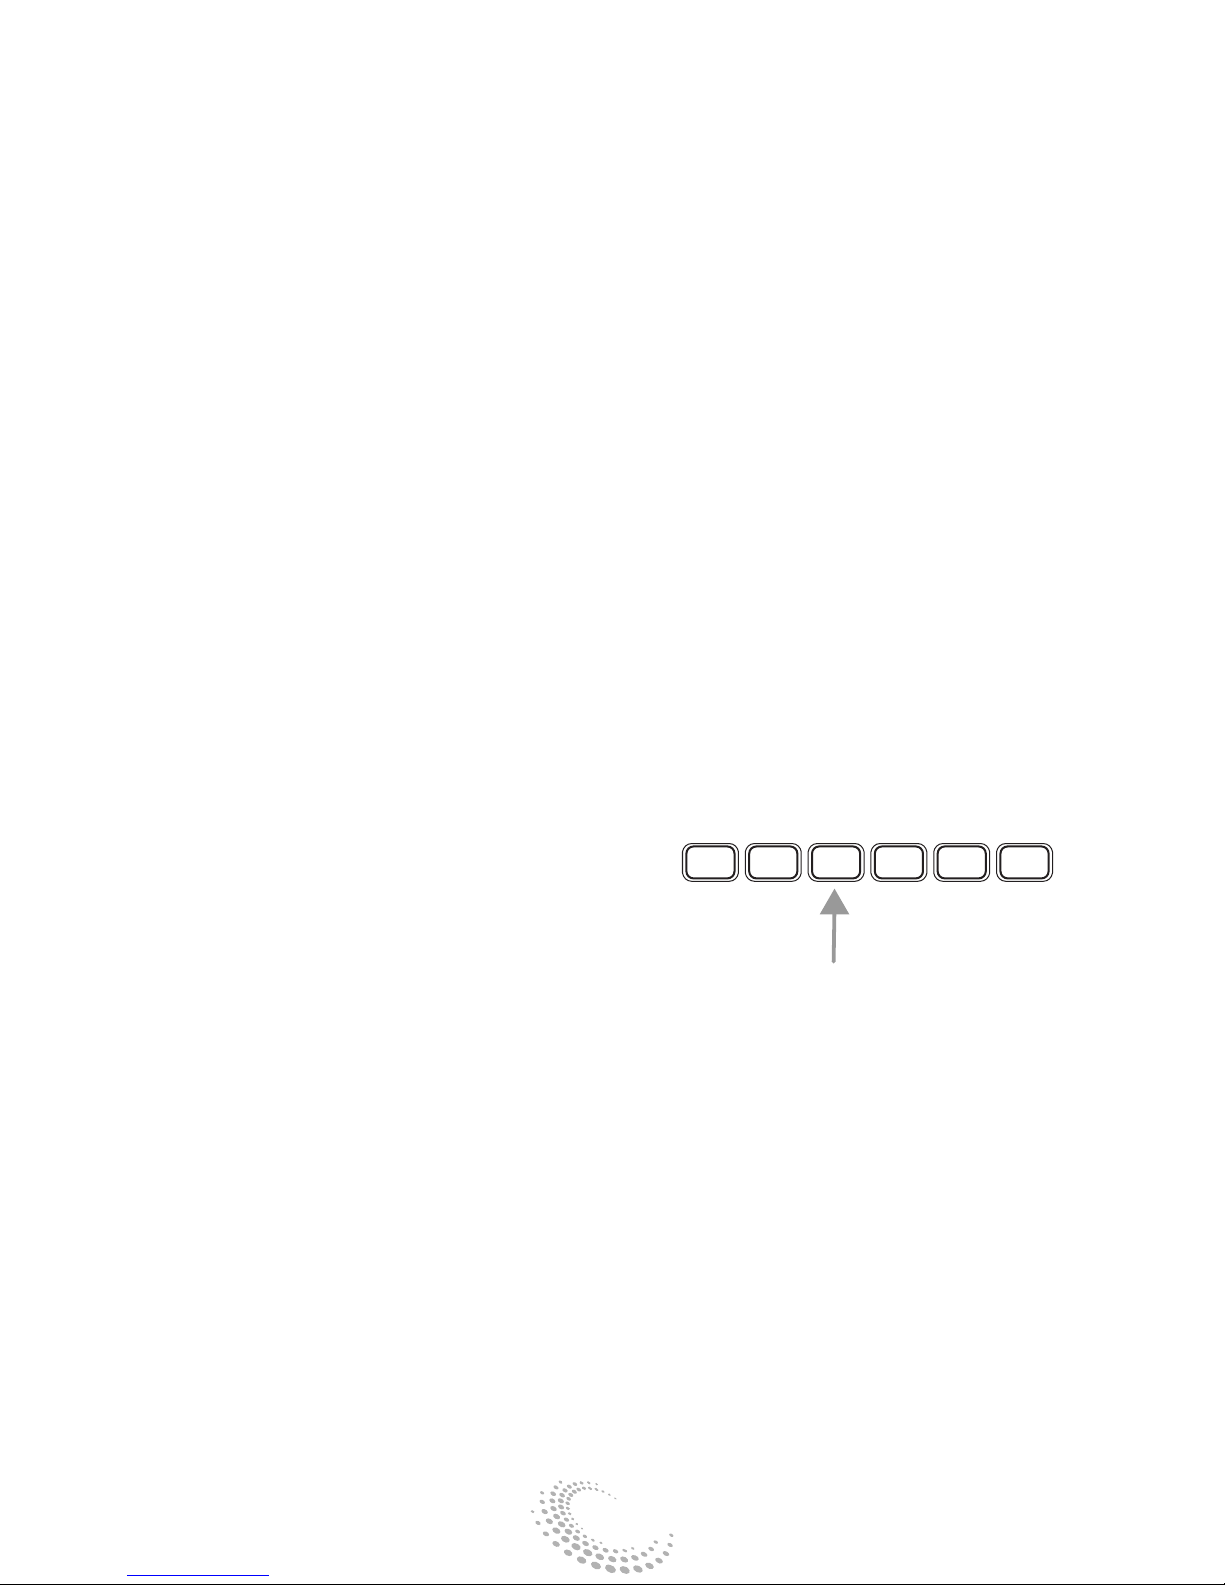
Display description
Six circles are always lit in the digital
display. These signify the six CD slots
in the audio system. When a disc is
loaded into a particular slot (1– 6),
the number inside that specific circle
lights. If the circle is empty, there is
no CD in that particular slot.
Load
The load feature allows you to load
single CDs into the player internal to
the radio.
This six–disc CD player is
equipped with a CD door.
Compact discs should
only be inserted into the player
after the door has opened. Do not
attempt to force the door open.
Compact discs should only be
loaded by pressing the LOAD
control.
• Press the LOAD control. (You can
choose which slot will be loaded by
pressing the desired preset number. If
you do not choose a slot, the system
LOAD

15
Controls and Features
LOAD
will choose the next available one.)
Wait until the CD door opens.
• Load the CD into the player.
LOADING CD# will be displayed.
When the CD has been loaded, the
door will close and that CD will begin
to play. For example, to load a CD into
slot #2, press the LOAD control and
then press preset #2.
Auto load
This feature allows you to autoload
up to six discs into the multi–disc CD
player internal to the radio.
• Press and hold the load control until
AUTOLOAD# is displayed. The CD
door will open.
• Load the desired discs, one at a
time. The CD is loaded into position
and the audio system will display
CD#. Each time the CD door opens,
INSERT CD# is displayed. The door
will close and the player will move to
the next slot after each disc has been
loaded. The process is repeated until
all six slots are full.
The audio system plays the last CD
loaded and the display is updated. If
some slots are already full and
autoload is activated, the system will
fill all empty slots.
Eject
• Press the EJ control to stop and
eject a CD. You can choose which CD
will be ejected by pressing the EJ
EJ

16
Controls and Features
control and the desired preset
number (1– 6).
For example, to eject CD#2, press
the EJ control and then press the
preset #2 control. If you do not
choose a specific CD, the player will
eject the current CD.
If a CD is ejected and not removed
from the door of the CD player, the
player will automatically reload the
CD. This feature may be used when
the ignition is ON or OFF.
Auto eject
• Press and momentarily hold the EJ
control to engage auto eject. All CDs
which are present in the player will be
ejected one at a time. If a CD is
ejected and not removed from the
door of the CD player, the player will
automatically reload the CD. This
feature may be used when the
ignition is ON or OFF.
Rewind
The rewind control works in CD
mode.
• Press and hold the REW control
until the desired selection is reached.
If the beginning of the disc is
reached, the CD will begin play at the
first track. Release the control to
disengage rewind mode. When in
rewind mode, your audio system will
automatically lower the volume level
of the playing media.
EJ
REW FF

17
Controls and Features
Fast forward
The fast forward control works in CD
mode.
• Press and hold the FF control until
the desired selection is reached. If the
end of the disc is reached, the CD will
return to the first track on the first
disc. Release the control to disengage
fast forward mode. When in fast
forward mode, your audio system will
automatically lower the volume level
of the playing media.
Shuffle feature
When engaged, the shuffle feature has
two different modes: SHUFFLE DISC
and SHUFFLE TRK.
SHUFFLE DISC randomly plays tracks
from all the discs presently in the
audio system.
SHUFFLE TRK plays all the tracks on
the current disc in random order.
• Press the SHUF control until the
desired shuffle mode is displayed. The
audio system will then engage the
desired shuffle mode.
Compression feature (if equipped)
The compression feature operates in
CD mode and brings soft and loud
CD passages together for a more
consistent listening level.
On Audiophile audios, press the
MENU control until compression
status is displayed. Press the SEL
REW FF
SHUF
SEL
+
MENU

18
Controls and Features
control to enable the compression
feature when COMP OFF is displayed.
• Press the SEL control again to
disable the feature when COMP ON
is displayed.
On Premium audios, press the COMP
control until COMP ON is displayed.
Bass adjust
The bass adjust control allows you to
increase or decrease the audio
system’s bass output.
• Press the BASS control. Use the SEL
control to increase or decrease the
amount of bass.
Treble adjust
The treble adjust control allows you
to increase or decrease the audio
system’s treble output.
• Press the TREB control. Use the
SEL control to increase or decrease
the amount of treble.
Speaker balance adjust
Speaker sound distribution can be
adjusted between the right and left
speakers.
• Press the BAL control. Use the SEL
control to adjust the sound between
the speakers.
Speaker fade adjust
Speaker sound can be adjusted
between the front and rear speakers.
COMP
SEL
BASS
TREB
+
BAL
FADE
SEL
+
SEL
BASS
TREB
+

19
Controls and Features
• Press the FADE control. Use the SEL
control to adjust the sound between
the front and rear speakers.
Radio Data System (RDS)
This feature allows your audio system
to receive text information from RDS-
equipped FM radio stations.
To activate:
• When in FM mode, press the MENU
control until RDS OFF displays.
• Press the SEL control to engage
RDS ON.
RDS Features
Once the RDS feature is on, press the
MENU control to scroll through the
following selections:
Traffic announcements
This feature allows you to hear traffic
announcements while in CD mode if
announcements are broadcast by a
traffic-capable RDS radio station.
When in this mode, traffic announce-
ments will interrupt CD play.
To activate:
• Press the MENU until TRAFFIC OFF
displays. Press the SEL control to
engage the feature. The display will
read TRAFFIC ON.
This feature also allows you to control
the volume of traffic announce-
ments. With the display reading
TRAFFIC ON, adjust the volume using
BAL
FADE
SEL
+
MENU
SEL
+
MENU
SEL
+
MENU

20
Controls and Features
the volume control to the desired
level. The volume level will show at
the bottom of the display. Interrupt-
ing traffic announcements will be at
the selected volume level.
Find type
This feature allows you to search for
RDS stations selectively by their
program type.
To activate:
• Press the MENU control until FIND
program type is displayed.
• Use the SEL control to select the
program type. With the feature on,
use the SEEK or SCAN control to find
the desired program type from the
following selections:
• Classic
• Country
• Info
• Jazz
• Oldies
• R & B
• Religious
• Rock
• Top 40
Show in display
This feature allows you to select the
type of RDS broadcast information
the radio will regularly show in the
display.
SEL
+
MENU
Table of contents
Other VISTEON Car Receiver manuals


Popular Car Receiver manuals by other brands

Pyle view
Pyle view PLDVD170 operating instructions

Panasonic
Panasonic CQDFX403U - AUTO RADIO/CD DECK Operating instruction

Pioneer
Pioneer DEH-142UB owner's manual

Mercedes-Benz
Mercedes-Benz MCS Operator's manual

Pioneer
Pioneer DEH-X8500DAB operating manual

Panasonic
Panasonic CQ-DFX983N operating instructions


