Waterra HYDROLIFT-2 User manual

www.waterra.com
www.waterra.com
hydrolift-2
WATERRA
OWNER'S MANUAL

WATERRA HYDROLIFT-2
OWNER'S MANUAL
WATERRA HYDROLIFT-2
ASSEMBLY & OPERATION
Assembly & Operation
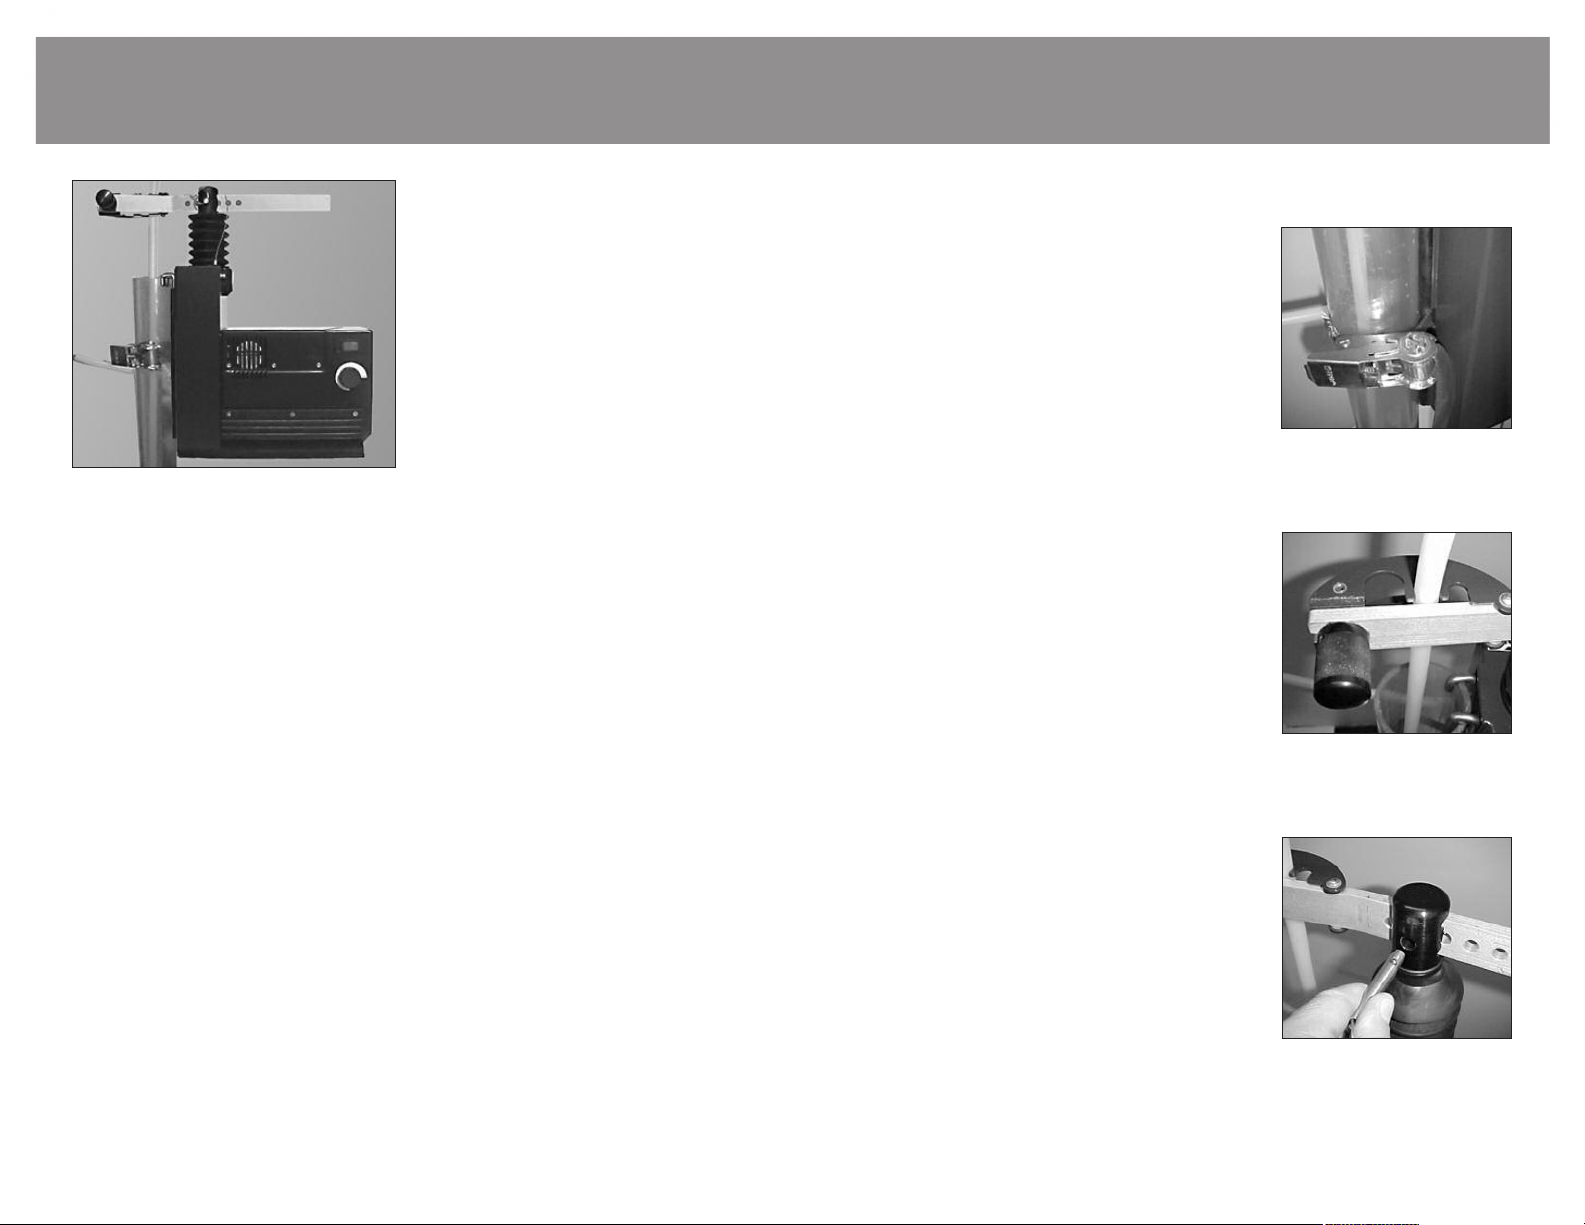
When us ng a Waterra Hydrol ft-2 pump to
purge and sample a monitoring well, it is very impor-
tant that the Hydrolift be firmly attached to the well.
If the pump is not properly attached it may fall off the
casing causing injury and possibly damaging the pump
and other equipment. Hang the Hydrolift-2 on the
PVC or protective casing by the front forks on the
Hydrolift. The Hydrolift is supplied with a ratchet
t e-down belt. The belt is looped through the gap
behind the front forks of the Hydrolift and around the
protective casing and tightened until the Hydrolift is
firmly attached to the casing.
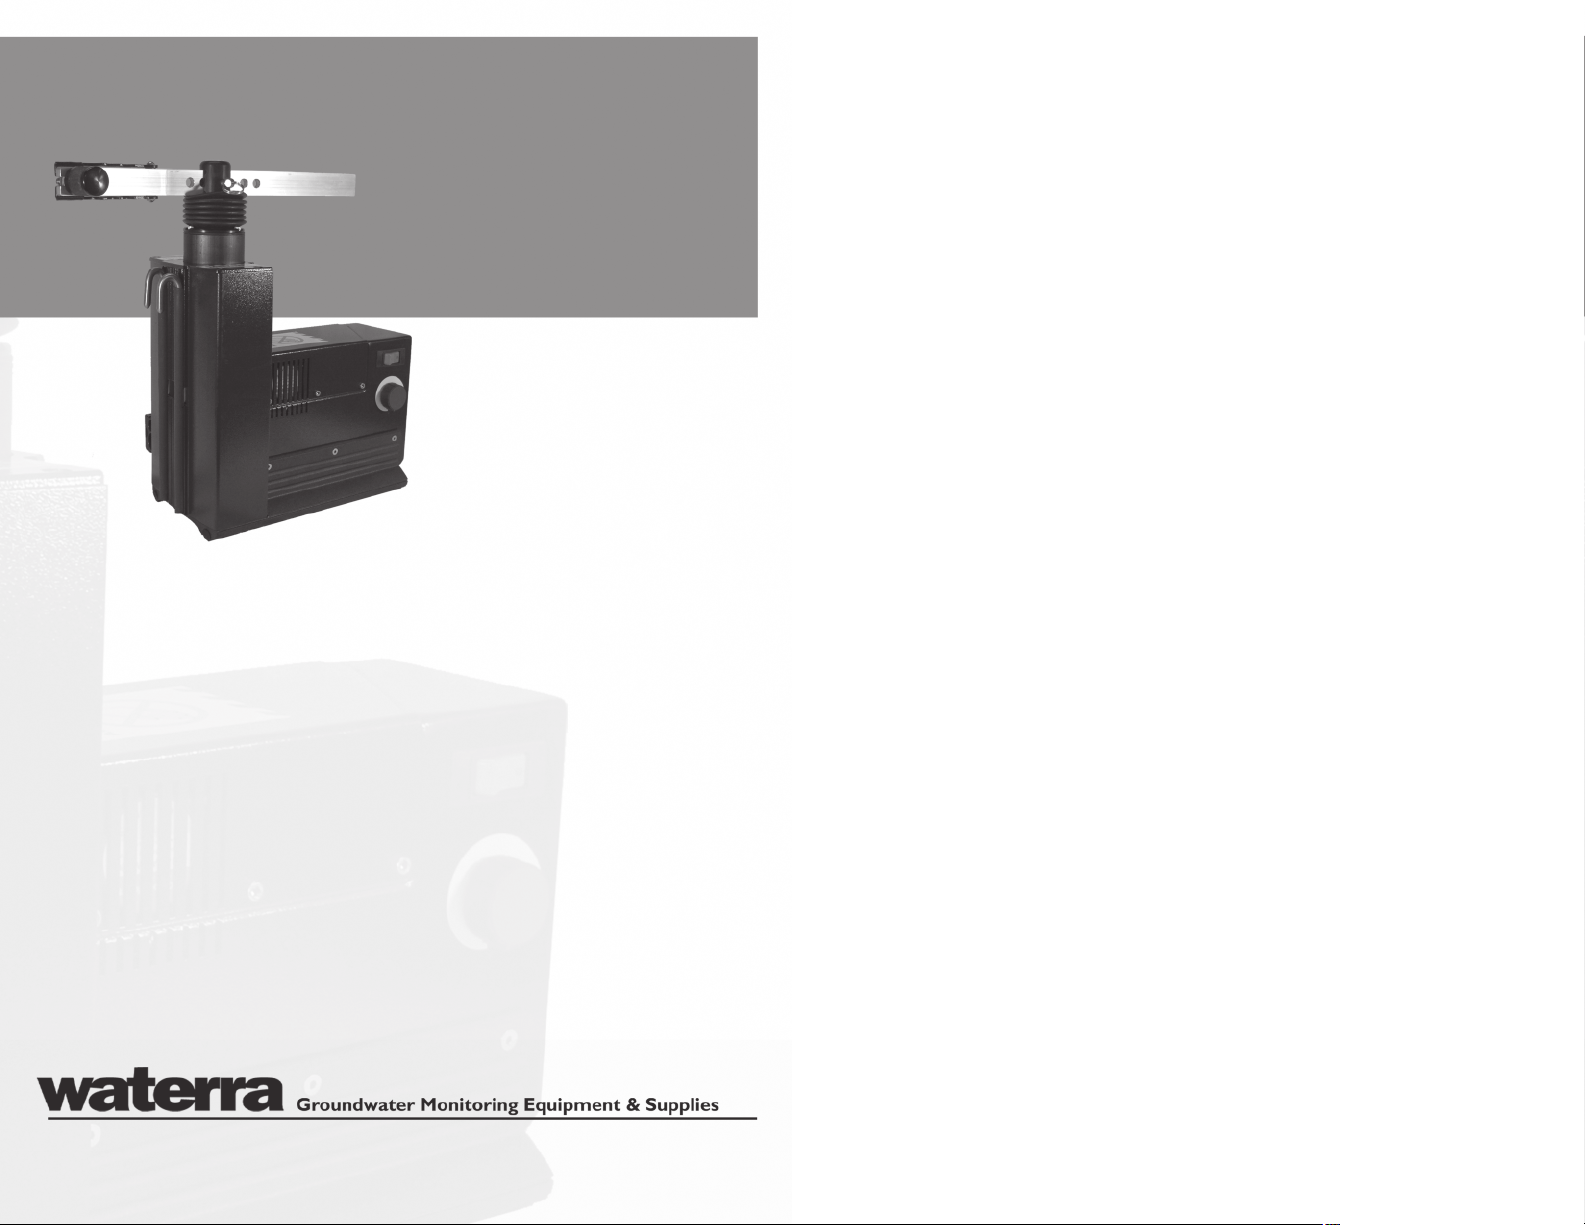
Open the Tub ng Clamp located on the
adjustable clamp arm and place the tubing in the
clamp’s jaws, leaving enough tubing (approximately 5
feet) above the jaws to allow the tubing to reach the
tubing discharge clamp, and then tighten the clamp
until the jaws are completely closed.The tubing clamp
is designed to accept 1" OD, 5/8" OD and 1/2" OD
polyethylene or Teflon tubing. Now position the tub-
ing such that it will not chafe on the well casing and
lock the clamp arm in place by inserting the clevis pin
through the fork and the mating hole in the clamp
arm.
Features
The Waterra Hydrol ft-2 is an elec-
trically powered mechanical drive
mechanism which pumps water by
repeatedly lifting and dropping a tubing
and footvalve assembly that is extended
below the water surface in a well. The
Hydrolift-2 components include a 700
watt (3/4 hp) electric D.C. motor inte-
gral with a 15:1 gear reducer which dri-
ves a linear pump mechanism.This drive
mechanism includes a sliding post that
extends beyond the pump body and
supports the tubing clamp arm. The
pump is designed to hang from the protective well casing and is secured in
place with a ratchet belt.All components on the pump are fully adjustable to
permit operation in wells of varying diameters. The pumping speed is also
fully adjustable to accommodate variable well depths and flow rate require-
ments.
Safety First
Stand clear of the Hydrolift-2 when in use.The rapid up and down motion
of the drive shaft creates a potential hazard.
Always secure your pump to the well casing securely before starting the
pump, making sure that adequate clearance exists between the reciprocating
shaft and the well head. Never move the pump when connected to a power
source.
Before start ng your Waterra Hydrolift-2 pump, be sure that there is
enough tubing (approximately 5 feet) between the tubing clamp and the tub-
ing discharge clamp. Also ensure that the tubing clamp and pump are posi-
tioned so that the tubing will not chafe on the well casing. Lastly, ensure that
the Hydrolift-2 is firmly strapped onto the protective casing or PVC pipe and
will not come loose while in operation.
Waterra Hydrolift-2
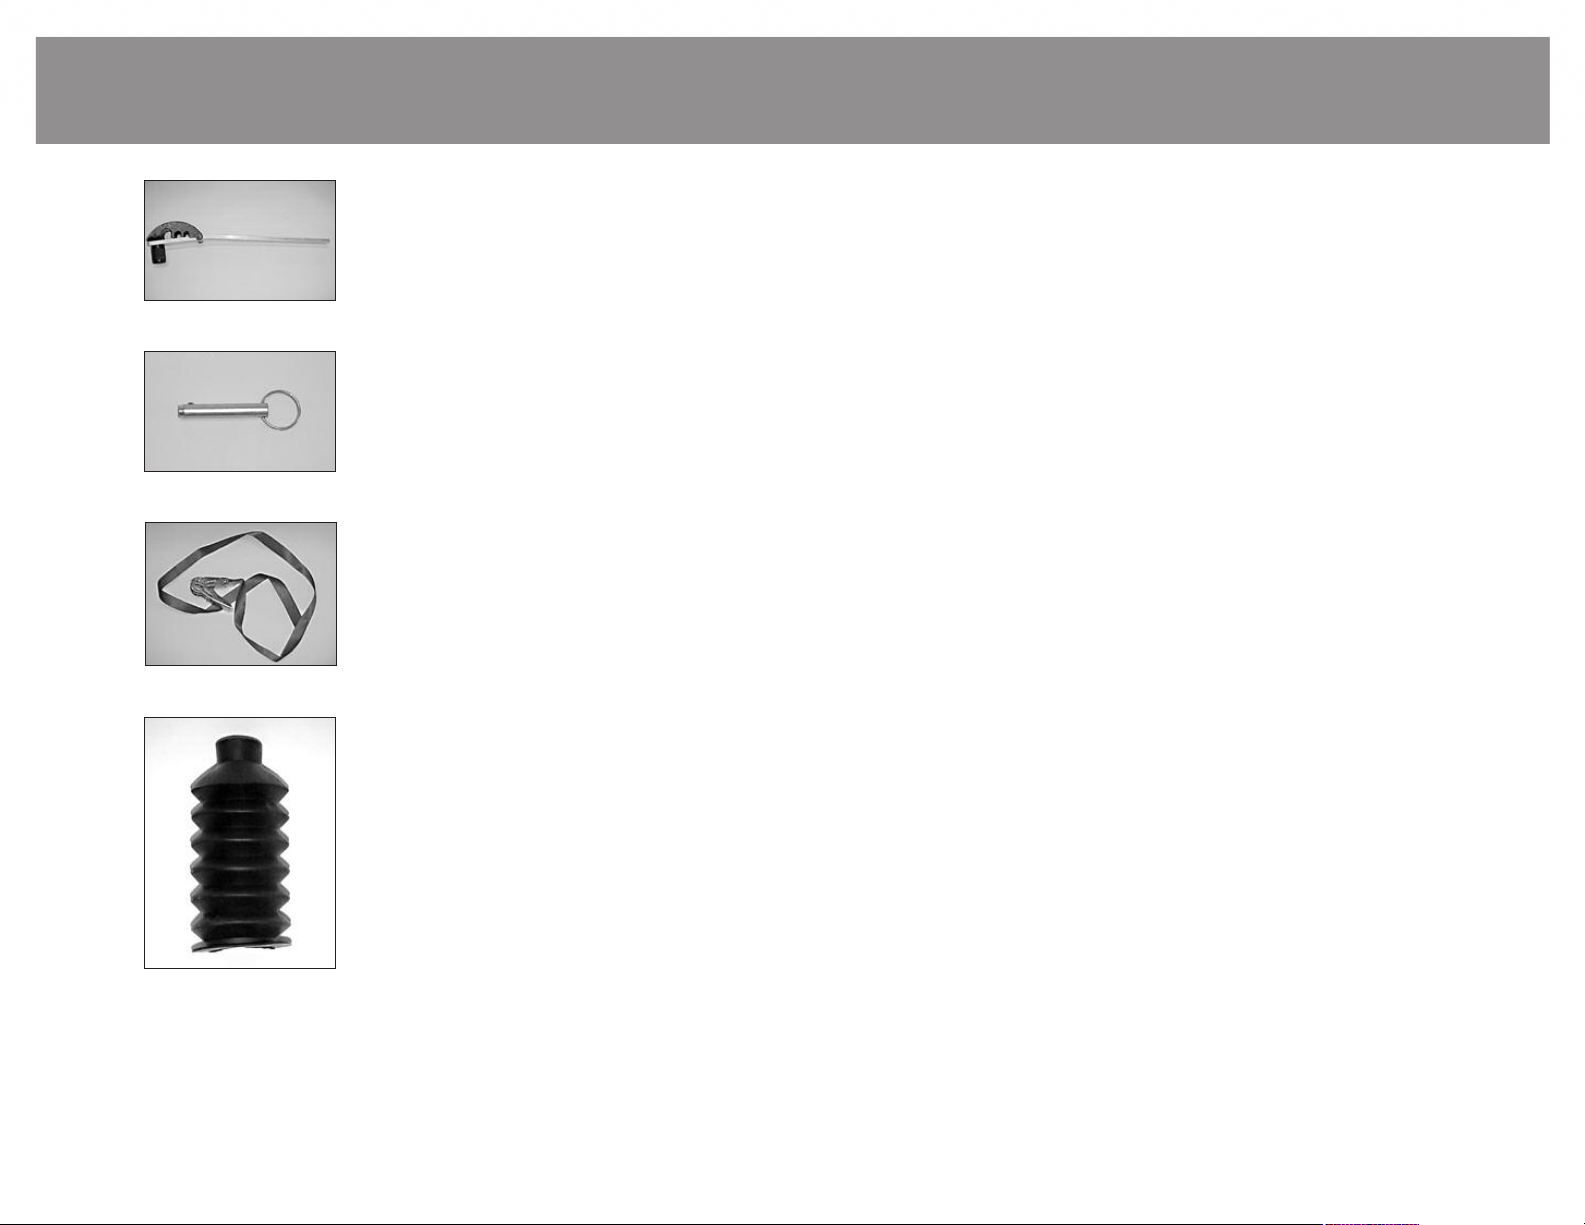
Ratchet tie-down belt
Tubing clamp
Clevis pin and clamp arm

Hydrolift Bellows and Drive S aft
It is important that the bellows (part #13)* are inspected on a regular basis
for holes, tears or abrasion.This part protects the mechanical components
from dirt which will aggravate wear. If this part becomes worn, replace it
immediately. The three fastening screws at the base of the bellows can be
removed, allowing the bellows to be lifted up and providing some access to
the sliding post on the sliding block (part #38)*.The sliding post can be lubri-
cated with white grease.
We also recommend that after every 100 hours of use, all screws be checked
and tightened if loose. We recommend that you return your Hydrolift-2
pump to Waterra if it develops a mechanical problem or if it needs mainte-
nance. eep your pump clean,as this will improve the lift and reliability of the
machine.
*The complete Hydrolift-2 Parts Diagram can be viewed on our website
www.waterra.com.
Starting t e Hydrolift-2
Before starting the Hydrolift-2 check again that the
unit is firmly attached to the well casing and that
sufficient tubing (approximately 5 feet) exists
between the tubing clamp and the tubing discharge
clamp.Adjust the speed control knob to the mini-
mum setting and check that the unit is switched off
before attaching the power cord.
WARNING: The Hydrolift-2 is not intended for operation in wet condi-
tions.Waterra recommends to be sure that you are well insulated in order
to avoid shocks. Use rubber gloves and rubber boots and do not splash
water on the Hydrolift. eep the extension cord dry and out of puddles.
WATERRA HYDROLIFT-2
ROUTINE MAINTENANCE
Discharge clamp
Speed control knob, on/off
switch and plug
WATERRA HYDROLIFT-2
ASSEMBLY & OPERATION

Warranty Information
Waterra Pumps L m ted warrants that each new Hydrolift-2 will be free,
under normal use and maintenance, from any defects in material or work-
manship for the relevant warranty period. Necessary repairs shall be made
and replacement parts provided at no cost to the consumer when Waterra
acknowledges that such defects are attributable to faulty material or work-
manship at the time of manufacture.This warranty is not transferable.
Warranty Period
All components — — — — — 6 months
Th s warranty does not cover:
) any repairs required as a result of collision, accident, striking an object,
abuse, misuse, lack of required maintenance or use of an incorrect power
source;
) any repairs required as a result of any attachments, parts or devices
installed or repairs done by a party other than Waterra Pumps Limited;
) any Hydrolift-2 modified, altered, disassembled or remodeled; and
v) normal maintenance service such as: tightening screws, bolts or fittings,
lubrication and the replacement of parts required for normal maintenance
services including wires, fuses, belts, lubricants and other expendables sus-
ceptible to natural wear.
v) any Hydrolift-2 used as part of a rental pool.
Owner's Obligation
The owner agrees to follow all safety procedures outlined with this equip-
ment and follow the maintenance schedule as indicated in the Owner's
Manual.A record must be kept of regular inspections and maintenance per-
formed.
WATERRA HYDROLIFT-2
WARRANTY INFO
– Clamp Arm &
Tubing Clamp
Bracket
– Clevis Pin
– Ratc et Belt
– Bellows
WATERRA HYDROLIFT-2
PARTS LIST

Disclaimer
To the extent that the law permits,Waterra Pumps Limited disclaims any
responsibility for the loss of time or use of the Hydrolift-2, shipping costs or
any other indirect, incidental or consequential damage, inconvenience, com-
mercial loss or personal injury.The warranty is not valid if the product is not
paid for in full within 60 days of the invoice date.
Returning a Hydrolift-2 to Waterra
Waterra requ res that all customers notify Waterra prior to returning
their Hydrolift-2 under the Waterra warranty program.The Hydrolift-2 will
only be accepted if it has been thoroughly cleaned and decontaminated.
Hydrolifts must be properly packaged prior to shipping. Please contact
Waterra in order to obtain a shipping address.
Contacting Waterra
Waterra maintains a website at www.waterra.com.That site will have our
current phone numbers and return addresses. In addition, this manual will be
maintained on the site.
Groundwater Mon tor ng Equ pment and Suppl es
Canada and Internat onal
Waterra Pumps Limited
5200 Dixie Road, Unit 44
Mississauga, ON L4W 1E4
CANADA
tel: 905.238.5242
fax: 905.238.5704
email: sales@waterra.com
Un ted States
Waterra U.S.A. Inc.
4252 Spring Creek Lane, Suite B
Bellingham,Washington
USA 98226
tel: 360.738.3366
fax: 360.738.3399
email: waterra@openaccess.org
WATERRA HYDROLIFT-2
CONTACT WATERRA
Table of contents
Popular Water Pump manuals by other brands

EINHELL
EINHELL GE-DP 7330 LL ECO Original operating instructions

Xylem
Xylem Bell & Gossett e-82 Series Nstruction manual

STA-RITE
STA-RITE Boost-Rite S4P100M manual

Zoeller
Zoeller ProPak AQUANOT KEY 507/73 installation instructions

Futurepump
Futurepump SE1 installation manual

GREAT PLAINS
GREAT PLAINS HP-100 Dual-Flo owner's manual

Welco
Welco WPM Series instruction manual

Panduit
Panduit BlackFin CT-2902BPHP instruction manual

WilTec
WilTec 50740 Operation manual

Franklin Electric
Franklin Electric Little Giant VCMA Series owner's manual

Wilo
Wilo IP-Z 25/2 Installation and operating instructions

yellow jacket
yellow jacket SuperEvac PLUS II Operation and maintenance manual