manuals.online logo
Brands
  1. Home
  2. •
  3. Brands
  4. •
  5. Watson Desking
  6. •
  7. Indoor Furnishing
  8. •
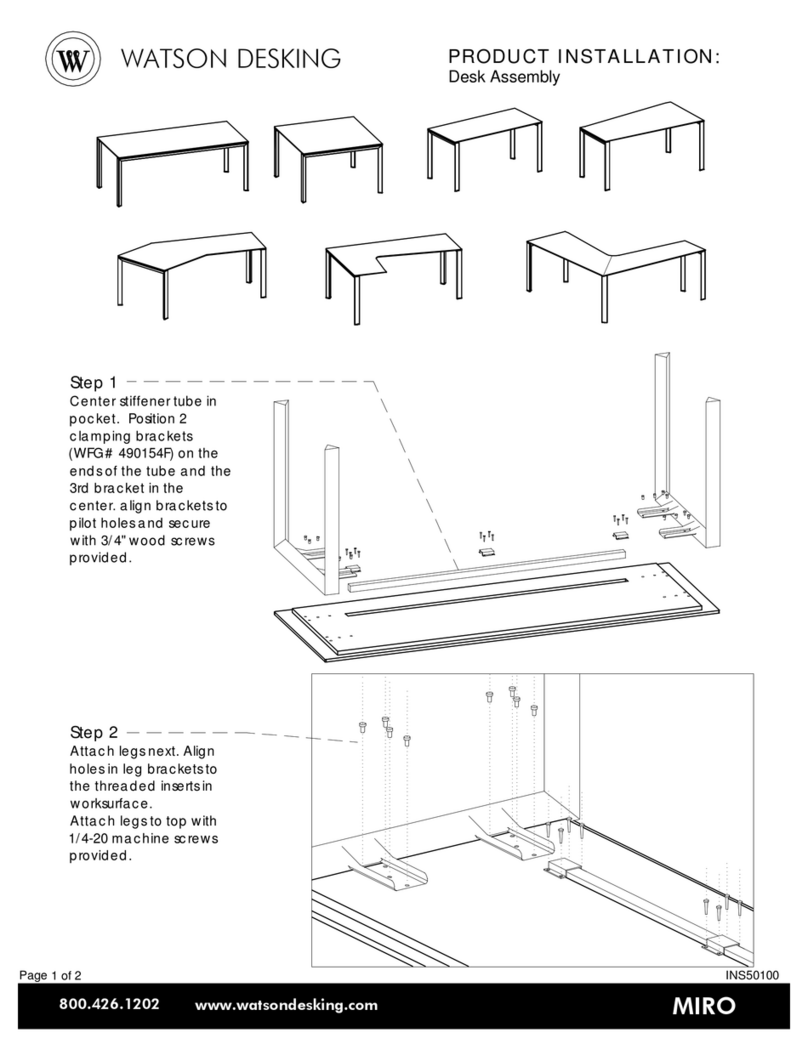
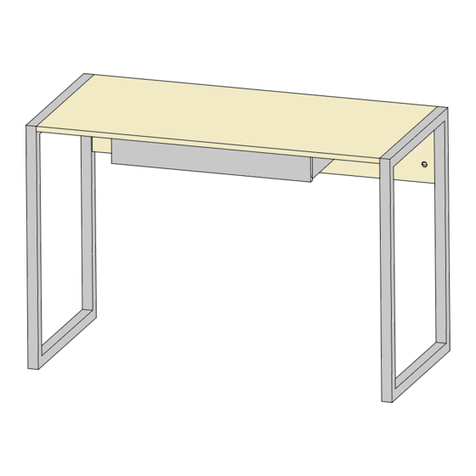
  9. Watson Desking Miro Conference MCVSQR Series User manual

Watson Desking Miro Conference MCVSQR Series User manual

48"W&60"WConferenceTables-
MCVREC48XX,MCVREC60XX,
MCVREPXXXXX
Page 1of 8
PRODUCTINSTALLATION:
INS31006
MIROCONFERENCE
WATSONDESKING
800.426.1202 www.watsondesking.com
Step 2
Fastensupporttubeto Vigacorner legs
using1/4-20x1/2"lowprofileheadhexdrive
bolts (FIG-1). Bolts requireM4 hex bit.
Step 1 - For 10'and12'tables
Assemble2VigalegsbyslidingtriangularVigaspanner
tubeand squaresupporttubeinto Vigacorner legs.
supporttube
Viga
corner
leg
Viga
spanner
tube
supporttube
FASTENERKEY
FIG-1
1/4-20 x1/2"
lowprofilehead
hexdrivebolt
1/2"
Viga
spanner
tube
Make sureto assembleVigalegs
onaflatsurfaceandthatViga
spannertubeandVigacorner
legaresnugwithnogaps.
Caution:Takecarenot to
scratchpaint.
1/4-20 x1/2"
lowprofilebolt
mustbe
parallel
Note
Page 2of 8
PRODUCTINSTALLATION:
INS31006
MIROCONFERENCE
WATSONDESKING
800.426.1202 www.watsondesking.com
Step 4
Fastenusing1/4-20 x1/2"
lowprofileheadhexdrive
bolts (FIG-1).
Step 3 - for all tables
OnoneVigaleg,insertboth
cross railsinto brackets.
FASTENERKEY
FIG-1
1/4-20 x1/2"
lowprofilehead
hexdrivebolt
1/2"
Vigaleg
crossrail
Vigaleg
crossrail
1/4-20 x1/2"
lowprofilebolt
48"W&60"WConferenceTables-
MCVREC48XX,MCVREC60XX,
MCVREPXXXXX
Page 3of 8
PRODUCTINSTALLATION:
INS31006
MIROCONFERENCE
WATSONDESKING
800.426.1202 www.watsondesking.com
FASTENERKEY
FIG-1
1/4-20 x1/2"
lowprofilehead
hexdrivebolt
1/2"
Step 6
Fastencrossrailsonpartially
assembledframetoVigaleg
brackets using1/4-20 x1/2" low
profileheadhexdrivebolts(FIG-1).
Step 5
Withapartner,flippartially
assembledframeover and
insertcross railsinto brackets
onopposingVigaleg.
Vigaleg
crossrail
partially
assembled
frame
bracket
48"W&60"WConferenceTables-
MCVREC48XX,MCVREC60XX,
MCVREPXXXXX
Page 4of 8
PRODUCTINSTALLATION:
INS31006
MIROCONFERENCE
WATSONDESKING
800.426.1202 www.watsondesking.com
FASTENERKEY
FIG-1
1/4-20 x1/2"
lowprofilehead
hexdrivebolt
1/2"
Step 8
Fastensupporttubesto cross rail brackets
using1/4-20x1/2"lowprofileheadhexdrive
bolts (FIG-1). Make sureall bolts aretighton
assembledframe.
Inspectframefor squareness. Loosenand
retightenfastenersasnecessary.
Step 7
Insertsupporttubesinto cross
railbrackets.
support
tubes
1/4-20 x1/2"
lowprofilebolt
crossrail
bracket
48"W&60"WConferenceTables-
MCVREC48XX,MCVREC60XX,
MCVREPXXXXX
Page 5of 8
PRODUCTINSTALLATION:
INS31006
MIROCONFERENCE
WATSONDESKING
800.426.1202 www.watsondesking.com
Step 9 - for seamed tables
Placeonehalfoftabletopon
toassembledframe.
assembled
frame
tablesurface
FASTENERKEY
FIG-2
#10 x3/4"
wood screw
3/4"
Step10
Aligntabletopwithassembled
framemakingsurecornersof
tablesurfacearesquarewith
frame. Fastentablesurfaceto
assembledframeusing#10x
3/4" woodscrews(FIG-2).
#10 x3/4"
woodscrew
Step11
Insertdowelsintoholeson
tableseamedge.
dowel
48"W&60"WConferenceTables-
MCVREC48XX,MCVREC60XX,
MCVREPXXXXX
Donottightenscrewsyet.
Page 6of 8
PRODUCTINSTALLATION:
INS31006
MIROCONFERENCE
WATSONDESKING
800.426.1202 www.watsondesking.com
Step 12- for seamed tables
Placeotherhalfoftabletopon
toframeandmatetofirsthalf.
FASTENERKEY
FIG-3
flipbolt
FlipBolt
locations
Step 13- for seamed tables
Lock tabletophalvestogether
withflipbolts (FIG-3).
BottomView
FlipBolt
Foldlever to lock
48"W&60"WConferenceTables-
MCVREC48XX,MCVREC60XX,
MCVREPXXXXX
Page 7of 8
PRODUCTINSTALLATION:
INS31006
MIROCONFERENCE
WATSONDESKING
800.426.1202 www.watsondesking.com
Step14
Alignentiretabletoptoframe
makingsurealltoptoleg
relationshipsarethesame.
FASTENERKEY
FIG-2
#10 x3/4"
wood screw
3/4"
Step15
Fastentabletopto assembled
frameusing#10x3/4" wood
screws(FIG-2).Tightenscrews
sequentiallyfromonesideof
tabletoother.
#10 x3/4"
woodscrew
Visuallyaligntabletop
to assembledframe
48"W&60"WConferenceTables-
MCVREC48XX,MCVREC60XX,
MCVREPXXXXX
Page 8of 8
PRODUCTINSTALLATION:
INS31006
MIROCONFERENCE
WATSONDESKING
800.426.1202 www.watsondesking.com
Step 16 - for10' and 12' tables
Tiltandslidecenterlegintoplace.
Apartnermay beusedtoslightlyliftoneend
oftabletoaidininstallationofcenter leg.
Alignlegwithpilotholesincenteroftable.
Center leg platewill capturesupporttubes.
FASTENERKEY
FIG-2
#10 x3/4"
wood screw
3/4"
Step 17 - for10' and 12' tables
Fastencenter leg totabletop using
#10 x3/4" woodscrews(FIG-2).
#10 x3/4"
woodscrew
centerleg
48"W&60"WConferenceTables-
MCVREC48XX,MCVREC60XX,
MCVREPXXXXX
Step18
Leveltableglidesusing
providedwrench.

This manual suits for next models

4

Other Watson Desking Indoor Furnishing manuals

Watson Desking MIRO User manual

Watson Desking

Watson Desking MIRO User manual

Watson Desking MIRO User manual

Watson Desking

Watson Desking MIRO User manual

Popular Indoor Furnishing manuals by other brands
KIRTON Florien Fife User instructions

KIRTON

KIRTON Florien Fife User instructions

Bouclair 9398525 Assembly instructions

Bouclair

Bouclair 9398525 Assembly instructions

Costway HW65244 user manual

Costway

Costway HW65244 user manual

modway EEI -2785 quick start guide

modway

modway EEI -2785 quick start guide

Zenith 9524KKWM Assembly instructions

Zenith

Zenith 9524KKWM Assembly instructions

Happy Babies HAPPY B04 Assembly instructions

Happy Babies

Happy Babies HAPPY B04 Assembly instructions

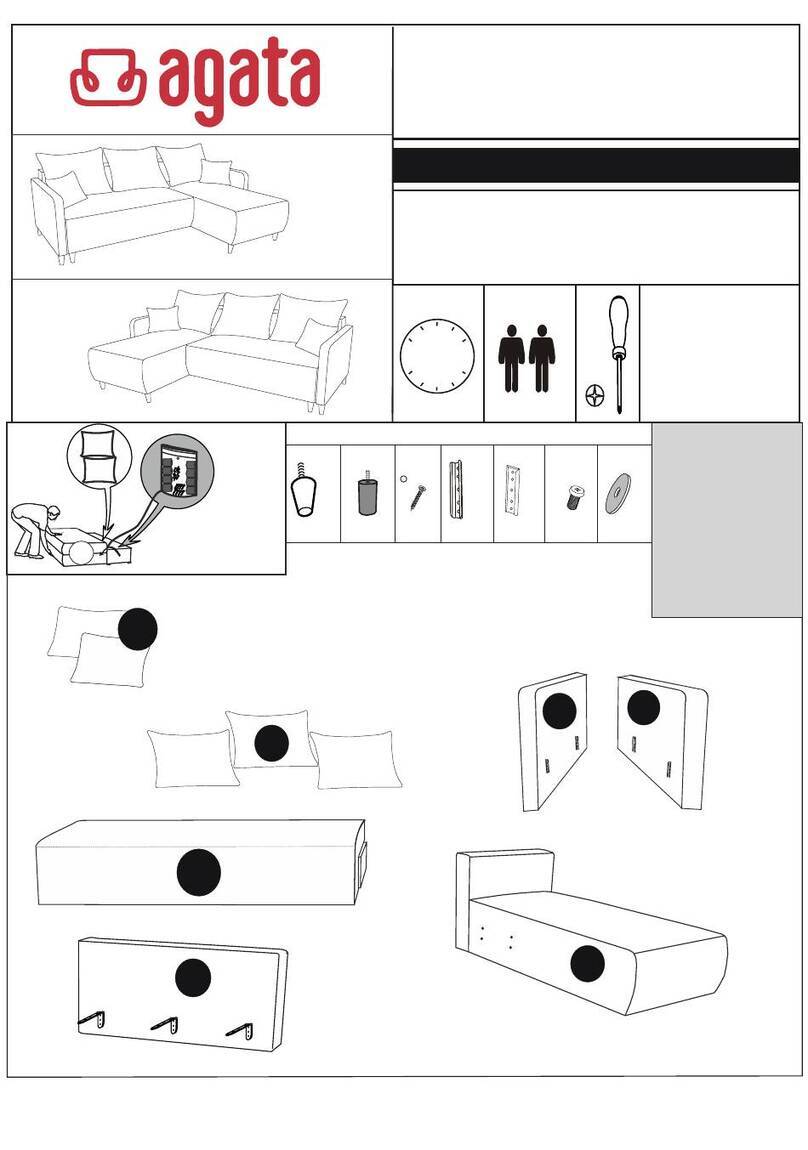
Agata Etro Assembling instructions

Agata

Agata Etro Assembling instructions

Winsome 94144 Assembly instructions

Winsome

Winsome 94144 Assembly instructions

YitaHome FTLFCT-0000 Assembly instructions

YitaHome

YitaHome FTLFCT-0000 Assembly instructions

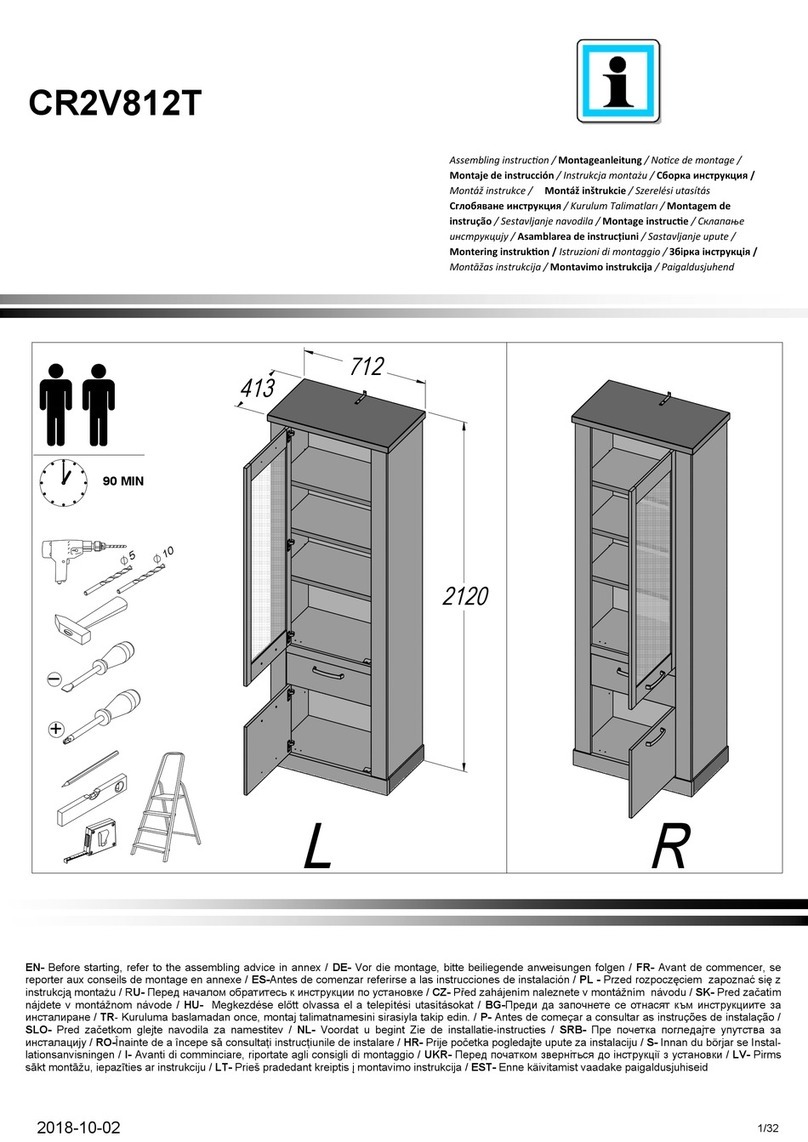
Forte CR2V812T Assembling Instruction

Forte

Forte CR2V812T Assembling Instruction

Rauch Koluna 93156.6530 Assembly instructions

Rauch

Rauch Koluna 93156.6530 Assembly instructions

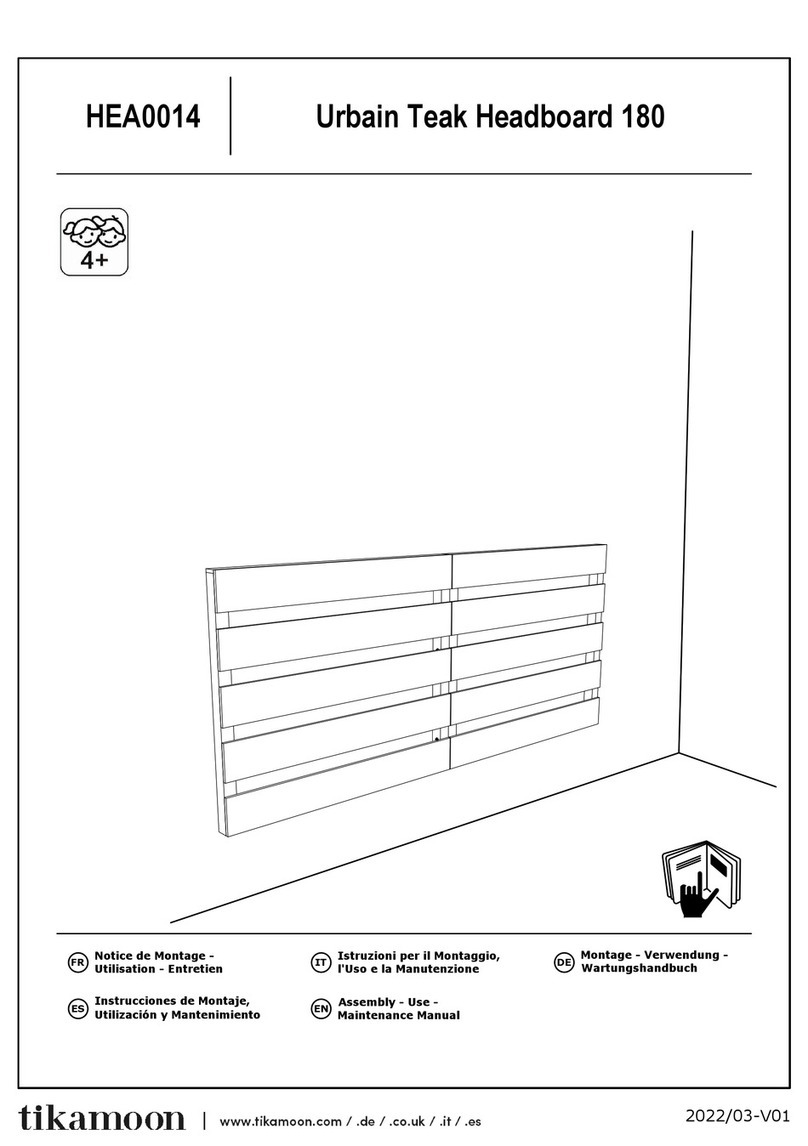
tikamoon HEA0014 Assembly, Use, Maintenance Manual

tikamoon

tikamoon HEA0014 Assembly, Use, Maintenance Manual

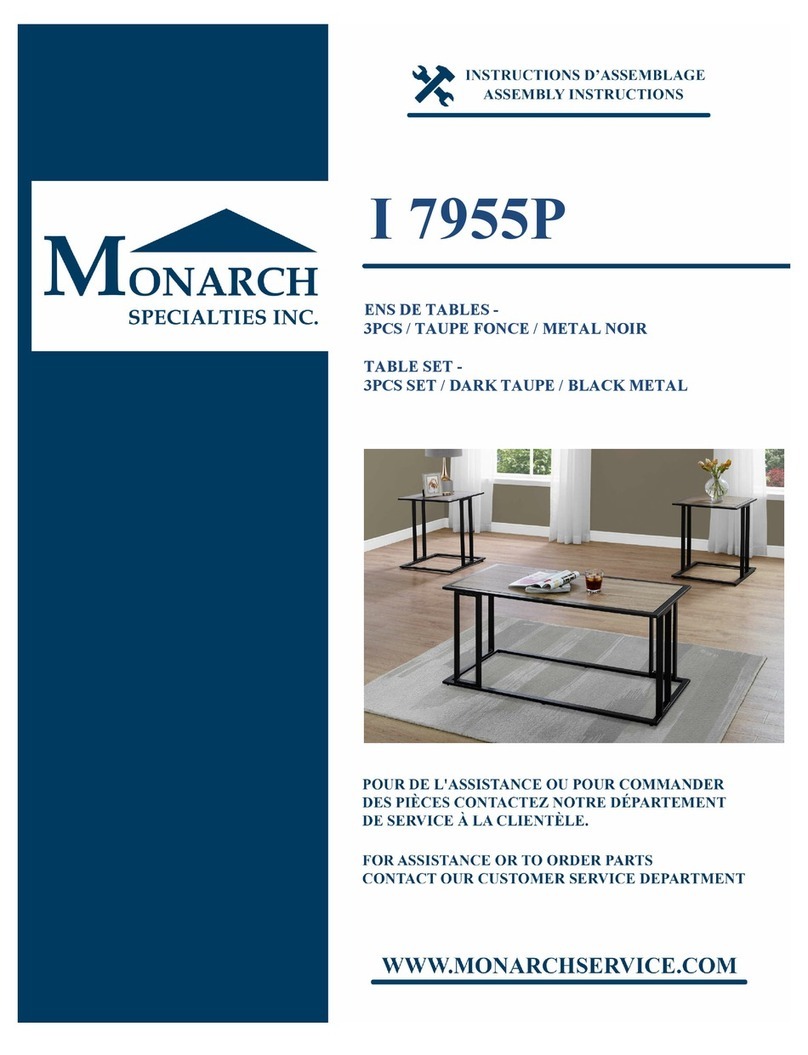
Monarch Specialties I 7955P Assembly instructions
Monarch Specialties

Monarch Specialties I 7955P Assembly instructions

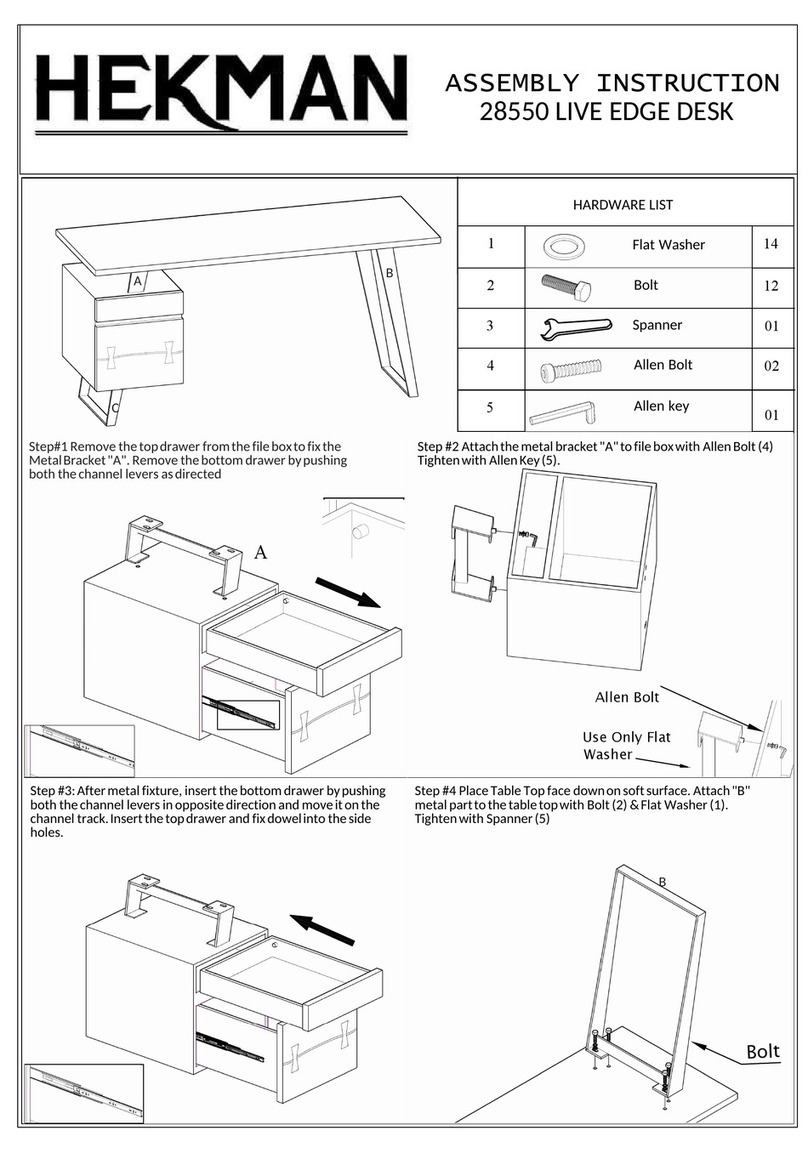
HEKMAN PRODUCTS 28550 Assembly instruction

HEKMAN PRODUCTS

HEKMAN PRODUCTS 28550 Assembly instruction

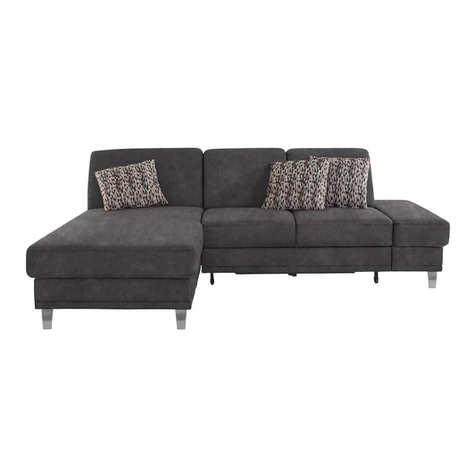
Classic Brands J15210-0402 Owner's manual & assembly instructions
Classic Brands

Classic Brands J15210-0402 Owner's manual & assembly instructions

Baur Clio V Assembly Instructions Instruction Manual

Baur

Baur Clio V Assembly Instructions Instruction Manual

Triarch 32520/2 Assembly instructions

Triarch

Triarch 32520/2 Assembly instructions

BUSH FURNITURE Kathy Ireland Home MDF127MW manual

BUSH FURNITURE

BUSH FURNITURE Kathy Ireland Home MDF127MW manual

manuals.online logo
manuals.online logoBrands
  • About & Mission
  • Contact us
  • Privacy Policy
  • Terms and Conditions

Copyright 2025 Manuals.Online. All Rights Reserved.