Westcoast GPS Oyster 2 User manual

Oyster 2 –Getting Started Guide October 26, 2019: WestcoastGPS
1 | P a g e
Oyster 2 –Getting Started Guide
INTRODUCTION
The Oyster2 is a compact, rugged GPS tracking device that has been designed for tracking containers,
trailers, skip bins, and many other assets where super-long battery life is required without sacrificing the
frequency of updates and performance. It’s a great choice where access to external power sources does
not exist or is difficult to access, and the Oyster is very portable so it can be moved from asset to asset
as required. This getting started guide is only for the Oyster 2 cellular version which comes in 2G or 4G
Cat-M1/NB-IoT.
See the product page https://westcoastgps.com/Oyster-Cellular-Datasheet-WCGPS.pdf for more
specifications.
You will receive a compact box containing the Oyster2, 6 housing screws (in a small plastic bag inside the
housing), and typically the SIM card will already be installed.

Oyster 2 –Getting Started Guide October 26, 2019: WestcoastGPS
2 | P a g e
SIM CARD
Typically you will receive your Oyster with the SIM card already installed. The information below is
supplied in case you have to install the SIM card yourself or the SIM card has to be replaced.
The Oyster2 uses a Micro SIM card (form factor 3FF). The SIM holder is on the underside of the control
board so the control board will have to be removed/lifted out of the housing to insert/swap the SIM.
CAUTION: When handling the control board take steps to prevent static discharge which could render
the device inoperable. DO NOT touch the GPS antenna.
Slide the SIM card into the holder with the keyed corner first and the SIM contacts orientated down to
the main board.
BATTERIES
The Oyster2 uses 3 x 1.5 V Lithium or 3.6 V Lithium Thionyl Chloride (LTC) Spiral Type AA batteries.
(Bobbin Type LTC may not supply enough peak current). Note: The Oyster2 does not have reverse
voltage protection so take care to insert the batteries with the correct polarity –the springs are the
negative terminals.

Oyster 2 –Getting Started Guide October 26, 2019: WestcoastGPS
3 | P a g e
LTC batteries should be used when the Oyster2 is exposed to extreme temperatures either below 0
Celsius or above +60 Celsius for extended periods of time. Do not use rechargeable batteries and if you
use Alkaline AA batteries they will only operate for about 50% of their useful life.
The Oyster2 is fitted with a Coulomb Counter which tracks the devices energy consumption and which
acts as a reasonably good guide for predicting remaining battery life. However theses estimates rely on
an assumption of the total capacity of the batteries which can vary per battery type and even on a single
type due to temperature variations. You should also pay close attention to the battery voltage being
displayed in Live View. For example, the Oyster in the image below is outfitted with three Energizer
Ultimate Lithium 1.5 V AA batteries and the battery voltage is displaying as 4.7 V (circled in red):
At 4.7 V the standard lithium batteries are very close to being flat and should be replaced soon. New
batteries will display 5.2 or 5.3 V.
Once inserted the LED should flash continuously. If it doesn’t, it means the unit has not yet reset. In this
case, remove the batteries for a minute or two to allow any residual charge to drain, and then reinsert
the batteries. Failure to reset the unit will prevent proper resetting of the battery life statistics.
LED Behaviour
Information
Off
If the LED is not on at all, it is likely that the battery is flat, or the
device is asleep. Measure the battery voltage with a multi-meter.
If there is a charge and you wish to see some activity reset the
device by removing and replacing the batteries.
From Power-on-Reset, LED
flashes for duration of start up
connect, GPS fix, and re-connect
or until 10 minutes have passed.
After reset of the Yabby the LED will flash. It will continue to flash
until it has completed its start up sequence of connect to server
($Hz flash, gets a GPS fix (1Hz flash), and reconnect to server (4Hz
flash). If the connections are not successful this will timeout after
10 minutes.
After first sleep - off
After the start up sequence has completed (connect, fix, connect)
or after 10 min the LED will be switched off. No LED flashes will
occur until a power-on-reset.
In Recovery Mode –flashes in trip
The LED will flash once every 5s during trips in recovery mode.

Oyster 2 –Getting Started Guide October 26, 2019: WestcoastGPS
4 | P a g e
GETTING ONLINE
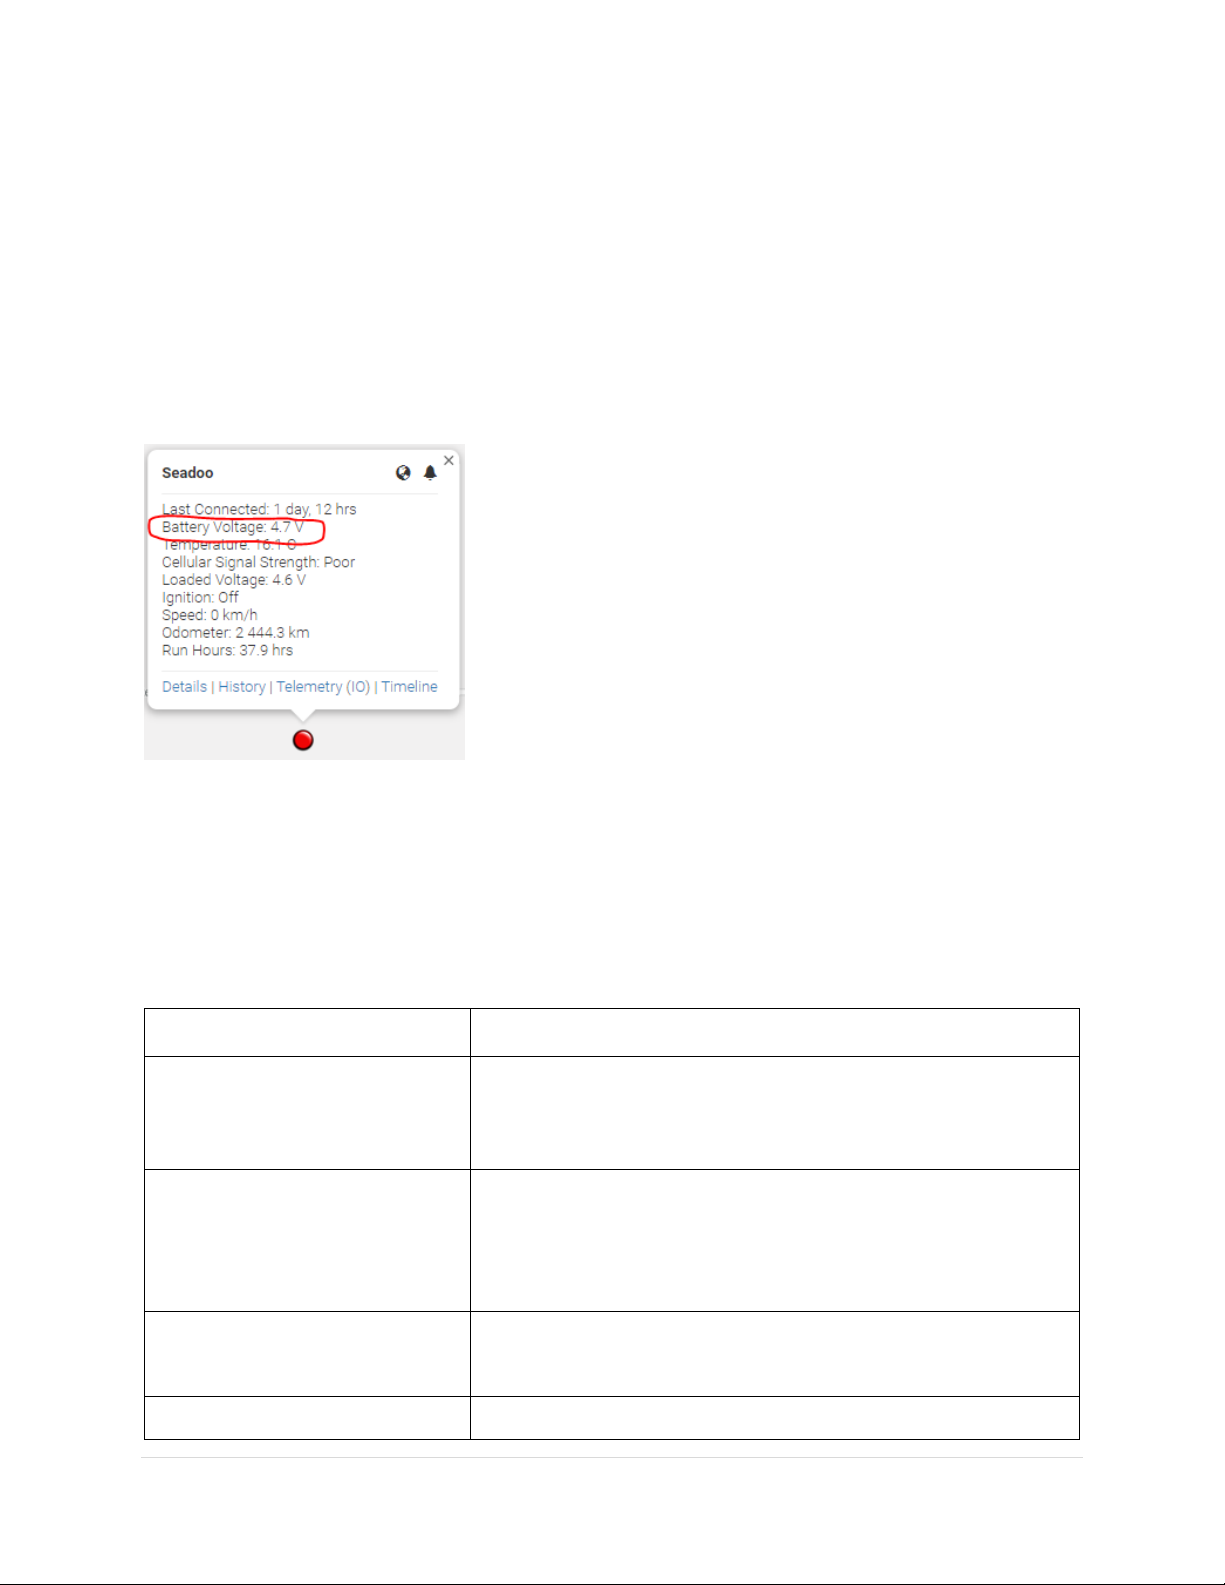
Once the batteries are inserted the internal LED will begin to flash. The Oyster will do the following:
▪Connect to the server: if the SIM card works the Oyster will connect and attempt to
download any firmware and parameter updates then fetch fresh GPS aiding data.
▪Get a GPS fix: the Oyster will attempt to get a GPS fix. You can speed this up by moving to an
area with good GPS signal –outdoors with a clear view of the sky.
▪Reconnect to the Server: the device will attempt to connect again to upload the result of the
GPS fix.
If the Oyster does not complete these steps in 10 minutes it will go to sleep and try again on the next
heartbeat or the next trip start.
If the LED flashes but the Oyster does not connect check to ensure the SIM is in the holder correctly.
Failing that contact us and ask us to check that the SIM is working properly.
OPENING and CLOSING the HOUSING
Once online all that remains is to seal the housing. Seal the device carefully to achieve the IP-67 rating.
Ensure that the clear silicon seal is in good condition, is lying flat, and is not fouled by any plastic debris
or other material. WestcoastGPS does not warranty against water ingress into the Oyster.
1. Close the housing, and gently squeeze it shut. Foam on the lid will compress against the
batteries holding them firmly in place.
2. Tighten the 6 screws to a uniform tightness. On first assembly the screws may be quite stiff.
Over tightening will crack the lid and the housing. If using an electric screwdriver a torque
limiting clutch is recommended. The torque setting should be 0.7 Nm. (For reference: the screws
are a thermoplastic screw 3.5mm x 12mm –BN82428)
3. If you wish to replace the batteries and open the housing, be sure to check that the silicon seal is
in good condition before closing the housing again.
4. Contact us for replacement seals, housings, and housing lids.

Oyster 2 –Getting Started Guide October 26, 2019: WestcoastGPS
5 | P a g e
DEFAULT SETTINGS
By default the Oyster2 is setup for Trip Based tracking. The following default settings apply:
▪Out of trip wake up and upload every 12 hours –a heartbeat
▪Start trip threshold of 250 meters
▪Upload on trip star
▪GPS fixes every 2 minutes
▪Upload every 30 minutes while in trip
▪Upload on trip end after 5 minutes of no movement
These settings and many more are configurable. The defaults provide a good starting point. If you
require different parameter settings for your own unique tracking needs (not applicable to ALR Tracking
Subscriptions) please contact Support who will assist with changes to those settings. Please remember
that more frequent tracking will shorten battery life.
DEVICE INSTALLATION
The Oyster2 can be mounted on the asset to be tracked using screws, bolts, cable ties, or industrial
adhesives. When choosing a mounting point you have two competing goals:
1. To minimize the chances of the device being accidentally being crushed or dislodged.
2. To maximize the GPS and mobile cellular reception and provide adequate ventilation.
Since the Oyster2 is a battery powered device reception is critical to its performance. Experiment with
different mounting locations to ensure you are achieving the correct performance and if possible choose
a mounting point that will not result in elevated temperatures. For instance, mounting the Oyster2 in
direct sunlight on the dash of a non-ventilated cabin may cook the batteries, leading to abnormally short
service life.

Oyster 2 –Getting Started Guide October 26, 2019: WestcoastGPS
6 | P a g e
TRACKING YOUR ASSET
There are two methods for tracking your assets, using the Telematics Guru app on your Android or Apple
devices and/or by logging into the westcoastgps.com website with the credentials provided to you by
WestcoastGPS. The App provides basic tracking information including the
ability to set up a one-time
only “Movement Alert” and to put the asset into “Recovery Mode” should the asset go missing or is
stolen. The website provides more robust tracking features including geofencing, alerts, and reports.
To login via the website make sure you click on the “Tracking Platform Login” button:
Once you enter your credentials you will be taken to the tracking platform:

Oyster 2 –Getting Started Guide October 26, 2019: WestcoastGPS
7 | P a g e
The Tracking Platform is intuitive and easy to use. Navigate using the tabs across the top or by clicking
on the balloons. If you need to return to this page simply click on the WestcoastGPS logo on the top left.
To download the Telematics Guru app use your smart device (Apple/Android phone/tablet) to click on
the links below:
https://itunes.apple.com/au/app/telematics-guru/id1132506292?mt=8
https://play.google.com/store/apps/details?id=guru.telematics.mobile.droid
RECOVERY MODE
Recovery Mode is a particularly useful feature when used with battery powered devices to recover
stolen and/or lost assets. The Oyster2 is designed around battery conservation and using as little data as
possible but when your asset has been stolen/lost Recovery Mode can be used to dramatically increase
GPS fixes and location updates so that your assets can be recovered as quickly as possible.
There are 2 Ways to Activate/Deactivate Recovery Mode
1. The easiest way is to use the Telematics Guru app. When viewing an asset in the app use the
Recovery Mode icon to switch Recovery mode on and off:
Follow the same steps to exit Recovery mode. When using the Telematics Guru app your
Oyster2 by default will exit Recovery Mode after 6 hours. If you want Recovery Mode to operate
for less or more time use the Tracking Platform as explained below.
2. From the Tracking Platform go “Manage Assets” and use the settings cog to select “Enter
Recovery Mode”

Oyster 2 –Getting Started Guide October 26, 2019: WestcoastGPS
8 | P a g e
The pop up below will appear. Choose the expiration time and click on “Send Message”
By default Recovery Mode is set to expire after 6 hours but you can choose between 30 minutes
and 24 Hours as per the image above.
To exit Recovery mode follow the same steps and this time you will be prompted to exit
Recovery mode.
Important Note –Please Read
Recovery Mode will quickly drain the batteries so be sure to only use this mode when absolutely
necessary. By default Recovery mode will turn off after 6 hours. If your device has not been recovered in
that time frame be sure to activate Recovery Mode again and/or contact WestcoastGPS to ensure
Recovery Mode does not turn off. Recovery Mode does not Activate until the device performs its next
upload so this will depend on the settings related to in trip uploads (most battery powered devices
are set to upload on trip start, every 30 minutes while in trip, and at trip end once movement has
stopped for 5 minutes) and heartbeats (schedule uploads that occur at least once per day whether the
device moves or not). Please do not abuse this mode as doing so could result in extra data charges or
suspension of your tracking subscription.
Remember to turn off Recovery Mode as soon as possible.

Oyster 2 –Getting Started Guide October 26, 2019: WestcoastGPS
9 | P a g e
ADDRESS BOOK
Alerts are an important component of managing your assets and to take advantage of Alerts you first have
to do a few things, the most important being to set up your address book. Click on the “Address Button”
which is circled in blue below:
Then click on the “New” button
Enter the email addresses you anticipate you will use for ALERTS. You can use whichever email addresses
you want for each ALERT that you set up and you choose which emails to use when you create ALERTS.
Once you have entered your first email address click “Save” and repeat the process until you have all of
the email addresses entered. You can go back at any time and add or delete email addresses.

Oyster 2 –Getting Started Guide October 26, 2019: WestcoastGPS
10 | P a g e
GEOFENCES
Setting up a Geo-fence is easy. From the main menu (which you can reach by clicking the WestCoastGPS
logo on the top left corner) select Geo-fences as shown below:
Begin typing an address and matching options will appear. Select the correct one as shown:
You can now adjust the zoom level using the plus(+) and (-) functions on the bottom right corner of the
map, and once you see the area that you wish to create a zone for, use your cursor to click points
outlining the shape, ensuring that your last point meets the first point you created, as show below:

Oyster 2 –Getting Started Guide October 26, 2019: WestcoastGPS
11 | P a g e
Once you have clicked on your starting point the geo-fence shape will appear and you can adjust the
shape by dragging any of the nodes shown by arrows below:
Remember that at least three points must be defined to create an area. Be sure to click the starting point
to close the shape. A common stumbling block is not completing or closing the area. The Geo Fence will
not save until it is closed.
Lastly, name your geo-fence and then click SAVE. The name given to your geo-fence will now appear in
all of your trip history and reports.
For advanced options click on Show advanced options.
These are the advanced settings:
1. Priority: Geo Fences with a Higher priority are shown preference over those with a
Lower priority. Where two Geo-Fences overlap with the same priority, the fence with
the smallest area will be shown preference.
2. Exclude from trip assignment: If selected the Geo-Fence will only be used for setting
up location based alerts. It will not be used when looking up trip start and end
locations
3. Track asset activity in Geo-Fence: If selected, the system will record statistics for the
asset activity inside this Geo-Fence.

Oyster 2 –Getting Started Guide October 26, 2019: WestcoastGPS
12 | P a g e
ALERTS
Setting up an Alert is easy. From the main menu (which you can reach by clicking the WestCoastGPS
logo on the top left corner) select Alerts as shown below:
Click on “New Alert Wizard”
Select the Alert you want to set up:

Oyster 2 –Getting Started Guide October 26, 2019: WestcoastGPS
13 | P a g e
Follow the prompts to set up which asset (device) you want to use for the Alert –in this case the Oyster
and the email address or addresses you want the Alert to be sent to.
ASSET NAME/DESCRIPTION
You can edit the name of your asset by navigating to the Asset –Manage Assets (circled in red) page and
clicking on the Asset name in blue (circled in red)as per the image below:
The pop up window below will appear:
Under the “General” tab you can change the name of the Asset and add a Description. Under the “Info”
tab there is other data you can enter:

Oyster 2 –Getting Started Guide October 26, 2019: WestcoastGPS
14 | P a g e
If you choose to enter a photograph under the “Photo” tab please ensure it does not exceed 2MB in
size.
This guide introduces many of the Oyster and Tracking Platform features. If you have unique tracking
needs, have any problems, or have questions related to using the Oyster, or any of our other products,
please do not hesitate to contact us at info@westcoastgps.com
Table of contents
Other Westcoast GPS GPS manuals
Popular GPS manuals by other brands

Nextar
Nextar Q4-MD - Automotive GPS Receiver Software guide

amber connect
amber connect Amber Covert C412 quick start guide

Magellan
Magellan CrossoverGPS 2500T Instructions for operating

Teltonica
Teltonica GH3000 Quick start user manual

Dogtra
Dogtra Pathfinder user manual

Transystem
Transystem TripMate850 user manual