Westcoast GPS Bolt User manual

Bolt –Getting Started Guide October 27, 2019: WestcoastGPS
1 | P a g e
Bolt –Getting Started Guide
INTRODUCTION
The Bolt is a new compact, plug and play, OBDII tracking device. It is available in 2G and 4G Cat-M1/Bn-
IoT versions.
The Bolt is very simple to install, drawing its power from a vehicle’s OBDII port. While it draws its power
from the ODBII port the Bolt does not read OBDII diagnostic data. The bolt is designed to provide
extremely cost-effective tracking and includes the latest GPS and cellular technology to give excellent
performance at an entry level price.
See the product page https://westcoastgps.com//Bolt-Datasheet-WCGPS.pdf for more specifications.
You will receive a compact box containing the Bolt, typically the SIM card will already be installed, and
the housing will already be closed. Simply plug the Bolt into your vehicle’s OBDII port and you are ready
to go. Should you be required to install the SIM card or swap in a replacement card see the instructions
on the next page.

Bolt –Getting Started Guide October 27, 2019: WestcoastGPS
2 | P a g e
SIM CARD
Typically you will receive your Bolt with the SIM card already installed. The information below is
supplied in case you have to install the SIM card yourself or the SIM card has to be replaced.
The Bolt uses a Nano SIM card (form factor 4FF). The SIM holder is on the top of the control board which
will have to be removed/lifted out of the bottom housing to insert/swap the SIM. The board can slide
out smoothly without removing screws or clips.
CAUTION: When handling the control board take steps to prevent static discharge which could render
the device inoperable. DO NOT touch the GPS antenna.
Slide the SIM card into the holder with the keyed corner first and the SIM contacts orientated down to
the main board.
BATTERIES
The Bolt does not have a backup battery and receives power solely from the OBDII port.
CLOSING THE HOUSING
The housing clips together and does not need screws. It will snap firmly shut. Normally you wont need
to re-open the housing, but if you do, gently pry it slightly open at the round opening in the housing
then gently pull it apart. If the housing clips break contact us for a replacement housing.

Bolt –Getting Started Guide October 27, 2019: WestcoastGPS
3 | P a g e
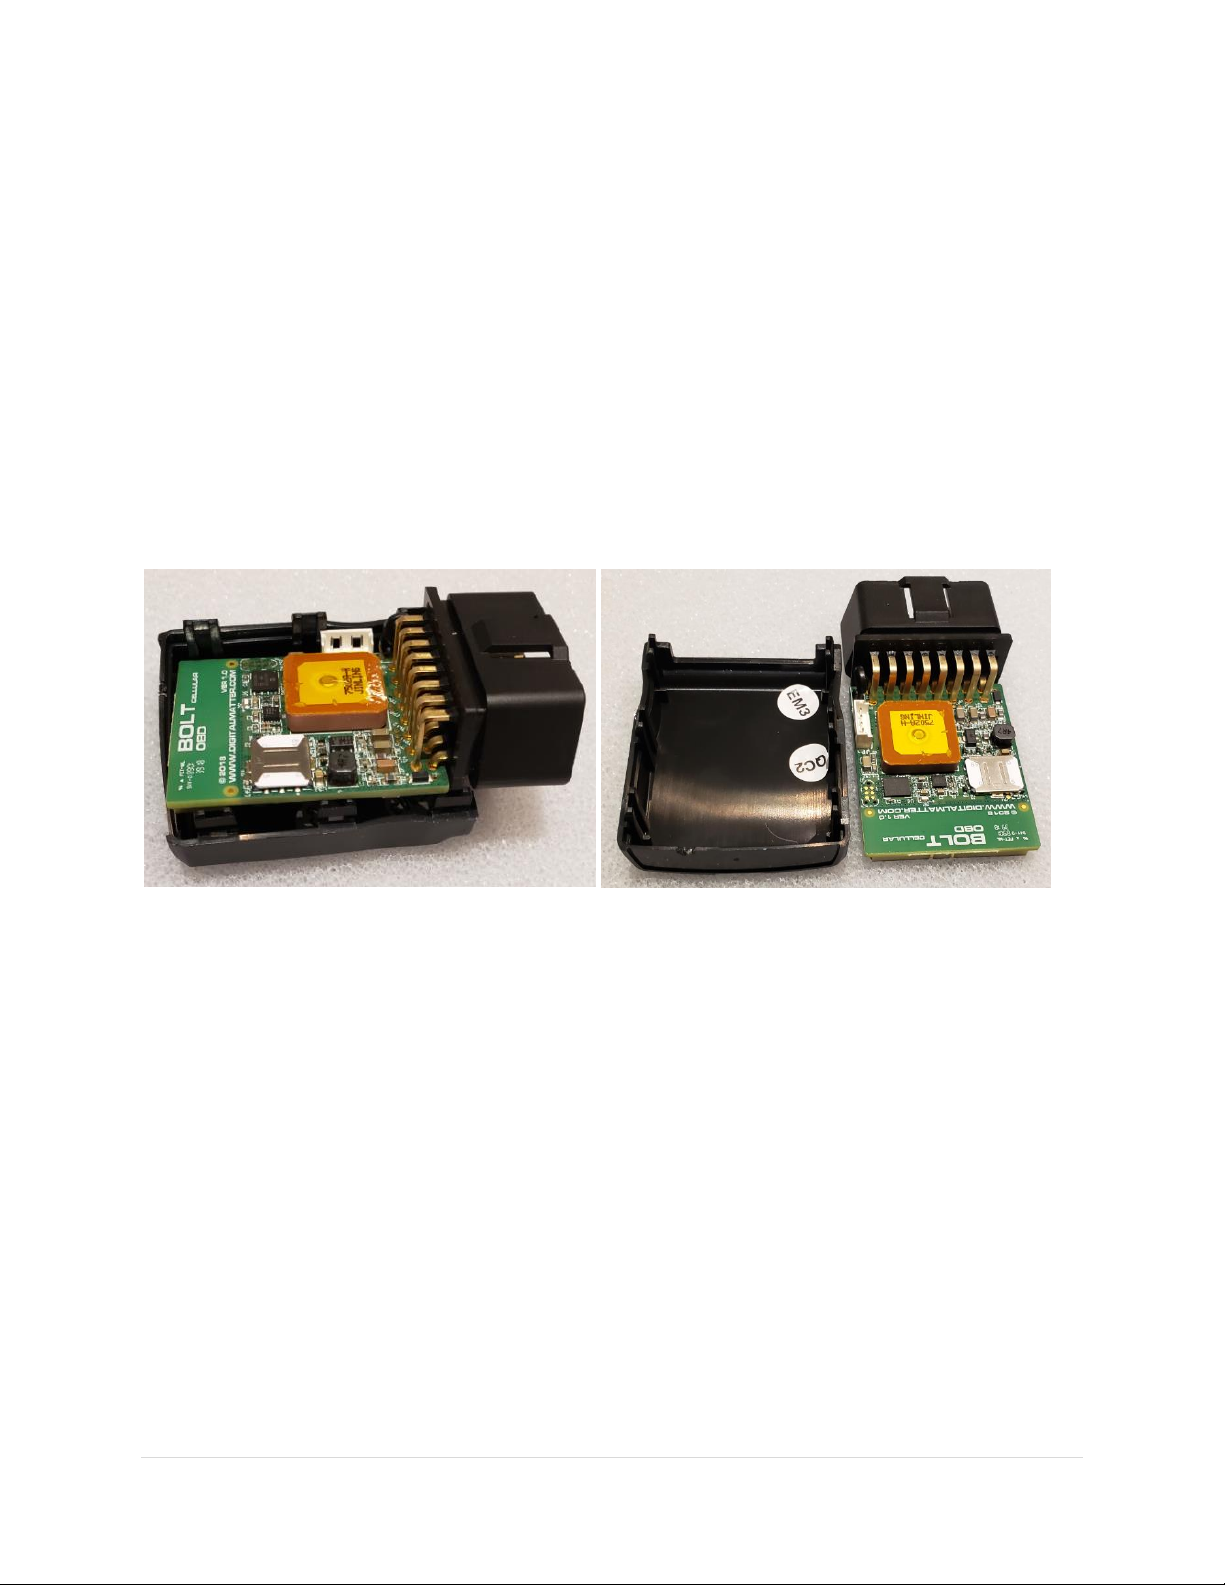
PLUGGING THE BOLT INTO YOUR VEHICLE
You can find where your vehicle’s OBDII port is by researching the make and model online. Typically it
will be located under the dashboard on the driver side. Once powered the blue LED will flash at 1Hz.
GETTING ONLINE
Once connected to your vehicle’s OBDII port the blue LED will begin to flash. The Bolt will do the
following:
▪Connect to the server: if the SIM card works the Bolt will connect and attempt to download
any firmware and parameter updates then fetch fresh GPS aiding data.
▪Get a GPS fix: the Bolt will attempt to get a GPS fix. You can speed this up by moving to an
area with good GPS signal –outdoors with a clear view of the sky.
▪Reconnect to the Server: the device will attempt to connect again to upload the result of the
GPS fix.
If the Bolt does not complete these steps in 10 minutes it will go to sleep and try again on the next
heartbeat or the next trip start.
If the LED flashes but the Bolt does not connect check to ensure the SIM is in the holder correctly. Failing
that contact us and ask us to check that the SIM is working properly.
DEFAULT SETTINGS
The Bolt will operate with default settings out of the box. The defaults include:
▪Hourly Heartbeats: the Bolt will log a heartbeat record, connect to the server, and refresh its
GPS data every 60 minutes.
▪Logging: The Bolt is set to log a record every 60 seconds or 500m of distance travelled,
whichever comes first.
▪Heading Changes: the Bolt will also log a record when a heading change is detected and will
track when the vehicle corners. (minimum 10 degreeheading change for at least 150m at the
new heading)
▪Emulated Ignition: By default a trip will commence recording if the vehicle has moved more
than 150m from its starting position and/or exceed 15 km/h. The trip will automatically end if
the Bolt has been stationary for 4 minutes. The bolt will upload at the beginning and end of a
trip.
These settings and many more are configurable. The defaults provide a good starting point. If you
require different parameter settings for your own unique tracking needs (not applicable to ALR Tracking
Subscriptions) please contact Support who will assist with changes to those settings.

Bolt –Getting Started Guide October 27, 2019: WestcoastGPS
4 | P a g e
TRACKING YOUR ASSET
There are two methods for tracking your assets, using the Telematics Guru app on your Android or Apple
devices and/or by logging into the westcoastgps.com website with the credentials provided to you by
WestcoastGPS. The App provides basic tracking information including the
ability to set up a one-time
only “Movement Alert” and to put the asset into “Recovery Mode” should the asset go missing or is
stolen. The website provides more robust tracking features including geofencing, alerts, and reports.
To login via the website make sure you click on the “Tracking Platform Login” button:
Once you enter your credentials you will be taken to the tracking platform:

Bolt –Getting Started Guide October 27, 2019: WestcoastGPS
5 | P a g e
The Tracking Platform is intuitive and easy to use. Navigate using the tabs across the top or by clicking
on the balloons. If you need to return to this page simply click on the WestcoastGPS logo on the top left.
To download the Telematics Guru app use your smart device (Apple/Android phone/tablet) to click on
the links below:
https://itunes.apple.com/au/app/telematics-guru/id1132506292?mt=8
https://play.google.com/store/apps/details?id=guru.telematics.mobile.droid

Bolt –Getting Started Guide October 27, 2019: WestcoastGPS
6 | P a g e
ADDRESS BOOK
Alerts are an important component of managing your assets and to take advantage of Alerts you first have
to do a few things, the most important being to set up your address book. Click on the “Address Button”
which is circled in blue below:
Then click on the “New” button
Enter the email addresses you anticipate you will use for ALERTS. You can use whichever email addresses
you want for each ALERT that you set up and you choose which emails to use when you create ALERTS.
Once you have entered your first email address click “Save” and repeat the process until you have all of
the email addresses entered. You can go back at any time and add or delete email addresses.

Bolt –Getting Started Guide October 27, 2019: WestcoastGPS
7 | P a g e
GEOFENCES
Setting up a Geo-fence is easy. From the main menu (which you can reach by clicking the WestCoastGPS
logo on the top left corner) select Geo-fences as shown below:
Begin typing an address and matching options will appear. Select the correct one as shown:
You can now adjust the zoom level using the plus(+) and (-) functions on the bottom right corner of the
map, and once you see the area that you wish to create a zone for, use your cursor to click points
outlining the shape, ensuring that your last point meets the first point you created, as show below:

Bolt –Getting Started Guide October 27, 2019: WestcoastGPS
8 | P a g e
Once you have clicked on your starting point the geo-fence shape will appear and you can adjust the
shape by dragging any of the nodes shown by arrows below:
Remember that at least three points must be defined to create an area. Be sure to click the starting point
to close the shape. A common stumbling block is not completing or closing the area. The Geo Fence will
not save until it is closed.
Lastly, name your geo-fence and then click SAVE. The name given to your geo-fence will now appear in
all of your trip history and reports.
For advanced options click on Show advanced options.
These are the advanced settings:
1. Priority: Geo Fences with a Higher priority are shown preference over those with a
Lower priority. Where two Geo-Fences overlap with the same priority, the fence with
the smallest area will be shown preference.
2. Exclude from trip assignment: If selected the Geo-Fence will only be used for setting
up location based alerts. It will not be used when looking up trip start and end
locations
3. Track asset activity in Geo-Fence: If selected, the system will record statistics for the
asset activity inside this Geo-Fence.

Bolt –Getting Started Guide October 27, 2019: WestcoastGPS
9 | P a g e
ALERTS
Setting up an Alert is easy. From the main menu (which you can reach by clicking the WestCoastGPS
logo on the top left corner) select Alerts as shown below:
Click on “New Alert Wizard”
Select the Alert you want to set up:

Bolt –Getting Started Guide October 27, 2019: WestcoastGPS
10 | P a g e
Follow the prompts to set up which asset (device) you want to use for the Alert –in this case the Bolt
and the email address or addresses you want the Alert to be sent to.
ASSET NAME/DESCRIPTION
You can edit the name of your asset by navigating to the Asset –Manage Assets (circled in red) page and
clicking on the Asset name in blue (circled in red)as per the image below:
The pop up window below will appear:
Under the “General” tab you can change the name of the Asset and add a Description. Under the “Info”
tab there is other data you can enter:

Bolt –Getting Started Guide October 27, 2019: WestcoastGPS
11 | P a g e
If you choose to enter a photograph under the “Photo” tab please ensure it does not exceed 2MB in
size.
This guide introduces many of the Bolt and Tracking Platform features. If you have unique tracking
needs, have any problems, or have questions related to using the Bolt, or any of our other products,
please do not hesitate to contact us at info@westcoastgps.com
Table of contents
Other Westcoast GPS GPS manuals