2
GENERAL RECOMMENDATIONS AND USAGE
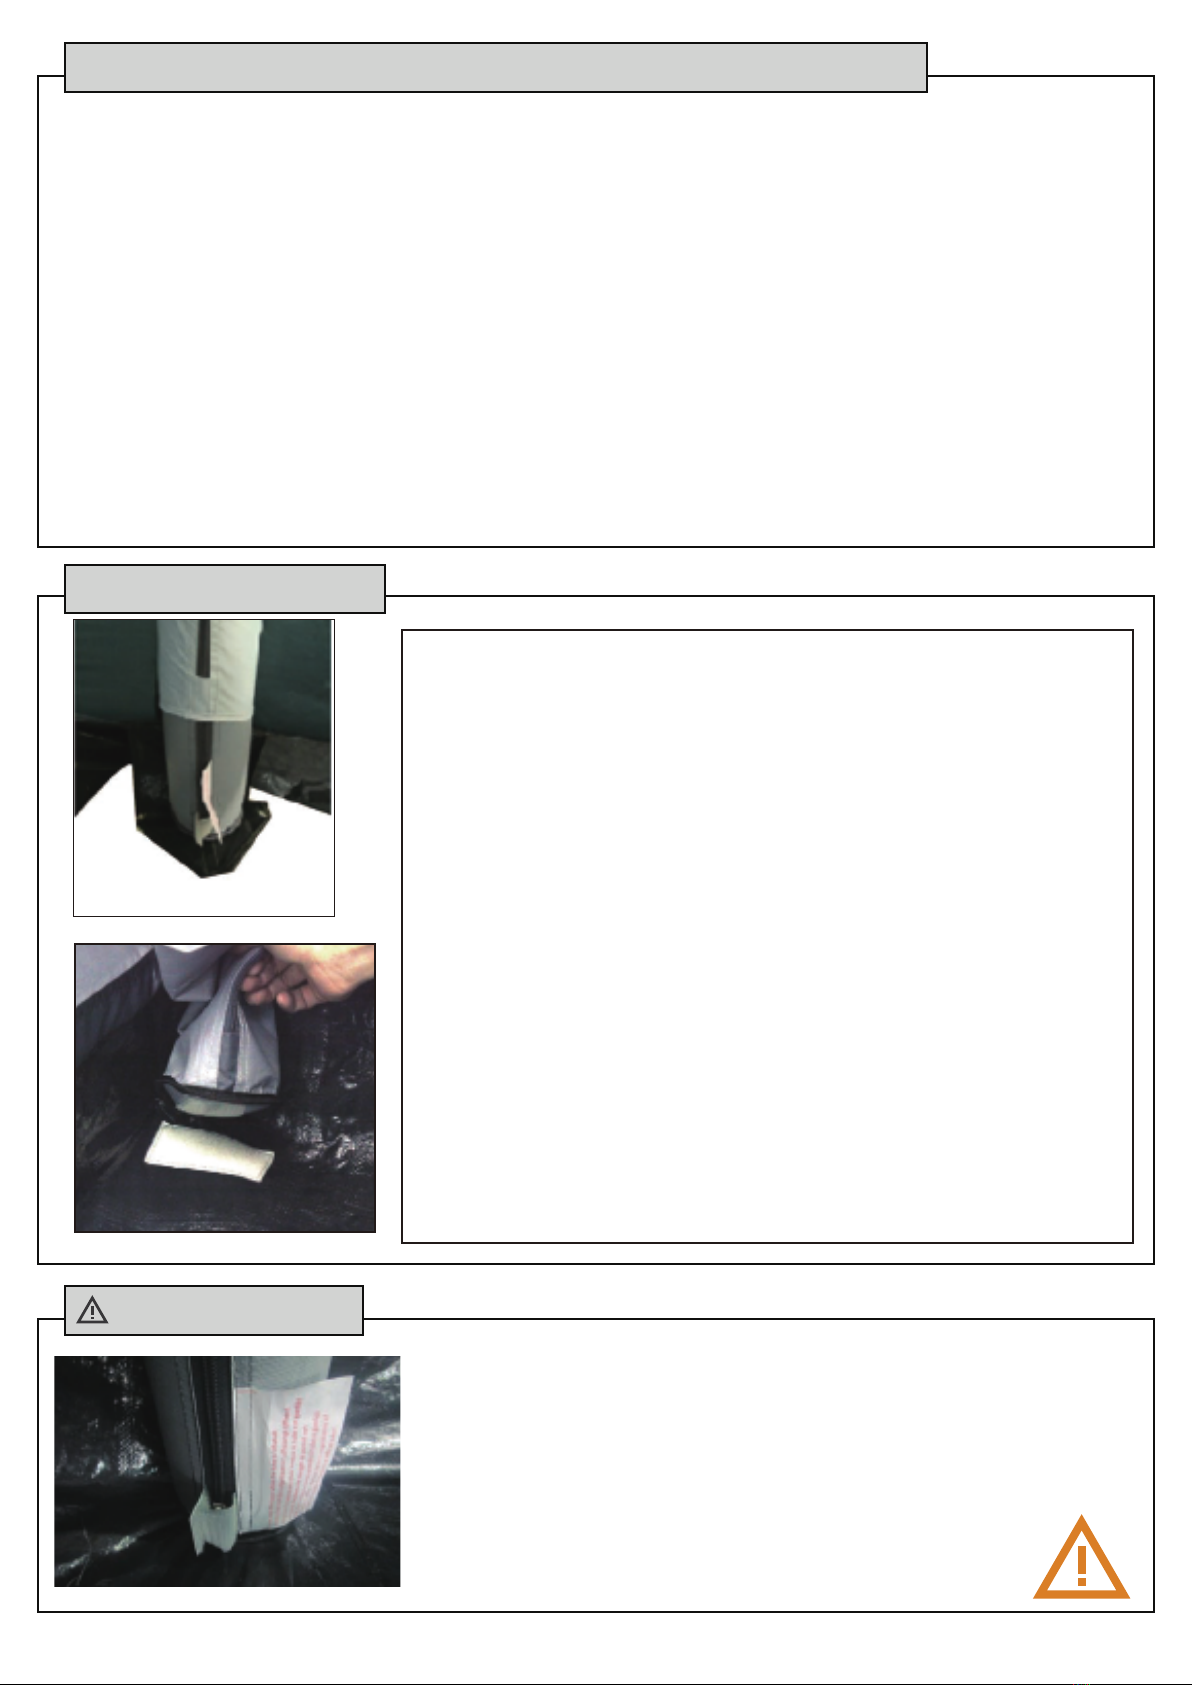
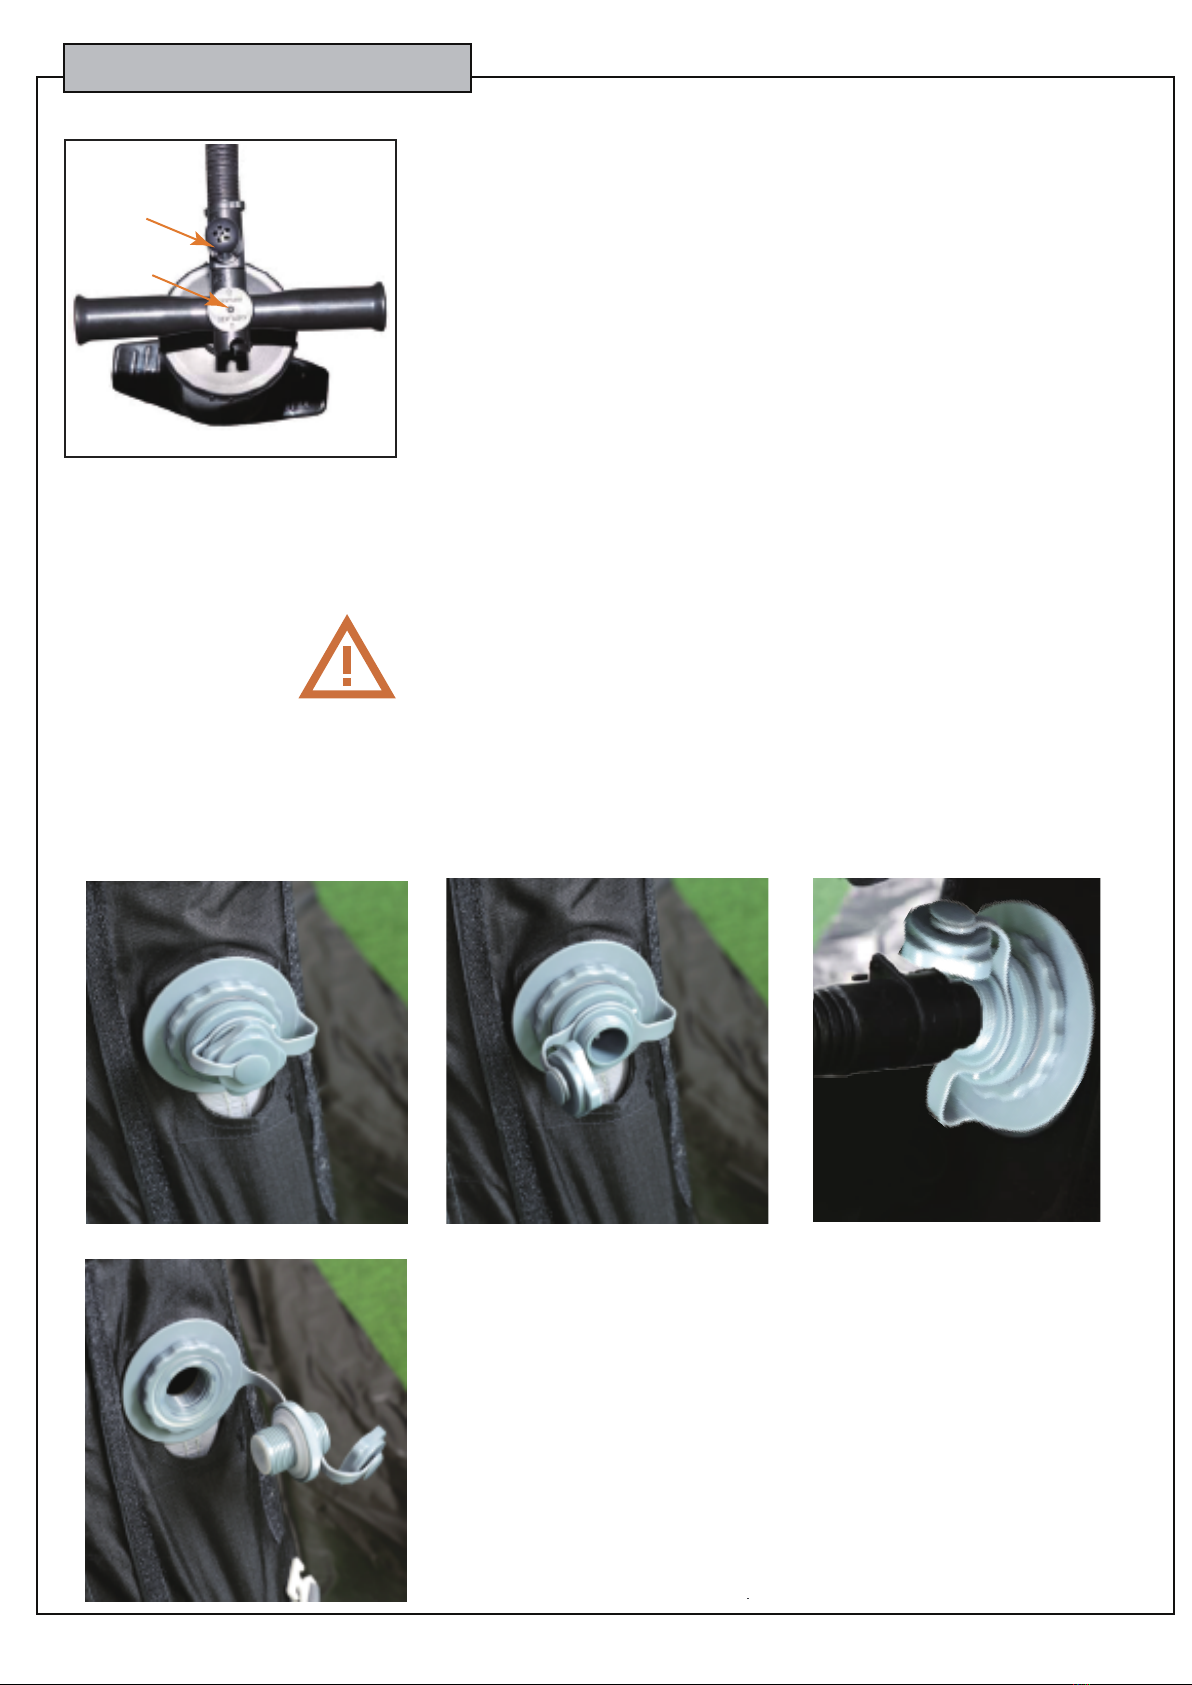
THE AIR TUBES
The zipper of the reinforced Air tube sleeves is
secured against opening via the use of a tie. If you
remove this tie for any reason, it must be replaced
before using the awning again.
Never open it when the air tube is under pressure.
To avoid damage, the zipper must remain closed.
Ensure that the air tubes are properly stored in the
sleeves and all zippers are closed.
The air tubes are made of a high-quality, durable TPU material.
The TPU tubes are covered by a double layer protective sleeve.
The protective sleeve, protects the TPU tube against damage
and keeps the tube in position. The outer sleeve adds another
layer of protection and fixes the protective sleeve and air tube
to the tent, ensuring it is always in the correct position. Both
sleeves are provided with a zipper which can only be opened
when the air tube is not under pressure. The air tubes are fixed
to the bottom floor by using Velcro tape.
Replacing or repairing the airtubes
The TPU tubes can be replaced or repaired by yourself. To do
so follow this procedure:
1. Unscrew the valve from the outer sleeve then unzip the outer
sleeve
2. Snip the tie holding the zipper on the protective cover and
unzip exposing the TPU tube.
3. The TPU tube is held in place by an elasticated ribbon at the
top of the protective sleeve. The TPU is folded over the
elasticated ribbon to hold it in place when the tube is deflated.
4. Replace or repair the TPU air tube.
5. If you are repairing the air tube, we recommend using a
professional/high quality patch repair kit.
6. When putting the TPU tube back in place, just reverse the
process, but remember to secure the zipper on the protective
cover to ensure it cannot come undone during use as this can
lead to tube and awning damage and is not covered by your
warranty.
ATTENTION!
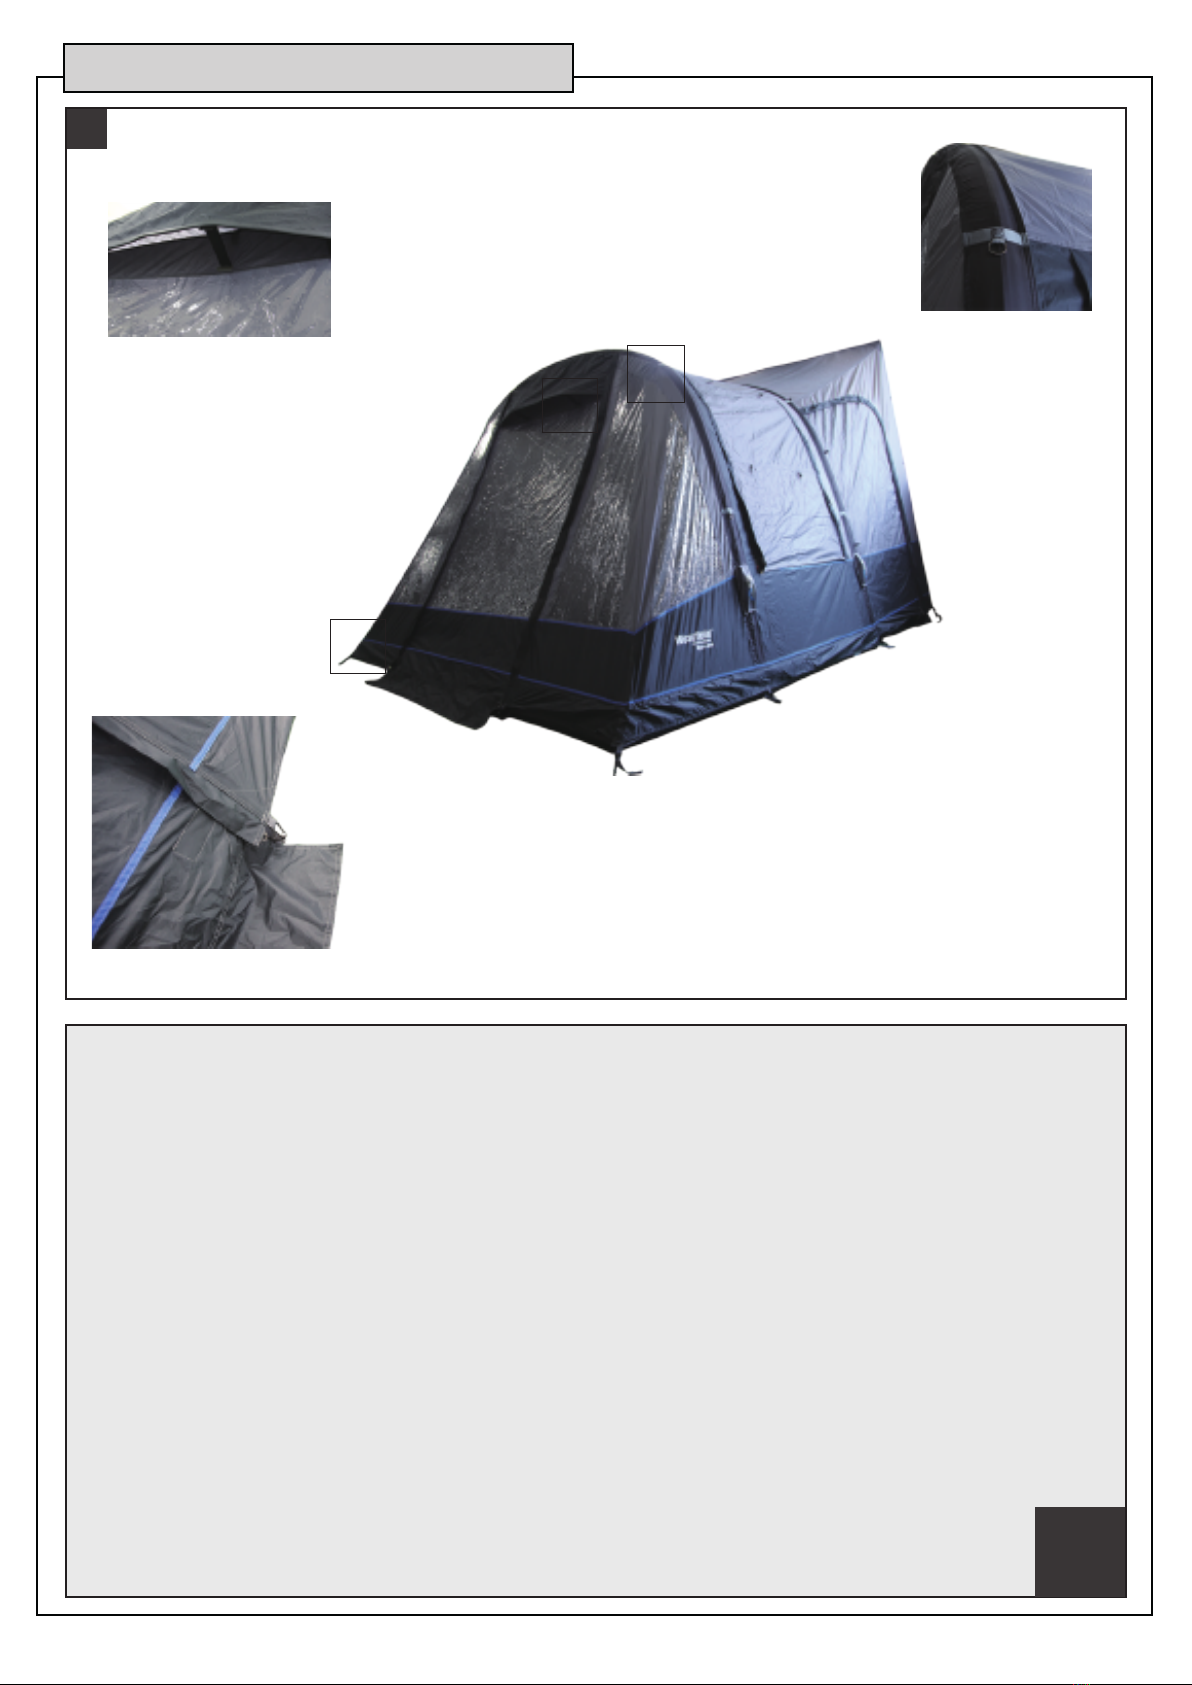
• We recommend the use of an additional groundsheet or covering to avoid any damage to your
awning whilst fitting it to your caravan, motorhome or vehicle.
• Please familiarize yourself with the awning before you go on your first trip. We recommend a test
set-up before your trip.
• Install your awning on a clean and even surface. Remove stones and branches to avoid possible
damage to your awning and make a note about the direction and strength of the wind and always
try and build your awning up in a wind-protected area.
• Avoid setting up your awning under trees as tree sap and other debris can permanently mark or
damage your awning.
• On all coated, non-breathable materials you will always get some condensation. This is when
condensed water forms on the coldest surface of the awning which can sometimes be inside the
awning. Condensation is often mistaken for leaking and is not a reason for complaint or a fault of
the awning.
• This can be lessened by ensuring the awning has adequate ventilation to allow increased air flow
and thus reduce the condensation.
• This awning is not built for permanent pitching or commercial use.
• Please avoid any snow load. Air awnings are not built for snow load.
• In the case of strong winds and storms, the awning must be taken down in order to avoid storm
damage.
• Never open the zips on any of the air tubes when they are inflated. This can lead to damage to the
air tubes and your awning.
• The valves on the air tubes can become loose over time even when not used, so before you inflate
your awning you should always check that the valves are tight otherwise they could leak.