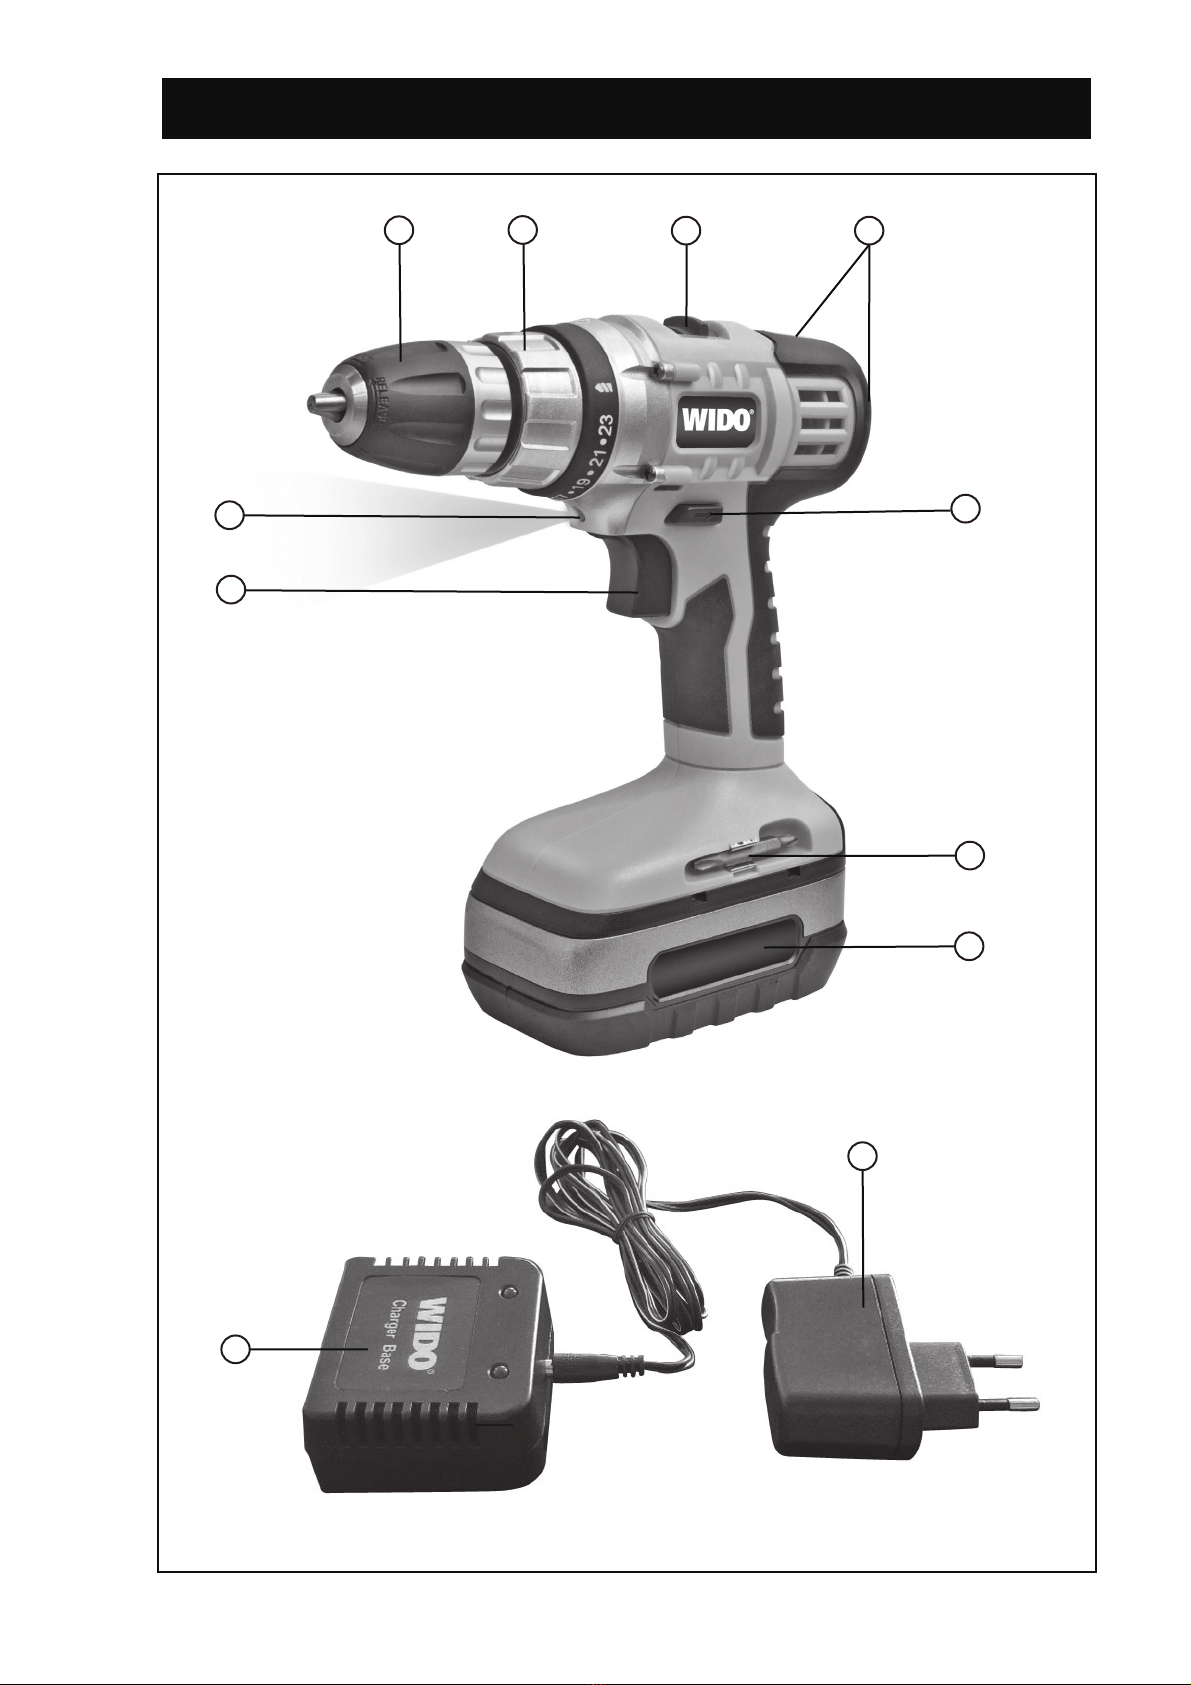
14.4V/18V CORDLESS DRILL & SCREW DRIVER ENG
ADDITIONAL SAFETY INSTRUCTIONS FOR YOUR POWER TOOL:
1) Be sure your battery pack voltage is the same as your tool nameplate voltage.
2) Wear ear protectors when using the tool for extended periods. Exposure to noise can cause
hearing loss.
3) Wear safety goggles or eye protection when using this tool. Use a dust mask or respirator for
applications which generate dust.
4) Hold power tools by insulated gripping surfaces when performing an operation where the cutting
tools may contact hidden wiring. Contact with a “live” wire will make exposed metal parts of the tool
“live” and shock the operator.
5) Always check walls and ceilings to avoid hidden power cables and pipes. Contact with electric
lines can lead to fire and electric shock. Damaging a gas line can lead to explosion. Penetrating a
water line causes property damage.
6) Use clamps or other practical way to secure and support the workpiece to a stable platform.
Holding the work by hand or against your body is unstable and may lead to loss of control.
7) Before you lay down the drill, make sure that all moving parts have come to a stop.
8) Be sure no one is below when using the tool in high locations.
ADDITIONAL SAFETY INSTRUCTIONS FOR YOUR BATTERY:
1) Before using battery, read all instructions and cautionary markings in this manual, on battery
charger, battery, and product using battery.
2) Do not store the tool and battery pack in locations where the temperature may reach or exceed
+50°C, and may reach or below -20°C.
3) Immediately discontinue use of the battery if, while using, charging or storing the battery, the
battery emits an unusual smell, feels hot, changes color or shape, or appears abnormal in any other
way.
4) If operating time has become excessively shorter, stop operating immediately. It may result in a
risk of overheating, possible burns and even an explosion.
5) Be careful not to drop or strike battery. Never use the battery pack as a hammer, beat the battery
pack could result in accident short, fire or explode.
6) Do not incinerate the battery pack even if it is severely damaged or is completely worn out. The
battery pack can explode in a fire.
7) Do not dispose of batteries in fire, or with household waste. Return exhausted batteries to your
local collection or recycling point.
ADDITIONAL SAFETY INSTRUCTIONS FOR YOUR CHARGER:
1) Charger is for indoor use only. Do not expose charger to rain or snow. Do not recharge battery in
damp or wet environment.
2) Charge only specified type rechargeable batteries. Other types of batteries may burst causing
personal injury and damage.
3) Before using charger, be sure the supply is the same as the voltage given on the nameplate of
the charger.
4) Place charger on flat non-flammable surfaces and away from flammable materials such as paper,
textile and so on when charging battery pack.
5) Always charge the battery pack between temperatures 0°C to 40°C. Ideal charging temperatures
is 10°C to 30°C.
6) Always remove the battery pack from the charger immediately after charging is completed.
7