Wiener Netze AM550-TD0 User manual

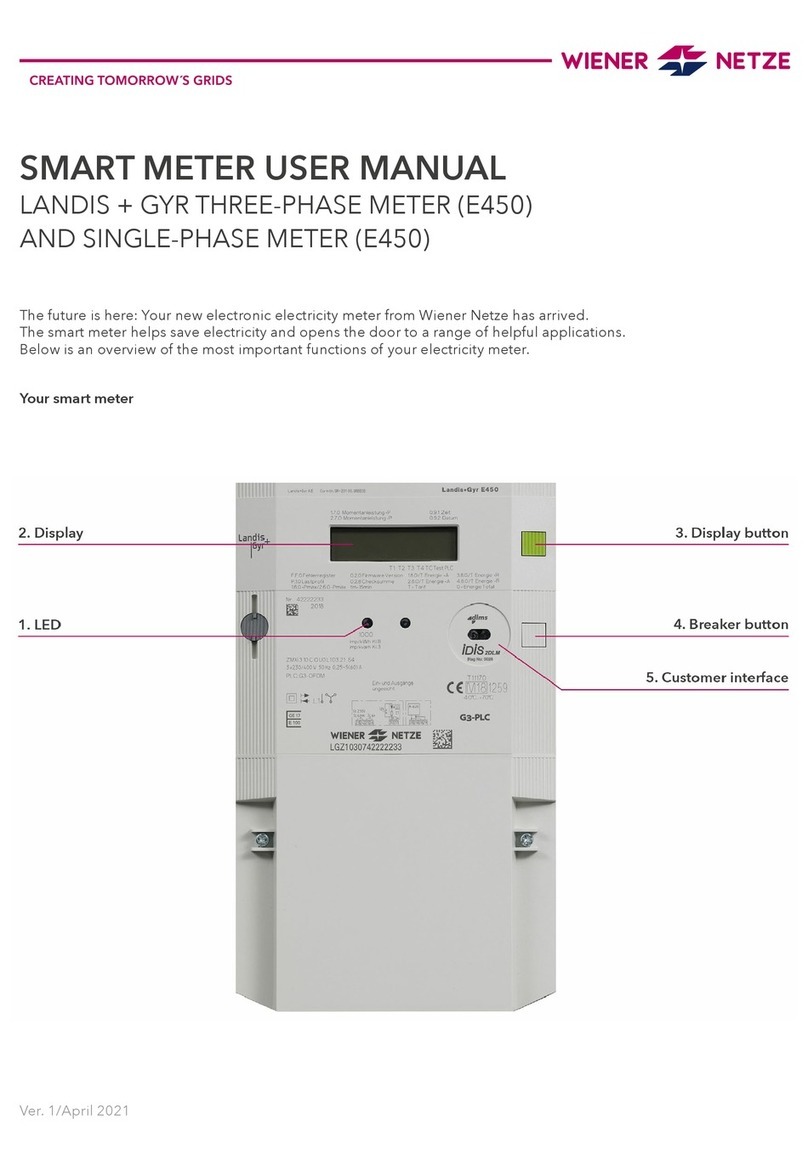
SMART METER USER MANUAL
ISKRAEMECO THREE-PHASE METER (AM550-TD0)
AND SINGLE-PHASE METER (AM550-ED0)
The future is here: Your new electronic electricity meter from Wiener Netze has arrived.
The smart meter helps save electricity and opens the door to a range of helpful applications.
Below is an overview of the most important functions of your electricity meter.
Your smart meter
Ver. 1/April 2021

Elements and functions of your smart meter
1. Breaker button with LED
The breaker button turns on your electricity meter.
There is a light emitting diode (LED) under this button, which indicates the status of the electricity meter.
2. Display button
The display button can be used to scroll between different display views.
3. LED /pulse output
The light emitting diodes (LED) indicate the current status of the electricity meter.
– LED: ashing = power consumption
– LED: illuminated = no power consumption
4. Display
The demonstration display below shows all symbols:
1. Check that the electricity meter is connected to the mains: The breaker LED (1) must be ashing.
2. When ”ConnEct” appears on the display, the device is ready to be switched on.
3. Press and hold the breaker button (1) for at least 5 seconds.
Release the button when “EntEr” appears on the display. Your electricity meter is now active.
Is your electricity meter ready for use but not yet switched on? This is how you switch on the electricity meter:
Status Display Symbol
Ofine LED illuminated yellowbar
Online LED not illuminated graybar
Ready to connect LED ashes yellow bar with ashing icons
a) Phases
b) OBIS-Code
c) Units of measurement
d) Multifunction triangles
e) Display screen
f) Tariff
g) Energy direction
h) Meter below start-up limit

a) Phases
Here you can see which phases (current-carrying lines) of the electricity grid are live.
b) OBIS-Code
The OBIS code is an internationally standardised identier on the energy market.
An example: Code 1.8.0 stands for “Positive active energy (A+) total in kilowatt hours (kWh)”.
c) Units of measurement
This eld displays the physical unit, e.g. kilowatt hours (kWh).
d) Multifunction triangles
The illuminated multifunction triangles show the current electricity meter mode. From the left:
– DS: “Displaysperre” (display lock) is activated.
– OU: The electricity meter is in opt-out mode.
– COM: The electricity meter is communicating with the grid operator.
– KU: The customer interface is activated.
– MU: The multi-utility interface (for gas or electricity meters) is activated.
– FD/FM: This symbol is used for analysis by the network operator.
e) Display-screen:
Standard view (scrolling display)
The standard view (scrolling display) switches between the following values every ve seconds
– OBIS code 1.7.0: Instantaneous power in kilowatts (kW)
– OBIS code 1.8.0: Positive active energy (A+) in kilowatt hours (kWh)
(The value for 1.8.0 refers to the meter reading as it was read on your old Ferraris meter.)
– OBIS code F.F.0: Fatal error meter status
– OBIS code 2.8.0: Negative active energy total (A-) in kilowatt hours (kWh) only for production systems
(e.g. photovoltaic installations).
Billing view
If you would like to see other billing-relevant values on your electricity meter, you have to activate this function on
Wiener Netze’s Smart Meter web portal or Smart Meter business portal. Select the desired meter under the “Anla-
gendaten” (System data) section then click on the “Abrechnung” (Billing) option under the “Zähler-Displayanzeige”
(Display) item.
Only then will your electricity meter display the required OBIS codes in the register.
The electricity meter displays the following values (depending on the tariff):
– OBIS code 1.6.0: Positive active maximum demand (A+) total in kilowatts (kW)
– OBIS code 1.8.1: Positive active energy (A+) in tariff T1 in kilowatt hours (kWh)
– OBIS code 1.8.2: Positive active energy (A+) in tariff T2 in kilowatt hours (kWh)
– OBIS code 2.6.0: Negative active maximum demand (A-) total in kilowatts (kW)
– OBIS code 2.8.1: Negative active energy (A+) in tariff T1 in kilowatt hours (kWh)
– OBIS code 2.8.2: Negative active energy (A+) in tariff T2 in kilowatt hours (kWh)
– OBIS code 3.8.0: Positive reactive energy (Q+) total in kilovolt-ampere reactive hours (kVArh)
Opt-out view
The opt-out view (scrolling display) switches between the following values every ve seconds:
– OBIS code 1.7.0: Instantaneous power in kilowatts (kW)
– OBIS code 1.8.0: Positive active energy (A+) in kilowatt hours (kWh)
– OBIS code F.F.0: Error meter status
If you have selected the opt-out option, this is shown on the display (“oPt-out”).
The multifunction triangles DS and OU are also illuminated.

Display when pressing the button
Pressing the display button once illuminates the display, with all elements being shown.
Pressing the button briey (< 1 second) takes you to the next displayed values.
Each time you press the button, the next OBIS code is displayed. Pressing and holding the
button (> 5 seconds) takes you to the second last level (OBIS code 1.5.0.2.8.).
– OBIS code 1.8.0: Positive active energy (A+) in kilowatt hours (kWh)
– OBIS code 1.0.0.2.0: Firmware (must be calibrated)
– OBIS code 1.0.0.2.8: Checksum (must be calibrated)
– OBIS code 1.5.0.2.0: Firmware (country-specic part that must be calibrated)
– OBIS code 1.5.0.2.8: Checksum (country-specic part that must be calibrated)
Do you want to return to the standard view or opt-out view?
The display will change back automatically after ten minutes.
f) Tariff
This symbol indicates which tariff is currently active.
This is relevant for customers with e.g a heat pump, for which there are high and low tariffs.
T1: low tariff
T2: high tariff
T3, T4: currently not in use

g) Energy direction
The energy form and the energy ow are displayed here:
+Q: Positive reactive energy (cannot be used)
–Q: Negative reactive energy (cannot be used)
+P: Positive active energy
–P: Negative active energy
h) Meter below start-up limit
Power consumption is below the start-up limit. The start-up limit is the point at which the electricity meter can
detect a ow of current.
5. Customer interface
You can connect a device or system (e.g. your smart home system) to the electricity meter via the customer interfa-
ce and a suitable read-out adapter.
The customer interface is deactivated by default. You can activate it in the Smart Meter web portal or Smart Meter
business portal as well as via Wiener Netze’s customer service portal.
This manual suits for next models
1
Table of contents
Other Wiener Netze Measuring Instrument manuals
Popular Measuring Instrument manuals by other brands

PCB Piezotronics
PCB Piezotronics IMI SENSORS ICP HT622A01 Installation and operating manual
Tektronix
Tektronix WVR5200 Series Service manual

GEM
GEM GSM-19 instruction manual
Agilent Technologies
Agilent Technologies PNA Series Service guide
Farnell
Farnell Sound level meter instruction manual
Unitec
Unitec 75565 Instructions for use
