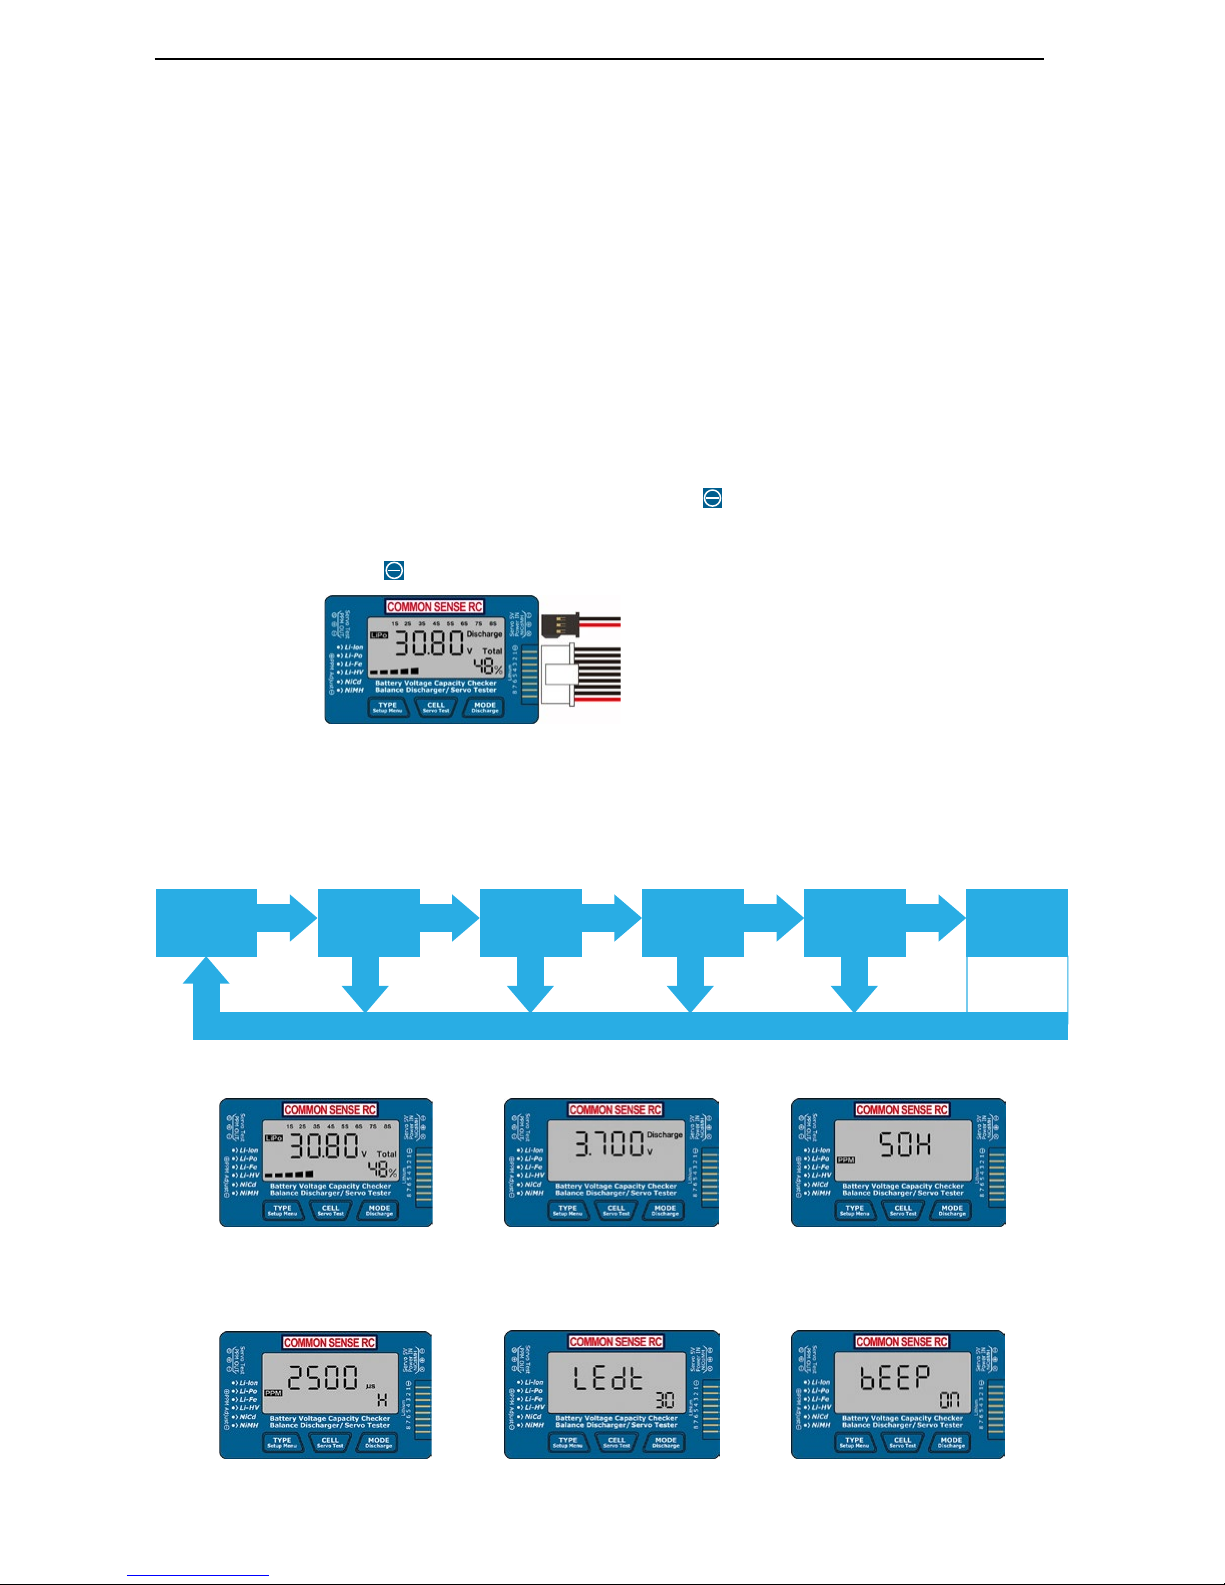
4. LITHIUM BATTERY DETECTION MODE
Connect your Lithium battery to Cell Spy 8’s 9-pin/Lithium battery port. The LCD screen will power on and display the number of Lithium
cells, total battery voltage, battery type detected, and the charge state of the battery as a percentage. The charge state of the battery is
also represented by the strip pattern at the bottom of the screen. The percentage and strip pattern will change in accordance with the
battery type if the battery type is manually switched.
Press the TYPE/SETUP MENU button to switch between Lithium battery types (Li-Po, Li-Ion, Li-Fe, Li-HV). The Cell Spy 8 has a smart detect
feature for Lithium cells. If the voltage of any cell is higher than 3.6V, the display will not switch to Li-Fe. If the voltage of any cell is higher
than 3.6V, the display will not switch to Li-Ion.
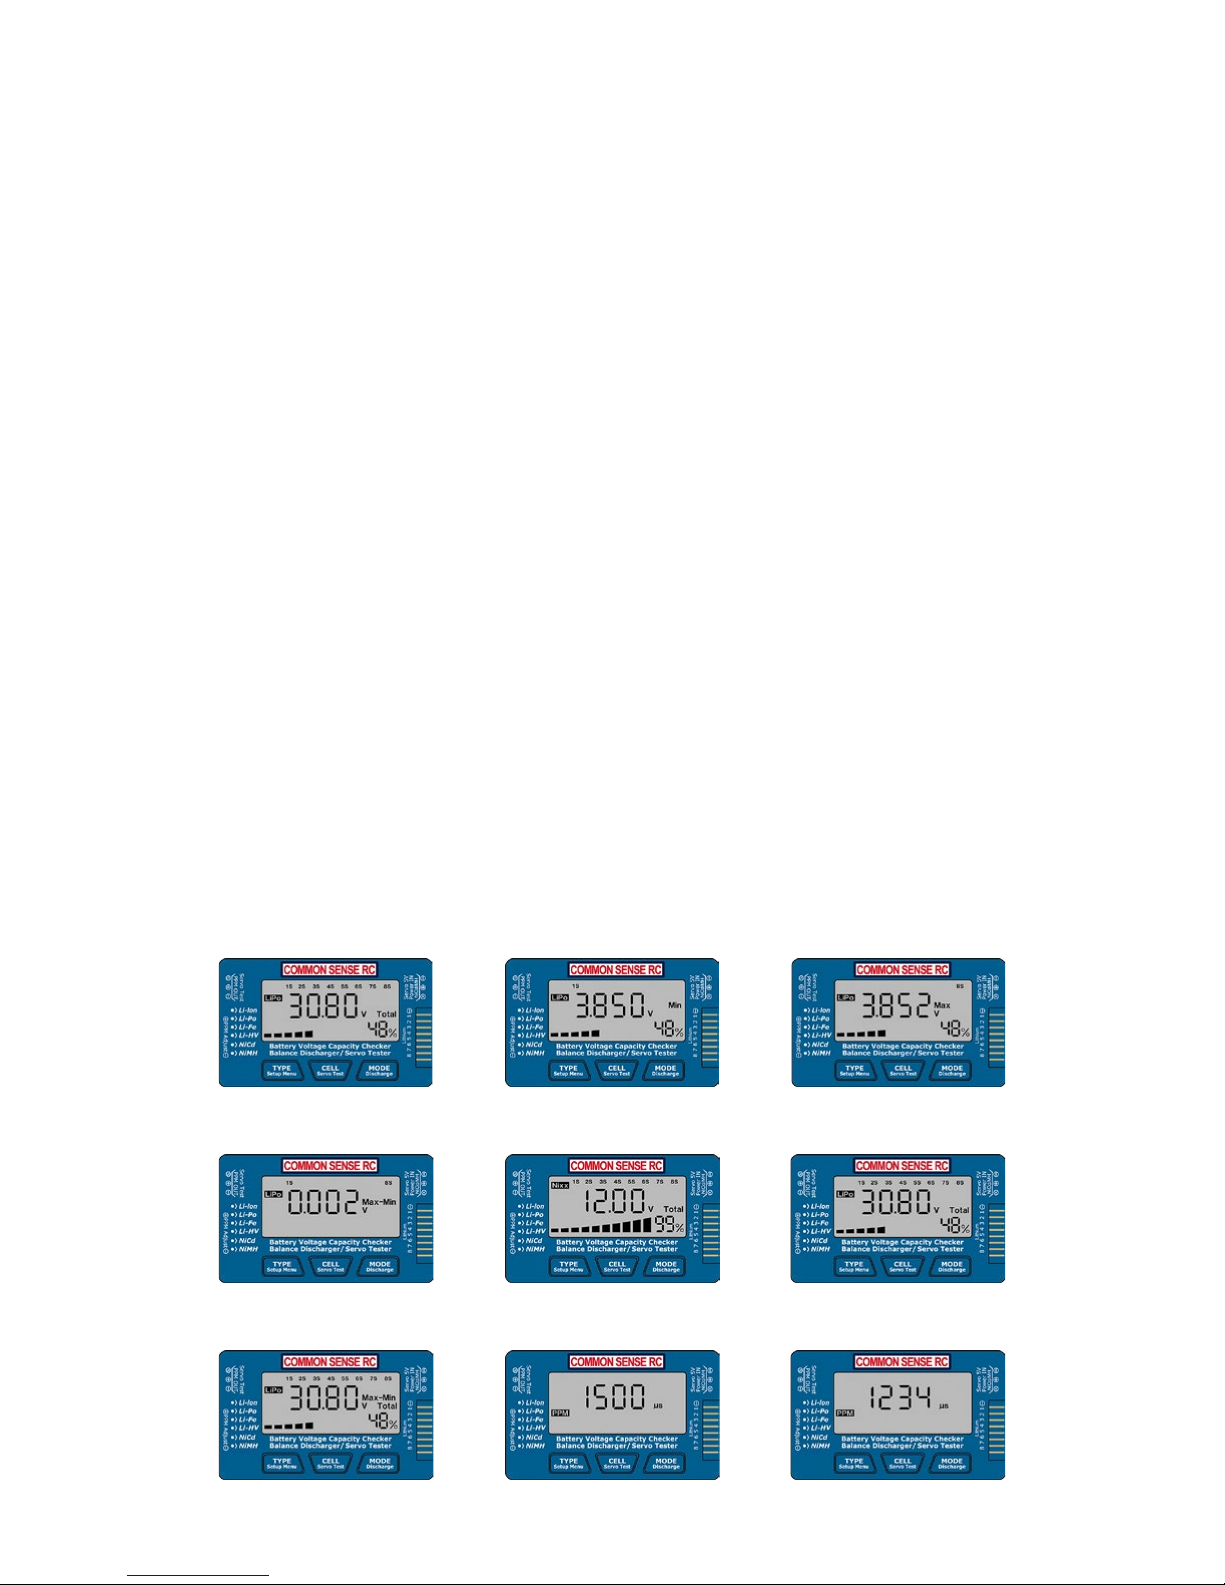
Press the CELL/SERVO TEST button and the display will switch from the total voltage of the battery to displaying the individual cell voltages.
Press the MODE/DISCHARGE button to switch back to the total voltage of the battery.
Hi/Low Voltage Check: Press the MODE/DISCHARGE button and the display will show the reading for the highest voltage cell in the pack.
Press the MODE/DISCHARGE button again and the display will show the reading for the lowest voltage cell in the pack. Press MODE/DISCHARGE
button a third time and the voltage dierence between the highest and lowest cells will be displayed.
5. NICKEL BATTERY DETECTION MODE
For Nickel based batteries, the Cell Spy 8 will only show the total readings for the battery, not the individual cell voltages. After connecting
the battery to the NiCd/MH/3-pin port, press the TYPE/SETUP MENU button to toggle between NiMH and NiCd types. You must also select
the correct cell count using the CELL/SERVO TEST button to toggle between 4S (4.8V) through 7S (8.4V) batteries.
6. LITHIUM BATTERY DISCHARGE AND BALANCE MODES
Connect the battery’s balance connector to the 9-pin/Lithium port, then press and hold the MODE/DISCHARGE button to enter Discharge
mode. The battery will then discharge until all cells reach the pre-set discharge voltage (Default value: 3.700V per cell). The Cell Spy 8 will
beep when this process is complete. Please be sure to disconnect the battery when this process is complete, as the power used to operate
the LCD display will continue to slowly discharge your battery and could lead to over-discharge if left unattended.
During discharging, press the MODE/DISCHARGE button to enter Balance mode. In this mode, all cells will simply be discharged until they
are equal to the lowest voltage cell in the pack.
7. SERVO TEST MODE
To power the Cell Spy 8 for servo testing, connect a 4S NiMH or NiCd battery to the servo 5V Power IN port, then connect your servo to the
Servo Test PPM OUT port. Caution: using higher voltage batteries for servo testing may damage your servo.
Hold the CELL/SERVO TEST button to enter Manual Testing mode. In this mode, the position of the servo is changed by the user via the PPM
Adjust wheel. The adjustment range is 500~2500uS or 1000~2000uS, depending on which settings you select during setup.
Press the CELL/SERVO TEST or MODE/DISCHARGE buttons again to enter Automatic mode. In this mode, the servo will move from the maximum
to minimum PPM setting continuously, and the user can adjust the speed of the cycles using the PPM Adjust wheel.
Press the CELL/SERVO TEST or MODE/DISCHARGE buttons again to enter Midpoint mode. In this mode, the servo will center itself (1500uS signal).
8. EXAMPLES OF LCD DISPLAY IN VARIOUS MODES
Lithium Battery
Balance Mode Servo Midpoint Test Mode Servo Manual Test Mode
Max-Min of Lithium Battery
Total Voltage of
Nickel Battery
Lithium Battery
Discharge Mode
Lithium Battery
Minimum Voltage
Lithium Battery
Maximum Voltage
Total Voltage of
Lithium Battery
2(cellspy8_instructions_10-18-16.pdf)