manuals.online logo
Brands
  1. Home
  2. •
  3. Brands
  4. •
  5. Williams-Sonoma
  6. •
  7. Home Lighting
  8. •
  9. Williams-Sonoma INDST SHLF User manual

Williams-Sonoma INDST SHLF User manual

1/7
Williams-Sonoma Inc.
Assembly Instructions
Instructions d’assemblage
Instrucciones de Ensamblaje
Pottery Barn – Pottery Barn Teen – Pottery Barn Kids – Williams Sonoma Home – West Elm – Rejuvenation – Mark and Graham
INDST SHLF
2/7
Williams-Sonoma Inc.
Assembly Instructions
Instructions d’assemblage
Instrucciones de Ensamblaje
Pottery Barn – Pottery Barn Teen – Pottery Barn Kids – Williams Sonoma Home – West Elm – Rejuvenation – Mark and Graham
ENGLISH
•Do not dispose of any packaging or contents of the shipping carton until assembly is completed to avoid accidentally discarding
small parts or hardware.
•This fixture has been rated for up to (1) 100-watt maximum TYPE A standard incandescent light bulb (not included) OR
23-Watt compact Fluorescent bulb (not included) or (1) 9-watt LED light bulb (included). To avoid the risk of fire, do not
exceed the recommended lamp wattage.
•The Maximum total weight capacity to the table is 40lbs (18.14 Kg).
•Use with approved West Elm Shades only, having a minimum opening diameter of 4 inches and a minimum
lamp-to-shade spacing of 3.5 inches.
•This lamp is meant for use in DRY LOCATIONS ONLY.
•Save these instructions.
Warning:
•To reduce the risk of fire, electrical shock or personal injury, always turn off and unplug the light fixture and allow it to
cool prior to replacing the light bulb.
•Do not touch bulb when fixture is turned on. Do not look directly at lit bulb.
•Keep flammable materials away from lit bulb.
Pre-assembly:
•Remove all hardware from box / piece along with any plastic protective packaging.
•Do not discard any contents until assembly is “complete” To avoid accidentally discarding small parts or hardware.
FRANÇAIS
•Ne jetez rien des produits d’emballage et du contenu de la boîte jusqu’à ce que l’assemblage soit terminé, afin d’éviter de jeter
par mégarde de petites pièces ou des morceaux.
•Cet appareil a été conçu pour une (1) ampoule incandescente standard de type A maximum 100- watts (non fournie) OU une
ampoule fluorescente compacte de 23- W (non fournie) ou (1) ampoule à LED de 9- watts (fournie) . Pour éviter tout risque
d’incendie, ne dépassez pas la puissance recommandée de la lampe.
•La capacité de poids totale maximale de la table est de 40 lb (18,14 kg).
•Utilisez uniquement des stores de West Elm approuvés, ayant un diamètre d'ouverture minimum de 4 pouces et un espacement
minimum de 3,5 pouces entre la lampe et l'ombre.
•Cette lampe est conçue pour être utilisée dans des endroits secs uniquement.
•Conservez ces instructions.
Attention:
•Pour réduire les risques d'incendie, de choc électrique ou de blessures, éteignez et débranchez toujours le projecteur
et laissez-le refroidir avant de remplacer l'ampoule.
•Ne touchez pas l'ampoule lorsque l'appareil est allumé. Ne regardez pas directement l'ampoule allumée.
•Gardez les matériaux inflammables à l'écart de l'ampoule allumée.
Pré-assemblage:
•Enlevez toute la quincaillerie de la boîte / pièce avec tout emballage de protection en plastique.
•Ne jetez aucun contenu tant que l'assemblage n'est pas «terminé». Pour éviter de jeter accidentellement de petites pièces ou du
materiel.
3/7
Williams-Sonoma Inc.
Assembly Instructions
Instructions d’assemblage
Instrucciones de Ensamblaje
Pottery Barn – Pottery Barn Teen – Pottery Barn Kids – Williams Sonoma Home – West Elm – Rejuvenation – Mark and Graham
ESPAÑOL
•Para evitar desechar accidentalmente las partes pequeñas o las piezas de ferretería, no tirar el embalaje o contenido de la caja
hasta que el ensamblaje esté completo.
•Este accesorio ha sido calificado para hasta (1) bombilla incandescente estándar TIPO A de 100- vatios como máximo (no
incluida) O bombilla fluorescente compacta de 23- vatios (no incluida) o (1) bombilla LED de 9- vatios (incluida) . Para evitar el
riesgo de incendio, no exceda la potencia recomendada de la lámpara.
•La capacidad máxima de peso total de la mesa es de 40 lb (18,14 kg).
•Úselo solo con cortinas West Elm aprobadas, con un diámetro de abertura mínimo de 4 pulgadas y un espacio mínimo de
lámpara a sombra de 3.5 pulgadas.
•Esta lámpara está diseñada para usarse SOLO EN UBICACIONES SECAS.
•Guarda estas instrucciones.
Advertencia:
•Para reducir el riesgo de incendio, descarga eléctrica o lesiones personales, apague y desenchufe siempre la lámpara y
deje que se enfríe antes de reemplazar la bombilla.
•No toque la bombilla cuando el accesorio esté encendido. No mire directamente a la bombilla encendida.
•Mantenga los materiales inflamables lejos de la bombilla encendida.
Preasamblea:
•Retire todo el hardware de la caja / pieza junto con cualquier embalaje protector de plástico.
•No deseche ningún contenido hasta que el ensamblaje esté "completo" Para evitar desechar accidentalmente piezas pequeñas
o hardware.
Care Instructions:
•Dust often using a clean, soft, dry and lint-free cloth.
•Blot spills and wipe with a clean, damp cloth immediately.
•We do not recommend the use of chemical cleansers, abrasives or furniture polish on our lacquered finish.
•Hardware may loosen over time. Periodically check to make sure all connections are tight. Re-tighten if necessary.
Instructions d’entretien :
•Épousseter régulièrement avec un chiffon propre, doux et non pelucheux.
•Éponger immédiatement les liquides renversés et essuyer à l’aide d’un chiffon propre et humide.
•L’utilisation de produits nettoyants chimiques, d’abrasifs ou d’encaustiques sur nos finitions laquées n’est pas
recommandée.
•Le matériel de fixation peut se desserrer avec le temps. Vérifiez régulièrement afin de vous assurer que tous les raccords
sont bien serrés. Resserrez-les au besoin.
Instrucciones de cuidado:
•Limpiar el polvo con un trapo limpio, suave, seco y libre de pelusas.
•Secar los derrames de inmediato y limpiar con un trapo limpio y húmedo.
•Recomendamos no usar limpiadores químicos, abrasivos o lustramuebles sobre el acabado barnizado.
•Las piezas de ferretería pueden aflojarse con el tiempo. Controlar periódicamente que estén bien ajustadas.Si es necesario,
volver a ajustarlas.
4/7
Williams-Sonoma Inc.
Assembly Instructions
Instructions d’assemblage
Instrucciones de Ensamblaje
Pottery Barn – Pottery Barn Teen – Pottery Barn Kids – Williams Sonoma Home – West Elm – Rejuvenation – Mark and Graham
Parts included: Hardware Included:
(A) Assembled Metal Rod (1) (F) Allen Screws (4)
(B) Metal Rods (2) (G) Allen /key (1)
(C) LED Bulb (1)
(D) Socket ring (1)
(E) Socket (1)
(H) Cord with switch (1)
Pièces incluses: Matériel inclus:
(A) Tige en métal assemblé (1) (F) Vis Allen (4)
(B) Tiges métalliques (2) (G) Clé Allen (1)
(C) Ampoule à LED (1)
(D) Bague de prise (1)
(E) Prise (1)
(H) Cordon avec interrupteur (1)
Piezas incluidas: Hardware incluido:
(A) Varilla de metal ensamblada (1) (F) Tornillos Allen (4)
(B) Barras de metal (2) (G) Llave Allen (1)
(C) Bombilla LED (1)
(D) Enchufe anillo (1)
(E) Enchufe (1)
(H) Cable con interruptor (1)
5/7
Williams-Sonoma Inc.
Assembly Instructions
Instructions d’assemblage
Instrucciones de Ensamblaje
Pottery Barn – Pottery Barn Teen – Pottery Barn Kids – Williams Sonoma Home – West Elm – Rejuvenation – Mark and Graham
H
6/7
Williams-Sonoma Inc.
Assembly Instructions
Instructions d’assemblage
Instrucciones de Ensamblaje
Pottery Barn – Pottery Barn Teen – Pottery Barn Kids – Williams Sonoma Home – West Elm – Rejuvenation – Mark and Graham
To Assemble:
Assembler:
Armar:
Place the lamp with assembled metal rod (A) vertically on the floor
and insert the metal rod (B). After that match the two holes of each
Metal Rod (B) through two hole of assembled metal rod (A).
Then insert allen screw (F) into hole of metal rod (B) and tight with
the help of allen key.Do the same for second metal rod.
Placez la lampe avec la tige métallique assemblée (A)
verticalement sur le sol et insérez la tige métallique (B). Ensuite,
faites correspondre les deux trous de chaque tige métallique (B) à
travers deux trous de la tige métallique assemblée (A). Insérez
ensuite la vis Allen (F) dans le trou de la tige métallique (B) et
serrez à l'aide de la clé Allen.Faites de même pour la deuxième
tige métallique.
Coloque la lámpara con la varilla de metal ensamblada (A)
verticalmente en el piso
e inserte la varilla de metal (B). Después, haga coincidir los dos
orificios de cada varilla de metal (B) a través de dos orificios de la
varilla de metal ensamblada (A). Luego inserte el tornillo allen (F)
en el orificio de la varilla de metal (B) y apriete con la ayuda de
una llave allen. Haga lo mismo con la segunda varilla de metal.
Unscrew the Socket ring (D) anti clockwise direction from the Socket (E).
Dévisser la bague de la prise (D) dans le sens inverse des aiguilles d’une montre de la
prise (E).
Desenrosque el anillo del casquillo (D) en sentido antihorario del casquillo (E)
7/7
© 2020 Williams-Sonoma, Inc.
Williams-Sonoma Inc.
Assembly Instructions
Instructions d’assemblage
Instrucciones de Ensamblaje
Pottery Barn – Pottery Barn Teen – Pottery Barn Kids – Williams Sonoma Home – West Elm – Rejuvenation – Mark and Graham
Place SHADE (not included) into the Socket (E) then attach the Socket ring (D) and
tighten clockwise to secure the SHADE (not included).
Placez SHADE (non fourni) sur la harpe assemblée, en veillant à ce que le haut de
la harpe (B) s’étende dans le trou situé en haut de l’ombre (non fourni).
Coloque la SOMBRA (no incluida) sobre el arpa ensamblada, asegurándose de
que la Parte superior del arpa (B) se extienda a través del orificio en la parte
superior de la Sombra (no incluida). Fije el remate (A) y apriete para asegurar la
SOMBRA (no incluida).
•Insert (1) 100-watt maximum TYPE A bulb (not included) OR 23-Watt compact Fluorescent bulb (not included) or (1) 9-watt
LED light bulb (included).
•Plug into proper electrical outlet and test fixture.
•Insérez (1) ampoule de 100- W maximum de TYPE A (non fournie) OU ampoule fluorescente compacte de 23- W (non
fournie) ou (1) ampoule à LED de 9- watts (fournie).
•Brancher sur une prise de courant et un appareil de test appropriés.
•Inserte (1) bombilla TIPO A de 100- vatios como máximo (no incluida) O bombilla fluorescente compacta de 23- vatios (no
incluida) o (1) bombilla LED de 9- vatios (incluida).
•Enchúfelo a un tomacorriente eléctrico adecuado y pruebe el accesorio.

Other Williams-Sonoma Home Lighting manuals

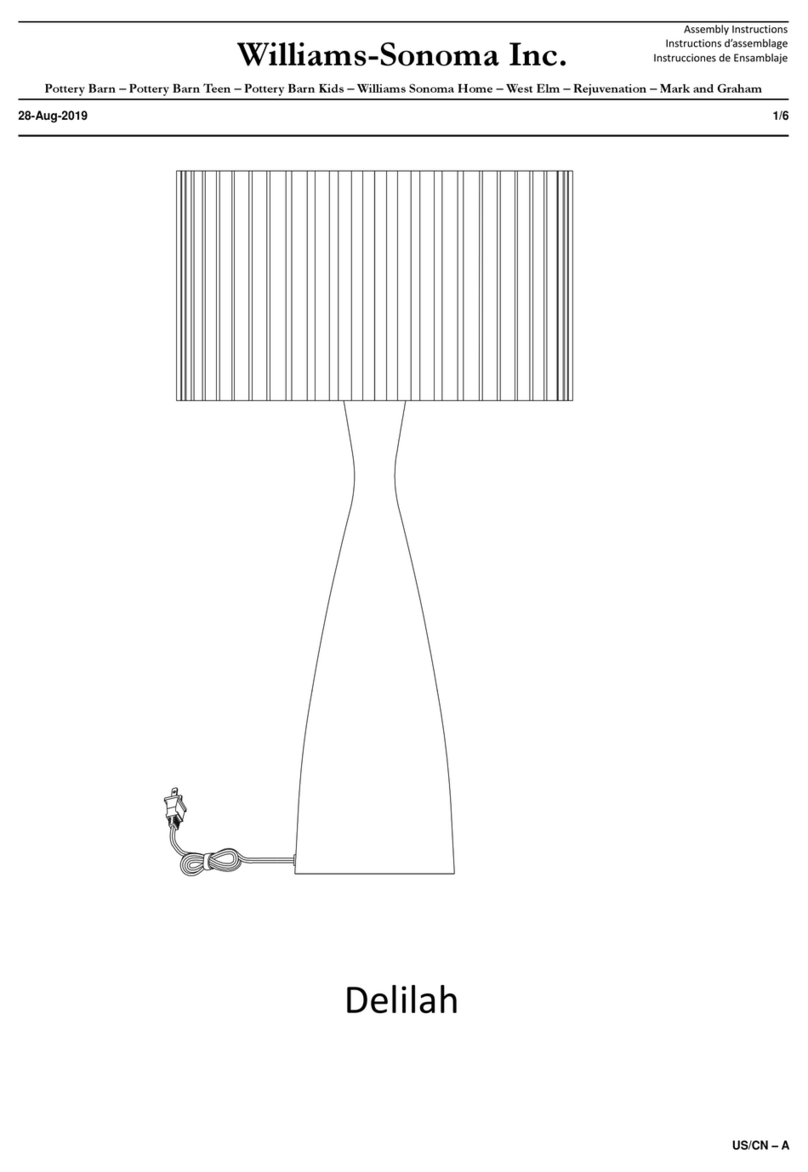
Williams-Sonoma Delilah User manual

Williams-Sonoma

Williams-Sonoma Delilah User manual

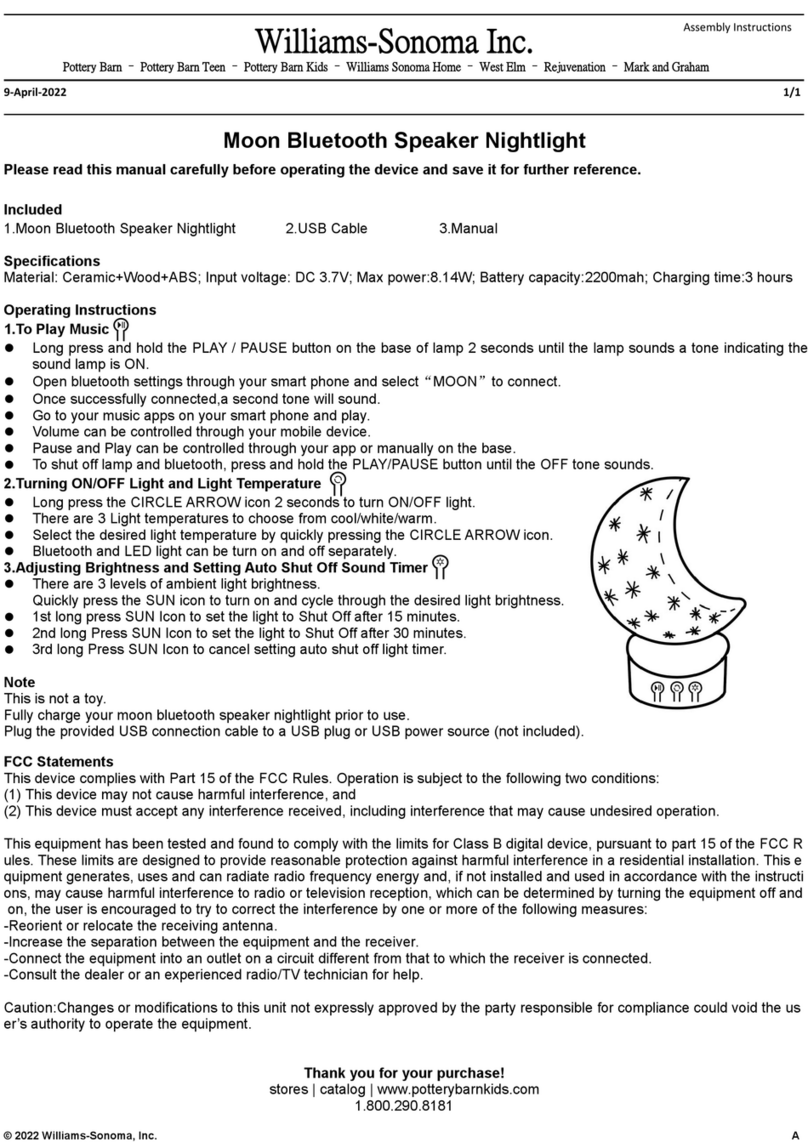
Williams-Sonoma Moon Bluetooth Speaker Nightlight User manual

Williams-Sonoma

Williams-Sonoma Moon Bluetooth Speaker Nightlight User manual

Williams-Sonoma Hudson User manual

Williams-Sonoma

Williams-Sonoma Hudson User manual

Williams-Sonoma Mila User manual

Williams-Sonoma

Williams-Sonoma Mila User manual

Williams-Sonoma West Elm Modern Gourd User manual

Williams-Sonoma

Williams-Sonoma West Elm Modern Gourd User manual

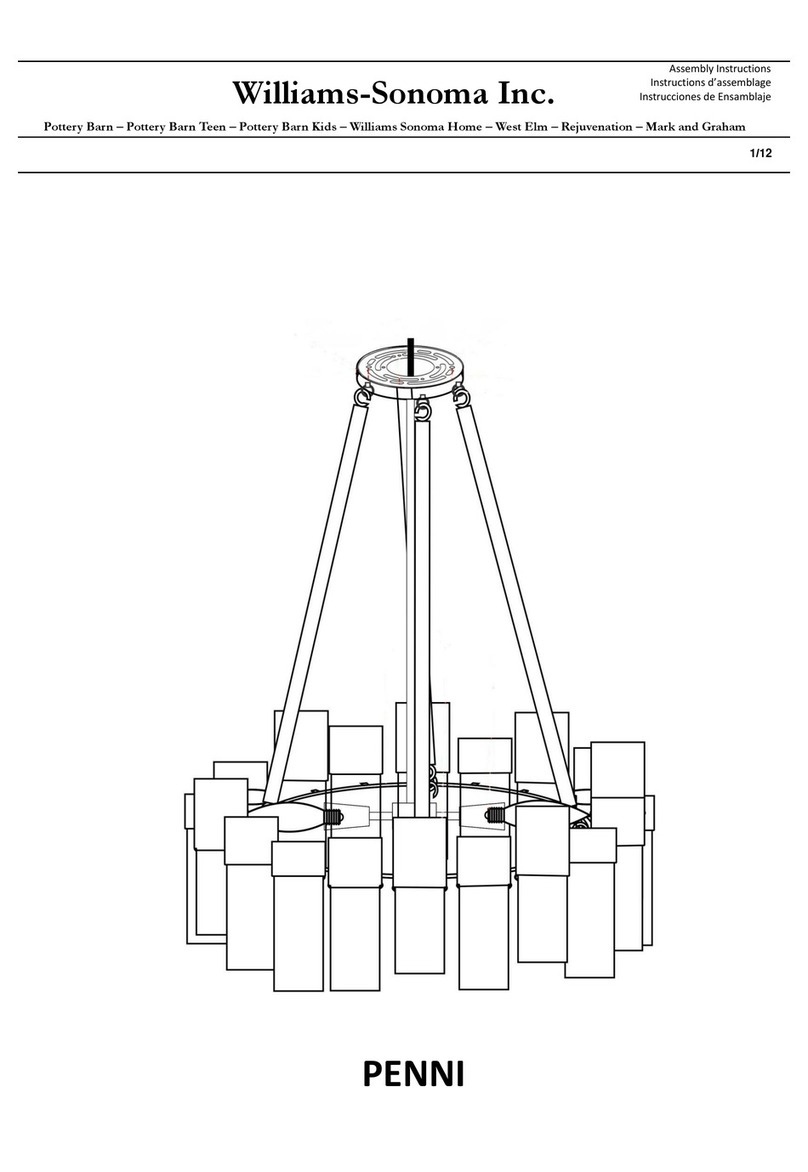
Williams-Sonoma PENNI User manual

Williams-Sonoma

Williams-Sonoma PENNI User manual

Popular Home Lighting manuals by other brands

Dale Tiffany TA11200 Assembly instructions

Dale Tiffany

Dale Tiffany TA11200 Assembly instructions

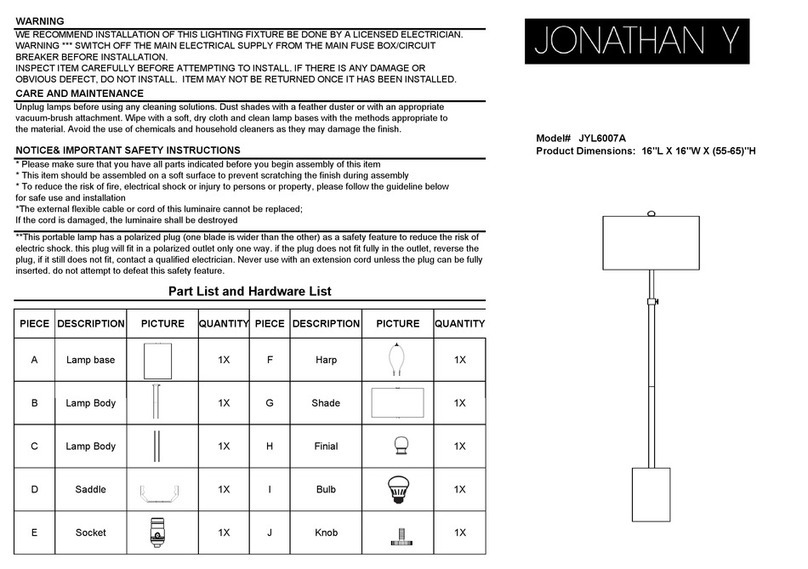
JONATHAN Y JYL1095A quick start guide

JONATHAN Y

JONATHAN Y JYL1095A quick start guide

Safavieh Lighting EMORY TBL4156 manual

Safavieh Lighting

Safavieh Lighting EMORY TBL4156 manual

Inspire Evora Assembly, Use, Maintenance Manual

Inspire

Inspire Evora Assembly, Use, Maintenance Manual

Nebula MH-B373 user manual

Nebula

Nebula MH-B373 user manual

Philips SmartSpot 57964/31/16 brochure

Philips

Philips SmartSpot 57964/31/16 brochure

Philips myLiving 36336/30/16 brochure

Philips

Philips myLiving 36336/30/16 brochure

JONATHAN Y JYL1009 quick start guide

JONATHAN Y

JONATHAN Y JYL1009 quick start guide

Philips Roomstylers 40547/06/13 brochure

Philips

Philips Roomstylers 40547/06/13 brochure

Philips 59560-11-16 user manual

Philips

Philips 59560-11-16 user manual

TE-Group DreamLED user manual

TE-Group

TE-Group DreamLED user manual

Anslut 425-450 operating instructions

Anslut

Anslut 425-450 operating instructions

LUMIT A28070101A instruction manual

LUMIT

LUMIT A28070101A instruction manual

Philips myLiving 37259/53/16 user manual

Philips

Philips myLiving 37259/53/16 user manual

BROSA Corvus Floor Lamp Assembly guide

BROSA

BROSA Corvus Floor Lamp Assembly guide

HUDSON VALLEY LIGHTING BOWERY L3724 installation instructions

HUDSON VALLEY LIGHTING

HUDSON VALLEY LIGHTING BOWERY L3724 installation instructions

IKEA SOLBO B1905 manual

IKEA

IKEA SOLBO B1905 manual

Philips myLiving 37269/86/16 Specifications

Philips

Philips myLiving 37269/86/16 Specifications

manuals.online logo
manuals.online logoBrands
  • About & Mission
  • Contact us
  • Privacy Policy
  • Terms and Conditions

Copyright 2025 Manuals.Online. All Rights Reserved.