33
• Study, understand, and follow all
instructionsprovided withand onthis
devicebeforeuse.
• All WARNING statements must be
carefully observed to help prevent
personalinjury.
•
No alteration shall be made to this
device.
• Always wear protective gear when
operatinghydraulicequipment.
• Keephydraulicequipment away from
ames and heat. Hydraulic uid can
igniteandburn.Donotoperateifleaks
aredetected.
•
Crush Hazard. Keep hands and feet
away from loading area.Avoid pinch
points or crush points that can be
created by the load, cylinder, or any
equipmentofsystem.
•
Toavoidcrushingandrelatedinjuries:
NEVER work on, under or around a
liftedloadbeforeitisproperlysupported
by appropriate mechanical means.
Neverrelyonhydraulicpressurealone
tosupportload.
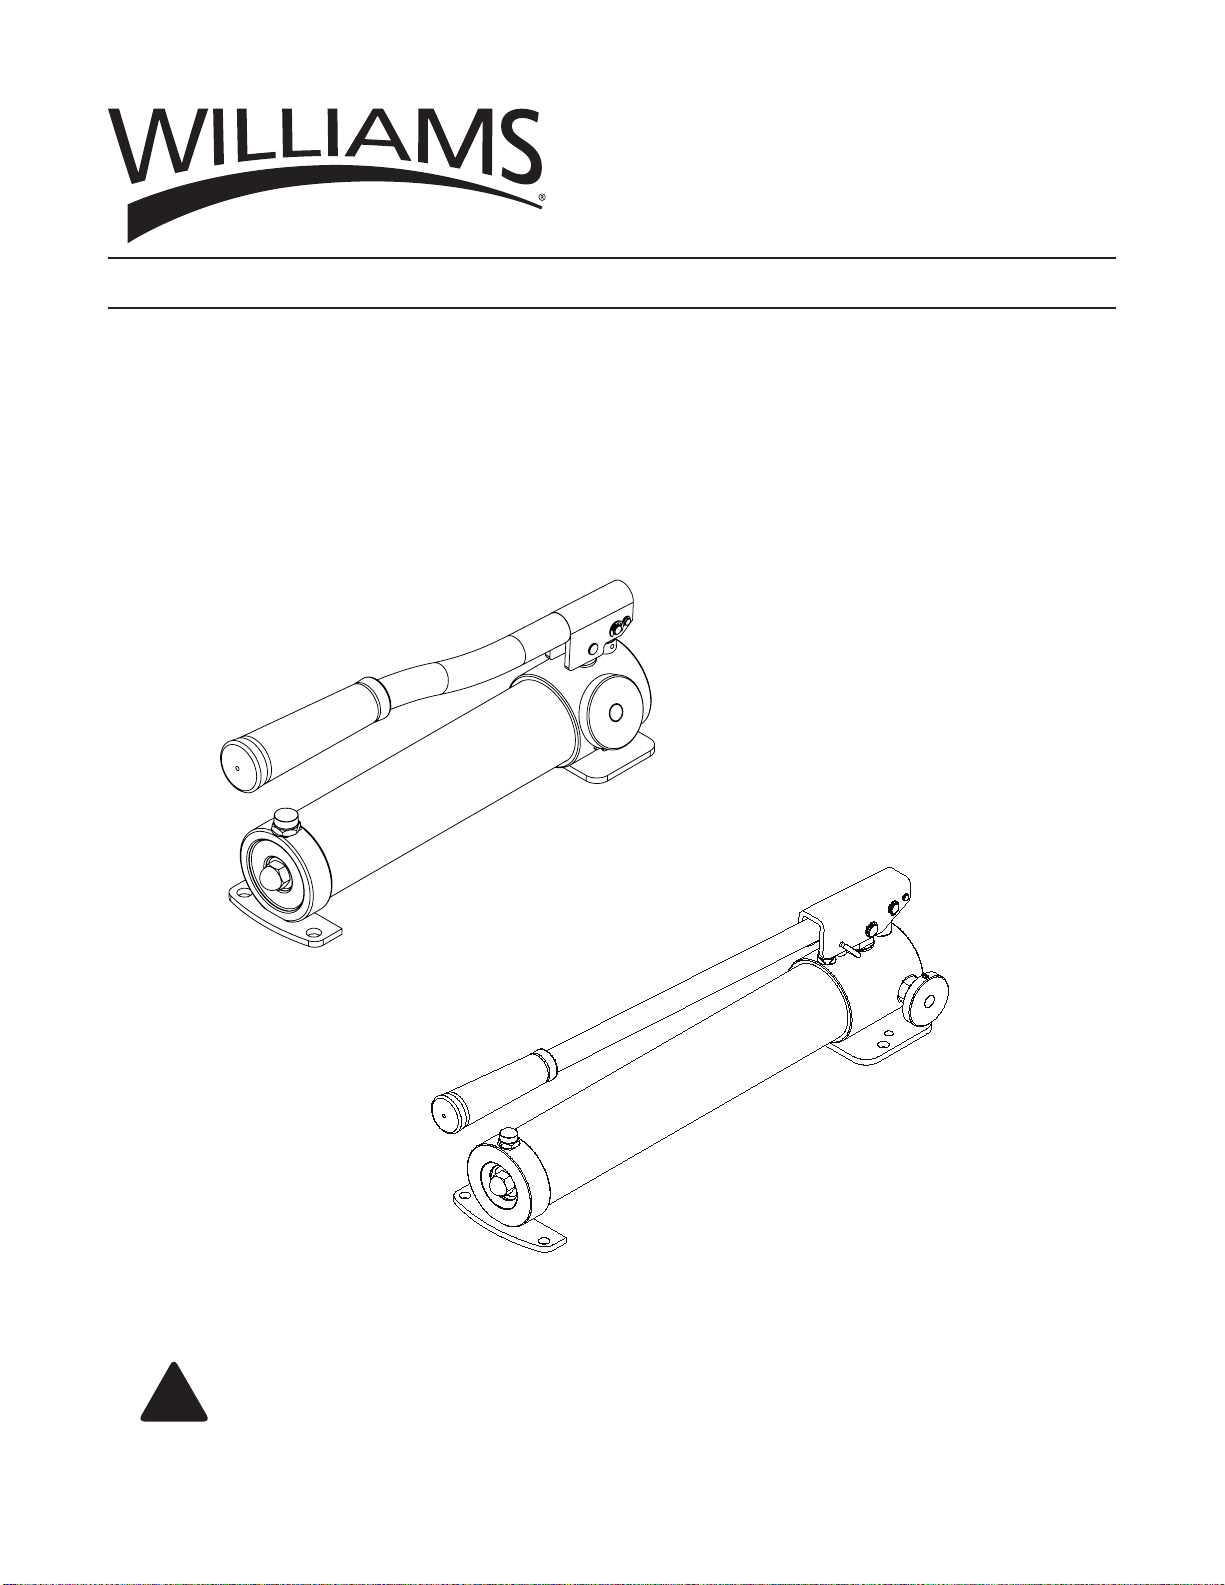
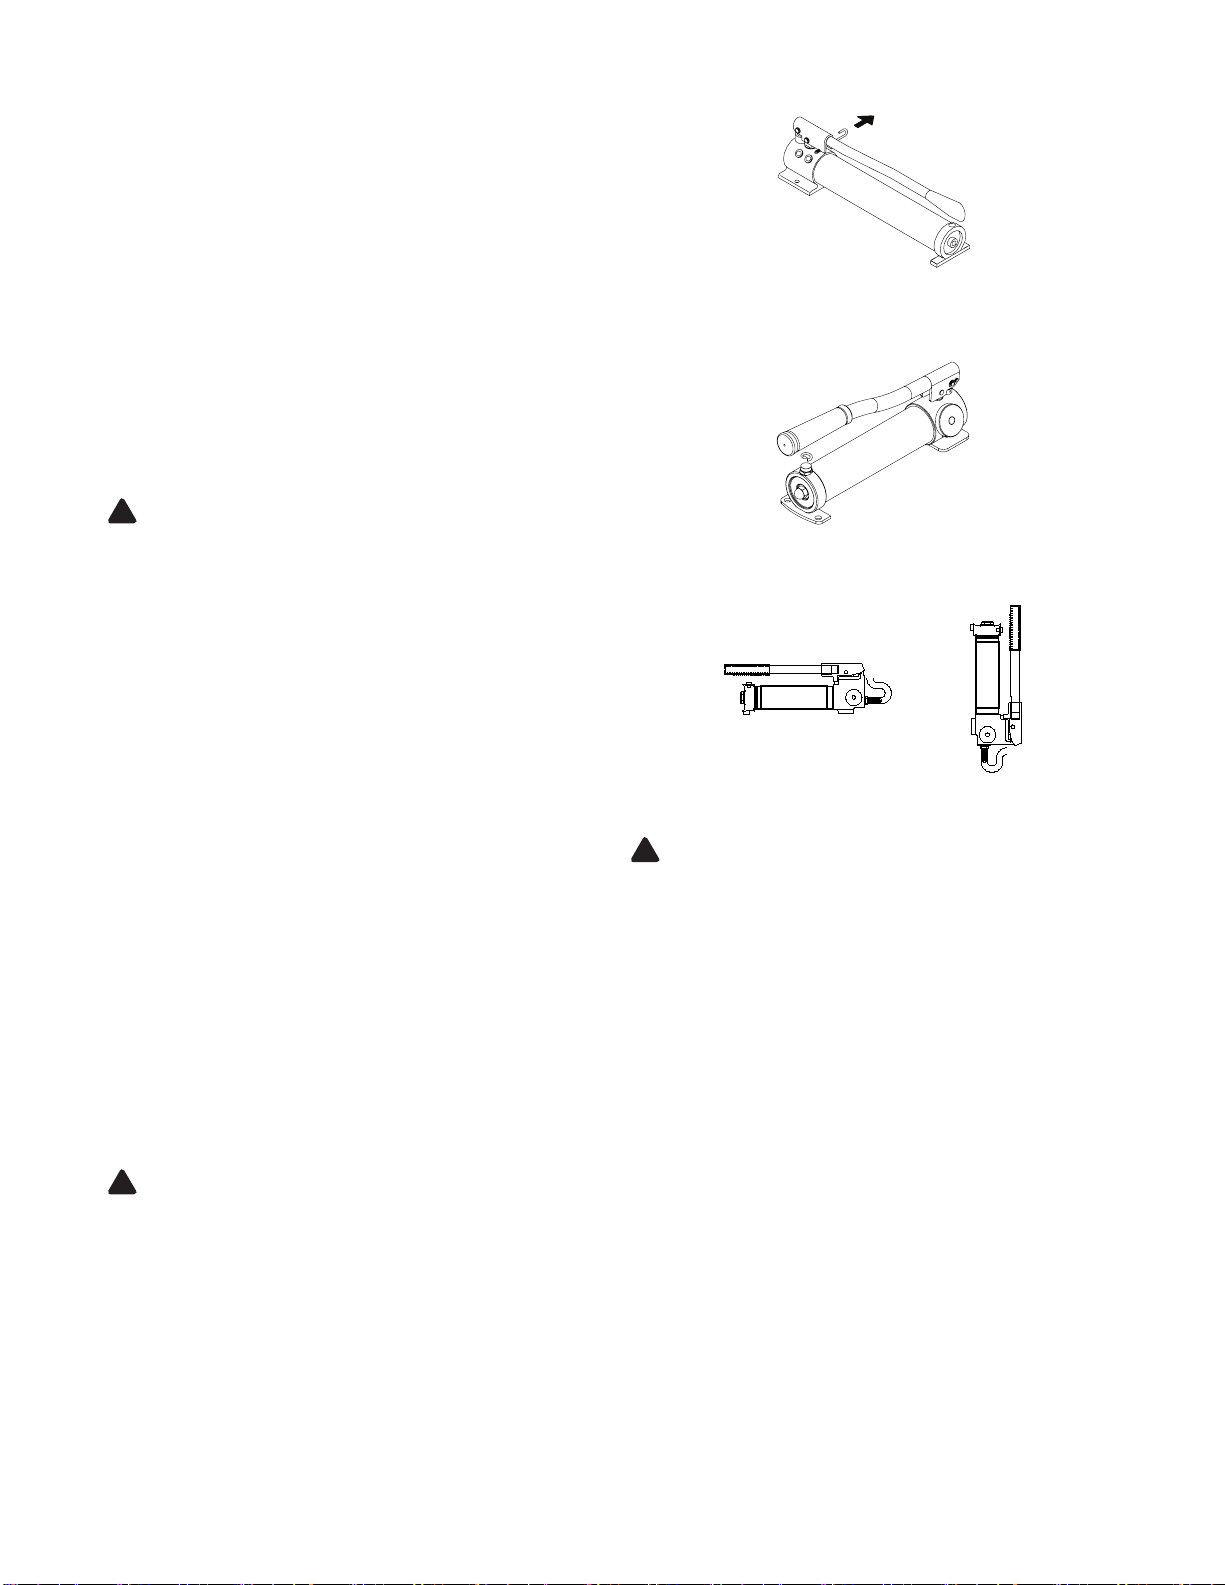
HYDRAULIC PUMPS
•
Theusermust be aqualiedoperator familiarwiththe correct
operation,maintenance,anduseofpumps.Lackofknowledge
inanyoftheseareascanleadtopersonalinjury.
• Donotexceedratedcapacityofthepumporanyequipmentin
thesystem.
• Neverattempttoliftaloadweighingmorethanthecapacityof
thecylinder.
• Donotsubjectthepumpanditscomponentstoshockloads.
• Burst hazard exists if hose or connection pressure exceeds
ratedpressure.
•
Inspectpump,cylinder,hosesandconnectionsbeforeeachuse
topreventunsafeconditionsfromdeveloping.Donotuseifthey
aredamaged,alteredorinpoorcondition.Donotoperatethe
systemwithbentordamagedcouplerordamagedthreads.
• Neverholdorstanddirectlyinlinewithanyhydraulicconnections
whilepressurizing.
•
Usegaugeorotherloadmeasuringinstrumenttoverifyload.
• Never attempt to disconnect hydraulic connections under
pressure.Releasealllinepressurebeforedisconnectinghoses.
•
Useonlyapprovedaccessoriesandapprovedhydraulicuid.
•
NeverattachANYcomponentnotauthorizedbymanufacturer.
• Alwaysensurethatthechosenapplicationisstabletoworkon
andaround.
• Donotconnecttoapplicationwhichcanreturnmoreoiltothe
reservoirthanthepumpreservoircanhold.
• Donotconnectpumptohydraulicsystempoweredbyanotherpump.
• This device is not suitable for use as support device! As
thesystem loadislifted,useblockingandcribbing toguard
againstafallingload.
• All personnel must be clear before lowering load or
depressurizingthesystem.
• Nevertrytodisassembleahydrauliccylinder,referrepairsto
qualied,authorizedpersonnel.
HYDRAULIC HOSES & FLUID TRANSMISSION LINES
• Avoidshortrunsofstraightlinetubing.Straightlinerunsdo
notprovideforexpansionandcontractionduetopressure
and/ortemperaturechanges.
• Reducestressintubelines.Longtubingrunsshouldbesupported
bybrackets orclips.Beforeoperating thepump, tightenallhose
connections with proper tools. Do not overtighten. Connections
shouldonlybetightenedsecurelyandleak-free.Overtighteningcan
causeprematurethreadfailureorhighpressurettingstoburst.
• Should a hydraulic hose ever rupture, burst or need to be
disconnected, immediately shut off the pump and release all
pressure.Neverattempttograspaleakingpressurizedhosewith
yourhands.Theforceofescapinghydraulicuidcaninictinjury.
• Donotsubjectthehosetopotentialhazardsuchasre,sharp
objects,extremeheatorcold,orheavyimpact.
• Donotallowthehosetokink,twist,curl,crush,cutorbendso
tightlythattheuidowwithinthehoseisblockedorreduced.
Periodicallyinspectthehoseforwear.
• Donotpull,positionormovesetupbythehose.
•
Hose material and coupler seals must be compatible with
hydraulicuidused.Hosesalsomustnotcomeincontactwith
corrosivematerialssuchasbatteryacid,creosote-impregnated
objectsandwetpaint.Neverpaintacouplerorhose.
•
FAILURE TO HEED THESE WARNINGS MAY RESULT IN
PERSONALINJURYASWELLASPROPERTYDAMAGE.
SPECIFICATIONS
Model
Number
Pump
Type
Oil
Capacity
(in³)
Usable Oil
Capacity
(in³)
Used
with
Cylinder
Pressure
Rating (psi)
Oil
Displacement
(in³)
Max.
Operating
Force
(lbs)
Piston
Stroke
(in)
Oil
Outlet
Port
Weight
(lbs)
1st
Stage
2nd
Stage
1st
Stage
2nd
Stage
5HS2S35 Two
Speed
24.9 21.4 Single
Acting 200 10,000
0.2 0.05 81 0.38 1/4"-
18NPTF 6.6
5HS2S100 67.1 61.0 0.81 0.14 99 0.82 3/8"-
18NPTF 13.7
WARNING
!