FOR YOUR SAFETY : Do not plug the unit in until completely installed and assembled.
H-1 C
H-2
Wall
Wall
T-1
Assembly Steps
ELECTRICAL FITTING : Professional installation is recommended.
Step -1
Step -2
A
Page 3
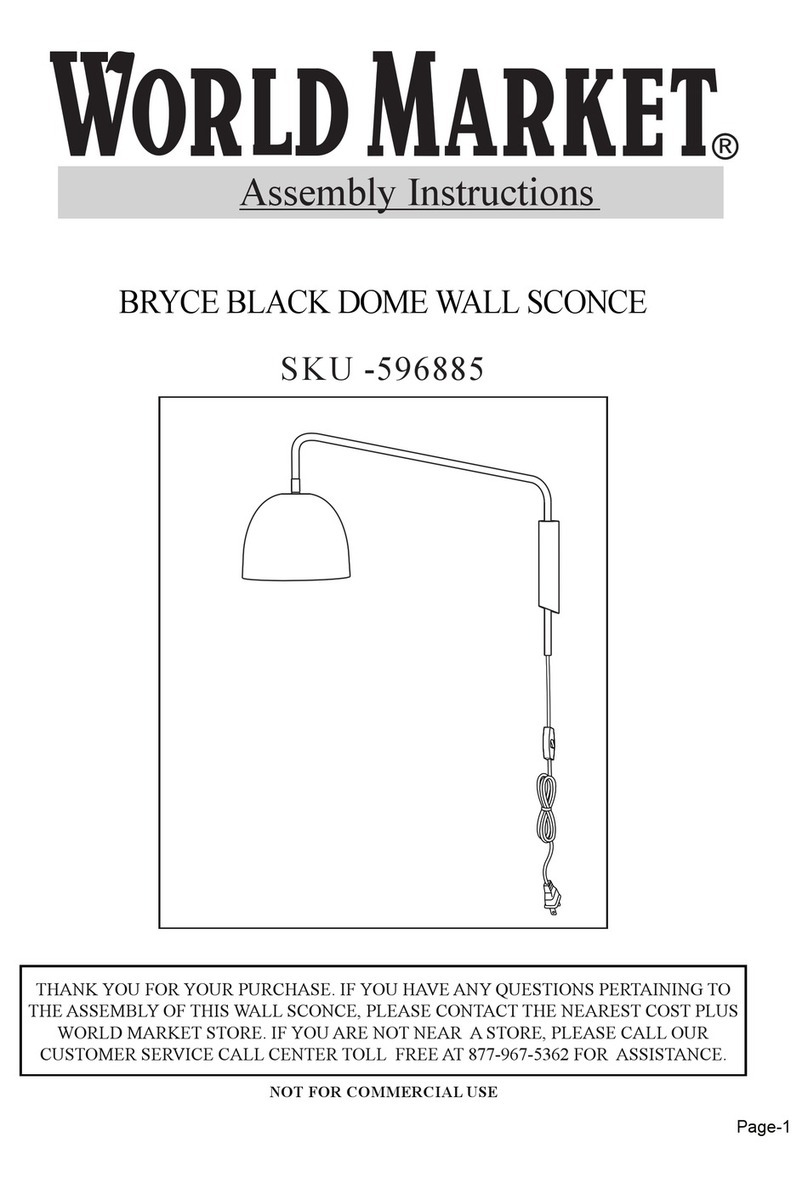
Unscrew Bracket (C) from sconce(A). Mark the location of the holes on the wall. Pre-drill
holes on the marked loction with a drill Machine (T-2) (not included). Insert Wall Plugs (H-1)
in the pre-drilled holes. Align Wall Bracket (C) on the Wall Plugs (H-1) and secure the
Screws (H-2).
Align Sconce (A) on the Bracket (C) matching side holes. Secure the Sconce (A) with
Screws (H-2). Fully tighten Screws (H-2) with Philips Screwdriver (T-1) (not included).
IMPORTANT: Professional installation is recommended. It is essential to use the proper
hardware for your wall type in order to safely install products on the wall. The hardware
provided is not a comprehensive solution for the wall types. Be sure to consult a professional or
your local hardware store to determine the hardware needed for your specific wall type (plaster,
drywall, masonry, concrete, etc.) When applicable, the product must be mounted directly to wall
studs.
