Yeastar Technology BizFAX User manual

Client User Manual
(English)
Yeastar Technology Co., Ltd.

BizFAX Client User Manual
TableofContacts 0
1. Introduction····················································································· 4
2. Operating Environment ····································································· 5
2.1 Hardware Environment······························································· 5
2.2 Software Environment································································ 5
3. Install BizFAX Client·········································································· 6
4. Usage of BizFAX Client ·····································································11
4.1 Log in Client············································································11
4.2 Send FAX················································································12
4.2.1 Sending fax from application programs ·······························12
4.2.2 Sending fax from Client software········································14
4.2.3 Description of ‘Create a New Fax’ Menu·······························15
4.2.3.1 Receiver (Fax number) ·············································15
4.2.3.2 FAX Subject ····························································16
4.2.3.3 Fax Content ····························································16
4.2.4 Delay to Send FAX····························································16
4.2.5 FAX Broadcast ·································································17
4.2.6 Forward Fax ····································································19
4.2.7 Reply FAX ·······································································20
4.2.8 Check Results··································································20
4.3 Receive Fax·············································································21
4.4 Forward Fax to Email (FAX to Mail) ·············································21
4.5 Manage Fax·············································································22
4.5.1 Edit Subject ····································································22
4.5.2 Group Managment····························································22
4.5.3 Delete Fax·······································································23
4.5.4 Print Fax·········································································23
4.6 Fax Editor ···············································································24
4.6.1 Veiw FAX ········································································25
4.6.2 Remark FAX ····································································25
4.6.3 Seal & Signature······························································27
4.6.3.1 Get seal and signature··············································27
4.6.3.2 Set Stamp Image·····················································29
4.6.3.3 Set Password ··························································29
4.6.3.4 Application of Stamp ················································30
4.7 SMS Module ············································································31
4.8 Fax Extension Management ·······················································32
4.9 Contacts Management·······························································33
4.9.1 Contacts Group Management·············································33
www.yeastar.com Page 2

BizFAX Client User Manual
4.9.2 Add New Contact ·····························································34
4.9.3 Edit & Delete Contact························································35
4.9.4 Send Contact···································································35
4.9.5 Import Contact ································································36
4.10 Internal Communications among extensions·······························38
4.10.1 Voice Talk······································································38
4.10.2 Text Chat ······································································38
4.11 Personal Profile ······································································39
4.12 Change Password ···································································40
4.13 Change Language···································································40
4.14 Audio Settings········································································40
4.15 Sign out & Exit·······································································41
5. FAX to Mail & Mail to FAX··································································42
5.1 FAX to Mail··············································································42
5.2 Mail to FAX··············································································43
Appendix A How to make fax file in TIFF format? ·····································45
www.yeastar.com Page 3

BizFAX Client User Manual
Introduction 1
BizFAX paperless fax system is an intelligent fax server that combines the
traditional fax technology and network technology.
After connected the PSTN telephone line and built up the connetion with the
LAN or internet, by using the BizFAX Client software on their computers,
users can easily to create a safe, efficient and affordable fax system for
enterprise. Moreover, all of these are electronic processing on computer
without a piece of paper.
Through BizFAX Client software, every user is able to get the auto-receive,
auto-fax and management features. When sending a fax, users only need to
submit file to BizFAX server, and then system will auto fax the files in order.
Back up the faxes automatically and allow users to easily manage them. It’s
helpful to improve the progress of company internal approval, add personal
signature, make company seal, and Mail to FAX and FAX to Mail.
The advanced integration of BizFAX with internet, email and SMS help users
to send and receive faxes at any time any where.
www.yeastar.com Page 4

BizFAX Client User Manual
Operating Environment 2
2.1 Hardware Environment
CPU:Recommend to use more a CPU that power than INTELPIII500
Memory:Recommend to use more than 128MB RAM
Hard Disk:At least 1 G
2.2 Software Environment
Operating system:Windows XP, Windows 2000, Windows 2003, Windows Vista,
Widows 2008, Windows 7.
www.yeastar.com Page 5

BizFAX Client User Manual
Install BizFAX Client 3
This section shows how to install BizFAX Client software on the PC.
1. Download Client software from
http://www.yeastar.com/download/BizFAXClientSetup.exe
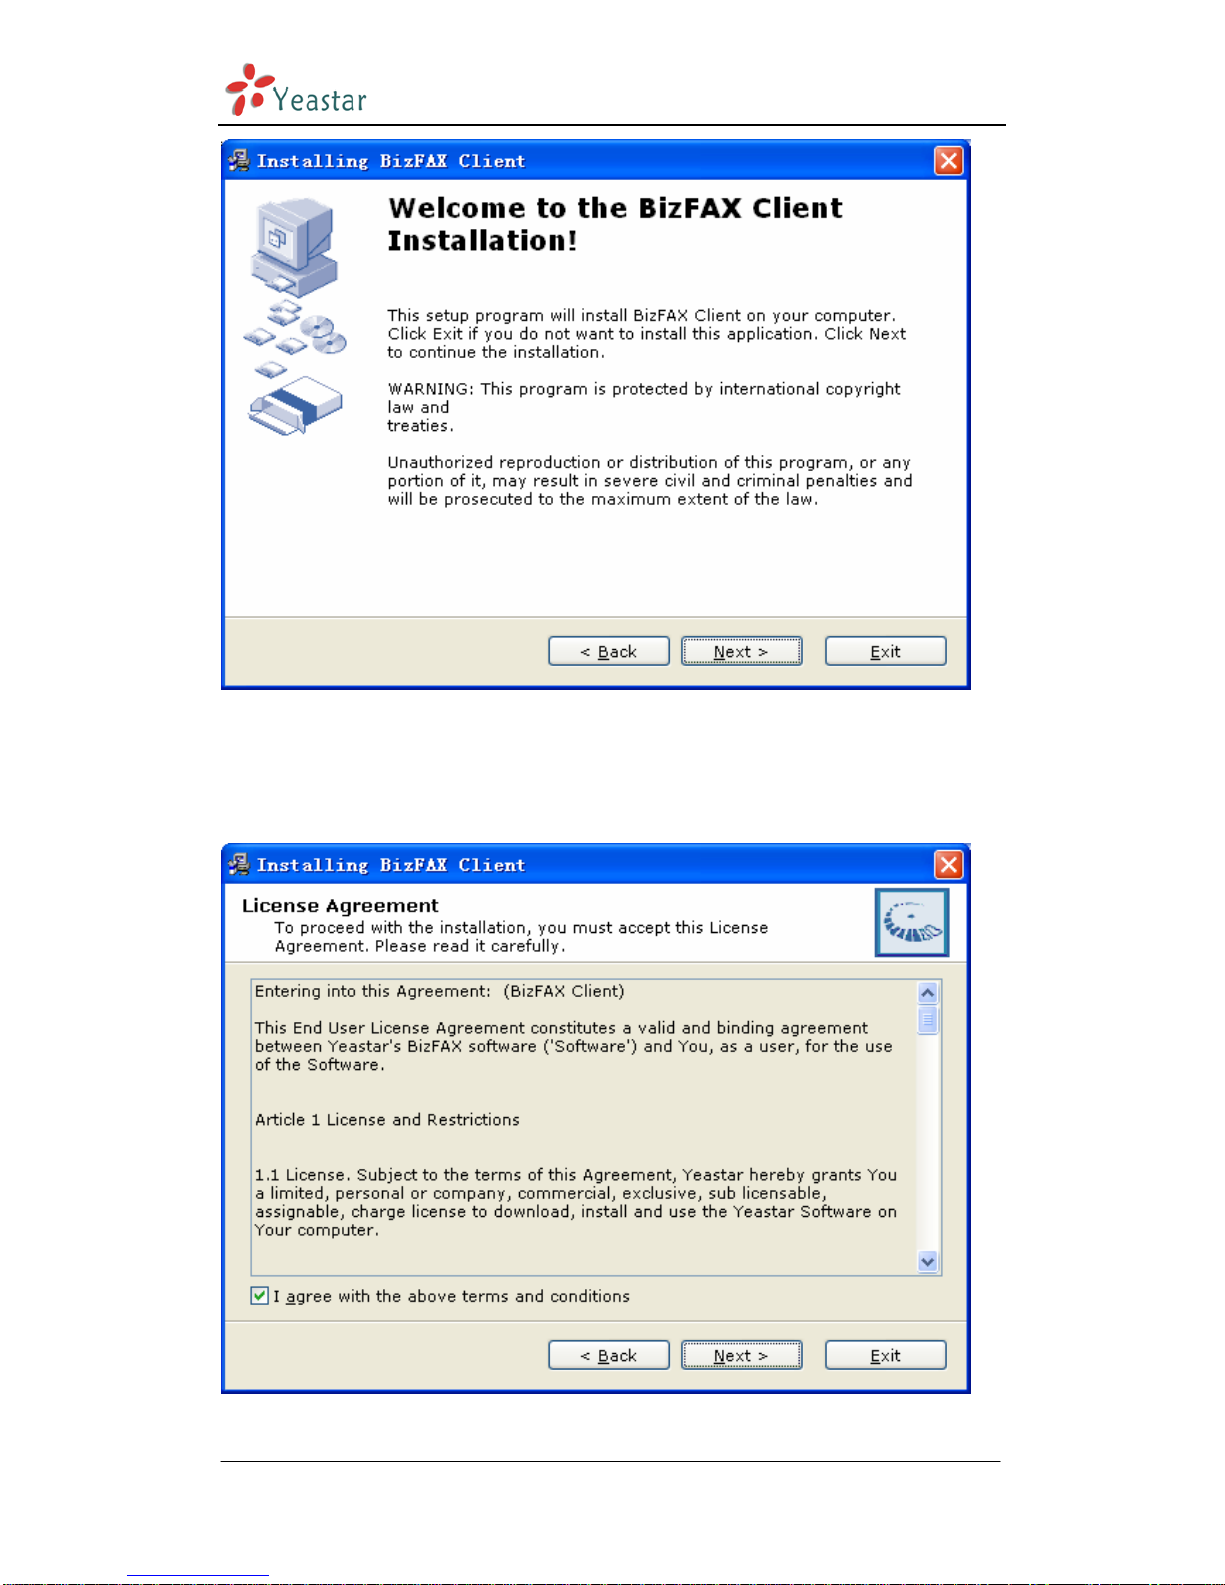
2. Doube-click the ‘BizFAXClientSetup.exe’, Welcome to the BizFAXClient
Installation screen will come up.
Figure 3-1
3. Click Next to continue.
www.yeastar.com Page 6
BizFAX Client User Manual
Figure 3-2
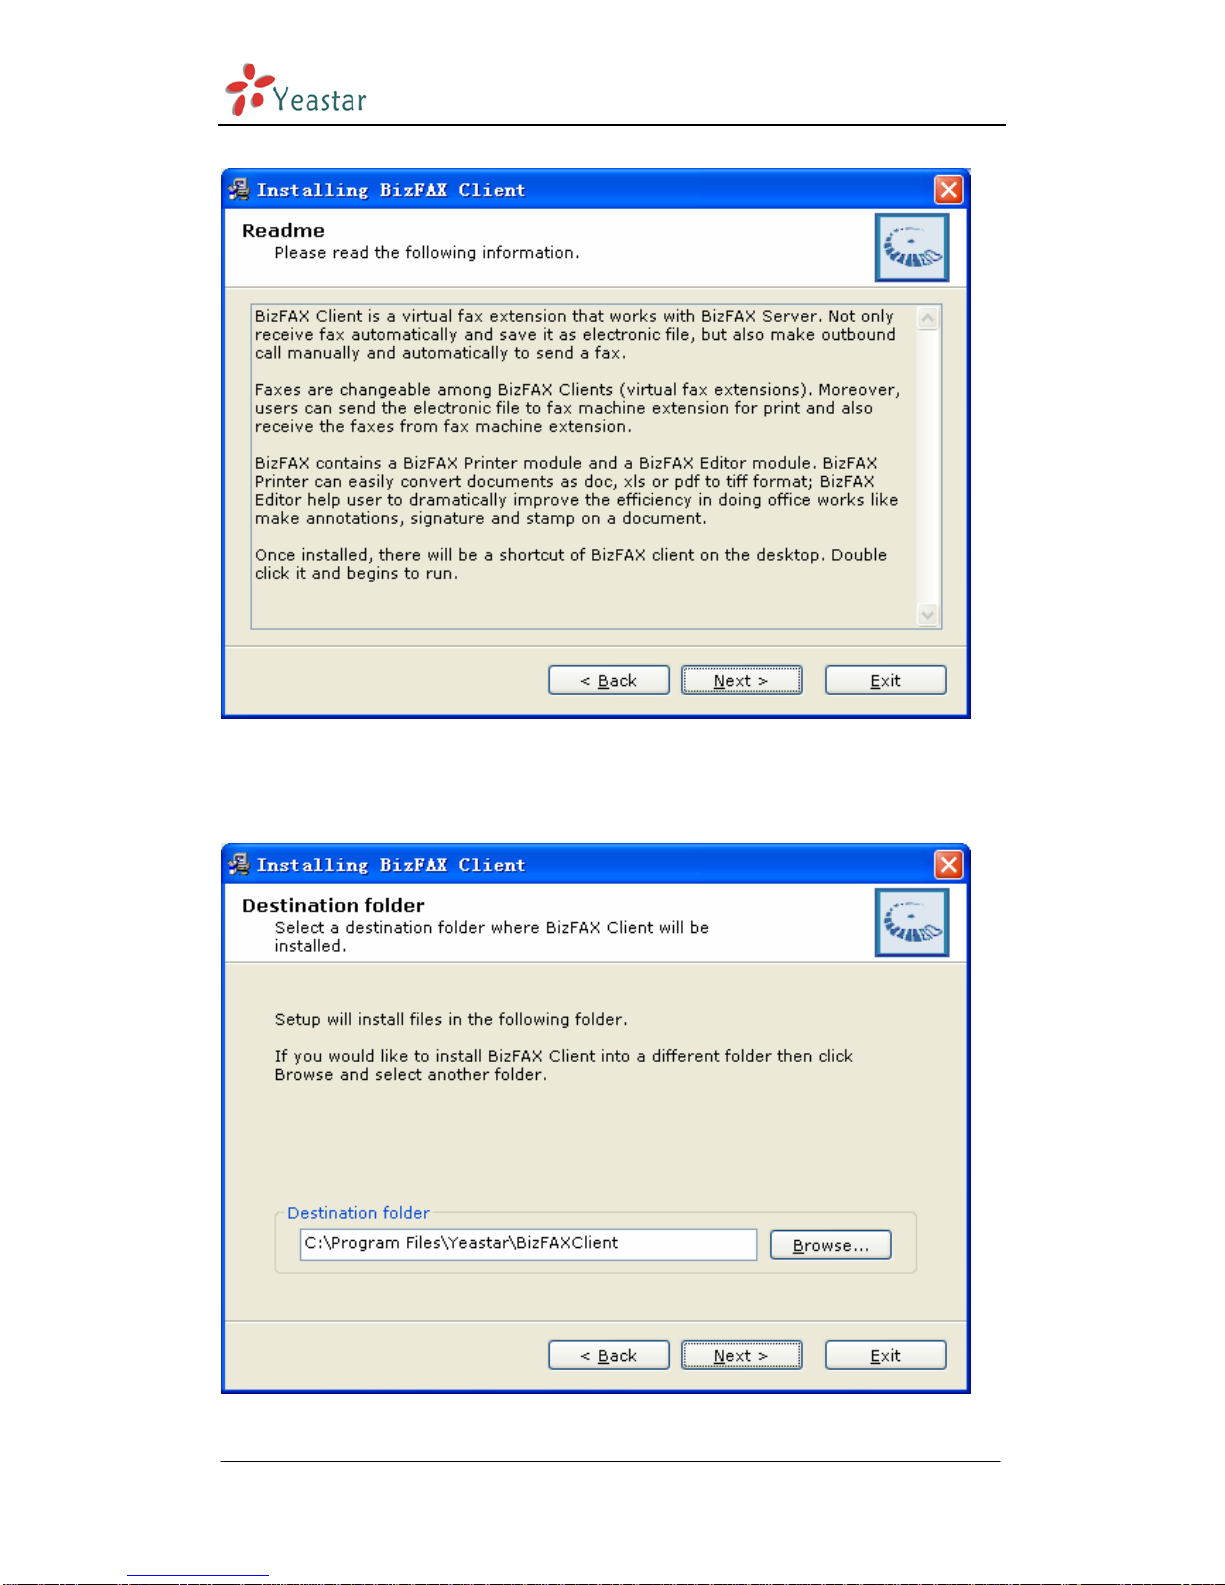
4. Read through the software License Agreement, select ‘I agree with the
above terms and conditions’, and then click Next to continue. See
Figure3-3.
Figure 3-3
www.yeastar.com Page 7
BizFAX Client User Manual
5. Click ‘Next’ after going over the provisions
Figure 3-4
6. The Destination folder screen will offer you the option where you would
like BizFAXClient to be stored on your computer. Click Next to continue.
Figure 3-5
www.yeastar.com Page 8

BizFAX Client User Manual
7. A screen pop-up to notify you that:
(1)Launch BizFAXClient after installation.
(2)Create desktop shortcut;
(3)Start BizFAXClient when I start Windows
Enable the options by your own demands, and then click Next.
Figure 3-6
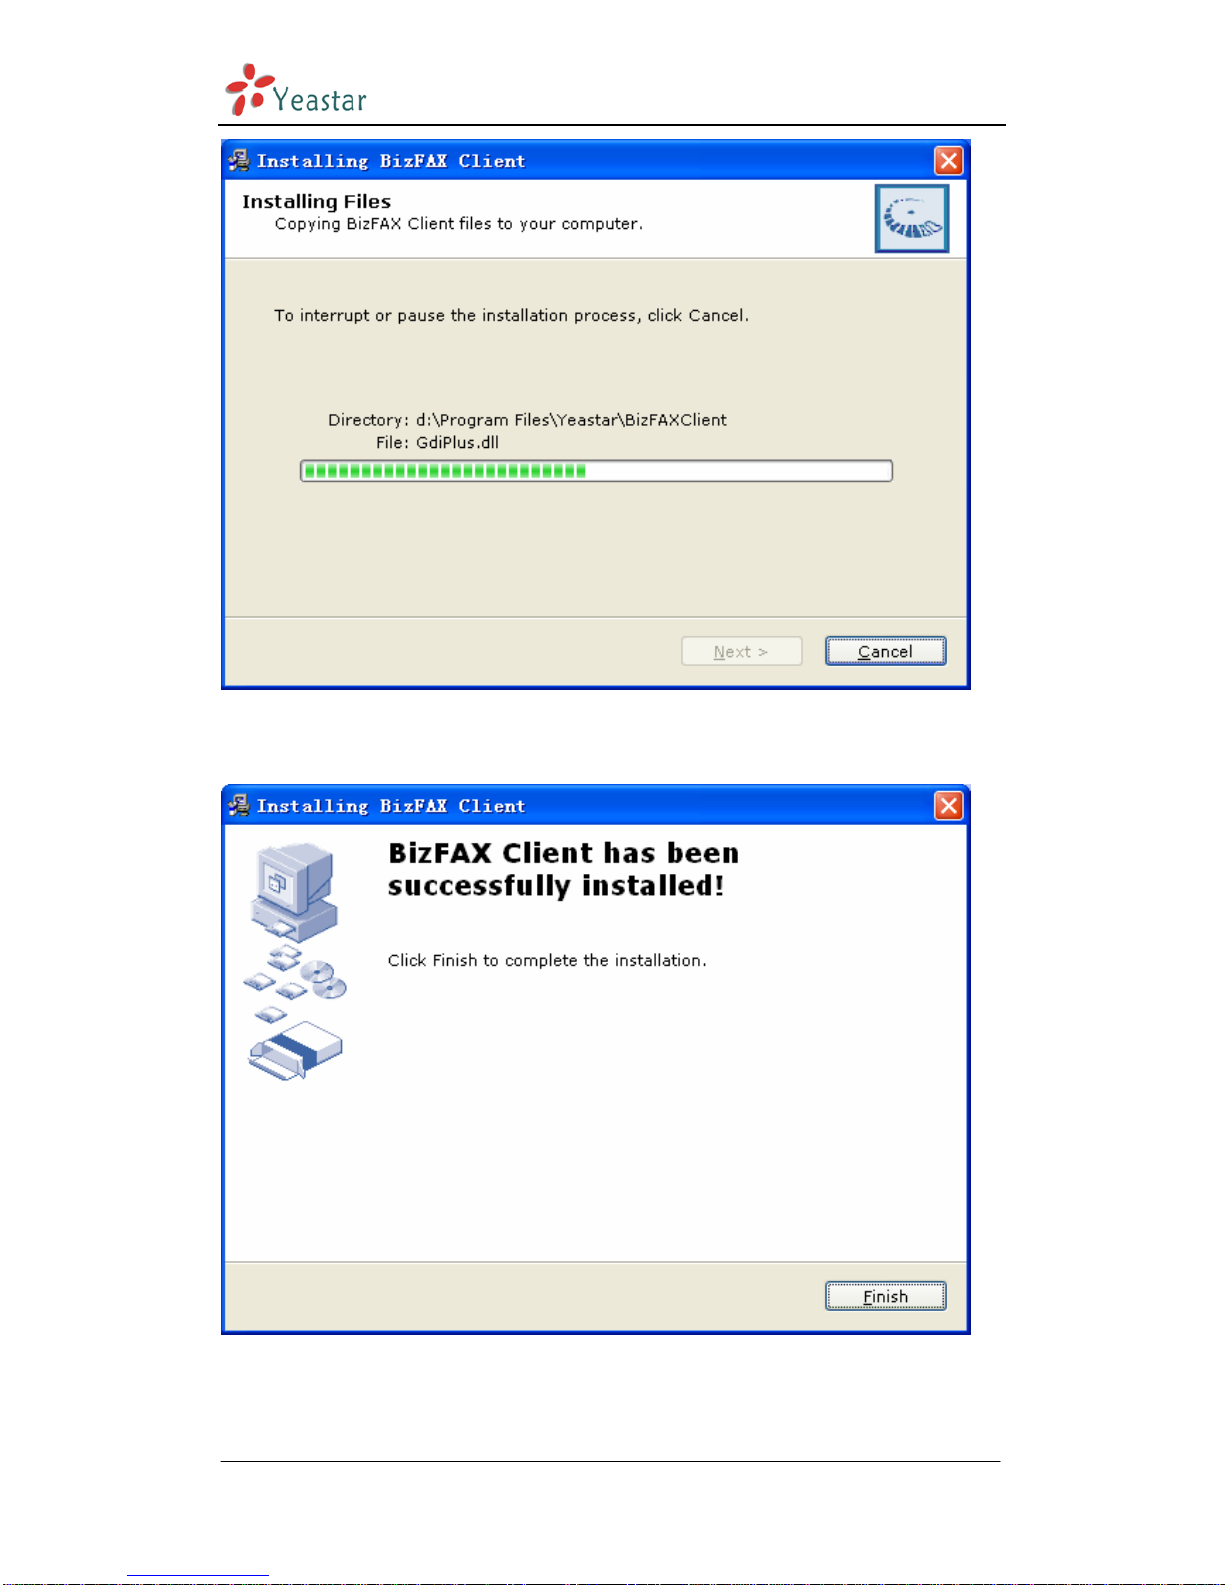
8. Enter into the Installing Files,system begin to installation step, which will
last for a while.
www.yeastar.com Page 9
BizFAX Client User Manual
Figure 3-7
9. When the installation is complete, a screen pop-up to notify you that the
software is installed successfully. Click Finish.
Figure 3-8
www.yeastar.com Page 10

BizFAX Client User Manual
Usage of BizFAX Client 4
4.1 Log in Client
After the installation, you can enjoy the powerful functions BizFAXClient
offers.
Double-click shortcut and launch BizFAXClient. Please enter your Ext.
number and password and then click ‘Sign In’, see Figure 4-1.
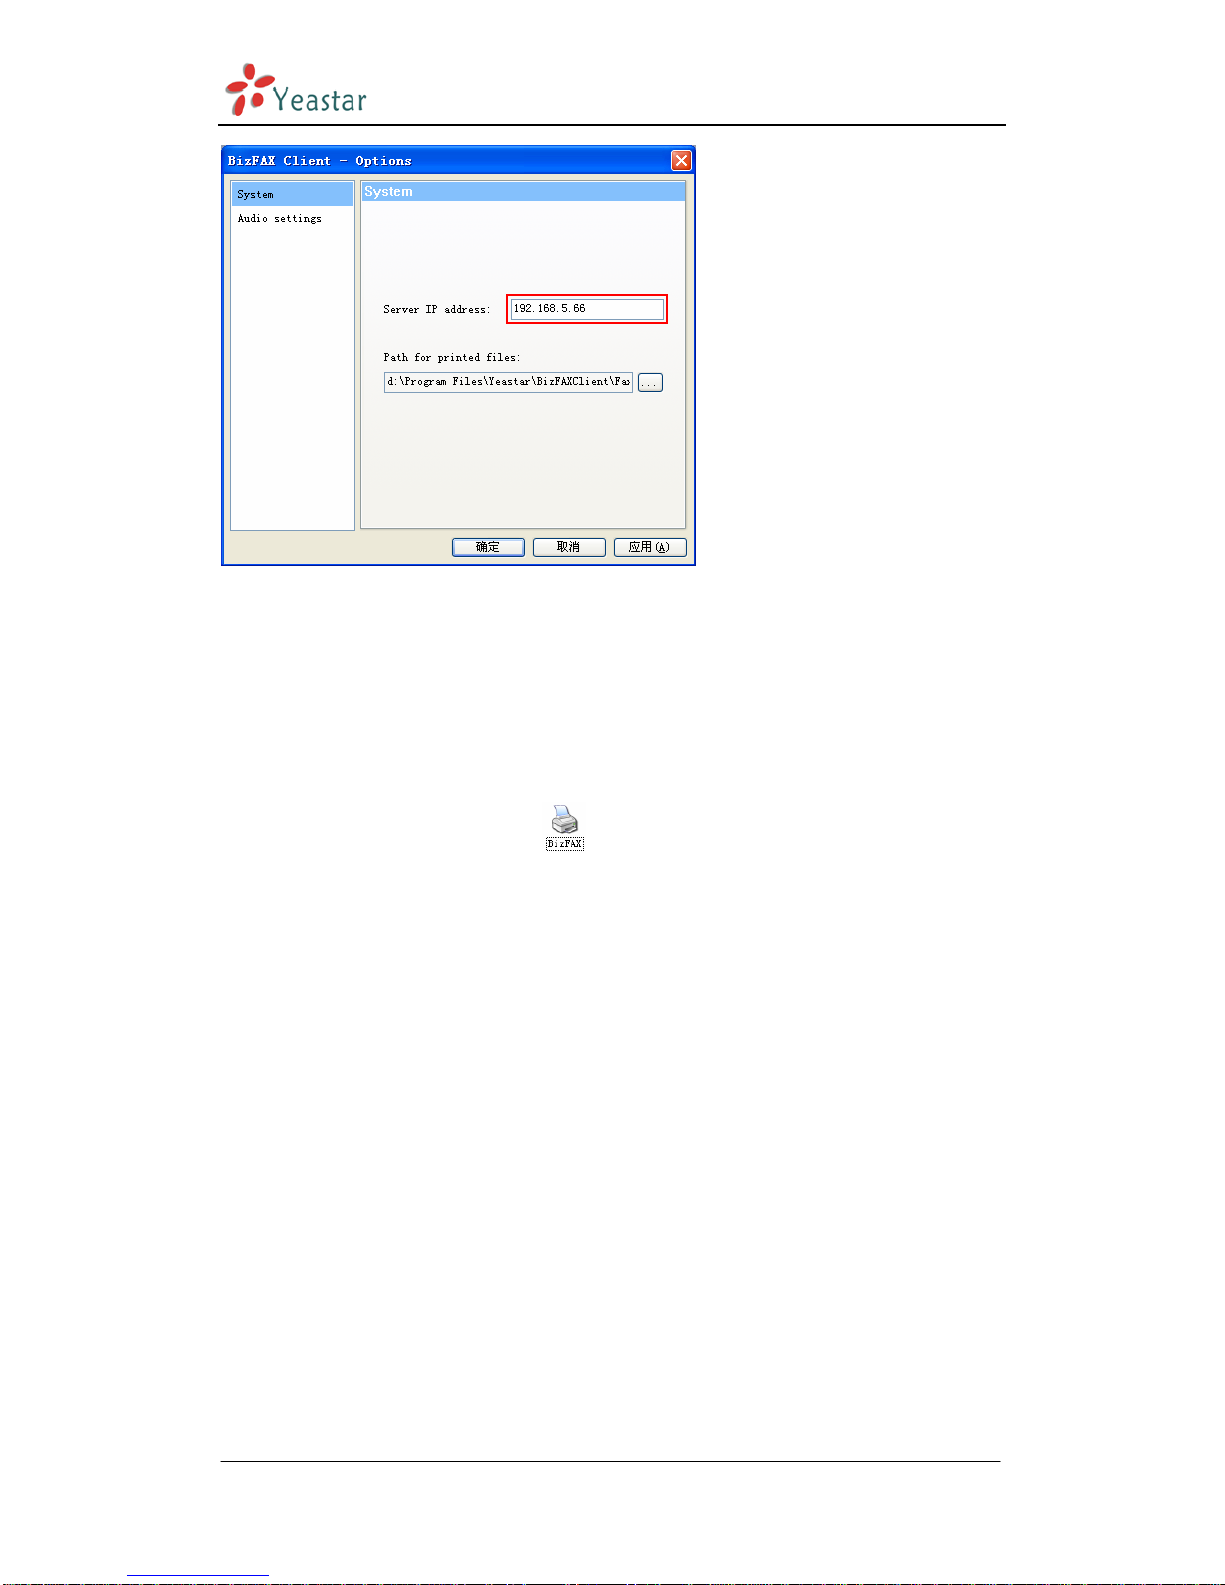
Please pay attention when you
login at first time:
Please click ‘Tools’ on
menuOptions, and enter the IP
address of BizFAX Server on Figure
4-2. You can get this IP from Admin.
About Ext. and Password
To obtain the Extension and
Password from your system Admin
before you log in BizFAXClient.
Figue 4-1
www.yeastar.com Page 11
BizFAX Client User Manual
Figure 4-2
4.2 Send FAX
After installed the BizFAXClient software, system will create a virtual fax
printer that named as ‘BizFAX ’ in printer folder in the control panel.
4.2.1 Sending fax from application programs
Application programs adopt the ‘Virtual Print’ way to realize the fax function.
All the programs are able to send fax by BizFAX Fax Printer as long as they
support print function. Open any type of document that supports print,
select ‘Print’ and see a prompt dialog box as Figure 4-3:
www.yeastar.com Page 12

BizFAX Client User Manual
Figure 4-3
Select ‘BizFAX’ on printer list and click ‘OK’.
System will generate a ‘Create new fax’ window and the file would be printed
as TIFF to add into task list.
Figure 4-4
www.yeastar.com Page 13

BizFAX Client User Manual
4.2.2 Sending fax from Client software
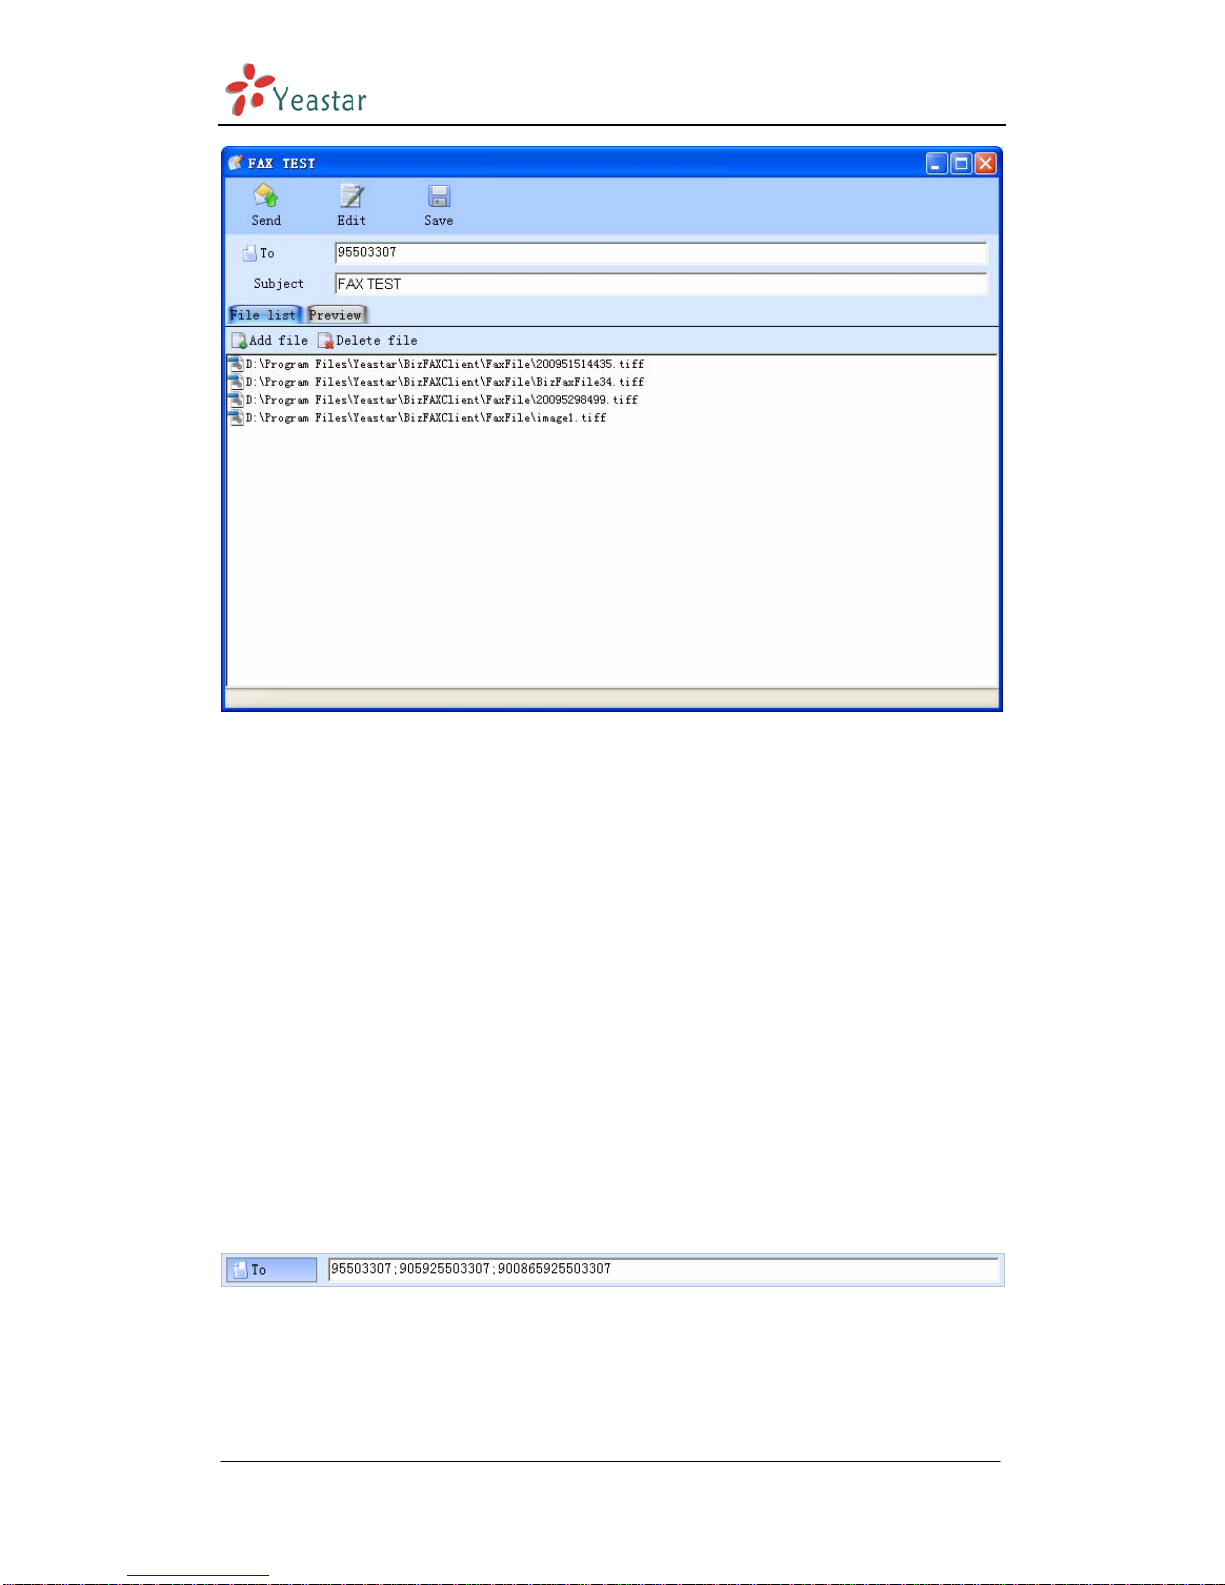
(1) Enter into FAX tag, click ‘Create’ to create a new fax.
(2) Click ‘add file’ to select the file you want to fax from computer.
Note: Only the file in *.bmp、*.dib、*.jpg、*.jpeg、*.png、*.doc、*.docx、*.xls、
*.xlsx、*.pdf、*.tif、*.tiff、*.txt or *.rtf format can be added in this way. The
files in other formats could be opened by the application programs and sent out
through ‘Prinit’.
Figure 4-5
Merge multiple files to fax once
If user wants to fax multiple files at the same time, he can click the ‘Add file’
button again to add other files into task list, or he can use the application
programs to open the files at first and choose ‘Print’to send them into fax
list.
Beside the adding option, user is also able to delete the unnecessary files
from list after clicked ‘Delete File’button.
www.yeastar.com Page 14
BizFAX Client User Manual
Figure 4-6
4.2.3 Description of ‘Create a New Fax’ Menu
4.2.3.1 Receiver (Fax number)
There are two ways to enter receiver (fax number):
1. Enter the numbers directly as Figure 4-7
The right way of entering fax number: for example here a company in
Xiamen city of China, city area code is 0592 and country code is 0086 :
(1)local fax number in this company:5503307
(2)doemstic long distance fax number:05925503307
(3)international long distance fax number: 00865925503307
Note: 9+5503307 or 0+5503307
When an ext. user sends a fax, he needs to plus a prefix number 0 or 9 that
usually required by the PBX phone system before dialing the receiver’s fax
number.
Figure 4-7
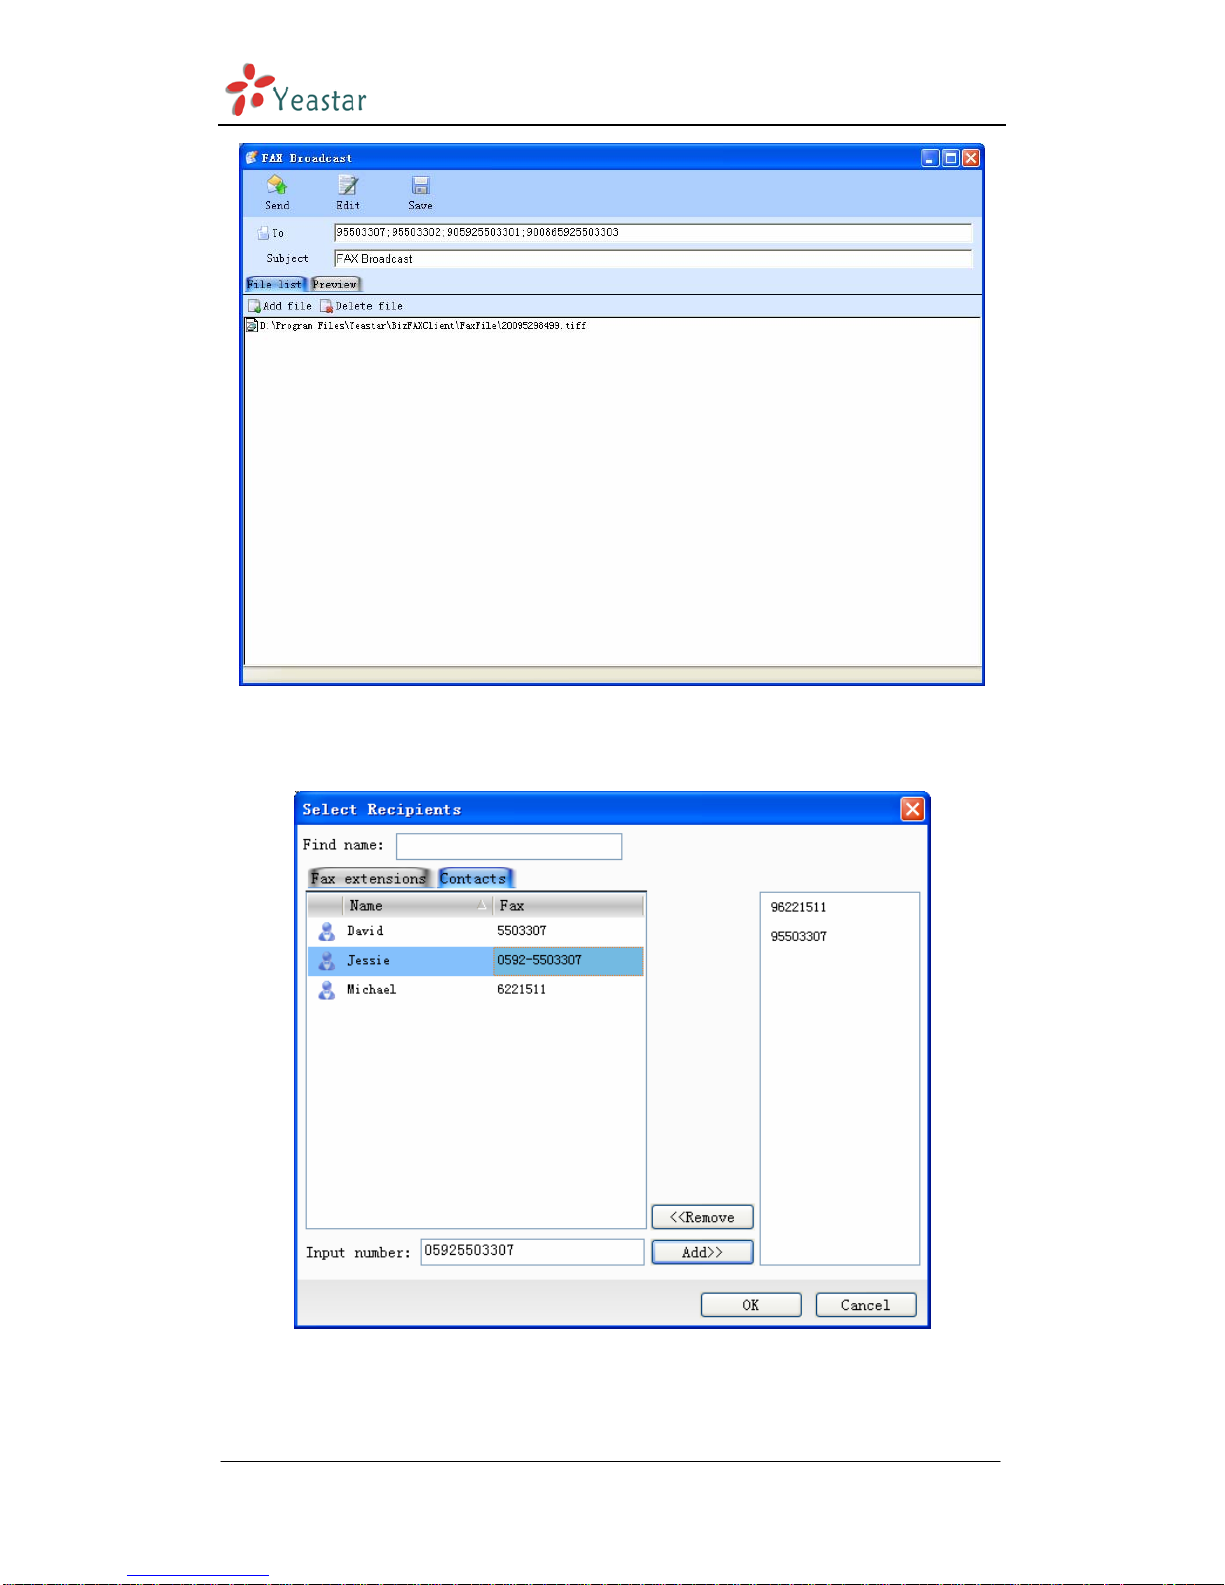
2. Click on ‘Receiver’ and select contacts from address book.
www.yeastar.com Page 15

BizFAX Client User Manual
Figure 4-8
Select contacts’ fax number and click ‘Add’, it shows the selected number on
right box, click ‘OK’ to finish.
4.2.3.2 FAX Subject
Mark the faxes for easy manageable and searchable.
4.2.3.3 Fax Content
Fax File List
1)Add Fax:Select one or multiple files from computer to fax out once
2)Delete Fax: Delete file(s) from fax file list
Preview:
User is able to view and check the selected fax file through ‘Preview’.
Edite:
User is able to add signature or make notes on selected file. Click ‘Edit Fax’ to
amend contents, seal and add signature directly.
4.2.4 Delay to Send FAX
BizFAX is able to send fax in specific time that set up by users. User can set
up an idle time or the most cheapest call rate period to delivery fax and this
function is specially useful to send the international fax because of the time
difference.
www.yeastar.com Page 16

BizFAX Client User Manual
Figure 4-9
4.2.5 FAX Broadcast
System allows user to fax a same file to different numbers at the same time,
which means fax broadcast.
There are two ways to get fax broadcast service:
1.Enter fax numbers directly and separate them by semi-colon. See Figure
4-10
www.yeastar.com Page 17
BizFAX Client User Manual
Figure 4-10
2.Click ‘Receiver’ and select multiple contacts from address book to add
into right box as Figure 4-11.
Figure 4-11
www.yeastar.com Page 18
BizFAX Client User Manual
4.2.6 Forward Fax
User can transfer the received faxes to both internal extension users and
external contacts.
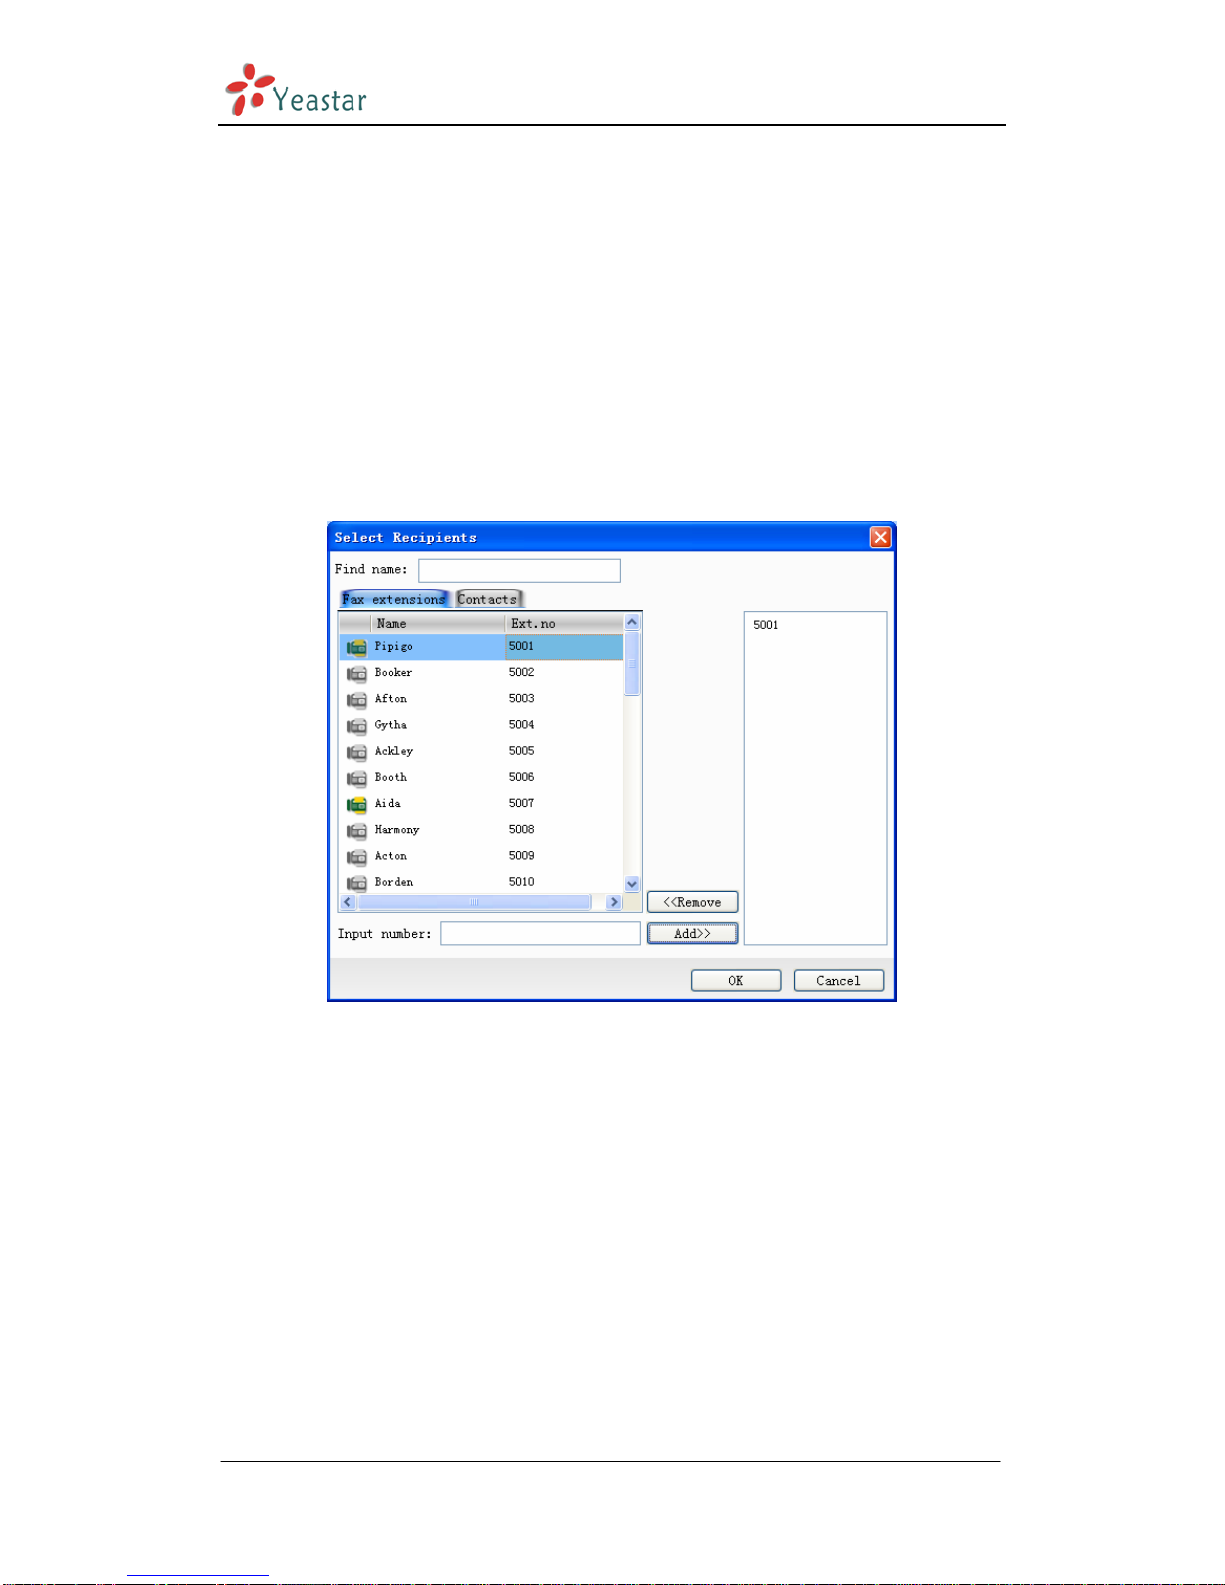
1.Forward to internal extensions
Click the right mouse on the selected fax and choose ‘Forward’ from the
pull-down menu. Click on ‘To’ to select receivers from ‘Fax Extensions’ as
Figure 4-12.
Double click on the extension names or click ‘Add’ to add the selected
extensions into right list.
Figure 4-12
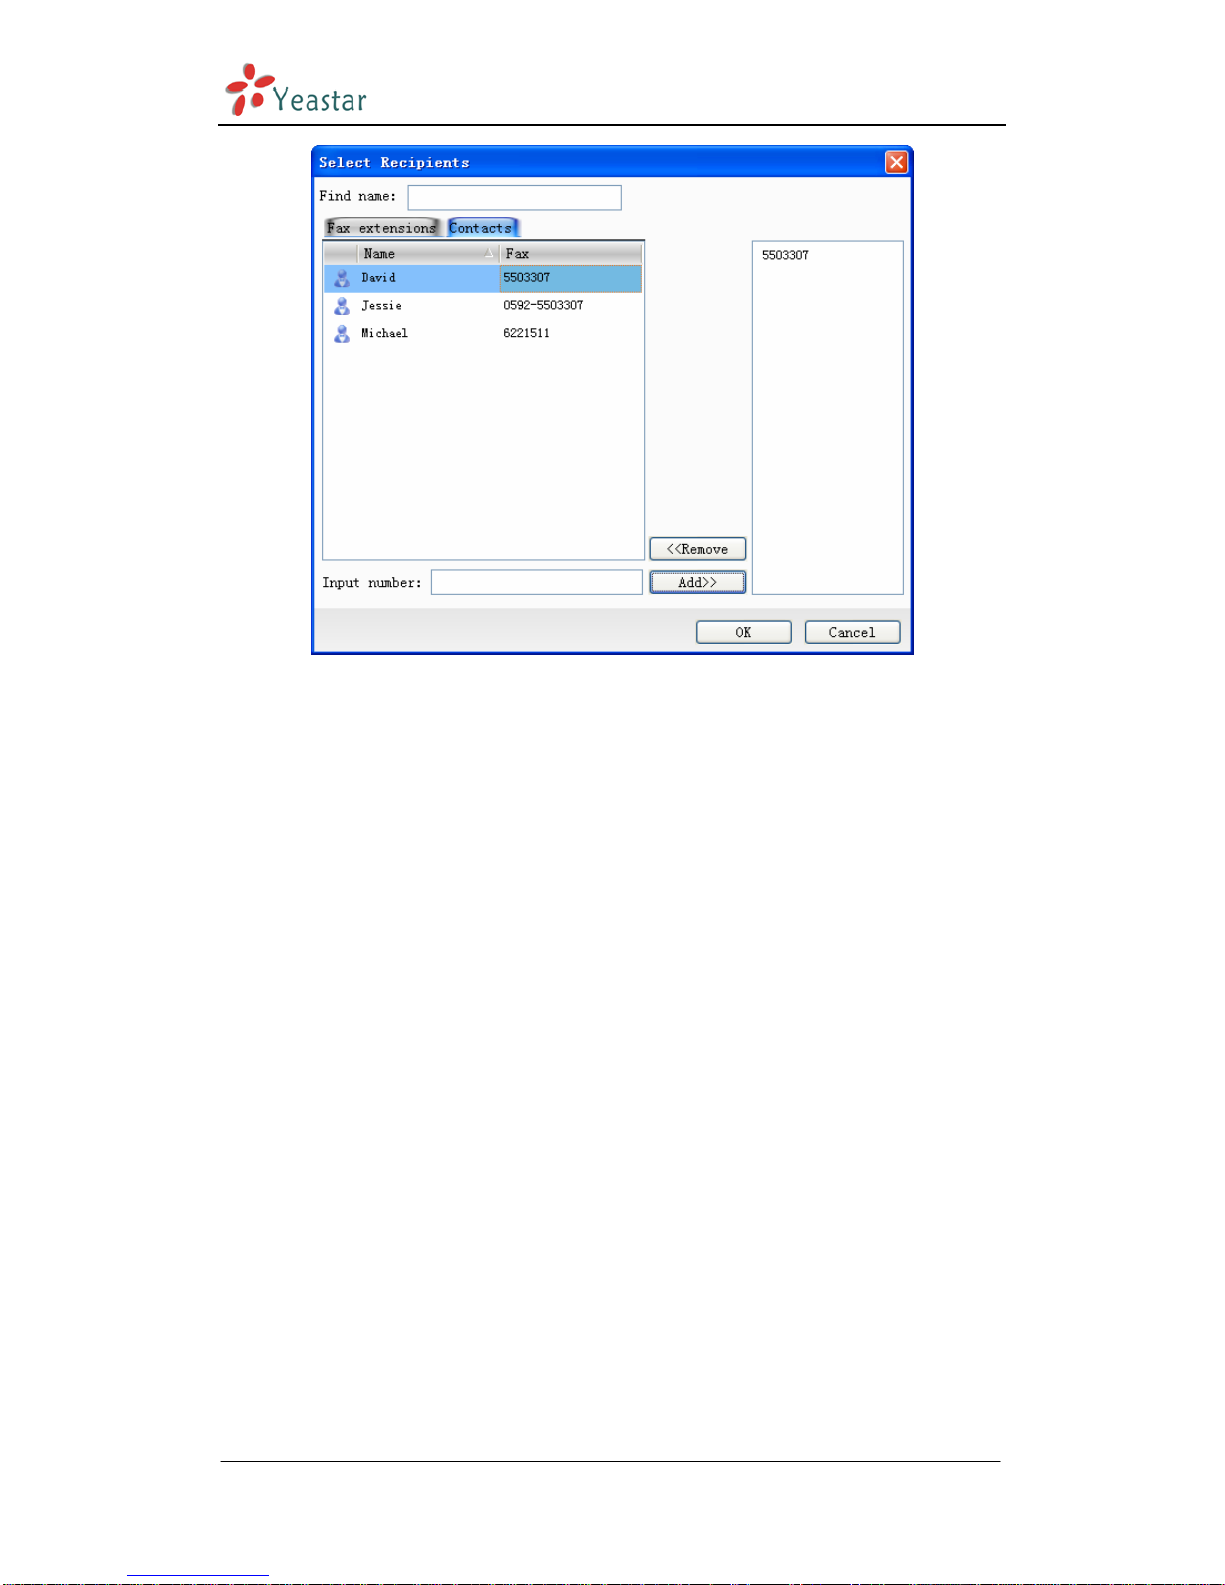
2.Forward to external contacts
Click the right mouse on the selected fax and choose ‘Forward’ from the
pull-down menu. Click on ‘To’ to select receivers from ‘Contacts’ as Figure
4-13.
Double click on the extension names or click ‘Add’ to add the selected
contacts into right list.
www.yeastar.com Page 19
BizFAX Client User Manual
Figure 4-13
4.2.7 Reply FAX
User can reply to the sender directly for the received fax.
Click on the right mouse on the selected fax, choose ‘Reply’ on pull-down
menu, system will pop up a window where user can edit the fax for remark,
seal and signature.
After the above edition, user can reply the modified fax file to sender.
4.2.8 Check Results
Once sent out from Client, the fax task sumbmitted to Server side. If the fax
file is waiting in line for processing or is sending fax, the file will be saved in
the ‘Outbox’.
If fax sent successfully, the file file will forward to the ‘Sent Items’. User can
check the recipients, subject, created time and status in this window.
If user fails to send, the fax file will be saved on ‘Outbox’. System shows the
failure reason on the ‘Statu’ of Client, such as busy, no answer, and dead
number.
If user wants to resend the failure fax, just click on selected file; choose
‘Send’ on menu, submit failure number to server side again.
Status:
Waiting process – file is waiting in line for faxing
www.yeastar.com Page 20
Other manuals for BizFAX
1
Table of contents
Other Yeastar Technology Fax Machine manuals

Popular Fax Machine manuals by other brands

Panasonic
Panasonic KX-PD215DL Quick reference guide

Panasonic
Panasonic KXF140 - ANSWERING SYSTEM operating instructions

Brother
Brother MFC 845CW - Color Inkjet - All-in-One Service manual

Panasonic
Panasonic Panafax UF-7100 operating instructions

Panasonic
Panasonic Panafax UF-580 Service manual

Brother
Brother DCP-7010 Service manual


