For the remaining shots, turn the Film Advance Knob (D) by one
revolution until you find it very difficult to advance the film. This
will indicate that the whole roll of film has been exposed.
Note: 1. The mechanism of the Film Advance Knob (D) will not
allow you to turn the knob clockwise, which prevents the
film from curling back. Attempting to turn the knob in a
clockwise direction may damage the camera.
2. Please be advised that the last frame will be wasted due to
the method of film advance employed in this camera.
5
4
FILM ADVANCING
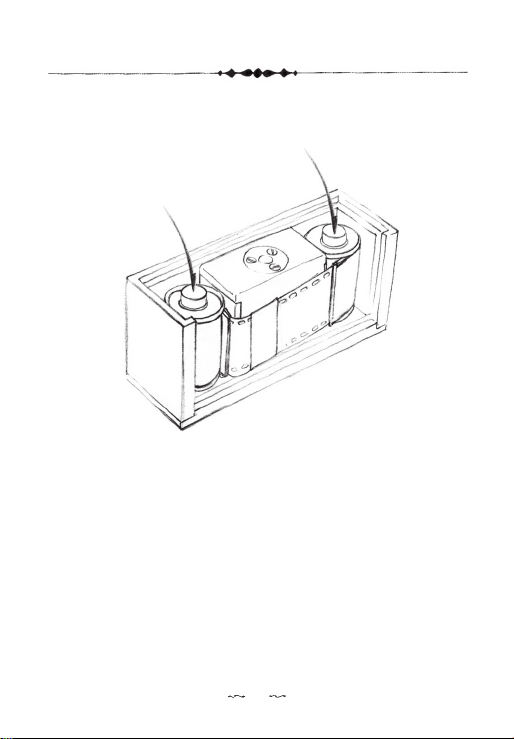
1. Turn the Film Advance Knob (G) counter-clockwise to
advance the film. Using the mark on top of the knob and the
markings on the top cover as a reference, advance the film by
at least 5 complete revolutions. Now make sure the dots of the
knob aligns with the far right marking (E) of the Top Cover (B).
EXPOSURE
Calculating the exposure time:
Our camera comes with an Exposure Scale (G). If you have a light
meter, you can make use of the Exposure Scale (G) to calculate the
exposure time easily. The numbers on the outer ring of the
Exposure Scale (G) are the exposure time ranging from 1/8000 of a
second to 15 hours and numbers on the inner (movable) dial
indicate f/stop number setting.These range from f/1.4 to f/500.
1. Use a light meter to get a reading of the scene you wish to
photograph. Choose the f/stop that is aligned most closely with a
given exposure time. (For example, the reading is f/5.6, 1/500
seconds).
2. Look on the inside ring and
find the f/stop selected from
the light meter (f/5.6 in this
example). Turn the dial until
that f/stop matches with the
correct exposure time (1/500
seconds in this example).
3. Now find the f/stop of your
camera on the inside dial (f/
stop of the 135 camera is f/
138). It will be aligned with
the estimated exposure time
of the photograph you wish
to take, i.e. 1 second in this
example.
2. After each exposure, advance the film by turning the Film
Advance Knob (D) one-and-a-quarter revolutions for the first
five shots. After those first five shots, the dot of the Film
Advance Knob (D) will align with the uppermost marking on
the top cover.
135book_FA 04/23/2013, 05:49 PMPage 6-7 Adobe PageMaker 6.0C/PPC