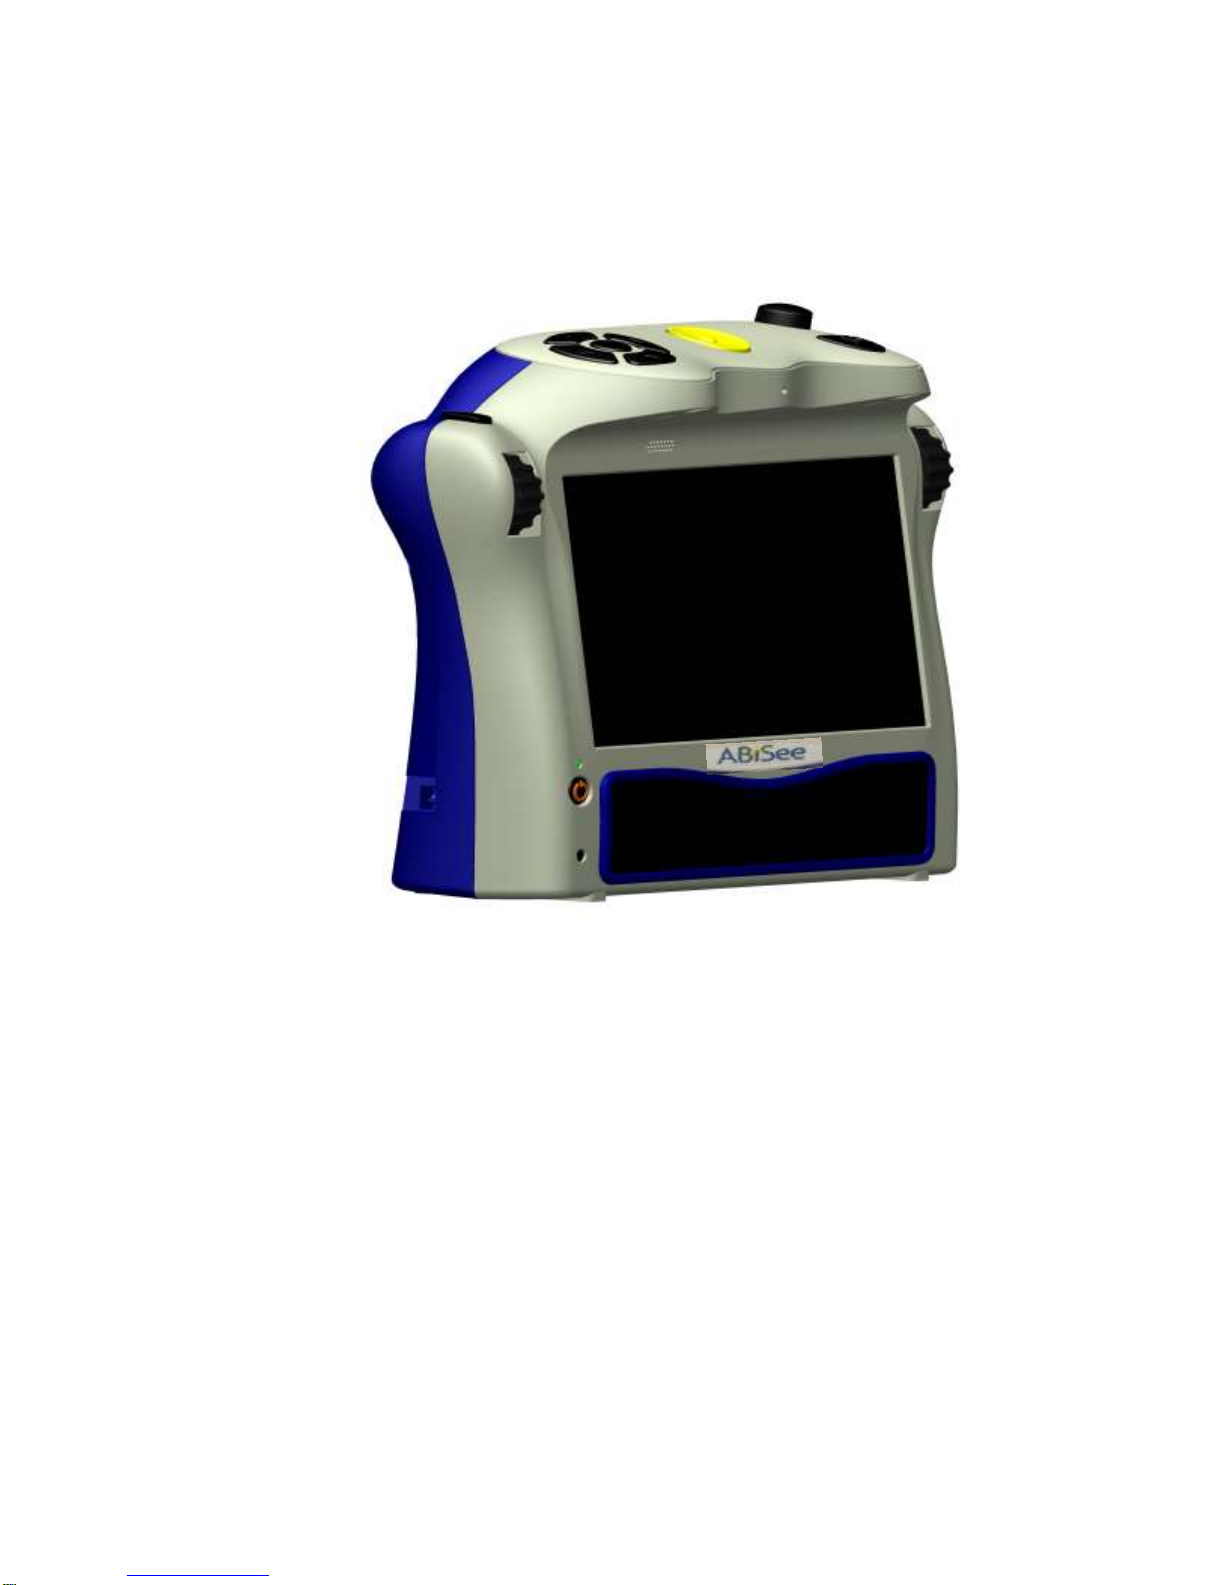
Charging the Battery
Important: Before the first use, the Ace Plus’s battery needs to be charged for
two hours. To charge the battery on the Ace Plus, use the power supply and power
cord provided as follows: First connect the power cord end with the small prong into
the port at the end of the rectangular part of the power supply. Next, plug the power
supply cord into the power port on the Ace Plus, which is located at the bottom of the
left side panel. Finally, plug the power supply into a power outlet.
Do not use the Ace Plus while it is being charged for the first time. Later on, the device
can be used while it is being charged.
In general, charging a depletedAce Plus battery to full capacity takes approximately
two hours. Afully charged Ace Plus battery lasts for about five hours of continued use.
Please note that, for safety reasons, only the adapter supplied by ABiSee, Inc. should
be used to charge the Ace Plus device.
Extending Battery Life
In order to ensure that the battery operates efficiently for a long time, disconnect the
Ace Plus from the power source at least once a month and operate it on battery power
until the battery charge goes down to below 15%.
Internet Connection
Before we move on to describe how to Scan and Read documents and all the other
Menu options and functions, here’s a note about the why your device has the word
“Ace Plus” in its name:
The Ace Plus offers all the features of the standardAce device (which are described in
this manual), PLUS Internet connectivity.
Internet functions available on the Ace Plus include:
Ability to download books from Bookshare
Ability to send and receive emails
To use Internet functions on the Ace Plus, you will need access to an available WiFi
network. If the WiFi network you would like to use requires a password, you will need
to know the password to connect to it. When you choose a network, such as a home
wireless network that needs a password, you will be prompted to enter it.
Some public places, like many public libraries, offer free WiFi connection with open