Acer AL1702 User manual

Analog LCD Monitor
AL1702 User s Manual

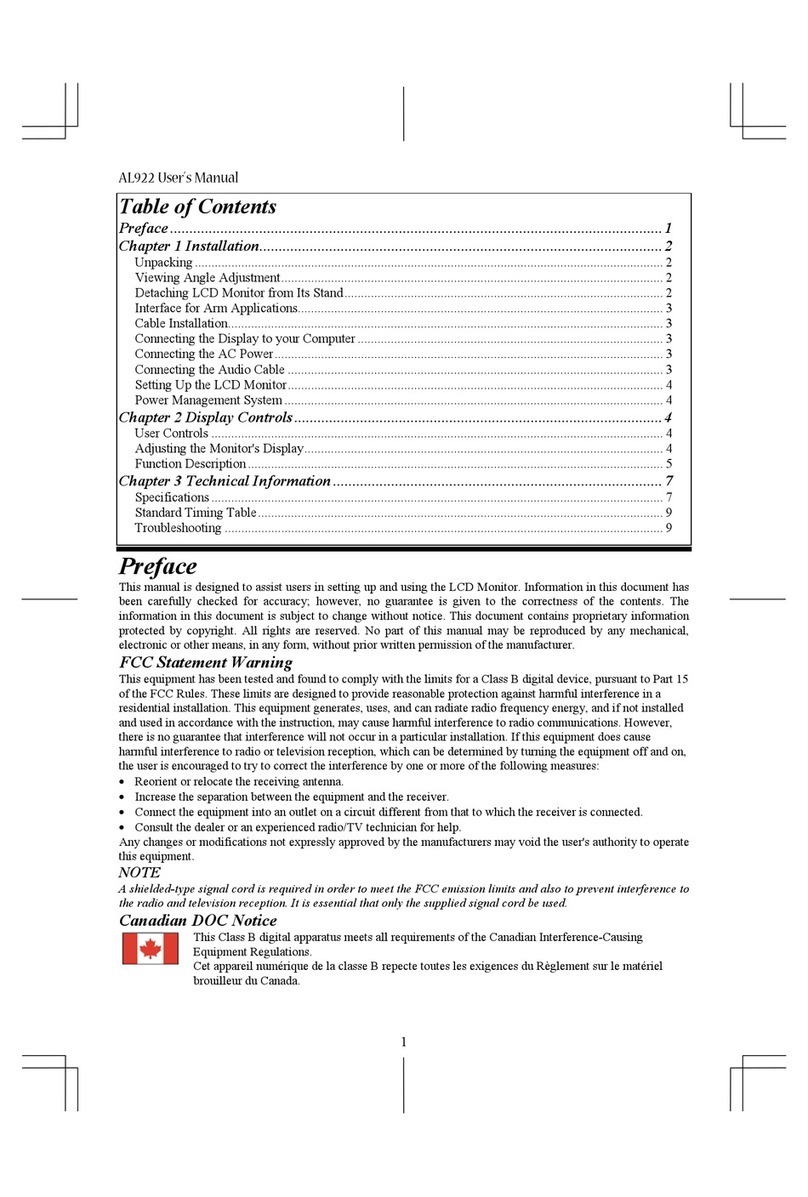
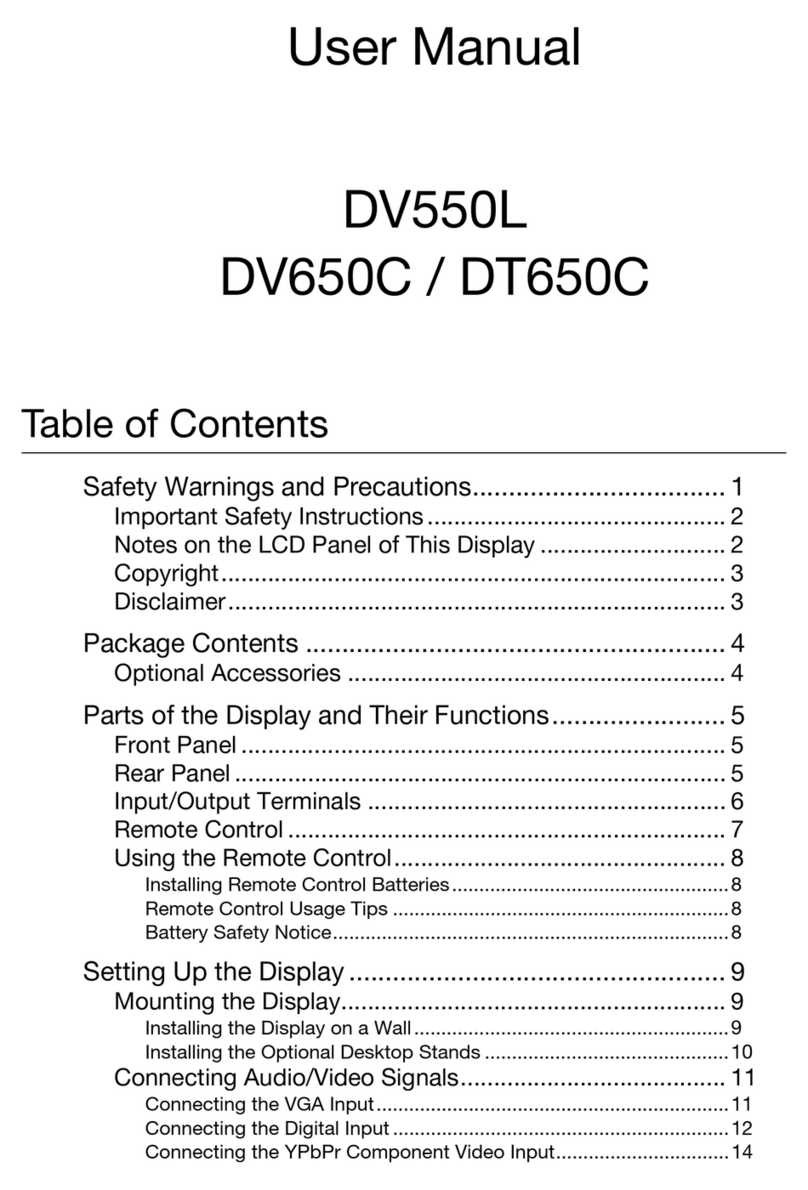
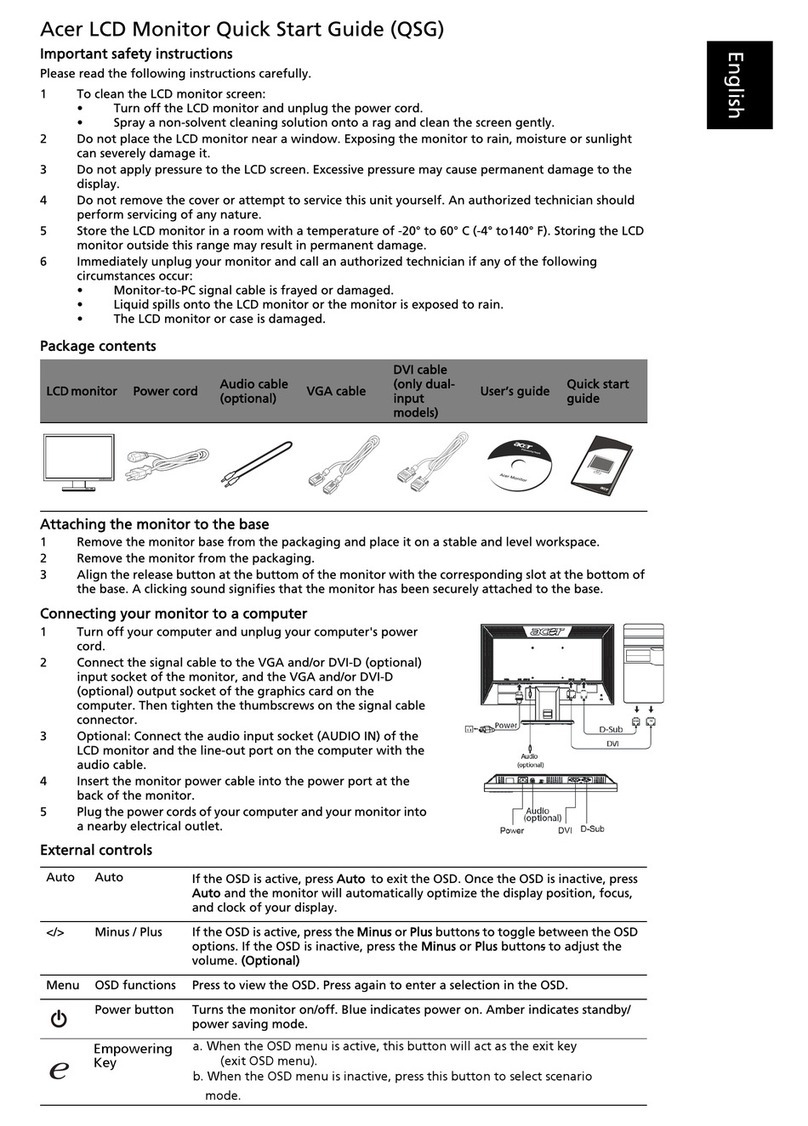
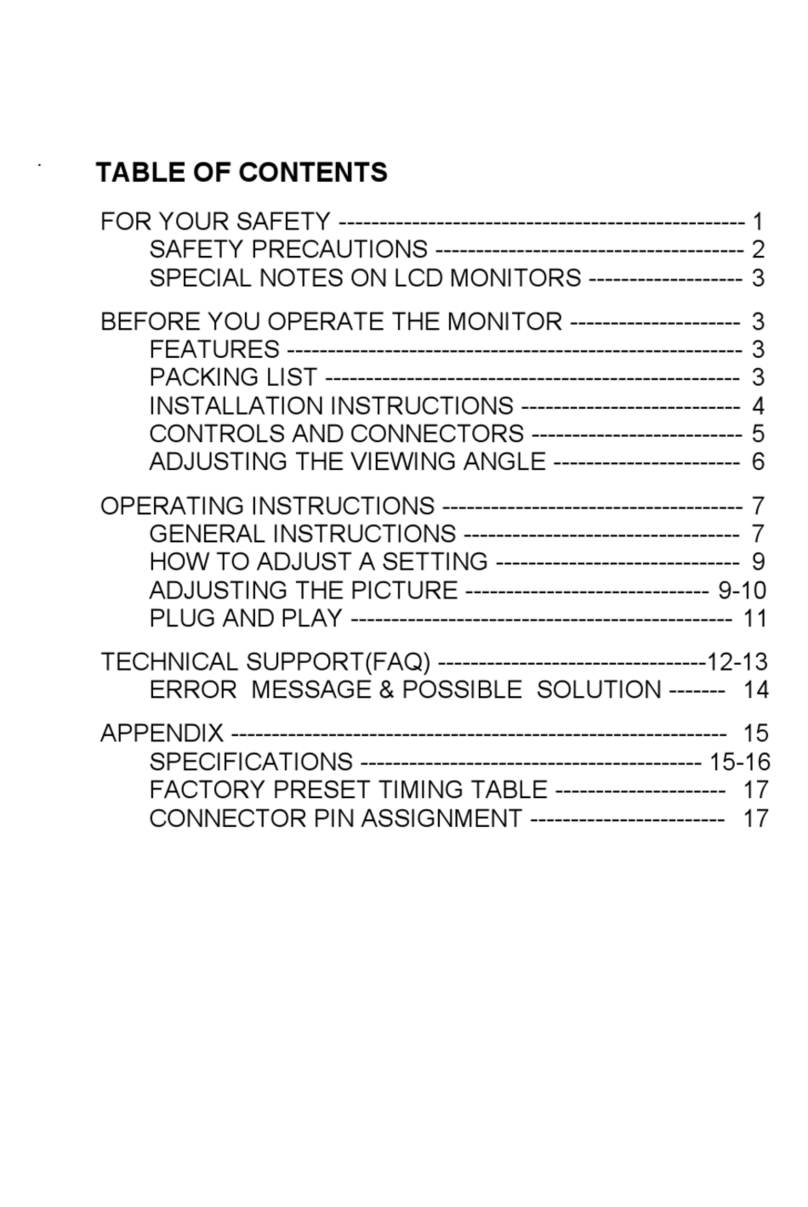
FCC compliance statement........................................................................1
DOCcompliance notice.............................................................................1
Introduction................................................................................................2
Features.....................................................................................................2
Unpacking..................................................................................................3
Attaching/Removing thebase.....................................................................4
Screen positionadjustment.........................................................................4
Connecting the power cord........................................................................5
Safetyprecaution.......................................................................................5
Cleaningyourmonitor................................................................................5
Presetmodes.............................................................................................6
Power saving.............................................................................................7
DDC..........................................................................................................7
Installation..................................................................................................8
User controls..............................................................................................9
Troubleshooting.........................................................................................13
Specification..............................................................................................14
TABLEOFCONTENTS

AL1702 E-1
FCC Compliance Statement
This equipment hasbeen tested and found to complywith the limits for aClass B digital
device,pursuant toPart15 ofthe FCC Rules.These limitsaredesignedtoprovideresonable
protection against radio frequency interferencein a residentialinstallation.Thisequipment
generates,uses, andcanradiate radio frequencyenergy.Ifnot installed andusedin
accordancewith the instructions,it maycause interferenceto radio communications.
However,thereisno guaranteethat intereferencewillnot occur inaparticular installation.
If thisequipmentdoescauseinterferencetoradio or televisionreception(thiscanbe
determined byturning this equipment off and on), the user is encouraged to tryto correct
theinterference byone or more of thefollowing measures:
·Reorient or relocate the receiving antenna.
·Increase theseparation between this equipment and the receiver.
·Connect this equipment to an outlet on a circuit different fromwhich the
receiver is connectedto.
·Consult the dealer or anexperienced radio/TV technicianfor help.
Caution:
To complywith the limits for an FCC Class B computing device, always use the shielded
signal cable supplied with this unit.
Caution to the user:
TheFederalCommunications Commission warnstheuserthat changesor modifications to
theunitnot expresslyapproved by thepartyresponsiblefor compliancecould void the
user sauthority tooperate the equipment.
Noticeof Compliance Canadian
Interference-causing EquipmentRegulations
DOC Compliance Notice:
This digital apparatus does not exceed theClass B limitsfor radionoise emissions from
digitalapparatus set outin theRadio Interference Regulations of theCanadianDepartment
ofCommunications.
DOC Avis de Conformation
Le présent appareil numérique n emet pas de bruits radioélectriques dépassant les limites
applicableauxappareils numériques delaclassBprescritesdanle Réglementsur le brouillage
radioélectriques édictépar le ministére desCommunications du Canada.

E-2 User sGuide
INTRODUCTION
Congratulations for purchasing model AL1702, ahigh performance 17-inch color TFTLCD
monitor.The AL1702 monitor provides flicker-free andcolor images at optional resolutions.
Through this user guide, wewill introduceyou step-by-stepallthefeatures, functions and
technical specifications ofthe LCD monitor. Surelyyou willhavea refreshing experience
workingwiththemonitor.
FEATURES
The AL1702 is a 17-inch TFT LCDmonitor that is intelligent, microprocessor-based and
ergonomically designeddisplay, compatiblewith most analog RGB (Red,Green, Blue)
display standards,including PS/V,PS/2,optionalfor Apple Macintosh Centris, Quadra,
and Macintosh II familysignals.TheLCDmonitoris capable ofdisplayingcrisp and
vibrant colorgraphics with VGA,SVGA,XGA,SXGA(non-interlaced), andmost Macintosh
compatiblecolor video cards.
·Themonitoris able to properlyfunction even incase of upgradevideo cards or
software because of the wide auto-scanning compatibilityrange without requiring to
buyanewmonitor.
·Theinternal microprocessor digitallycontrolsauto-scanning.For horizontalscan
frequencies between 30 KHz and 81 KHz, andvertical scanfrequencies between 55 Hz
and 76 Hz.In each frequencymode,the microprocessor-basedcircuitry allowsthe
monitor to function at the precision-of a fixed frequency.
·The resident memoryallowsforstoring factorydefault settings and also additional
useradjustment parameters.
·Themaximum resolutionachievableisSXGA(1280 x 1024), bestsuitedfor Windows
applications
·The compactand sleekcabinet design saves lotof your desk spaceand makes your
desk look neat and tidy.
·Themonitor is also compliant with the most stringent environmental scheme of TCO
99.In this scheme, no environmentalharmful substancesareused during the entire
manufacturing process.

AL1702 E-3
·LCD Monitor
UNPACKING
Pleasecheckthe followingitems arepresentwhen you unpack thebox,andsavethe
packing materials in case you will need to ship or transport the monitor in future.
·AC PowerCord ·Audio Cable
·User Manual
Speakers

E-4 User sGuide
SCREENPOSITIONADJUSTMENT
In oder to optimize the best viewing position, you can adjust the tilt of the monitor by
using both of your hands to holdthe edges ofthemonitor asshown inthe figure below.
The monitor can be adjusted to 30 degreesup or 5 degrees down as indicated byarrow
below.
Attaching/Removing theBase
Install:
Align the four hooks on the bottom of
the monitor with the corresponding
slotson thebottomof the base.
Remove:
Depress the hook asindicated first
before removing the base and followthe
arrowdirection toremoveit.

AL1702 E-5
CONNECTING THE POWER CORD
·Check first to make sure that the power cord you use is the correct type required for
your area.
·This monitor has a universal power supplythat allows operation in either 100/120V
ACor 220/240 V AC voltagearea. Nouser-adjustmentis required.
·Plugone endof the powercord tothe ACInlet,plug another endtoaproperAC outlet.
·For unit using at 120 V AC:
UseaULListed Cord Set,TypeSVTwireandplug rated10 A/125 V.
·For unit usingat220/240 VAC (outside of U.S.):
Usea Cord Set consisting ofH05VV-Fcord andplugrated 10 A,250 V.The cord set
should have the appropriate safetyapprovals for the countryin whichthe equipment
willbe installed.
SAFETY PRECAUTION
·Avoidplacingthe monitor, or anyotherheavy object, on the powercord to avoid
damage tothe cable.
·Do not expose the monitor to rain, excessive moisture, or dust.
·Donotcover the ventilationslots oropeningsof the monitor.Always put the monitor
in aplace where there is adequate ventilation.
·Avoid placing the monitor against a bright background or where sunlightor other
light sourcesmay reflect on the face of themonitor.Placethe monitor just below
eye level.
·Handle with care when transporting the monitor.
·Refrainfrom giving shock or scratch to thescreen, as screenis fragile.
CLEANING YOUR MONITOR
Please carefullyfollowthe belowguidelines when cleaning the monitor.
·Always unplug the monitor before cleaning.
·Usea soft clothtowipethe screen and cabinet front andsides.
·Apply asmallquantity ofalcohol toasoftcloth toclean themonitor screen,if requires
more thandusting.

E-6 User sGuide
PRESETMODES
Toreducetheneed foradjustmentfordifferentmodes,themonitor hasdefaultsetting
modes thatare most commonly used asgiven in the table below.For optimum adjustment,
the user is suggested to performthe Auto Setup under Windows “Full Screen”pattern. If
themodein usedoesnot matchoneof thedefaults,the user canstore their preferred
modes in the user modes. The monitor is capable of storing up to 9 user modes. The only
conditiontostoreas ausermodeis the newdisplayinformation must have 1KHz difference
for horizontalfrequencyor1 Hzforverticalfrequencyor thesync signal polaritiesare
different from the default modes.
ModeResolution H.Freq.
(KHz)
BandWidth
(MHz)
Polarity
HV
1VGA720 x40070Hz31.4728.322-+
2VGA640 x48060Hz31.4725.175--
3MAC640 x48066Hz35.0032.24--
4VESA640 x48072Hz37.8631.5--
5VESA640 x48075Hz37.5031.5--
6VESA800 x60056Hz35.1636++
7VESA800 x60060Hz37.8840++
8VESA800 x60075Hz46.8849.5++
9VESA800 x60072Hz48.0850++
10MAC832 x62475Hz49.7257.283--
11VESA1024 x76860Hz48.3665--
12VESA1024 x76870Hz56.4875--
13VESA1024 x76875Hz60.0278.75++
14VESA1280 x102460Hz64108++
15VESA1280 x102475Hz80135++
16VESA1152 x86475Hz67.5108++
17VESA1280 x96060Hz60108++

AL1702 E-7
POWERSAVING
Themonitor will be driveninto “Power Saving”mode bythecontrol
s
ignalfromthe
displaycontroller, asindicated bythe amber-color power LED.
The power saving states will be kept until acontrol signal hasbeen detected or the
keyboard or mouseisactivated. Therecovery time fromActiveOFF statebacktoON state
isaround 3 seconds.
DDC
To make your installation easier, the monitor is able to Plug and Playwith your system if
yoursystem also supports DDC protocol. The DDC (Display Data Channel) is a
communication protocol through which themonitor automatically informsthehost system
about its capabilities, forexample,supported resolutions and corresponding timing. The
monitor supports DDC2B standard.
State Power
Consumption LEDLight
ONNormalGreen
Active
OFF <3WAmber

E-8 User sGuide
INSTALLATION
Toinstall the monitor to your host system, please followthe steps asgiven below:
Steps
1.ConnectVideoCable
a.Make sure both the monitor and computer are powered-OFF.
b.Connect the videocable to thecomputer.
2.Connect power cord
Connectthe power cord to the monitor, then to a properlygrounded ACoutlet.
3.Connect the Audio Cable.
4.Power-ON Monitor and Computer
Power-ON themonitor first, then power-ON thecomputer.
This sequence is veryimportant.
5.If themonitorstilldoesnotfunctionproperly,please referto the troubleshooting
section to diagnose the problem.
Please don t open
the Cover.

AL1702 E-9
USERCONTROLS
Front Panel Controls
1.PowerSwitch:
To turnONor OFF thepower.
2.Power LED:
Lights up to indicate the power is turned ON.
3.Auto Adjust button / Exit:
1)When OSDmenu is in active status,this buttonwill act asEXIT-KEY (EXIT OSDmenu).
2)WhenOSDmenu is in off status, press thisbuttonfor2 secondstoactivate the Auto
Adjustment function.
The Auto Adjustment function is used toset the HPos, VPos, Clock and Focus.
4.</Volume:
Activates the volume control when theOSDis OFFor navigate through adjustment icons
when OSDis ONor adjust a function when function is activated.
5.>/Volume:
Activates the volume control when theOSDis OFFor navigate through adjustment icons
when OSDis ONor adjust a function when function is activated.
6.MENU/ENTER:
Activate OSDmenu when OSDis OFF or activate/de-activate adjustment function when
OSDis ON or ExitOSDmenuwhenin VolumeAdjustOSDstatus.
2
1
3456

E-10 User sGuide
Main
Menu
Icon
Sub
Menu
Icon
Sub
Menu
Item
Description
Contrast Adjusts thecontrast betweentheforegroundand
backgroundofthescreenimage.
Brightness Adjusts thebackgroundbrightnessofthescreen
image.
FocusAdjusts pictureFocus
ClockAdjusts pictureClock
HOW TOADJUST A SETTING
1.Press the MENU-button to activate the OSDwindow.
2.Press < or > to select the desired function.
3.Press the MENU-button to select the function that you wantto adjust.
4.Press < or > tochange the settings of the current function.
5.Toexitand save,selecttheexitfunction. If you wantto adjust any otherfunction, repeat
steps 2-4.
ADJUSTING THE PICTURE
Thedescriptions forfunctioncontrolLEDS

AL1702 E-11
Main
Menu
Icon
Sub
Menu
Icon
SubMenuItemDescription
H.PositionAdjustthehorizontalposition.
V.PositionAdjusttheverticalposition.
N/AWarmSetthecolortemperaturetowarmwhite.
N/ACoolSetthecolortemperaturetocoolwhite.
User/Red
AdjustsRed/Green/Blueintensity.User/Green
User/Blue
N/AEnglish
Multi-languageselection.
N/A
N/ADeutsch
N/AFrancais
N/AEspanol
N/AItaliano
N/A
N/A

E-12 User sGuide
Main
Menu
Icon
Sub
Menu
Icon
SubMenu ItemDescription
H.PositionAdjustthehorizontalpositionoftheOSD.
V.PositionAdjusttheverticalpositionoftheOSD.
OSDTimeoutAdjusttheOSDtimeout.
N/AAutoConfig AutoAdjust theH/VPosition,Focusand
Clockofpicture.
N/AInformation Showtheresolution,H/Vfrequencyand
inputport ofcurrentiputtiming.
N/AReset
CleareacholdstatusofAuto-
configuraationandset thecolortemperature
toCool.
N/AExitSaveuseradjustmentandOSDdisappear.

AL1702 E-13
TROUBLESHOOTING
Before sending your LCD monitor for servicing, please checkthe troubleshooting list
belowto see if you can self-diagnose the problem.
ProblemsCurrentStatusRemedy
No
Picture
LED ON UsingOSD,adjustbrightness andcontrastto
maximumorresettotheirdefaultsettings.
LED OFF Check thepowerswitch.
Check if ACpowercordisproperlyconnected
tothemonitor.
LED displays
amber color
Check if video signalcableisproperly
connected attheback ofmonitor.
Check if thepowerofcomputersystemisON.
Abnormal
Picture
UnstablePicture Check if thespecificationofgraphicsadapter
andmonitorisincompliancewhichmaybe
causing theinputsignalfrequencymismatch.
Displayismissing,
center shift,ortoo
small or too large
indisplaysize
UsingOSD,adjustRESOLUTION,CLOCK,
CLOCK-PHASE,H-POSITIONandV-
POSITIONwithnon-standardsignals.
UsingOSD,incaseofmissing full-screenimage,
pleaseselectotherresolutionorother vertical
refreshtiming.
Waitforafewsecondsafteradjustingthesizeof
theimagebeforechangingordisconnecting the
signalcableorpoweringOFF themonitor.
Abnormal
Sound
Nosound, or
soundlevelistoo
low
Check theaudiocablewiththehost PCis
connected.
Check if thevolumesetupofthehostPCisin
minimumpositionandtrytoraisethevolume
level.

E-14 User sGuide
SPECIFICATION
LCDPanel
DrivingsystemTFTColor LCD
Size43.2cm(17.0")
Pixelpitch0.264mm(H)x0.264mm(V)
Brightness250cd/m2(Typical)
Contrast400:1(Typical)
Viewableangle1400(H)1250(V)
Response time25 ms
VideoR,G,BAnalogInterface
H-Frequency30KHz-81KHz
V-Frequency55-75Hz
DisplayColors16.2M Colors
DotClock135MHz
Max.Resolution1280 x1024 @75Hz
Plug&PlayVESADDC/DDC2B
EPAENERGYSTAR
ONMode<45W
OFF Mode<3W
InputConnectorD-Sub15pin
InputVideoSignal Analog:0.7Vp-p(standard),
75 OHM, Positive
MaximumScreenSize Horizontal:337.92mm
Vertical:270.34mm
PowerSource100~240VAC,47~63Hz

AL1702 E-15
*All specifications are subject tochange without notice.
EnvironmentalConsiderations
OperatingTemp:50to350C
StorageTemp.:-200to600C
OperatingHumidity:10%to85%
Dimensions374(W)x373(H) x200(D)mm
Weight(N.W.)4.6kgUnit(net)
ExternalControls:
Switch
AutoAdjust Key
>/Volume
</Volume
PowerButton
MENU/Exit
Functions
Contrast
Brightness
Focus
Clock
H.Position
V.Position
Language
Autoconfiguration
(Warm)Color
(Cool)Color
RGB Colortemperature
Reset
OSDposition.timeout
Displayinformation
Exit
PowerConsumption(Maximum)45 Watts
AudioOutputRated Power 1.5W rms(Perchannel)
RegulatoryCompliance
CUL,FCC,VCCI,CCC,MPRII,
CE,TUV/GS,TCO'99, UL,
ISO13406-2
Other manuals for AL1702
2
Table of contents
Other Acer Monitor manuals

Acer
Acer GN245HQ User manual

Acer
Acer AL1931 User manual

Acer
Acer KA271 User manual

Acer
Acer BC0 Series User manual

Acer
Acer 7277e User manual

Acer
Acer M222HQML User manual

Acer
Acer G246HYL User manual

Acer
Acer KB242HYLbix User manual

Acer
Acer V195WL User manual

Acer
Acer X223W - 22" Widescreen LCD Monitor User manual

Acer
Acer P223W User manual

Acer
Acer K222HQLBID User manual

Acer
Acer EH273 User manual

Acer
Acer XR382CQK User manual

Acer
Acer XZ240QP User manual

Acer
Acer RG270 User manual

Acer
Acer S220HQL User manual

Acer
Acer B223W - Bdmr - 22" LCD Monitor User manual

Acer
Acer A221HQbd User manual

Acer
Acer X193W User manual