8 9
844·674·4461
TECHSUPPORT@ACOUSTASCAPE.COM WWW.ACOUSTASCAPE.COM
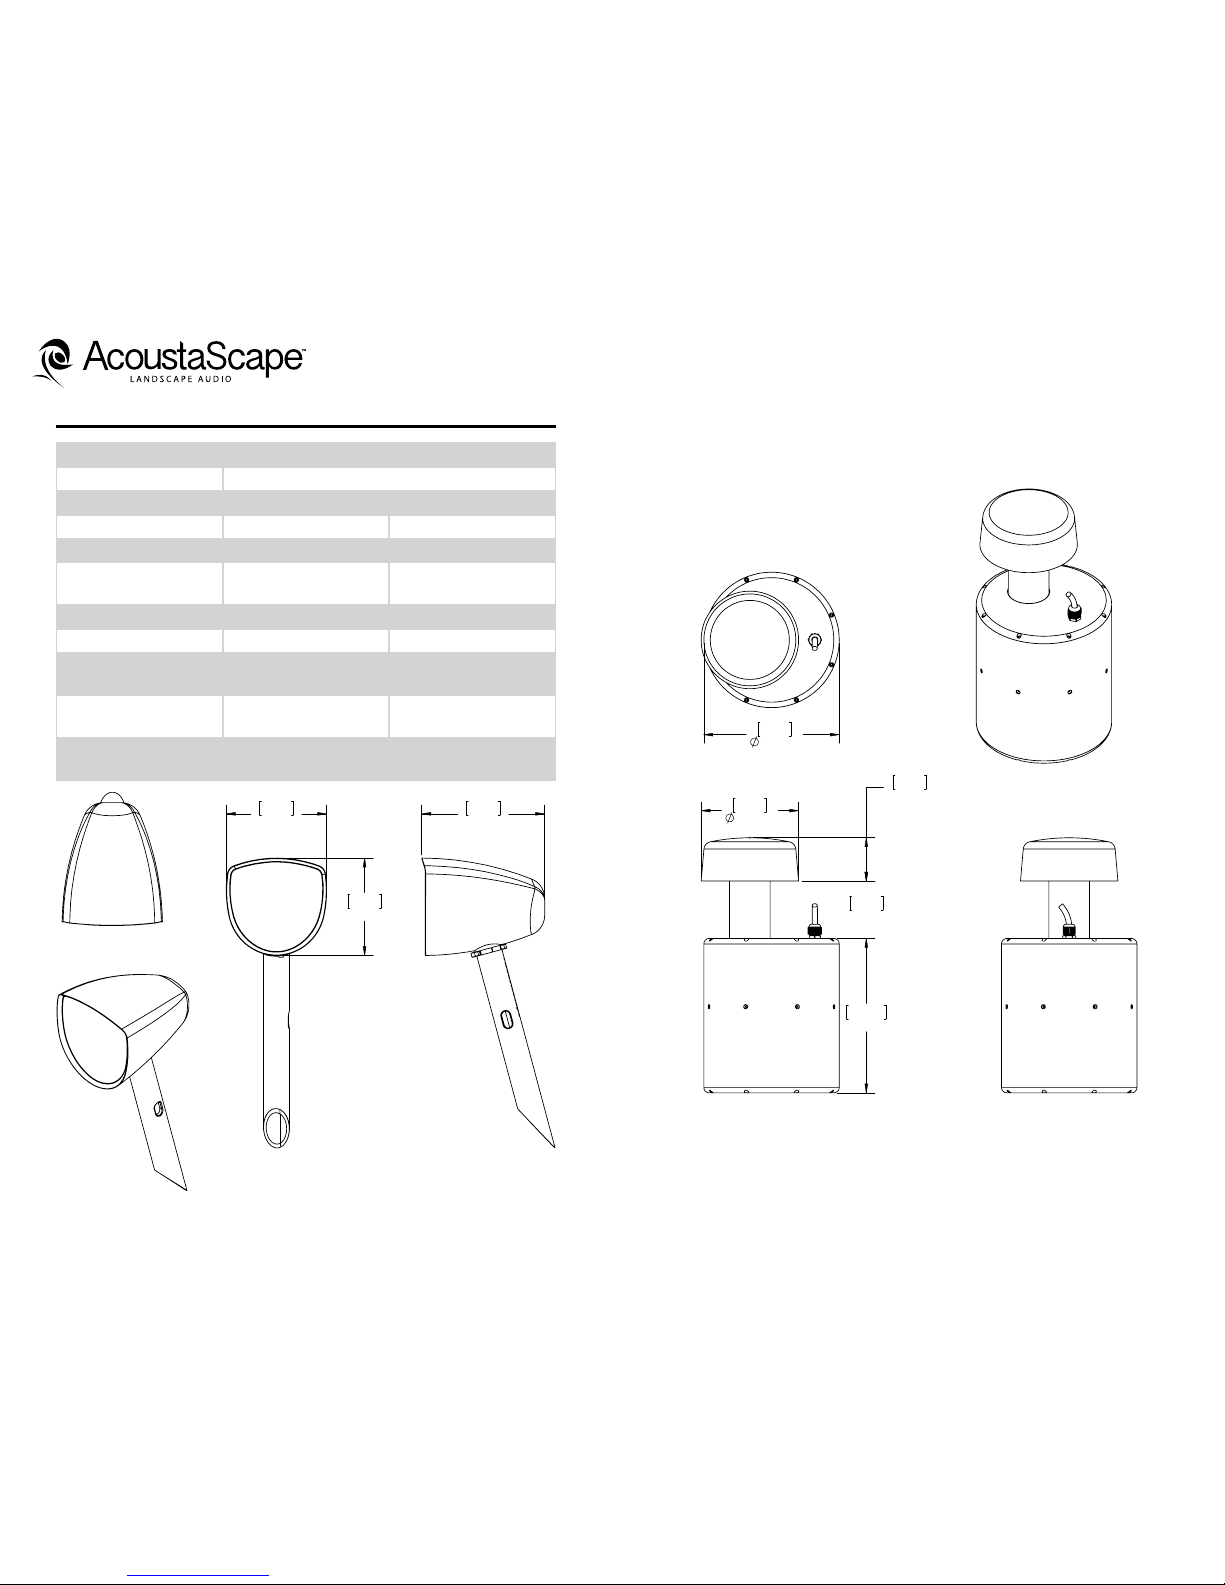
AS41HI-FI LANDSCAPE AUDIO SYSTEM MANUAL
If you have any questions or concerns about installing or using this
product, you can reach us through one of the following methods:
Phone: (844) 674-4461
Hours of operation: 8:00am - 5:00pm (Pacific Time), Mon - Fri
Email: techsupport@acoustascape.com
If you are having technical trouble, please include the model
number and briefly explain what steps you took to resolve the
problem in your email or be prepared to answer these questions
over the phone. If you are considering returning the product, it’s
required that you contact AcoustaScape™ prior to any return
attempts. This way we can determine if the issue can be resolved
without returning the product or, if needed, we can provide
instructions and support for the return process.
If possible, it’s oen good to try to isolate the problem first. For
example, if you’re playing a DVD on a television and there’s no
sound, try connecting an MP3 player to the system to see if that
works. If it does work, then the problem is with the television, DVD
player, or the cables connecting them. If it doesn’t work, the prob-
lem will be with the amplifier, speakers, or those cables.
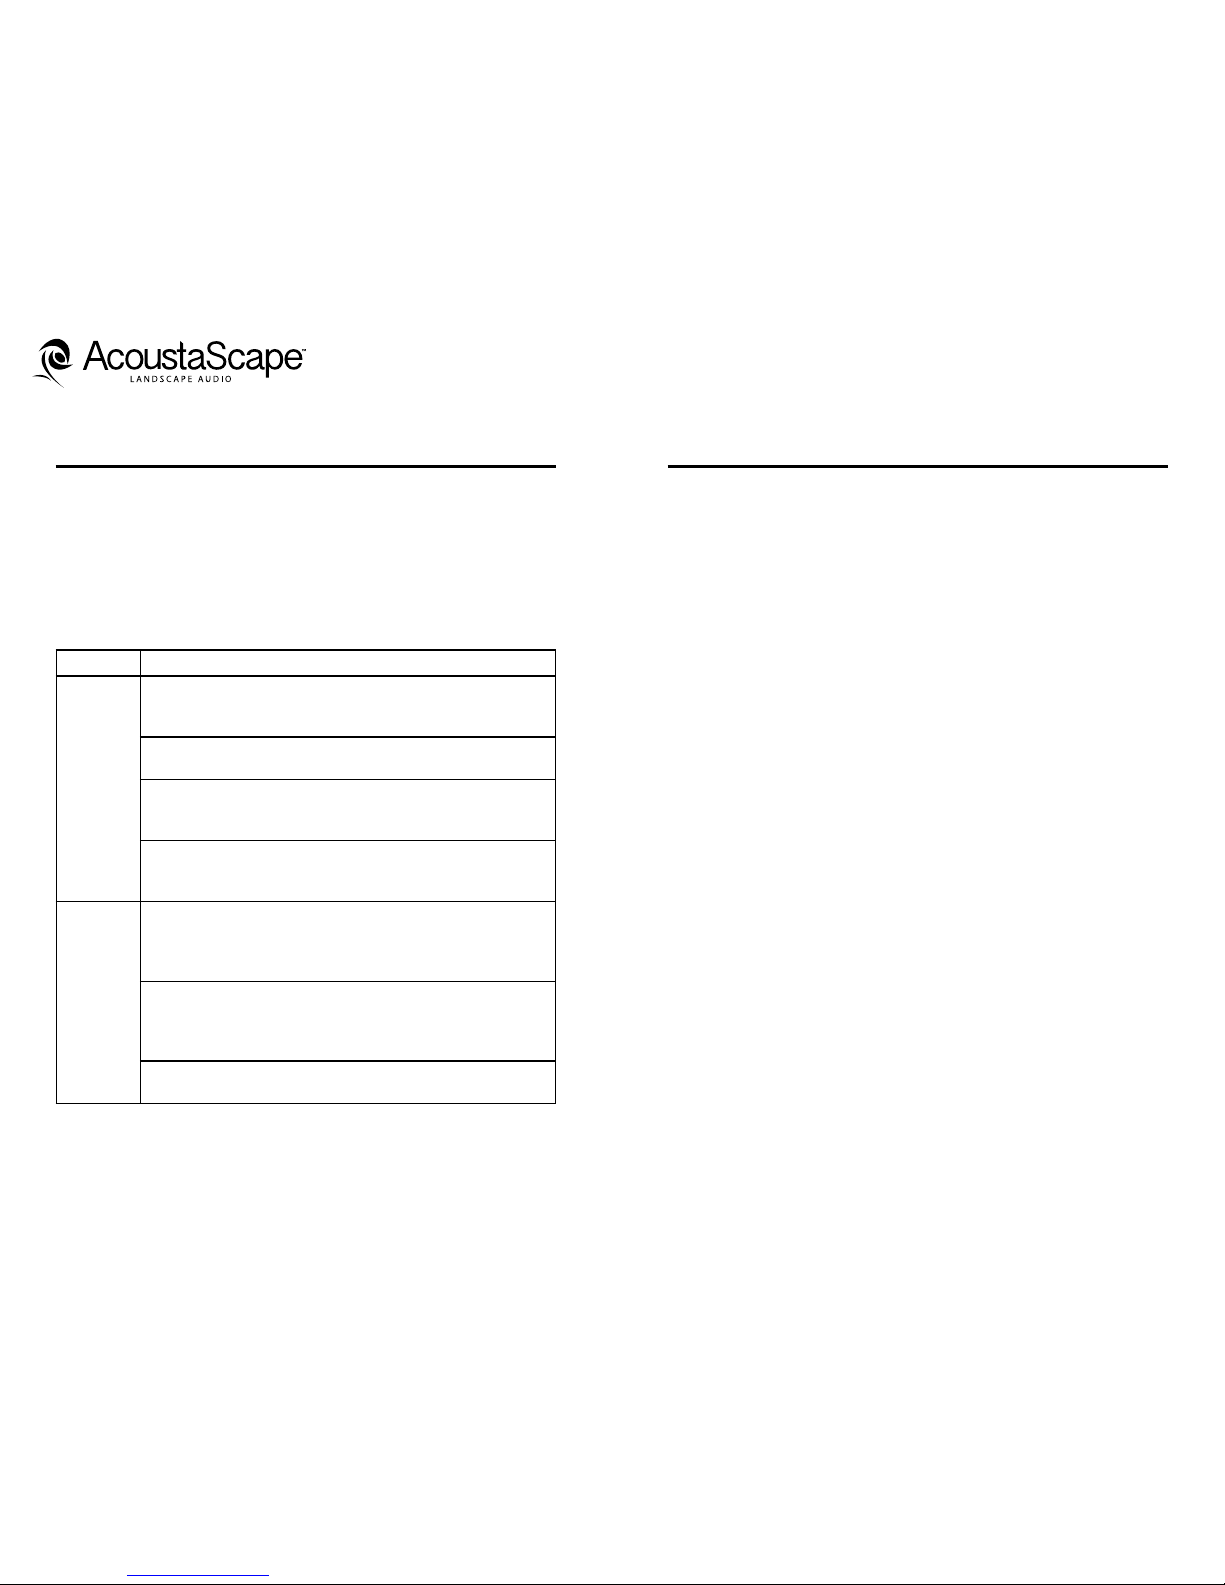
Problem Possible Cause
No Sound
The volume may be turned down or muted. Check the volume
settings on both the amplifier and the television/computer/CD
player/etc.
Make sure the proper source is selected on the amplifier or
receiver.
Check the cord connecting the amplifier with the source. The
cord may be damaged or plugged into the wrong input or out-
put.
Check the wires connecting the amplifier with the speakers.
Make sure they’re connected properly and not damaged in any
way.
Poor Sound Quality
If you hear something like static, or the sound is cutting in and
out, check the audio cables. If the problem increases when a
cable is being moved, then the cable is most likely faulty or not
connected properly.
Today’s audio systems may have several places to adjust the
volume, for example your MP3 player may have a volume con-
trol, and your amplifier may also have one. Check to be certain
that the volume isn’t turned up past 80% on any device.
Try changing sources to be certain that the selection you’ve
chosen is a good quality recording.
Technical AssistanceTroubleshooting