Active Birth Pools Active Instruction Manual

Active Birth Pools
Guidelines for Installation

Delivery, Moving and Handling
Mainland UK Deliveries
Active Birth Pools delivered within the mainland UK are wrapped in protective packaging
and placed in double walled boxes with corrugated sides.
The pools are delivered by our dedicated carrier on a week commencing basis.
If you require delivery on a specific date or at a specific time please contact us for a
quote.
Box Size and Weight
Active Birth Pool: 1880 x 1690 x 790mm 100 kg
Venus Birth Pool: 1960 x 1390 x 790mm 90 kg
Princess Birth Pool: 1640 x 1140 x 790mm 80 kg
The carrier will deliver your birth pool to the receipt and distribution point.
You’ll be responsible for moving it to the room where it will be installed.
The pool should be moved from the delivery point in its cardboard box by turning it gently
on its side onto a movers dolly or two.
This will enable it to be easily moved along corridors and through doorways. Once the
pool is in the room where it will be installed carefully open the cardboard box and remove
the protective packaging.
Outside Mainland UK and International Deliveries
Active Birth Pools that are delivered outside the mainland UK are wrapped in protective
packaging and placed in timber framed crates with plywood sides that conform to
ISPM15 and are stamped accordingly.
Crate Size and Weight
Active Birth Pool: 1910 x 1720 x 890mm 225 kg
Venus Birth Pool: 1950 x 1420 x 890mm 185 kg
Princess Birth Pool: 1670 x 1170 x 890mm 145 kg
The birth pool should be unpacked from the timber crate but left in its protective
packaging for moving from the delivery point to the room where it will be installed.
The pool should be gently turned on its side onto a padded movers dolly or two to
enable it to be easily moved along corridors and through doorways. It’s best to handle
the pool by the rim as this is the strongest point.
Plumbing
Prior to moving the birth pool into position against the wall the plumbing (taps and
drainage) and electrical services should be installed and in place ready for final connection
to the pool.
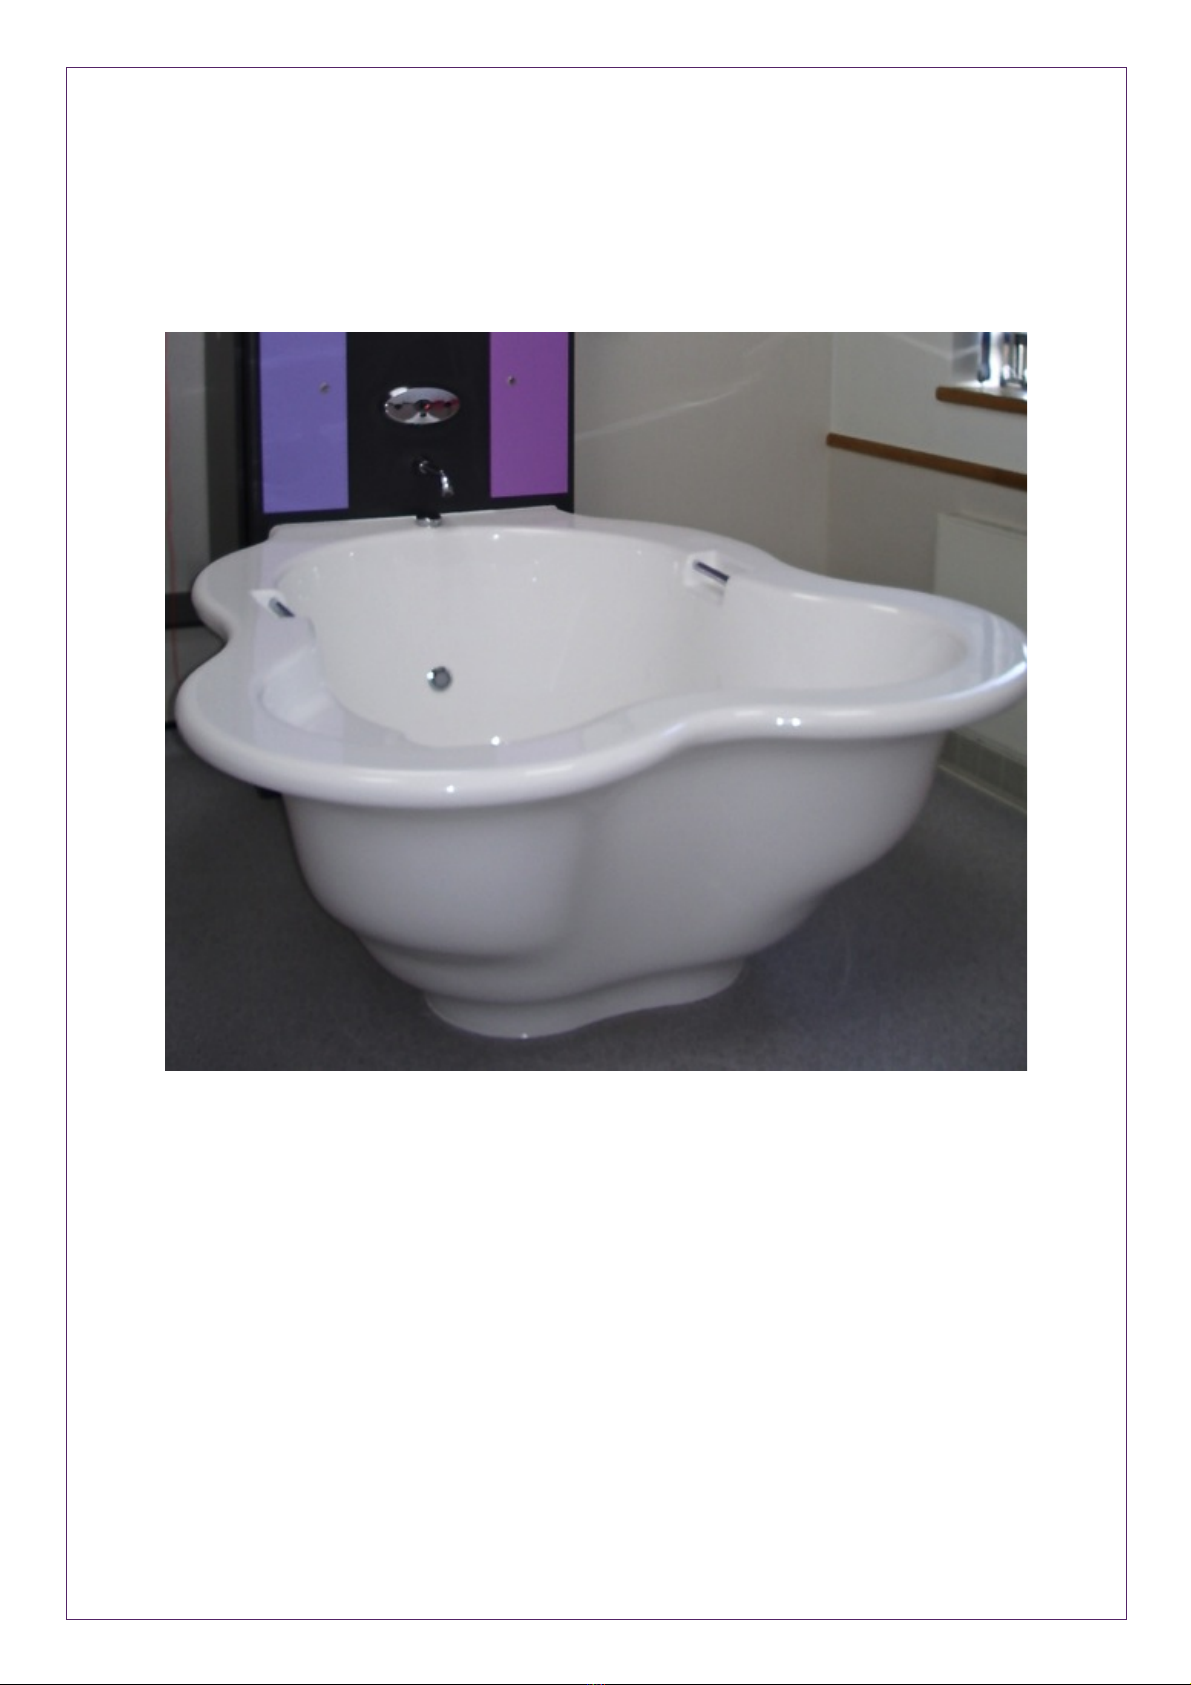
Active Birth Pool fitted to IPS panel with Rada T3 tap
Taps
Fix a 3/4" thermostatically controlled mixer tap with a 180mm spout on an IPS panel 15
cm above the rim of the pool (rim height 75cm).
We suggest that you consider the Rada Sense Bath T3 (or similar) as it is a digital tap
that not only enables you to programme the water temperature but also the fill time.
A filling time of 20 - 25 minutes is acceptable.
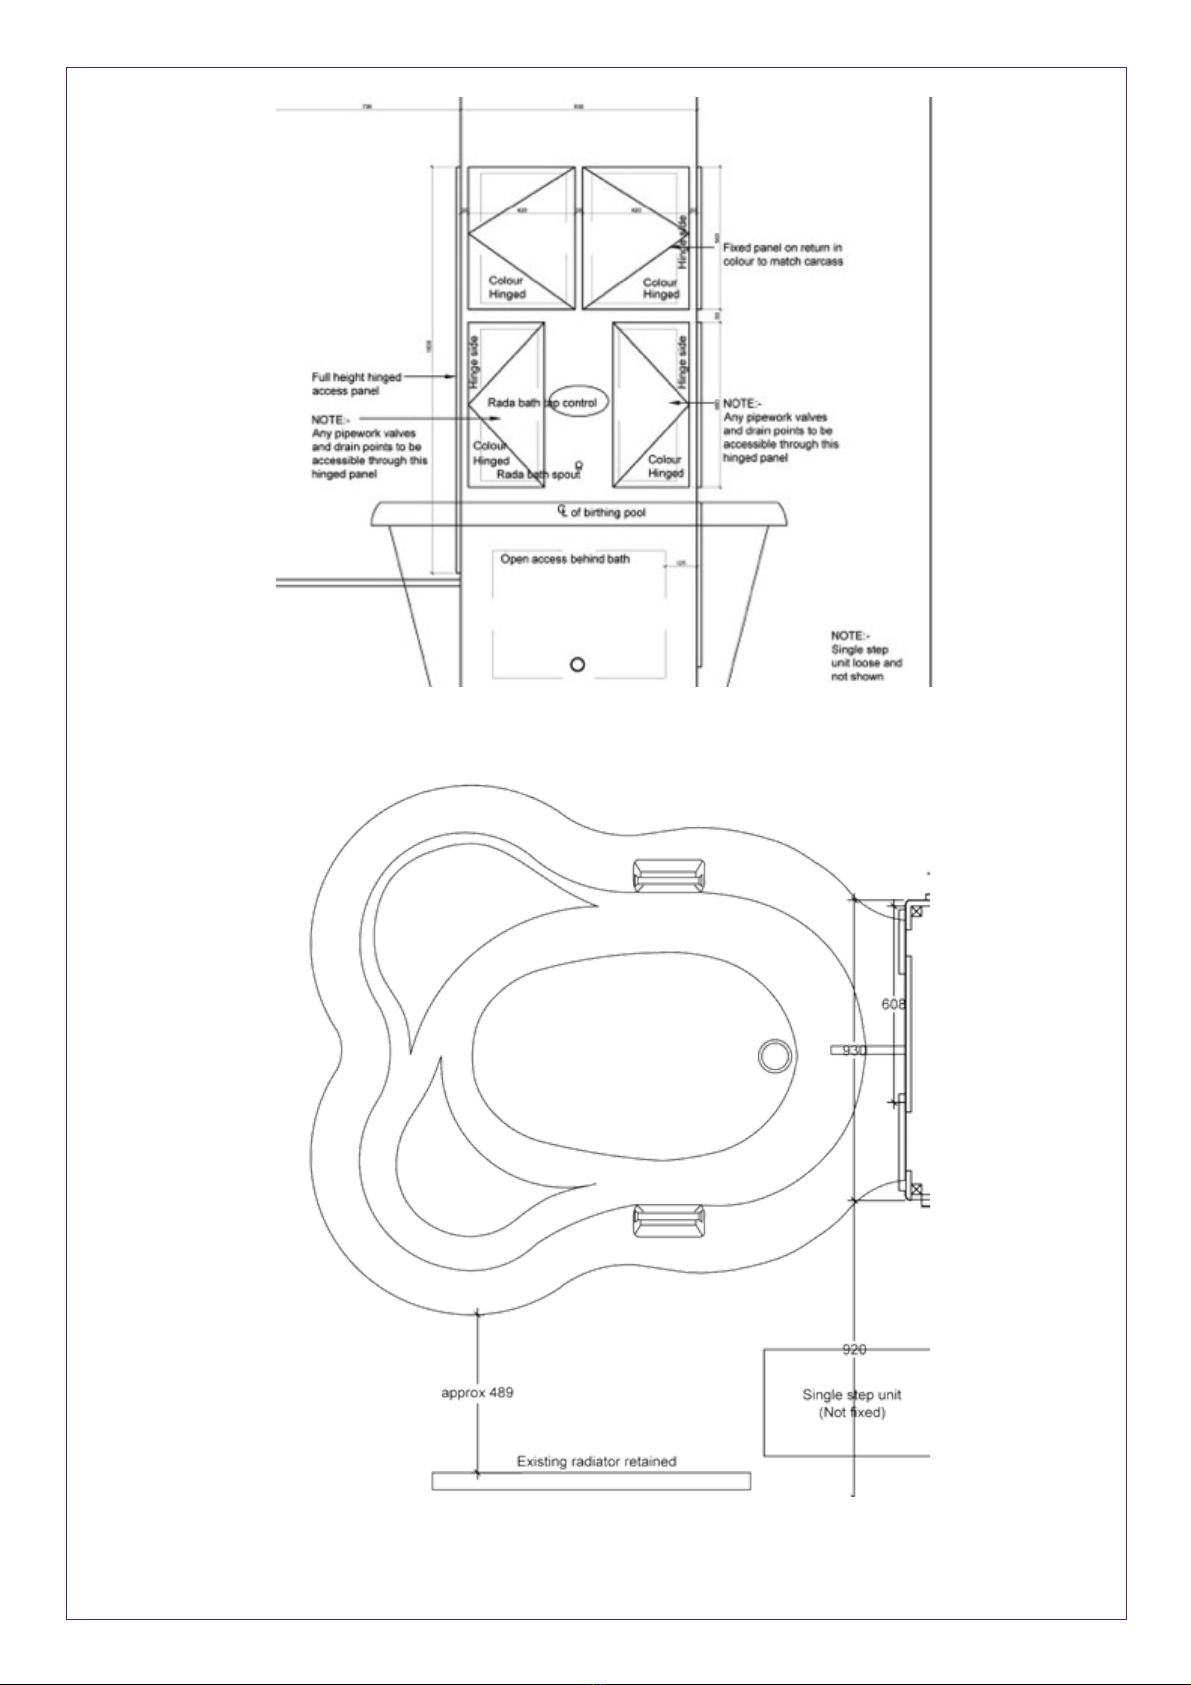
Plans of Active Birth Pool installation as pictured above
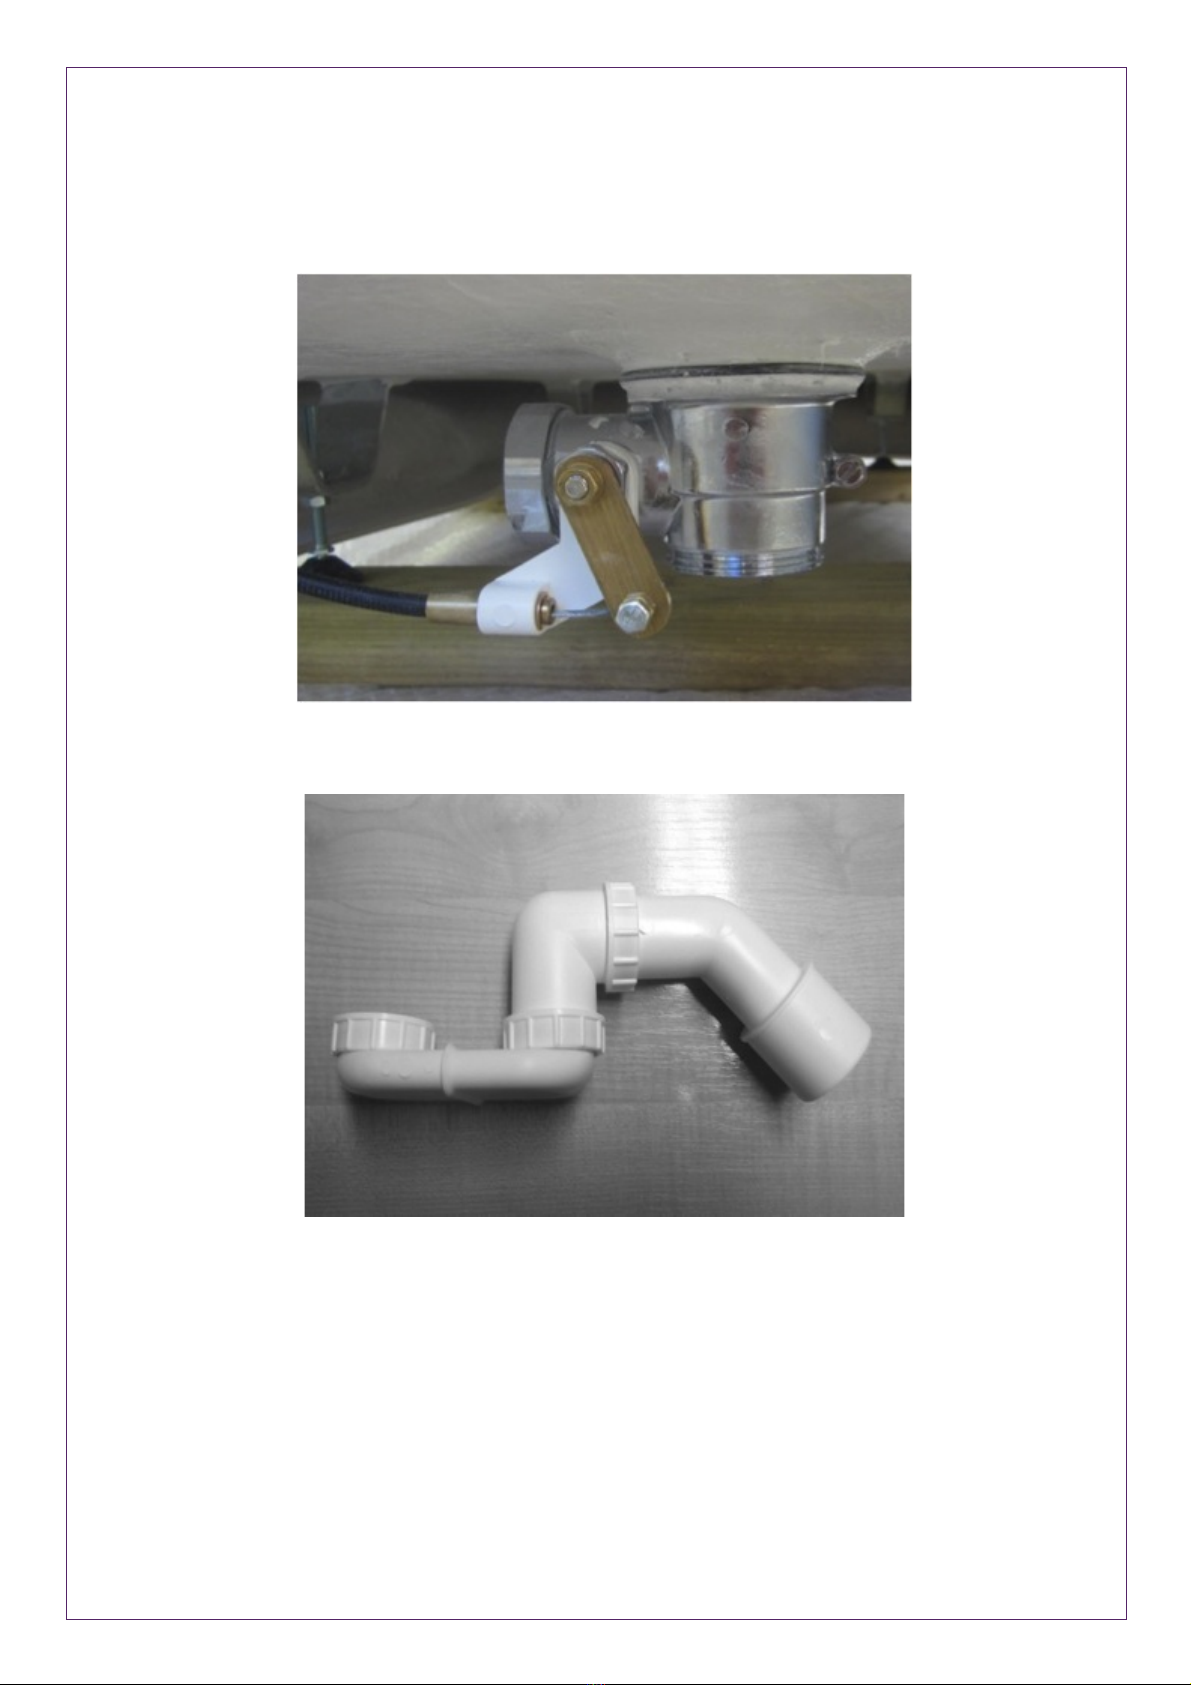
Drainage
The pool is supplied with a bespoke brass 40mm pop up waste that is operated by a
control that is fixed to the rim.
The waste is connected to a P Trap and a McAlpine T25 adaptor
Height from the floor to the centre of the T25 adaptor is 11cm
From the T25 adaptor you can utilise of a wide variety of commonly available parts to
connect to the pipework of the buildings drainage system.
When electrical and plumbing services are in place and ready for the final connection to
the pool’s systems the pool should be moved into position and fixed to the floor.
Final connection of services can be carried out through the access panel when the pool
is secured in place.

Securing the birth pool to the floor
All feet MUST be in solid contact with the floor.
If the floor is not level or smooth be sure to adjust the feet or level the floor so that all of
the feet are in firm contact with the floor and there is no rocking or movement.
The bottom flange of the outer panel should be in contact with the floor but is not the
primary support structure of the pool and must not bear the full weight of the filled birth
pool.
The water birth pool is supplied with 2 x 100 mm x 30 mm fixing brackets to secure it to
the floor.
You’ll find the brackets taped to the pool just inside the access panel that can be opened
with a 10mm Allen Key.
It is essential these brackets are securely fixed to the floor with suitable hardware to
immobilise the pool and prevent it from moving when empty.
Failure to secure the pool to the floor with the fixing brackets
will endanger the end user and VOID the guarantee
Locating and fixing the brackets
Step 1: All Models:
Mark the central position of the water birth pool on the wall that it is being fitted on.
Zinc Plated Fixing Bracket
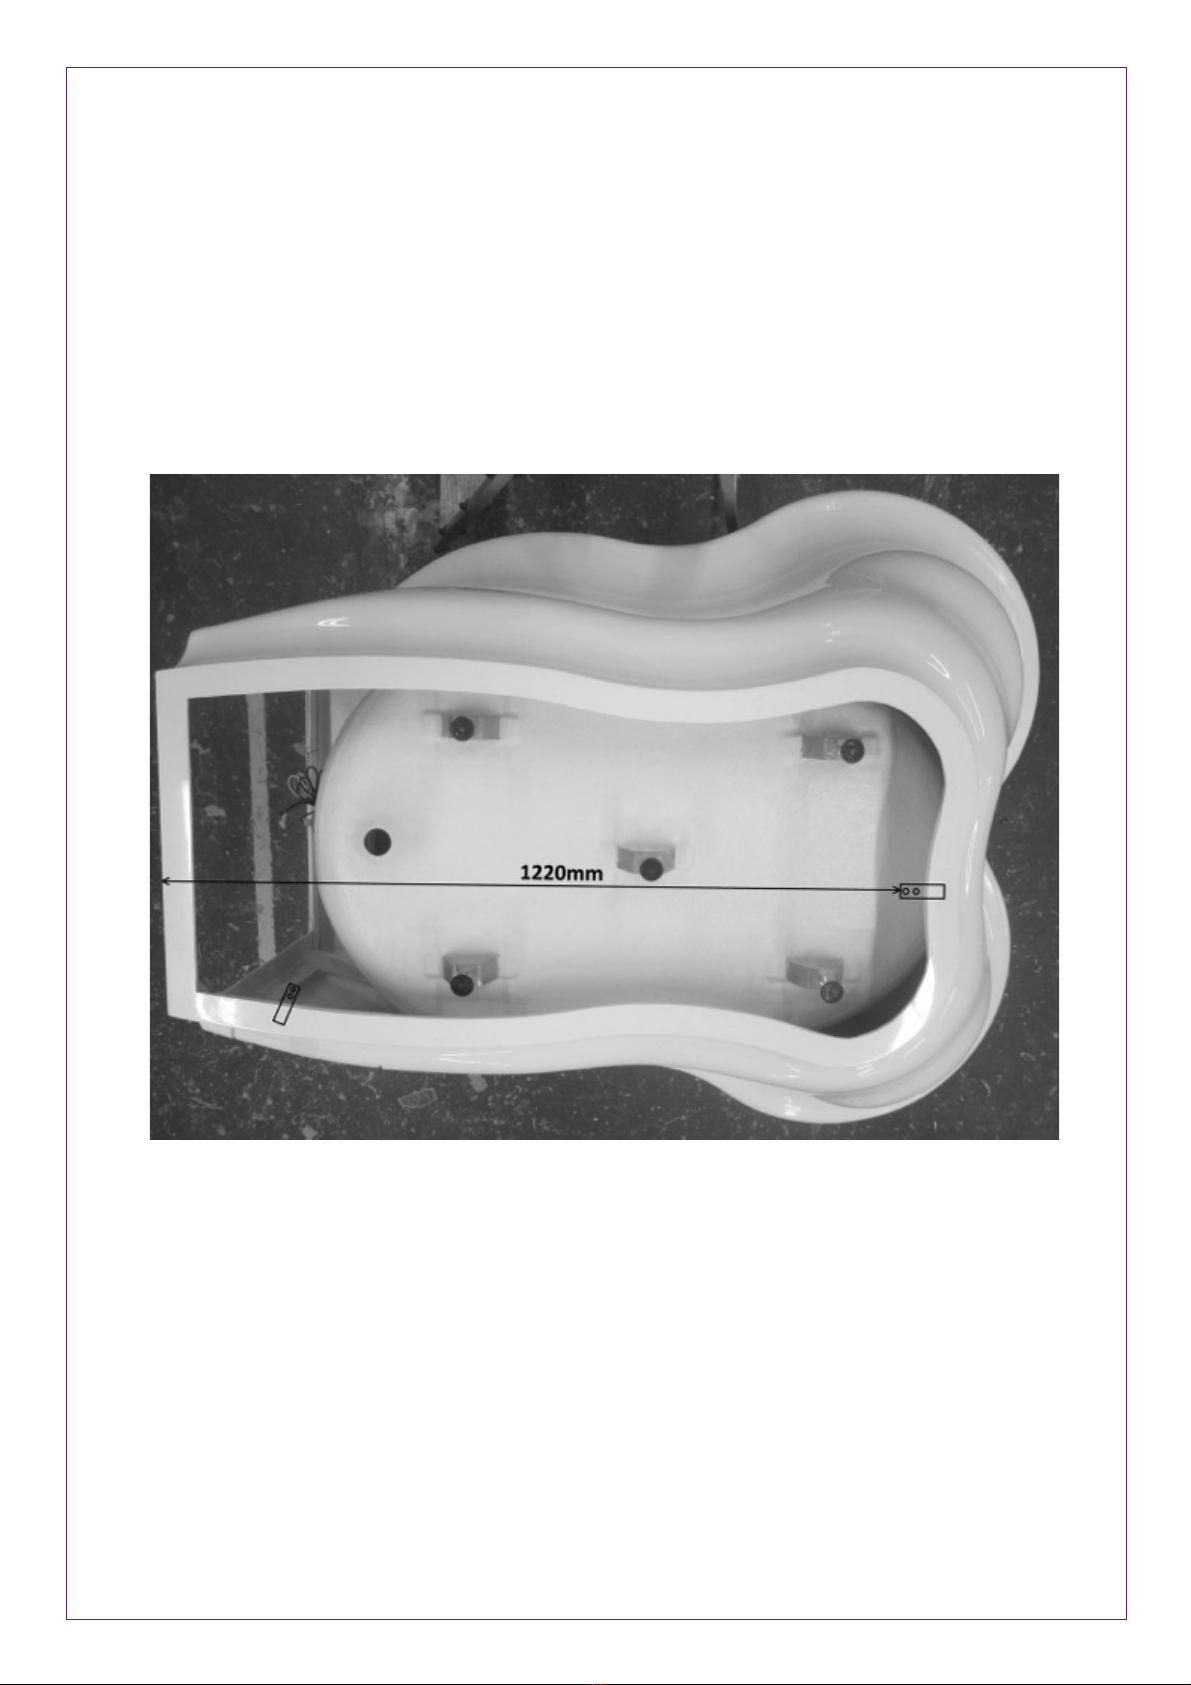
Step 2: Active Birth Pool – front fixing bracket
Measure 1220 mm from the centre point on the wall and mark this as the point to locate
the bracket so that the long flat piece is projecting away from the wall and the raised
short section faces forward into the room.
Fix the bracket to the floor using suitable hardware.
Front bracket right centre – Back bracket lower left

Step 2: Venus Birth Pool – front fixing bracket
Measure 1070 mm from the centre point on the wall and mark this as the point to locate
the bracket so that the long flat piece is projecting away from the wall and raised short
section faces forward into the room.
Fix the bracket to the floor using suitable hardware.
Front bracket right centre – Back bracket lower left

Step 2: Princess Birth Pool Poo l – front fixing bracket
Measure 1020 mm from the centre point on the wall and mark this as the point to locate
the bracket so that the long flat piece is projecting away from the wall and raised short
section faces forward into the room.
Fix the bracket to the floor using suitable hardware.
Front bracket right centre – Back bracket upper left

Step 3: All Models
Place the birth pool at least 60 mm away from the rear wall before moving it onto the
bracket and flush against the wall
Push the birth pool towards the wall so that the flange of the pool slides under the bracket.
This secures the front of the pool to the floor
Step 4: All Models – back fixing bracket
The 2nd fixing bracket should be fixed in position on the bottom flange of the pool below
the access panel as indicated in the images above.
The long flat piece should be fixed to the floor with suitable hardware so that the short
section is holding the flange securely to the floor.
Step 5: All Models
Seal the water birth pool to the floor and wall using a suitable sealant to prevent ingress of
water and dirt.
Lighting and Sound
Remote Operated Multi-Colour LED Lighting System
The system should be protected by a 6 AMP RCD with 30 -32 MA Sensitivity.
The LED is transformed down to 12 volts and has a power rating of 12 watts.
A separate means of Isolation should be provided for future maintenance.
The water level must be above the light fitting before the lighting system is activated.
The system incorporates a sensor to protect it from damage that will turn the light off if
the water level is not at the correct depth.
Connect the light to a circuit breaker, then to the power supply and operate by the
remote control.
1 x Remote control.
1 x Remote control holder.
1 x Infa red sensor.
1 x Chrome casing for above.
1 x Multicolour LED light.
1 x Electronic control box including dry running protection sensor
1 x Connection lead - 2 metres
Operating voltage 220/230 volts - 50/60 hertz
Single Clear Manually Operated LED Light
Connect the factory fitted underwater light to a circuit breaker and then to the power
supply.
A remote switch such as a pull cord should be used to operate the light.
The power is transformed to 12 volts and the LED light is 5 Watts.
The light must be switched off when the pool is empty to prevent overheating.
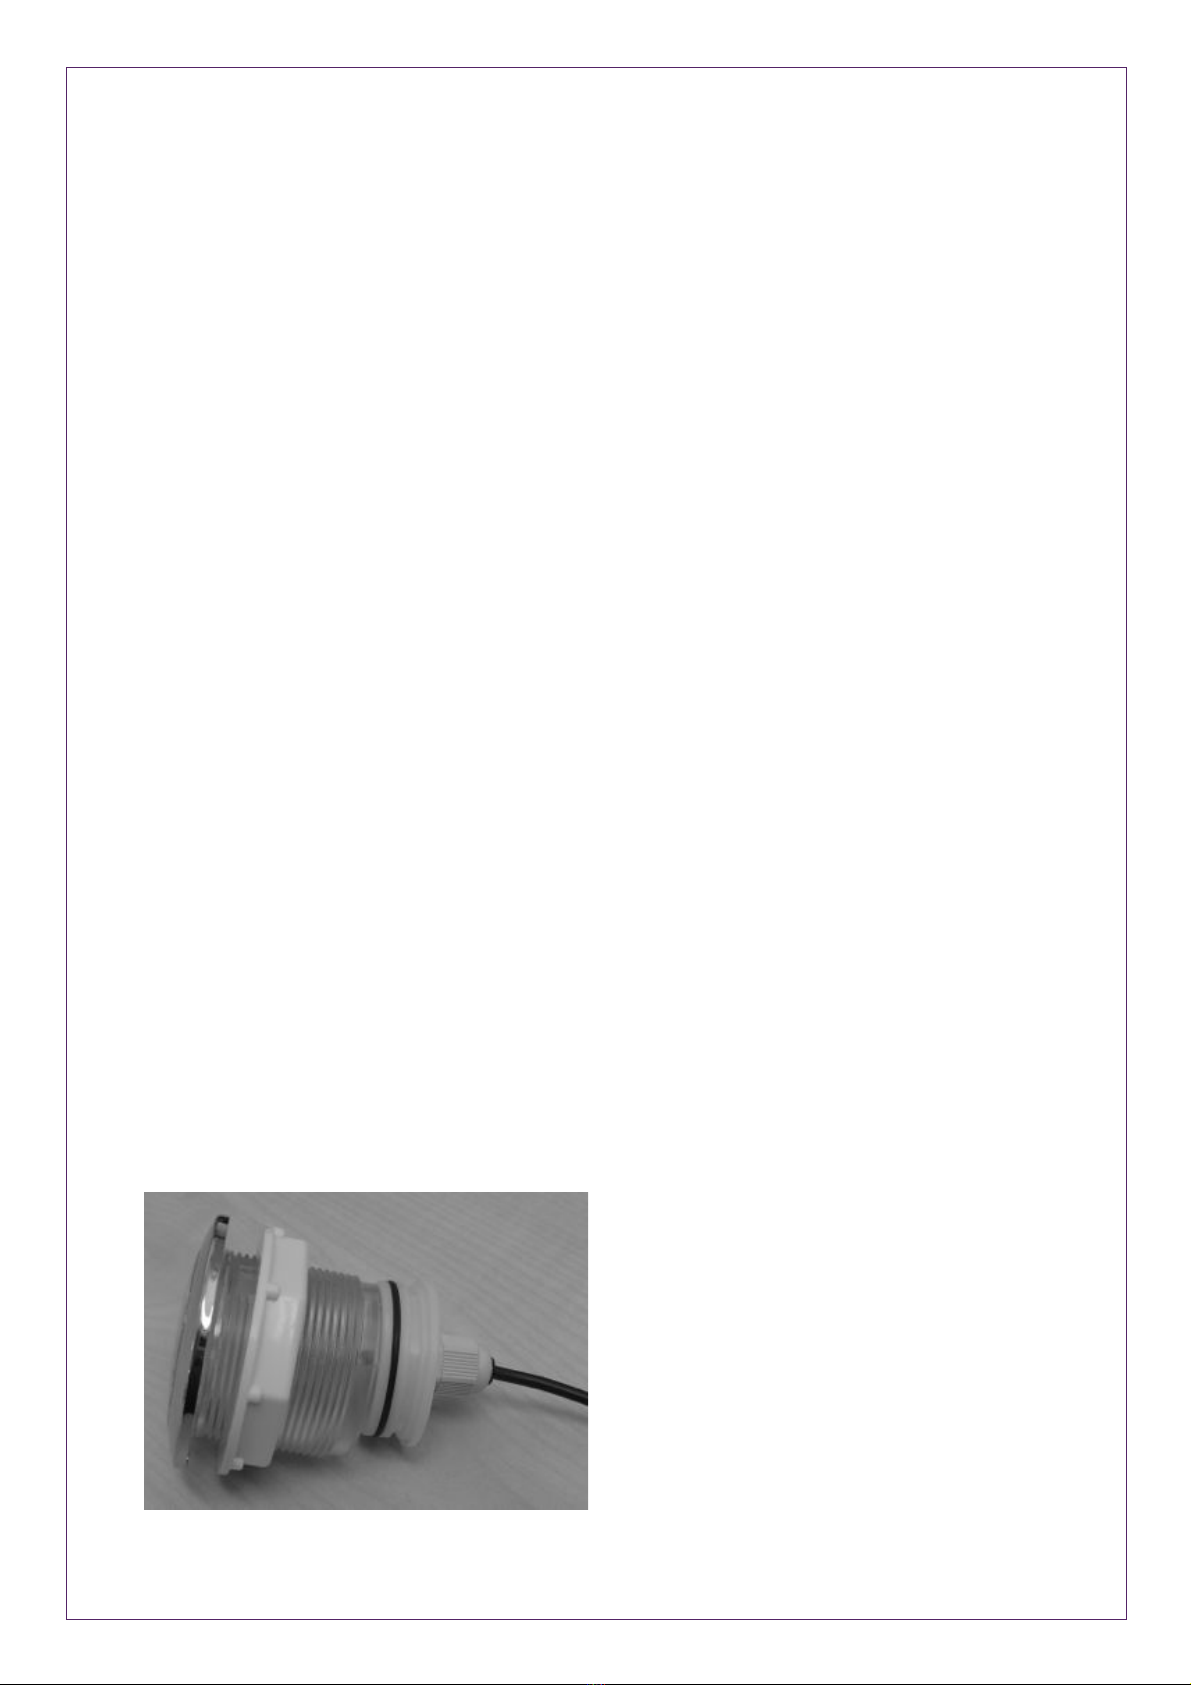
Trouble Shooting LED Lights
The lights are tested at the factory prior to delivery.
Occasionally the fitting becomes loose during shipment and installation preventing the
unit from functioning.
If the light is not operational please follow these instructions:
!
Gently pull O-ring seal from light casing
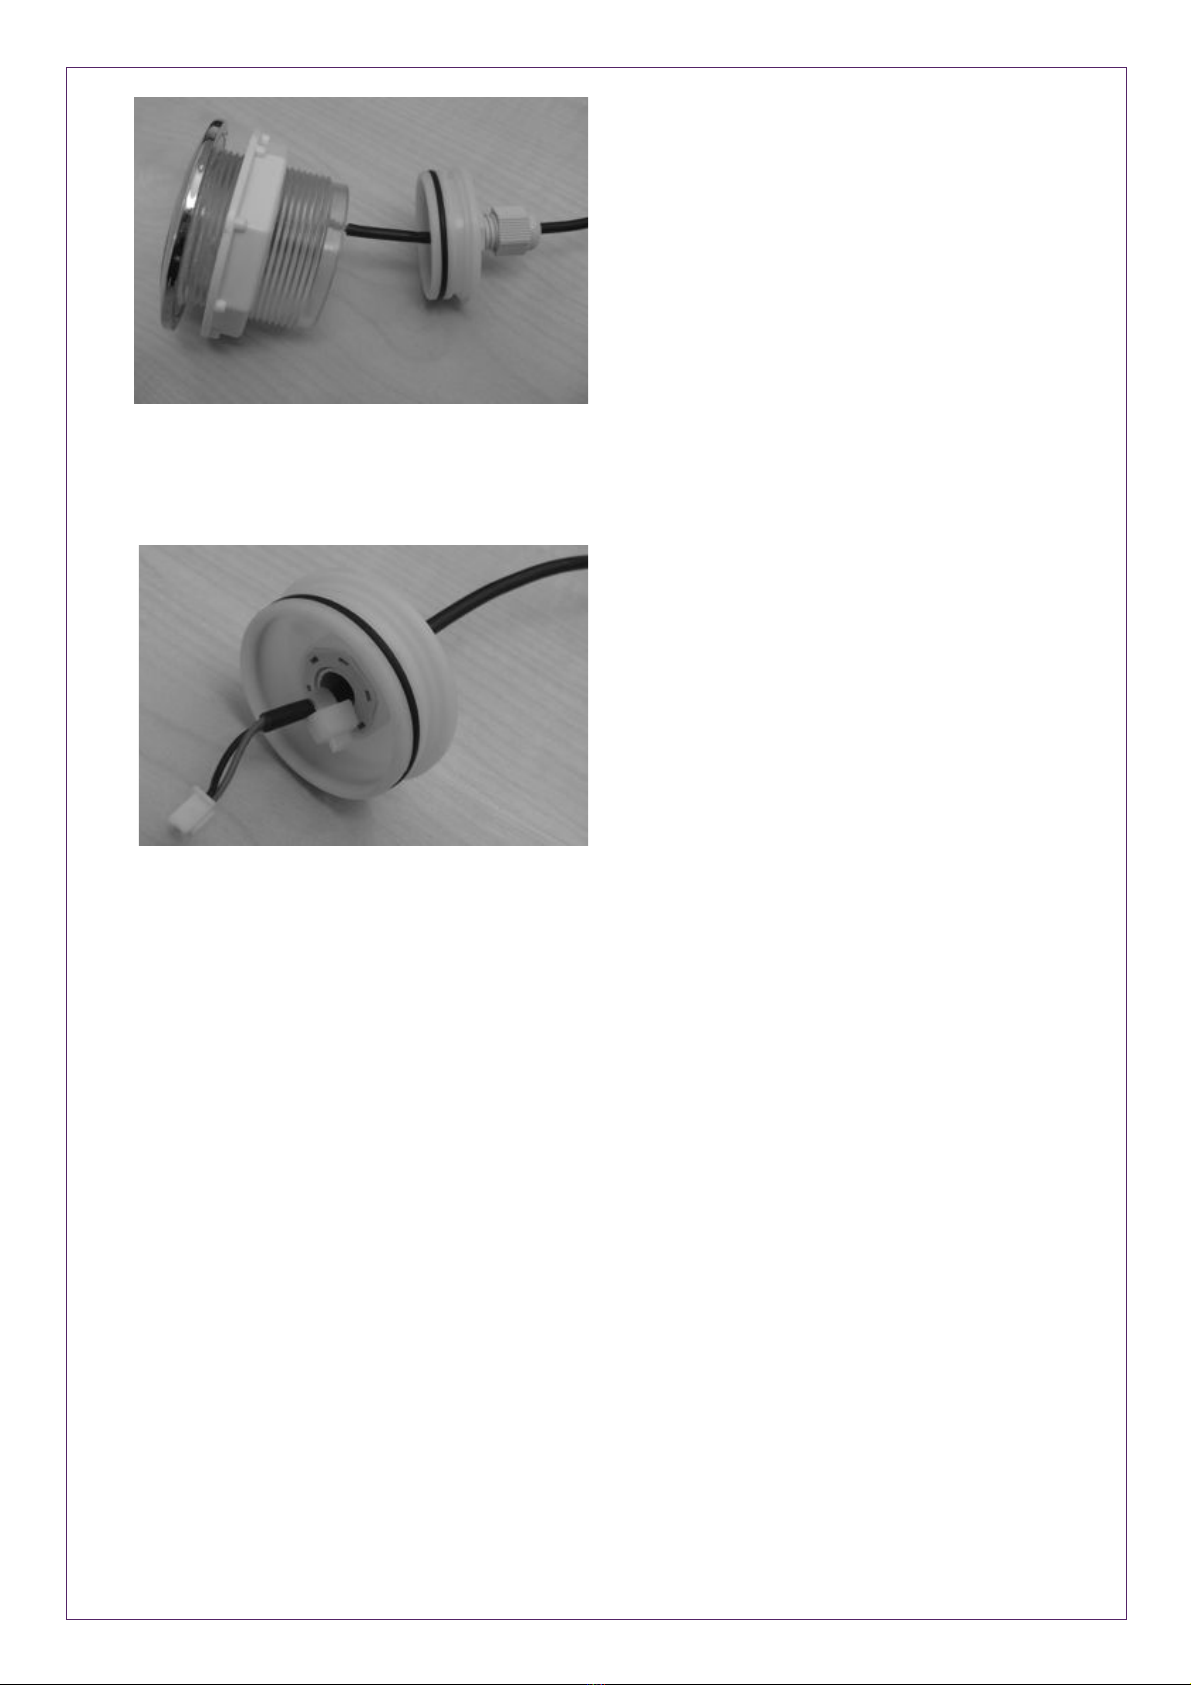
Loosen nut on cable gland and pull
through approximately 1” of cable
Attach cable tie to secure in place,
re-tighten nut and re-connect to light
casing, ensuring to push white
connector back into block
Remote Operated Bluetooth Sound System
Connect the system to a circuit breaker, then to the power supply and operate by the
remote control.
1 x Remote control.
1 x Remote holder.
1 x Infa red sensor.
1 x Chrome casing for above.
1 x Set of two bluetooth speakers
1 x Electronic control box.
1 x Bluetooth sensor.
1 x Chrome casing for above.
1 x Connection lead - 2 metres

Cleaning & Disinfecting
This is a two-step procedure – first cleaning of the pool and surround, then disinfection of the
pool and surround.
1. Prior to emptying the pool remove debris and larger particles from the water with a sieve
to prevent it from blocking or obstructing the outlet.
2. Use the standard infection control precautions (plastic apron, disposable gloves and eye
protection) when cleaning the pool. Ensure the area is well ventilated.
3. Cleaning - use a non-abrasive detergeant with non-abrasive sponge or cloth to
thoroughly clean the pool. Ensure the tap is cleaned first, so as not to transfer micro-
organisms from the “dirty” pool area to the cleaner tap region. Rinse well with warm
water.
4. Disinfecting - use chlorclean or similar hypochlorite disinfectant following the directions
on the packet for mixing the solution to the correct concentration for disinfecting the birth
pool and surround.
5. Apply the solution to the tap and spout prior to disinfecting the pool.
6. There are 3 methods for disinfecting the pool that are commonly used in hospitals:
1) Fill the pool with cold water and add the requisite amount of disinfectant – leave for
ten minutes.
The advantage of this method is that it is 100% effective but wasteful of water, time
consuming and uses a large amount of disinfectant
2) Make up 2-3 litres of solution and pour it around the inside of the rim. Then use a new
disposable mop or cloth to spread the disinfectant over the surface of the pool. Leave for
ten minutes.
The advantage of this method is that it is economic in terms of time and cost but relies
upon the person carrying out the task to ensure that 100% of the pools surface is
disinfected.
3) Fill a spray bottle with disinfectant and thoroughly spray the surface of the pool and
surround. Then use a new disposable mop or cloth to spread the disinfectant over the
surface of the pool.
Leave for ten minutes.
The advantage of this method is that it is economic in terms of time and cost but relies
upon the person carrying out the task to ensure that 100% of the pools surface is
disinfected.

7. Open the drain outlet and empty the pool of the disinfectant.
8. Using cold water, rinse the tap then the pool to remove all traces of the disinfectant, to
prevent any residue being left on the pool surface.
9. Dry the entire surface of the pool using a new cloth or disposable mop head.
10. Keep the drain outlet closed when not in use.
Damage resulting from high water temperatures, steam cleaning
or use of products and equipment not approved by Active Birth Pools
will not be covered by and will void our guarantee
Active Birth Pools Ltd
41 Grasmere Road
London N10 2DH
Tel: +44 (0) 208 444 1411
www.activebirthpools.com
This manual suits for next models
2
Table of contents


