MIC IN with 1kΩof Impedance. You can connect any type of micropho-
ne on it, even Condenser Microphone (this input is equipped with a
Phantom power, always Active).
INSTRUMENT IN with 110kΩof Impedance. You can connect any type
of Instrument on it. This input doesn't exclude the MIC IN (1).
GAIN: this knob permits to regulate the gain of the system (its range is
from -12 to +15dB).
HIGH - MID - LOW: 3 band EQ with a dynamic from -15dB to +15dB.
EFF: channel Effect Level. The system is equipped with a multi-effect. For
detail see points (14) and (15).
VOLUME: channel Volume
AUX VOL: AUX IN (20) Inputs Volume.
MASTER VOL: Master Volume of the system.
EFF RTN: Return of the Effect of the system. When you close totally this
knob (in the 0 position) you close the effect volume on all channels.
CH1 - COMPRESSOR ON/OFF SWITCH: the channel 1 is equipped with
a compressor. This switch is for turning ON/OFF the compressor. When
the compressor is ON its relative LED is ON.
CH1 - COMPRESSOR THRESHOLD: with this knob you can regulate the
Ch1 Compressor Threshold if Ch1 Compressor ON/OFF is on ON position
(Compressor LED ON).
CH1 - COMPRESSOR RATIO: with this knob you can regulate the Ch1
Compressor Ratio if Ch1 Compressor ON/OFF is on ON position
(Compressor LED ON).
CH1 - STYLES SWITCH: with this switch is possible to change the
channel 1 equalization and the 3 bands EQ center frequency. You have 3
position: FLAT is the standard equalization (channels 2 and 3 have only
this type of equalization). BASS is designed for instruments that operate
in bass frequency range (like Bass Guitar and Double Bass). JAZZ is for
Electrinc Guitar and Jazz Guitar.
EFFECT SECTION SWITCH: with this switch is possible to select one of
the 4 effect of the system. Effect are Short Reverb (REV 1), Long Reverb
(REV 2), Chorus (CHR) and Delay (DEL)
EFFECT SECTION EFF LENGTH: with this knob is possible to change the
peculiarity of the selected effect. For both reverb this knob regulates the
Reverb Length. For Chorus this knob regulates the Chorus Rate. For Delay
this knob regulates the Delay Time.
POWER: LED for indicating if the system is ON (Led ON) or OFF
BATTERY STATUS: LED for indicating the External Battery Status.
-10dB: pushing this switch will reduce the DIRECT OUT (19) signal level
of 10dB. This attenuation condition is indicated with a LED.
DIREC OUT: balanced output for connecting the system with an External
System.
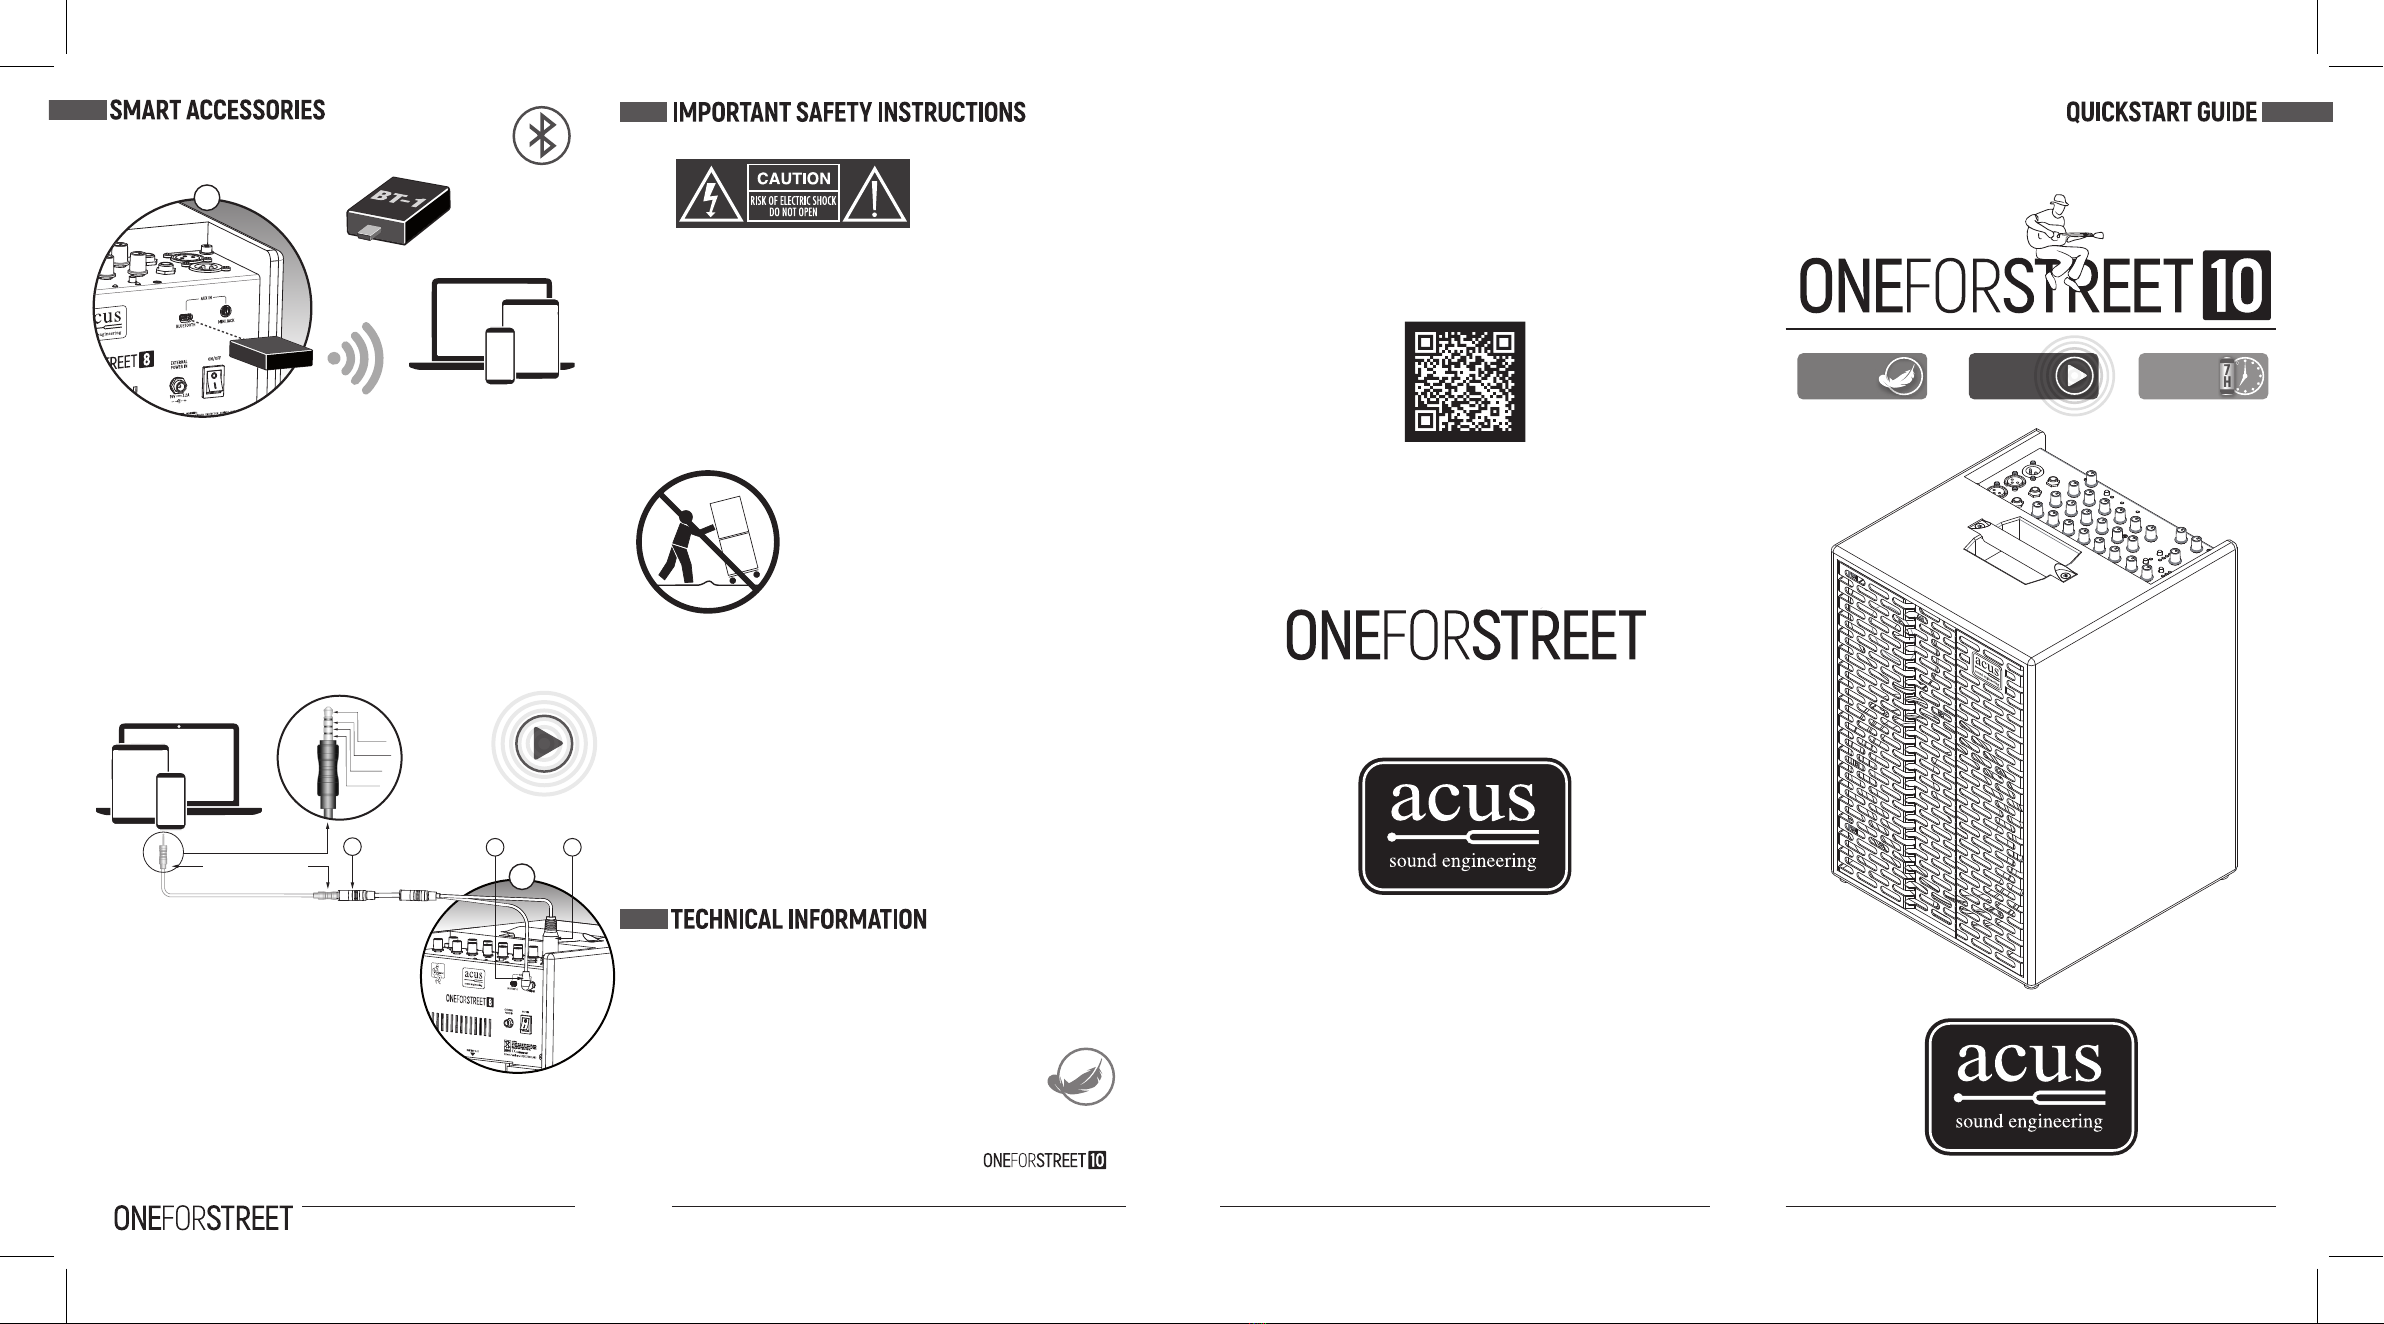
AUX IN: section with 2 Inputs: a 3.5mm Jack and a mini-USB for Acus
Artesia BT-1 device. Both inputs are controlled with AUX VOL (7) knob.
EXTERNAL POWER IN: connector for the External Power Supply (Included)
ON/OFF: Power Switch for Turning-ON / OFF the system.
18V BATTERY SLOTS: slot connection for powering the system with the
external battery (not included).
7
H
1.
2.
3.
4.
5.
6.
7.
8.
9.
10.
11.
12.
13.
14.
15.
16.
17.
18.
19.
20.
21.
22.
23.
AB
is not equipped with an inner power supply system.
Is possible to power it with 2 types of source:
1. Battery (not included): insert the battery in the dedicated sled
2. External Power Supply (included): connect the power supply to the relative
connector.
COMPATIBILITY:
ACUS Sound Engineering SRL suggest the use of MAKITA 18V- 3 or 5 Ah.
BATTERY POWERING:
The system has 4 operative status:
1. Battery Full: Battery Status LED (17) is OFF
2. Slightly Discharged Battery Status: Battery Status LED (17)starts to flash.
In this status the LED ON Time is about 1/3 of LED Time OFF.
3. Very Low Battery Status: Battery Status LED (17) ON Time is the same of
Time ON.
4. Completely Discharged Battery Status: Battery Status LED (17) if always
ON and the system stops to work. In this status is necessary to replace the
battery with another one full.
WARNING:
1. Is important to recharge the battery as soon as possible.
2. Avoiding to let the ON/OFF Switch (22) when the system is not used
because the system continue to absorb energy.
3. Avoid to let a totally discharged battery inserted because the system
adsorbs a very little quantity of energy even with the ON/OFF Switch in the
OFF position, and this fact (for a long time) will put the battery in a very low
discharged status, reducing the battery life.
EXTERNAL POWER SUPPLY POWERING.
The system works always in "Battery Full" status, so Battery Status
LED (17) is always OFF.
WARNING:
Is no possible to recharge a battery with the amplifier power supply.