REMOVE BROKEN DRIVE SHAFT INSTALL NEW DRIVE SHAFT Side 2 of 2
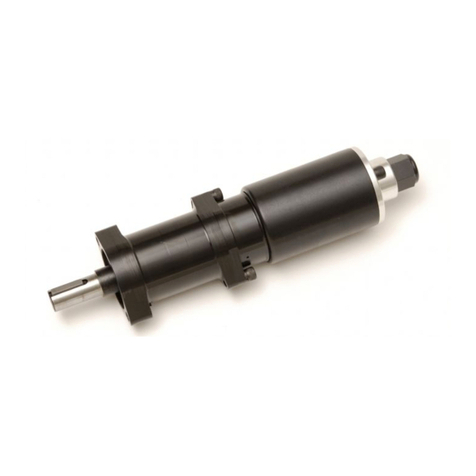
1. Example of broken Drive Shaft stub protruding from Gearmotor. Install new Drive Shaft by pushing only in direction shown.
2. Turnover. Push gear-end of Drive Shaft only in direction shown. Push thru Gearmotor hub until gear-end protrudes fully.
CAUTION: Force needed. Protect hands, housing and motor.
REPLACE FRONT COVER ASSEMBLY
VERY IMPORTANT – MODEL 80 DRAPERY MOTOR ONLY – TO PREVENT DAMAGE:
1. BEFORE installing motor, OPEN drapery HALFWAY.
2. IF EVER drapery does not close properly, make BOTH adjustments below soon as possible:
A. ADJUST motor to STOP as soon as drapery is fully closed, and also …
B. ADJUST motor to STOP 4 inches or more BEFORE FULL OPEN.
3. ALWAYS, ALWAYS, ALWAYS keep motor adjusted to STOP 4 inches or more BEFORE FULL OPEN.
REMOVE BROKEN DRIVE SHAFT INSTALL NEW DRIVE SHAFT Side 2 of 2
1. Example of broken Drive Shaft stub protruding from Gearmotor. Install new Drive Shaft by pushing only in direction shown.
2. Turnover. Push gear-end of Drive Shaft only in direction shown. Push thru Gearmotor hub until gear-end protrudes fully.
CAUTION: Force needed. Protect hands, housing and motor.
REPLACE FRONT COVER ASSEMBLY
VERY IMPORTANT – MODEL 80 DRAPERY MOTOR ONLY – TO PREVENT DAMAGE:
1. BEFORE installing motor, OPEN drapery HALFWAY.
2. IF EVER drapery does not close properly, make BOTH adjustments below soon as possible:
A. ADJUST motor to STOP as soon as drapery is fully closed, and also ...
B. ADJUST motor to STOP 4 inches or more BEFORE FULL OPEN.
3. ALWAYS, ALWAYS, ALWAYS keep motor adjusted to STOP 4 inches or more BEFORE FULL OPEN.
Front Cover Assembly interior showing 2-sided
black Control Gear mounted on white post
(small gear must face down).
Also shown is Stop Switch and 3 terminals.
Connect Green wire to left terminal, White to
center, and Yellow to right terminal.


