Adexa E8 User manual

Instruction Manual
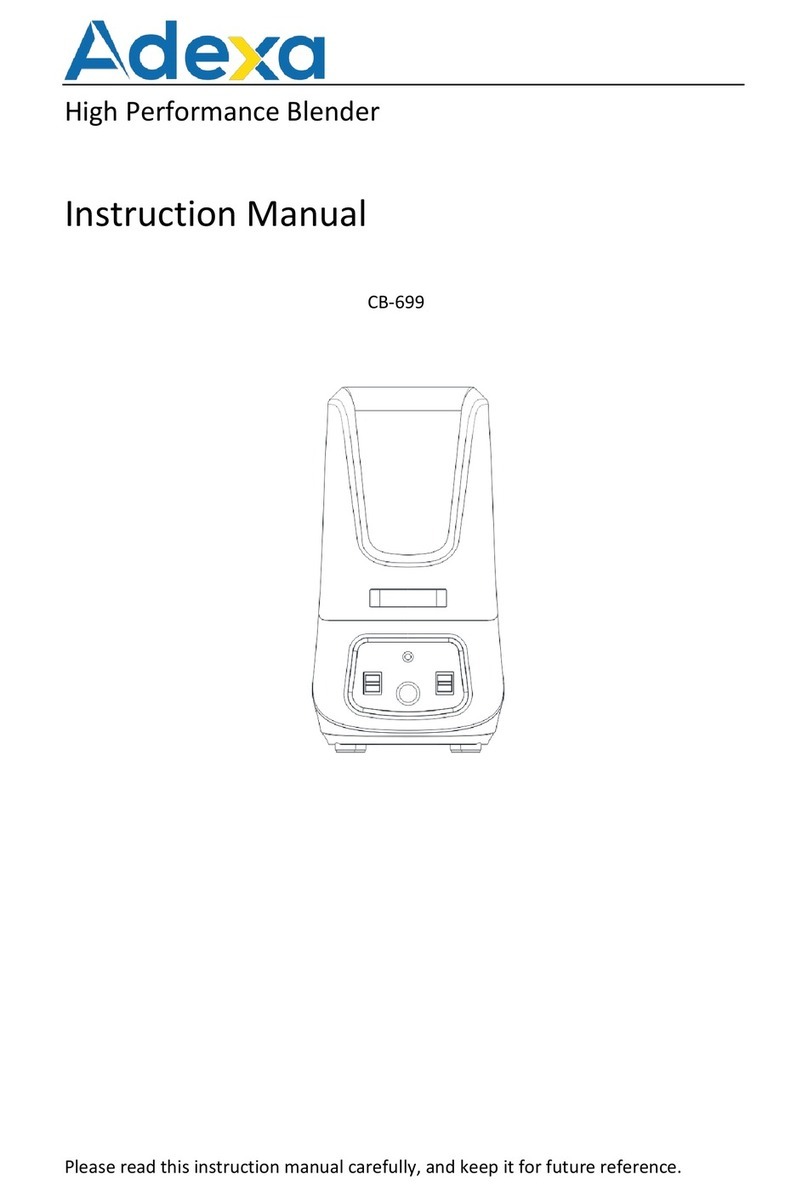
High Performance Commercial Blender
Thank you for choosing our product.
Please read this instruction manual carefully before using, and keep it for future reference.

1. Product structure
Upper Sound Enclosure
Lower Sound Enclosure
Lid
Mixing Jar
Blade
Centering Pad
Driving Socket
Control Panel
Power Cord
Handle
Lid Plug
2.CAUTION:
2.1.Please check whether machine has damage during transportation.
2.2.Check the parts, and leave aside for backup.
-Instruaction Manual x1
-Blender x1
Upper and Lower Sound enclosure, Lids, Mixing Jar ( including blade
assembly, retainer nut), Blender Base
2.3.The appliance should be placed at a level, steady position, do not lean
the machine.Also, do not put in shaking position or near flammable
objects
2.4.Do not have the appliance in contact with direct sunlight or rain.
2.5.In order to protect human safety, the plug should have a ground
connection to protect electricity leaking or electric shock.
2.6.Plug should plug in a ground connection socket, do not plug in a
temporary socket.
2.7.When fill in food ingredients, do not exceed the MAX marking (1.2L)
on the Jar.
3.SAFETY INSTRUCTIONS
3.1.Please read all instructions and operating procedures.
3.2.Make sure the power is 220V-240V
3.3.This appliance is not intended for use by persons (including children)
with reduced physical, sensory or mental capabilities, or lack of
experience and knowledge, unless they have been given supervision or
instruction concerning use of the appliance by a person responsible for
their safety.
3.4.DO NOT allow children to play with or use this appliance. Keep them
at a safe distance from the appliance while operating to prevent any
contact leading to an accident with the machine.
3.5.Please be well noted that for safety reason, the appliance won't work
without the Sound enclosure to be closed at position.
3.6.Do not put any metal items like knives, forks, spoons, etc. into the
JAR.
3.7.Do not let the appliance dry-blending(run without any liquid inside
the JAR) for more than 90 seconds, since dry-blending create extremely
high temperature in a short time, may cause damage to the lubrication
system of the appliance.
If necessary, you can work on dry blending for one minutes, stop for 1
minutes; then apply dry blending again.
3.8.In case the blade looses or broken, please stop operation the blender.
Then contact with distributor or factory technician.
1 2

3.9.When cleaning or disassemble the parts, please remember to turn
off power and unplug the appliance.
3.10.Do not wash the Blender base with water or soak it into the water
to prevent electricity shock.
3.11.Do not immerse the JAR into water or put inside a dishwashing
machine, it will cause rust on the bottom of the blades assembly, then
cause damage to the appliance gradually.
3.12.Do not clean the blades with naked hands they are very sharp.
Instead, use a Brush or a thick cloth for cleaning.
3.13.When over-loading (cases like too thick food material inside the
JAR), the overload protection-switch inside the appliance will shut
off the power automatically.
Please reduce some quantity of the foods inside the JAR, use a fan or
hair dryer (cool wind) to blow toward the machine base for some
while, turn on the machine once again.
3.14.When machine is malfunction, make sure to pull off the power
plug and wait for the motor cool down before checking any faults.
3.15.In case of power cord damage, the replacement must be carried
on only by a professional stuff from manufacturing factory or relevant
maintenance center.
4.CONTROL PANEL
4.1. Switch on / off the appliance
4.2. Pulse: Touch on it to enable appliance to work at maximum
speed, release it to stop.
4.4. Program A, press on this button to work on small cup of juice,
drinks – around 500ML. It starts at speed 2 for 5 seconds, transit to speed
H for 40 seconds until finish.
4.5. Program B, press on this button to work on big cup of juice,
drinks –around 1000ML. It starts at speed 2 for 5 seconds, transit to speed
H for 70 seconds until finish.
3
4.3 Start/pause button: After choose one of the program button,
choose this one to start blending job; or press it to pause the blending job.
4

4.6. Program C, press on this button to work on small cup of
smoothie , It starts at speed 2 for 5 seconds, transit to speed 5 for 10
seconds, then transit to work at speed H for 20 seconds until finish.
4.7. Program D, press on this button to work on big cup of
smoothie. It starts at speed 2 for 10 seconds, transit to speed 5 for 10
seconds, then transit to work at speed H for 40 seconds until finish.
4.8. Program E, press on this button to work on Puree. It starts
speed 3 for15 seconds, transit to speed H for 165 seconds until finish.
4.9. Program F, choose this button to work on hot soup. It starts at
at speed 4 for 15 seconds, transit to speed 6 for 30 seconds, then transit
to work at speed H for 15seconds until finish.
5.Do it yourself – set your own programs(DIY)
5.1. Smart Constant Speed mode
At standby status, press on “ ” button, it goes into Constant speed
mode. Press button of Time and Speed to adjust appliance's
working speed and time.
Press to start blending job, appliance will work on your set mixing
speed and time until finish automatically. During which, you can always
adjust mixing speed and time.
Default initial mixing time is 3 minutes, mixing speed 0.1.2.3…H are
available for choice.
5.2. Smart DIY mode
You can set your own programs to get customized creations.
5.2.1. At standby status, press both ' ' button and one of the (A, B, C,
D, E, F) button you intent to set, until a sound of buzz “Di”.
6
Tips: You can always stop the blending job or extend the mixing
time to get the smooth ingredients as you like.
7
5

5.2.5. For instances, if you want to set below 6 programs by yourselves.
Program Step
01
Step
02
Step
03
Step
04
Step
05
Step
06
Step
07
Step
08
Step
09
Step
10
Speed
1/10S
Speed
2/3S
Speed
5/5S
Speed
1/18S
Speed
2/3S
Speed
7/5S
Speed
1/15S
Speed
2/3S
Speed
1/14S
Speed
1/26S
Speed
2/3S
Speed
1/15S
Speed
4/15S
Speed
6/30S
Speed
H/15S
Speed
3/10S
Speed
H/165S
Speed
2/3S
Speed
7/3S
Speed
2/3S
Speed
9/3S
0 0 0 0 0 0 0
0 0 0 0 0 0 0
0 0 0 0 0
0 0 0 0 0
0 0 0 0 0 0 0
0 0 0 0 0 0 00
5.2.6.Then,
setting: At standby status, press on both ' ' button and
button, until you hear the sound of buzz 'Di'.
Now we can start setting of Step 01: press on Speed button to
choose speed 1, on Time button to choose 10 seconds, press ' '
button it saves step 01 settings and goes to step 02 setting automatically.
Press shortly on ' ' button to finish setting, press on button it
shows in the display screen “Sec: 018”, means this program is set
Press to choose speed 2 and time as 3seconds, press on ' ' button it
goes to step 03 setting automatically.
Press to choose speed 5 and time as 5 seconds, press on ' ' button it
goes to step 04 setting automatically.
Press to choose speed as 0, time as 0.
successfully.
5.2.7. setting: At standby status, press on both ' ' button and
button, until you hear the sound of buzz 'Di'.
Now we can start setting of Step 01: press on Speed button to
choose speed 1, on Time button to choose 18 seconds, press ' '
button it saves step 01 settings and goes to step 02 setting automatically.
Press shortly on ' ' button to finish setting, press on button it
shows in the display screen “Sec: 026”, means this program is set
Press to choose speed 2 and time as 3seconds, press on ' ' button it
goes to step 03 setting automatically.
Press to choose speed 7 and time as 5 seconds, press on ' ' button it
goes to step 04 setting automatically.
Press to choose speed as 0, time as 0.
successfully.
8
5.2.2. Then press Time and Speed to adjust the intended
mixing time and speed.
Press button to save your settings.
It goes automatically to setting for next step
5.2.3. You can repeat on 5.2.2 instructions for setting maximum 10 steps
as a program.
5.2.4. After finishing settings, press shortly on ' ' button, appliance
save all steps you set and quit DIY mode – it will work as these set
working steps always until you re-set the program.
5.2.8. setting: At standby status, press on both ' ' button and
button, until you hear the sound of buzz 'Di'.
Now we can start setting of Step 01: press on Speed button to
choose speed 1, on Time button to choose 15 seconds, press ' '
button it saves step 01 settings and goes to step 02 setting automatically.
Press to choose speed 2 and time as 3seconds, press on ' ' button it
goes to step 03 setting automatically.
Press to choose speed 1 and time as 14 seconds, press on ' ' button it
goes to step 04 setting automatically.
Press to choose speed 2 and time as 3 seconds, press on ' ' button it
goes to step 05 setting automatically.
7

9 10
5.2.9. setting: At standby status, press on both ' ' button and
button, until you hear the sound of buzz 'Di'.
Now we can start setting of Step 01: press on Speed button to
choose speed 1, on Time button to choose 26 seconds, press ' '
button it saves step 01 settings and goes to step 02 setting automatically.
Press to choose speed 2 and time as 3seconds, press on ' ' button it
goes to step 03 setting automatically.
Press to choose speed 1 and time as 15 seconds, press on ' ' button it
goes to step 04 setting automatically.
Press to choose speed 2 and time as 3 seconds, press on ' ' button it
goes to step 05 setting automatically.
Press to choose speed 9 and time as 3 seconds, press on ' ' button it
goes to step 06 setting automatically.
Press to choose speed 0 and time as 0 seconds, then press shortly on
' ' button to finish setting, press on button, it shows in the
display screen “Sec: 050”, means this program is set successfully.
5.2.10. setting: At standby status, press on both ' ' button and
button, until you hear the sound of buzz 'Di'.
Now we can start setting of Step 01, press on Speed button to
choose speed 1, on Time button to choose 40 seconds, press ' '
button it saves step 01 settings and goes to step 02 setting automatically.
Press to choose speed 2 and time as 10 seconds, press on ' ' button it
goes to step 03 setting automatically.
Press to choose speed 7 and time as 10 seconds, press on ' ' button to
go for step 04 setting automatically.
Press to choose speed 0 and time as 0 seconds for step 04. Press shortly
' ' button to finish settings then press on button, it shows in the
display screen“Sec: 060”, means this program is set successfully.
5.2.11. setting: At standby status, press on both ' ' button and
button, until you hear the sound of buzz 'Di'.
Now we can start setting of Step 01, press on Speed button to
choose speed 3, on Time button to choose 15 seconds, press ' '
button it saves step 01 settings and goes to step 02 setting automatically.
Press to choose speed H and time as 165 seconds, press on ' ' button it
goes to step 03 setting automatically.
Press to choose speed 0 and time as 0 seconds for step 04.
Press shortly ' ' button to finish settings then press on button, it
shows in the display screen “Sec: 180”, means this program is set
successfully.
Tips: Data listed in the above tables are available for instances, you
can set the appropriate mixing speed and time at your will.
5.3. Cancellation of the Smart DIY programs
For instance, press on both button and button, it deletes what
you set and goes back to factory setting.
Press to choose speed 7 and time as 3 seconds, press on ' ' button it
goes to step 06 setting automatically.
Press to choose speed 0 and time as 0 seconds, then press shortly on ' '
button to finish setting, press on button, it shows in the display screen
“Sec: 038”, means this program is set successfully.
Table of contents
Other Adexa Blender manuals
