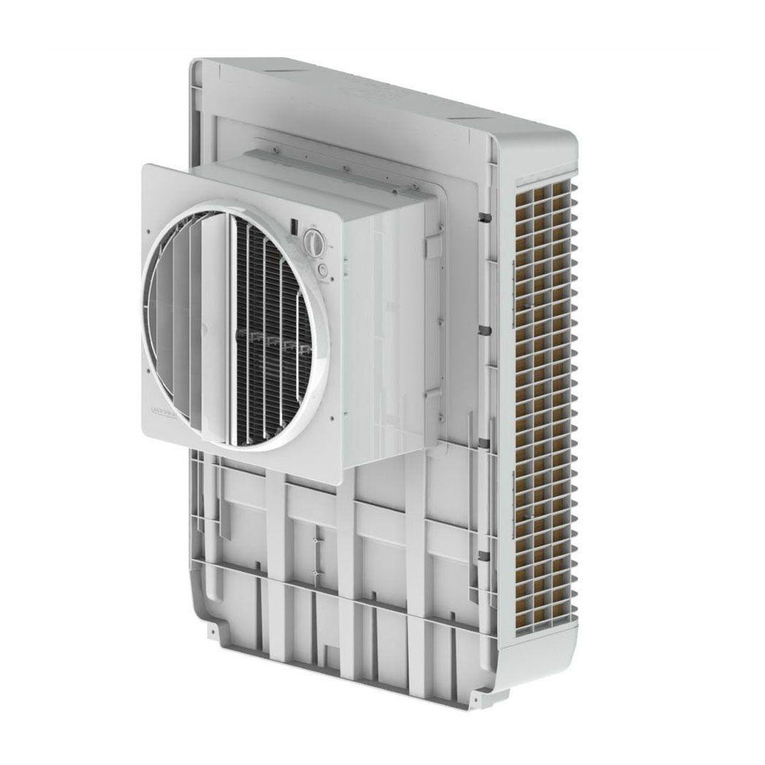
AdobeAir RW3000 User manual

:_, eplacement
B;: by )permion or
c. Tn__y d_ _ €o_r_ otc_ ms. _lar p_s amd_po_ _ernB_ th_ _e _<_ d_nds onIc_l cond_ons.
D. This warraaty does not cover the cost of aservice call at the site of installation to diagnose cause of trouble, the cost of labor to install the part, or mileage
allowance to or from the site. AdobeAir dOeS not pay fm_ghVpo_ege on any exchange.
E. This warranty does not cover evaporative coolers installed and operated outside the COntinental United States.
IV. Do not use cooler cleaners, cool_ treatmentS, or o_r addiUves in this evaporatlve cooler. The use of any of these products will void your warrmlty and
may impair the life of your cooler.
To obtain service under this warrardy, contact the dealer where you purchased your cooler. As a final step, if you cannot locate your dealer, contact Customer
Se_ice, Adot_A_, _c., 5GO So_h 15th St_ot, phoenix, Arizona 85034.
This warranty is the only warranty extended by AdobeAir to suppliers and/or purchasers of this evaporative cooler. AdobeAir disclaims all other warraaties, exlxess
or implied, that arise by _the operation of the law, except that implied warrantie,_ of merchantability or fitness for a particular purpose are limited to the duration of the
warranty period. AdobeAJr shall not be hab]e for any incidental or consequential damage which may have resulted from any alleged breach of warranty,
Some ststes do not alidw limitations on how long an implied warranty lasts or the exclusion or limitation of incidental or consequential damages, so the limitations or
exclusions stated above may not apply to you.
This warranty gives you specific legal rights and you may have other dghts which vary from state to state.
Sk_e Ado_Alr, inc. follows a percy of coot_nuous product improvement, it reserves tt_e r_ht to change design and sp4_c[ficatlans without pdo_ notice c_ [lability.
Note: Your warranty does not cover shipping damage. Report all shipping damage at once to dealer or carrier making delivery.

INTRODUCTION
Evaporativecoolingworksontheprincipleofheatabsorptionbymoistureevaporation.
Whena swimmerleavesthewaterona windyday,hefeelscoolbecausethemoisture
onhisbodyisevaporatingandabsorbingheat.
Yourevaporativecooler drawsexteriorair intospecialpadssoakedwithwater,where
theair is cooledbyevaporation,thencirculatedintoyourhome.
•Yourevaporativecoolermakesthebestpossibleuseoftheevaporativeprocessby
meteringtheflowofwater,distributingitevenlythroughthefiltermedia,andblowing
a steadystreamofcooledairintoyourhome.Theairisthenchanneledthroughthe
buildingandventedoutofthehomethroughopenwindows,doorsorvents.
INSTALLATION
MountingOfYourModelRW3000EvaporativeCooler
!_ortant: Read these instructions
carefully before installing,
operating or servicing your
evaporative cooler.
SAFETY
ungplug
the electrical cord
to the cooler before
attempting to work
on or service your
cooler.
1. Checklow2code*and utilitystandard_
installationmust complywith theirrides.
2. ¥ourcoolerwillmn on120voltaC,60Itz
3. Usea groandedoutlettoprotea youfrom
sho_ lf theoutletyouplan to use tsa 2-prong
_1_,do not mao_e t_ pluggrmmd_
prong. Havean elearician replacethe2-prong
outletwithagrounded3-prongoutlet.
Location
Installcoolersoonlyfleshoutsideair ispermitted
toenterthecoolingsystem,preferablyonsideof
buildingfacingprevailingwinds.Installunitthrough
windowofroomwheremaximumcoolingisdesired.
Airflowcanbedirectedthroughhousebyus'rag
otherwindowsasexhaustopenings.Avoidinstalling
unitinsidedosedin areas,suchasanatticor
storageroomwhichrestrictsfreeairmovement
aroundcooler.Avoidinstallationnearventpipes,
kitchenexhaust,etc.,asodorsorfumesmaybe
drawninto units.
Electrical Wiring
Yourunithasbeenpre-wiredat thefactoryso .
furtherwiringisnotnecessary.Figure1showsthe
wiringdiagramofyourunitin easeof electrical
componentreplacement.
Two Speed Motor Wiring
_s_c..oTo. sw_c.
PUMP MOTOR
PowerSupply
Besuretoconnectto 120volts,60Hzgrounded
powersupp_Note:Impropervoltagewillburn
outmotorandpumpwindingsandvoidthe
warranty.
Mounting Window Models
Assurethatthemountingsurfaceisstrong
enoughtobeartheweightof thecoolerwhen
inuse.Rememberthatwhenthesystem
withwater,thecoolerwillbemuchheavier
thanwhen_ Themostcommonmethodof
installationinvolvesmountingthecoolerona
flatsupportor standprovidedbytheinstaller.
Theductandgrillepot'donarephcedthrough
_GUgEZ
thewindow
openingand
windowpanels
_arefit_l Into
position(see
Figure2).
I_ Anothermethod
ofinstallation
involvestheuse
ofa cbeinkit
,._ s.u_a andstandoff
hardware.
To Install Cooler
Using A Chain Kit
I. Attachscrewhool_tooutsidewindowfa'ame
approsimatdytwofeetabovecooler.Besure
hookisinsertedto fulldepthinfi-amefur
maximumstreng_.Attachchaintoeachhunk
2. Ifyourcoolerdoesaot haveholes
predrllled,drill3/16"holesr'aboveeachpad
framecomeratrearofcoolercabinet.Bolt
.t Jgrfoen Empm.aut,e c.#e/er r_a,aa_dewe x, mm/

hang_tabstocoo_ (not_ endup)using
machinescrewsandnutsprovided.
3. Placeleglevelingbottsinholesincabinetfront
withnut,washerandangletooutsideofcabinet.
4. Checkwindowsilloffset..,todeterminethe
thicknessofthewoodstripforclearance.This
clearancewillprovidespaceforthegrille.Secure
woodstopwithnailsorscrews.Fastenthetwo
bracketswithscrewsprovided,makingsurethey
aresquarewiththewindowsash.
5.Placecoolerinwindowallowingductto reston
sill.Usingchainlinkthatbringscoolerclosestto
levelposition,placelinkoverbangertab.'l'urn
linktolockRintonotchesonhangertab.
6. Placeleglevelingbracketonleglevelingboltwith
bracketagainstwall.Adiuslboltsandchainto
levelcooler.Securebracketstowallwitheight
#10Phillipsheadscrewsprovided.
_oU.. Coolerraayneedtob*r*-Ia_ht laUrto
compensaefor addedweigbtof water
tga,CBrac_t---._
ES
!
su_
OverflowStandpipeand
DrainLineInstallation
1. Installoverflowdrainbushingin
bottomofcooler.
2. Screwoverflowstandpipeintodrain
bushingandtightensnuglytoprevent
leakage.
3.Sliderubberwasheroverdrain
bushing,pushdrainbushingthrough
bottomofcooler,andtightennut.
4.Connect(copper/pvc/gardenhose)to
drainbushinganddrainin
accordancetolocalcodes(seeFigure
6).
I-I----I"1_/zr.t _.t
Connert Water Supply
Awaterval_eshouldbeinstalledata
convenientlocationtoa]lowthewater
supplytobeturnedonandoff(see
Figure7); 1/4"tubingis usedtoprovide
watertothecooles.Awaterconnector
kit,availablefrom_ourdealer,provides
the necessaryitems,
NaU:$oflucaerequipraentsbould
notbeattachedto anywaterUnes
goingtoa cooler"Soflwater_will
causecorrosionanddecreasee_ctive
l@ofa_
FloatInstallation
Thefloatvalveistapedtothebottomofthecoolerto
avoidshippingdamage,ffthecoolerisgoingtobe
permanentlyinstalled,attachthefloattothesideof
frontpanelinsidethecabinetwithholeprovided(see
Figure8). Connectcoppertubingfromwatersupplyto
coolerandconnectto tube(fromfloatfalve)
protrudingfromsideoffrontpanelusingferruleunion
providedinpartspackage.
Bracket
_a
zoc__*" _GURE8
AdjustingWaterLeveland
FloatValve
Fillresen,oirasfollows:
1.Turnwatersupplyon.Checkforgoodpressure
andflowfromfloatvane.
2.Whenfloatvalwshutsoff,checkwaterlevel.
Waterlevelshouldbefrom1/2"to 1"belowtop
edgeofoverflowstandpipe.
3.Adjustfloatvalvebybendingtherod (seeFigure
9).
_r,_ To reduce
theriskof
electric shock,
connect only
to an outlet
provided with
a groundfault
circuit interrupting
device.
Cautio_£.Do not allow pump
to topple over and become
submerged; water will
damage pump motor.
Never wash your
cooler cabinet with a garden
hose; water may harm motor
and pump or seep into
blower housing.
_ _*#emtt_ eaelGr _ _ Oa'e M_aal $

RegularMaintenance
Reguler,carefidmaintenancewill allowyou to
enjoyalong, moreefficientservicelifefromyour
cooler.Beforestartinganymaintenance operation,
read thoroughlyall operating andmainten_ce
instructionsandobset'_ all cautionsand
warnings.
Changing Cooler Pads
Yourcoolershouldbe changedat least twicea
year.., atthe beginningof aseason and midway
through. Pre_ Ra_inerIPiresDoura
BUt}our roC/,,ar_m_
p smay
nced to be
changed
mote
f_'equently,
depen_g
oo local air
andwater Ev,_
conditions.
Forin.Vonce,
in areaswheremineralcontentofthewateris
hlgh,depositsmaybuildup in thecoolerpads,
resmOingairflow.
Replacepadsasfollows:
1. Removepad assemblyfrom cabinet.
2. Carefullyremove allpadsfrom retainers.
Removeand discord pads(see Figure11).
3. U_g a mild
detergent,wash
dirt andseale
from#
f0rame*.Wire
brushingis not
recommended.
mnsewith
freshwater.
4. Laynewpadin
frame,starting
attroughend,
makingsure
padis snug
againsttroughandouteredgeswithno air
spaces.
5. Padthiclmessshould beuniformaceossthe
frame.Note: Padmustcompletelyfillframeor
hotair mayenter Muse.
6. Replacepadmainers and lockunderedge of
frame.Sharppointsmustbe buriedin pad.
7. Pre-soakpadsandreinmBpadf_'ame.
8. Startpumpandallowtroughstofill.., check
waterlevelin troughsbyslightlytiltingeach
padflameout.
Troubleshooting
Thefollowingtcoubleshnnimgguideisintendedtoaddressthemostcommonsymptomsandisbyno meansexhaustive.If
symptomspersist,callaqualifiedserviceman.Electricalworkshouldbecompletedbyaeer_ed electrician._m offall
powerto thecoolerbeforeattemptingtotruubleshnntanyofthefollowingsymptoms.
SYMPTOM POSSIBLE CAUSES IfEMEDY
Utit_an$tostart _ k_dK'glir 1. Noeleetricaipowertounit 1.Q_eckpower
A.Fuseblown b. Replacefuse*
B.Circuitbreakertripped B.Resetbreaker*
C.Plugincord(s) orreplaceif
damaged
3.Replacemotor
C.Cord(s) unpluggedor damaged
2. Motorove_emedand/orfrozen
tl_m
atti,t, ytJqut, 1. Lackdsufficientairexhanst
2. lnsufllcinntwnt_/padnotwet
A.Padsplugged
B.Dryor npenspotsnnpeds
CTroughholesdogged
D.Pumpnotworking
E Looseconnectionsin_ system
E Distributordoggedor corroded
1.Opecwindowsordoorsto increase
ventilation
2.Checkwaterdistributionsystem
A.Replacepads
B.Repackpads
B.(acretroughsandunplugholes
D.Unplugpump.Qcmimpeller
housingoffomgnmatterand
tam'tall
E.Checkforleaksandcorreet
ECleanor replace
_eW_ 1. Floatarmimproperlyadjusted L Adjustfloat
2. Seetinfloatvalveleaking 2.Replaceflnntvalve
3.Standpipenottight 3.1_h_ mndpipe
_ot[lagiaglNml 1. Bearthgdry _ 1.Replaeemotor.
2. Wheelrubbingblowerhousing 2.Ire'pertblowersha[t,collars,bdt and
orrotatingoff-balance pulleyalignmentandmotormounting
3. Lcoseparts 3.Resecureorreconnect
liner _or_1. LooseBlowerWheel 1.Inspectandadjust,orreplace
asneeded.
glgt_ btmd_ Inh4MISe 1. lmdcqnnteey.hanst I. Opendnnrsor windowsto incre*se
ventilation
_Ot _t_lot 1. Staleorstagnnntwatorinreservoir 1.Drain,llushandciennresewoir,
installbleed-offldt
2. Padsmildewedordngged 2. Replaeel_ds
3. Padsnotcempleteiywetbdore 3.Tornnnweterbdorestarlingnnit
cooleristurnedon
Lubrication MODELRW3000
Thepumpandblowermotorsdonotrequire
lubrication.
Replacement Parts
Yourwindowcoolerisahigh-qualityevaporativecoler
designedtogiveyearsoftrouble-freeservicewhenitis
properlymaintained.However,shouldreplacememparts
berequired,theyare availablethroughyourdealer.
MotorKit RK229A
Pump PMPM451
Fleat RFIOOA
Switch,Motor 1005108002
Switch,Pump 1005107001
PadAssemblyfor all sides P_80A
AirDischargeGfiU MA121801
BlowerWheelAssembly RF020116
StandpipeDrain Assembly SP2OOB
4 Rt_ _t_ Cao/er _art4C_v Jaa_a/
This manual suits for next models
1
Other AdobeAir Freezer manuals
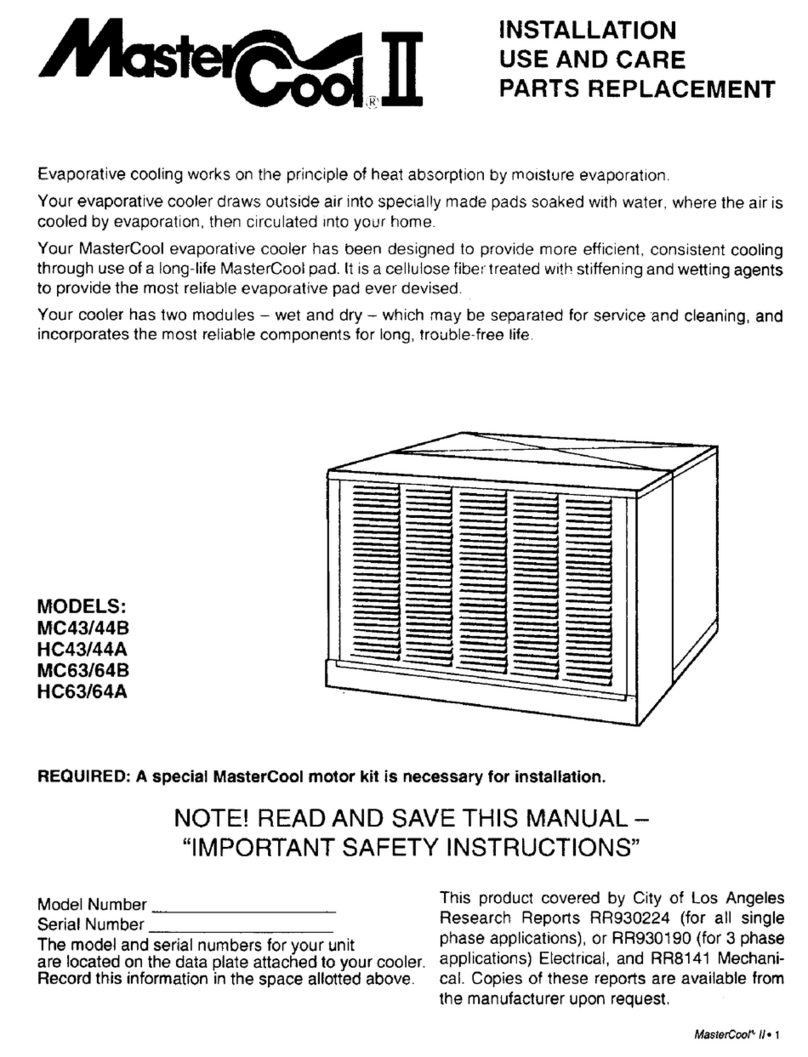
AdobeAir
AdobeAir MasterCool II MC43 Instructions for use

AdobeAir
AdobeAir MW5500 User manual

AdobeAir
AdobeAir S/D330 User manual
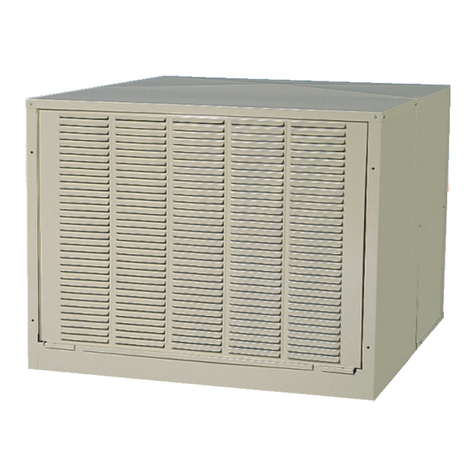
AdobeAir
AdobeAir L900790A User manual
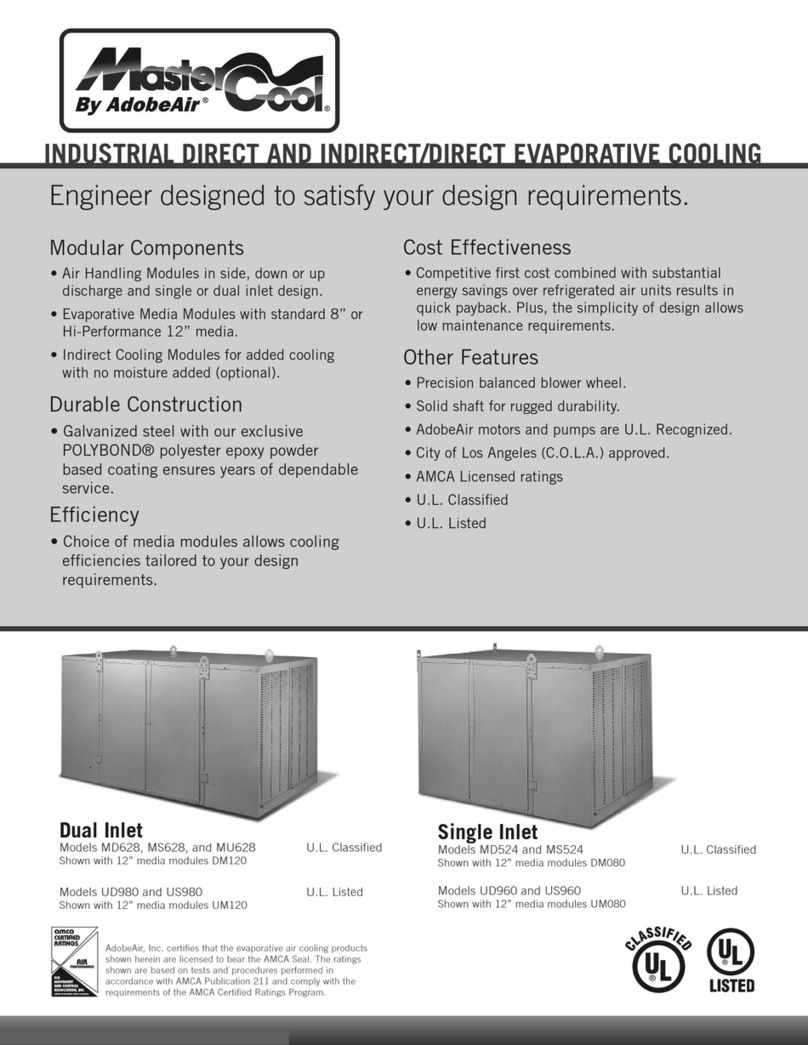
AdobeAir
AdobeAir MasterCool MD524 User manual
AdobeAir
AdobeAir RS872 User manual
AdobeAir
AdobeAir MasterCool MMPC12A User manual
AdobeAir
AdobeAir MasterCool P500A User manual


