IMC Frostar FR60 Installation guide

FROSTAR FR60 AND FR90
INSTALLATION, OPERATING AND MAINTENANCE MANUAL
PLEASE LEAVE WITH OPERATOR
FROSTAR FR60 AND FR90
SERIES
5
Imperial Machine Company Limited
Unit 1, Abbey Road
Wrexham Industrial Estate
Wrexham LL13 9RF
Tel: +44 (0)1978 661155
Fax: +44 (0)1978 729990
Service Fax: +44 (0)1978 667766
Spares Fax: +44 (0)1978 667759
E-mail: i[email protected].uk
Website: www.imco.co.uk
A34/019 R4 ECN 8704 JANUARY 2018

FROSTAR FR60 and FR90
EC DECLARATION OF CONFORMITY
(Guarantee of Production Quality)
We, Imperial Machine Company Limited of:
Unit 1, Abbey Road, Wrexham Industrial Estate, Wrexham, LL13 9RF
Declare under our sole responsibility that the machine
FROSTAR FR60 & FR90 –SERIES 5
As described in the technical construction file (TCF) documentation, are in conformity with the
protection requirements of the Electromagnetic Compatibility Directive 2004/108/EC.
These products are manufactured in accordance with harmonised standards EN 61000-6-1:
2001 Immunity and EN 61000-6-3: 2001 Emissions (plus product specific standards).
They also satisfy the essential health and safety requirements of the Low Voltage Directive
2006/95/EC and are manufactured in accordance with standards BS EN 60335-1 and BS EN
60335-24, and the relevant requirements of the Pressure Equipment Directive 97/23/EC.
Approved by E Plumb, Engineering Manager
Signed at Wrexham, Date January 2018

FROSTAR FR60 and FR90
INDEX
GUARANTEE ....................................................................................................... 1
DELIVERY............................................................................................................ 1
INTRODUCTION .................................................................................................. 2
INSTALLATION.................................................................................................... 4
PREPARATION.................................................................................................... 4
CHANGING THE CONTROLLER SET POINT..................................................... 5
OPERATION......................................................................................................... 6
MAKING THE BEST USE OF THE CABINETS................................................... 6
MAINTENANCE ................................................................................................... 7
ORDERING SPARE PARTS ................................................................................ 7
FR60 & FR90 WIRING DIAGRAM ..................................................................... 8
PARTS LIST......................................................................................................... 9


FROSTAR FR60 and FR90 1
GUARANTEE
This equipment is guaranteed by IMC for 1 Year from the date of its purchase from
IMC, or from one of its stockists, dealers or distributors. The guarantee is limited to
the replacement of faulty parts or products and excludes any consequential loss or
expense incurred by purchasers. Defects which arise from faulty installation,
inadequate maintenance, incorrect use, connection to the wrong electricity supply
or fair wear and tear are not covered by the guarantee.
Please observe these instructions carefully.
The guarantee applies in this form to installations within the United Kingdom.
DELIVERY
The packaged machine consists of:
Frostar Unit 1
Instruction Booklet 1
The Frostar range is supplied fitted with shelves.
FR60 3 shelves (2 small and 1 large)
FR90 4 shelves (1 small and 3 large)
Please notify both the carrier and the supplier within three days of receipt if
anything is missing or damaged.
Before connecting, check that the correct machine has been supplied and that the
voltage, marked on the rating plate, is suitable for the mains supply available. The
rating plate is located on the inside of the unit on the top left-hand side.
Sample Rating Label

2 FROSTAR FR60 and FR90
INTRODUCTION
The Frostar FR60 and FR90 are efficient, fast-cooling top loaders with sliding
covers suitable for underbar use. The Frostar range is designed to produce a
steady supply of chilled glasses.
Frostar FR60 Dimensions
Internal Dimensions
The internal dimensions of the FR60 are 550mm high, by 526mm wide by 500mm
deep.
REFRIGERATION
CONTROLLER

FROSTAR FR60 and FR90 3
Frostar FR90 Dimensions
Internal Dimensions
The internal dimensions of the FR90 are 550mm high, by 826mm wide by 500mm
deep.
REFRIGERATION
CONTROLLER

4 FROSTAR FR60 and FR90
INSTALLATION
For the Installer:
These Instructions contain important information designed to help the user obtain
the maximum benefit from the investment in a Frostar unit.
Please read them carefully before starting work, and consult with the supplier in the
event of any queries.
Be sure to leave this Instruction Manual with the user after the installation of the
units is complete.
Procedure:
Install the unit on a flat and level floor, allowing space for ventilation at the front,
back and sides.
Do not install the unit close to a heat source such as a radiator or the warm air
outlet of another piece of refrigeration equipment.
If supplied, fit the bottle opener(s) and catcher(s) to the front of the unit.
If the cabinet has been stored on its front, back, or sides during transit, stand the
cabinet upright for a minimum of two hours before starting. This will avoid damage
to the compressor.
PREPARATION
The electrical supply to the unit should be 220/240 Volt, 1 phase, 50 Hz.
All units are supplied with a standard mains plug fitted with a 10 Amp fuse. This
should be plugged into a standard mains socket. The unit must be positioned so
that the plug is accessible.
Warning - This machine must be earthed
If the supply cord is damaged, the manufacturer, an approved service engineer or
a qualified electrician in order to avoid a hazard, must replace it.
If a new mains supply is to be run to the machine, the work must be always
undertaken by a reputable and competent electrician, and the IEE Codes of
Practice must be observed.
Site conditions may vary with additional lengths of cable runs, encapsulation in
trunking, bunched with other cables etc, needed. Should this apply, the electrician
must alter the cable accordingly.
It is imperative that all electrical work must be carried out by a qualified electrician
and in accordance with the current local regulations.

FROSTAR FR60 and FR90 5
CHANGING THE CONTROLLER SET POINT
The electronic temperature controller is factory set to -18°C and will cycle the air
temperature within ±2°C of this set point. The set point can be adjusted above and
below the factory setting (min - 30°C, max +5°C) by following the button sequence
below:
Press the SET button
once
“SET”will appear
1) SET
Using the up and down buttons, scroll
to the desired set point temperature
(min - 30°C, max +5°C)
2)
-16
Press SET button to accept
3)
-18
4)
Then press SET button again,
current set point temperature
is displayed
-17
Then press stand
-
by button to esc.
Display will revert back to current
internal air temperature

6 FROSTAR FR60 and FR90
OPERATION
1. Plug in and switch on at the mains.
2. Switch the unit on using the On/Off, which is located at the front left-hand side
of the plinth.
3. Check that the light is working.
4. Run the unit empty, and check that cold air is being circulated within the
cabinet.
5. Load the cabinet with glasses by placing them on the wire shelves, ensuring
that the glasses are standing in an upright position. Do not obstruct the air
vents inside the cabinet.
6. All cabinets have an electronic off-cycle defrost controller that de-ices the
evaporator for a maximum of 30 minutes every 4 hours using electric heaters.
This evaporates the condensate water without the need for a drainage
connection.
7. The controller also ensures that the cabinet temperature is maintained at -18°C
±2°C between automatic defrost cycles. Note that this temperature is adjustable
(refer to above section “CHANGING THE CONTROLLER SET POINT”.
8. When the unit is not going to be used for several weeks, run it for 24 hours after
emptying it, to ensure that all condensate water evaporates.
MAKING THE BEST USE OF THE CABINETS
Do not overload the cabinet. There should be a gap of at least 40mm above the
merchandise on the top shelf, and merchandise should be spaced to allow the
circulation of cooled air throughout the cabinet. Do not load the cabinet with boxed
goods as this prevents air circulation.
Do not place hot or warm goods in the cabinet. Only goods at room temperature or
less should be placed in the unit otherwise performance will be affected.
Do not run unit with the lid open, as this will cause the evaporator to ice up
preventing the unit from working efficiently.
Ensure that both the front grille cover attached to the plinth, and the air vents inside
the cabinet are always unobstructed.
Clean lid and the surfaces, and occasionally remove all merchandise and clean
interior surfaces with a damp soft cloth. DO NOT USE CLEANING MATERIALS
CONTAINING ABRASIVES OR BLEACHES. In the case of heavy soiling use a
mild liquid detergent. The unit can be washed on the inside using bicarbonate of
soda to remove stale smells.

FROSTAR FR60 and FR90 7
MAINTENANCE
To achieve optimum performance Frostar requires regular care. Breakdowns
caused by inadequate maintenance are NOT covered by the terms of the
manufacturer’s warranty.
1. Remove the front grille cover by releasing the ¼ turn fasteners.
2. Clean the compressor coil with a brush and vacuum cleaner every three
months or when dirty (whichever is sooner).
3. Replace the grille cover, ensuring fasteners are fully tightened.
4. Ensure that the grille is always unobstructed.
5. Occasionally remove all merchandise and clean the interior surfaces with a
damp cloth.
6. Other than regular cleaning the Frostar range requires no maintenance by the
end user. It is recommended that an IMC approved engineer services the unit
at least once a year.
For further advice or assistance, contact the supplier of your cabinet.
ORDERING SPARE PARTS
In the event that spare parts or accessories need to be ordered, please always
quote the SERIES AND SERIAL NUMBER of the machine. This is to be found on
the rating plate located near the supply cable.
For installations outside the UK please contact your supplier.
For information on IMC spares and service support (if applicable), please call IMC
on +44 (0)1978 661155. Alternatively, contact us via email or fax:
IMC Service Desk Fax: +44 (0)1978 667766
E-mail: service@imco.co.uk
IMC Spares Desk Fax: +44 (0)1978 667759
E-mail: spares@imco.co.uk

8 FROSTAR FR60 and FR90
FR60 & FR90 WIRING DIAGRAM (G99/049-007)
T1= CABINET AIR TEMP
T2 = EVAPORATOR COIL TEMP

FROSTAR FR60 and FR90 9
PARTS LIST
Frostar FR60 Frostar FR90
Part No Description Part No Description
A12
/047
Wire Shelf (large)
A12/047
Wire Shelf (large)
A12/048
Wire Shelf (small)
A12/048
Wire Shelf (small)
D28/035
& D28/036
¼ Turn Fastener
D28/035
& D28/036
¼ Turn Fastener
E49/144 S
Plinth Grille Cover
(Stainless Steel)
E49/144 S
Plinth Grille Cover
(Stainless Steel)
E49/144 Z
Plinth Grille Cover
(Black Painted)
E49/144 Z
Plinth Grille Cover
(Black Painted)
G30/420
Defrost Controller
G30/420
Defrost Controller
G42/011
Compressor
G42/010
Compressor
G45/062
On/Off Switch
G45/062
On/Off Switch
G50/132
Fluorescent Light
G50/133
Fluorescent Light
G95/006
400W Element
(Evaporator Heater)
G95/003
400W Element
(Evaporator Heater)
G95/007
100W Element
(Defrost Heater)
G95/004
100W Element
(Defrost Heater)
G96/008
Condenser Fan
G96/040
Condenser Fan
G96/0
27
Evaporator Fan
G96/029
Evaporator Fan
S99/020
Bridge Assembly
S99/016
Bridge Assembly
S99/021
Lid Assembly
S99/018
Lid Assembly
S49/017
Bottle Opener
S49/017
Bottle Opener
BA52/060
600mm Speedrail
(optional)
BA52/090
900mm Speedrail
(optional)
Other manuals for Frostar FR60
1
This manual suits for next models
1
Table of contents
Other IMC Freezer manuals
Popular Freezer manuals by other brands
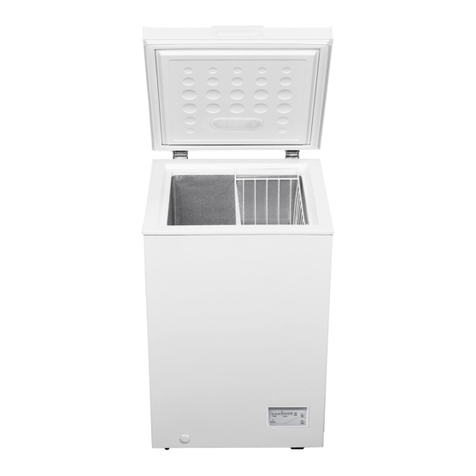
Kernau
Kernau KFCF 1003 EW user manual
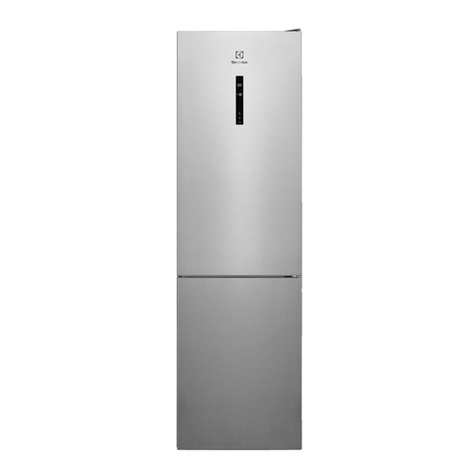
Electrolux
Electrolux LNT7ME34X2 user manual
Electrolux
Electrolux U32359 ECN 26104 W user manual
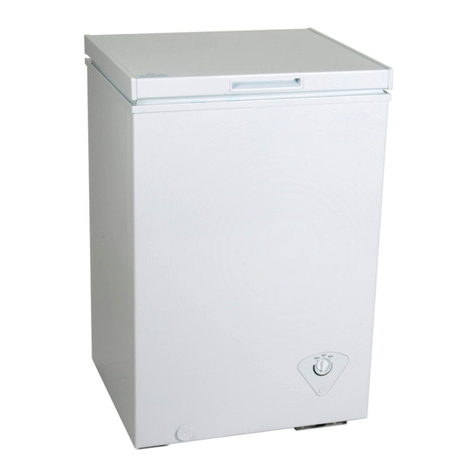
Koolatron
Koolatron KTCF99 user manual

Iceking
Iceking FF115WE Installation and operating manual

Fisher Scientific
Fisher Scientific Isotemp -86 C Installation and operation manual
