2. Open your selected third-party software.
3. Following your third-party software instructions for connecting a Z-Wave USB adapter. Select the COM or virtual port Z-Pi 7 is
associated with.
In most cases, any devices already paired with Z-Pi 7 network will automatically show up in the software's interface.
Advanced
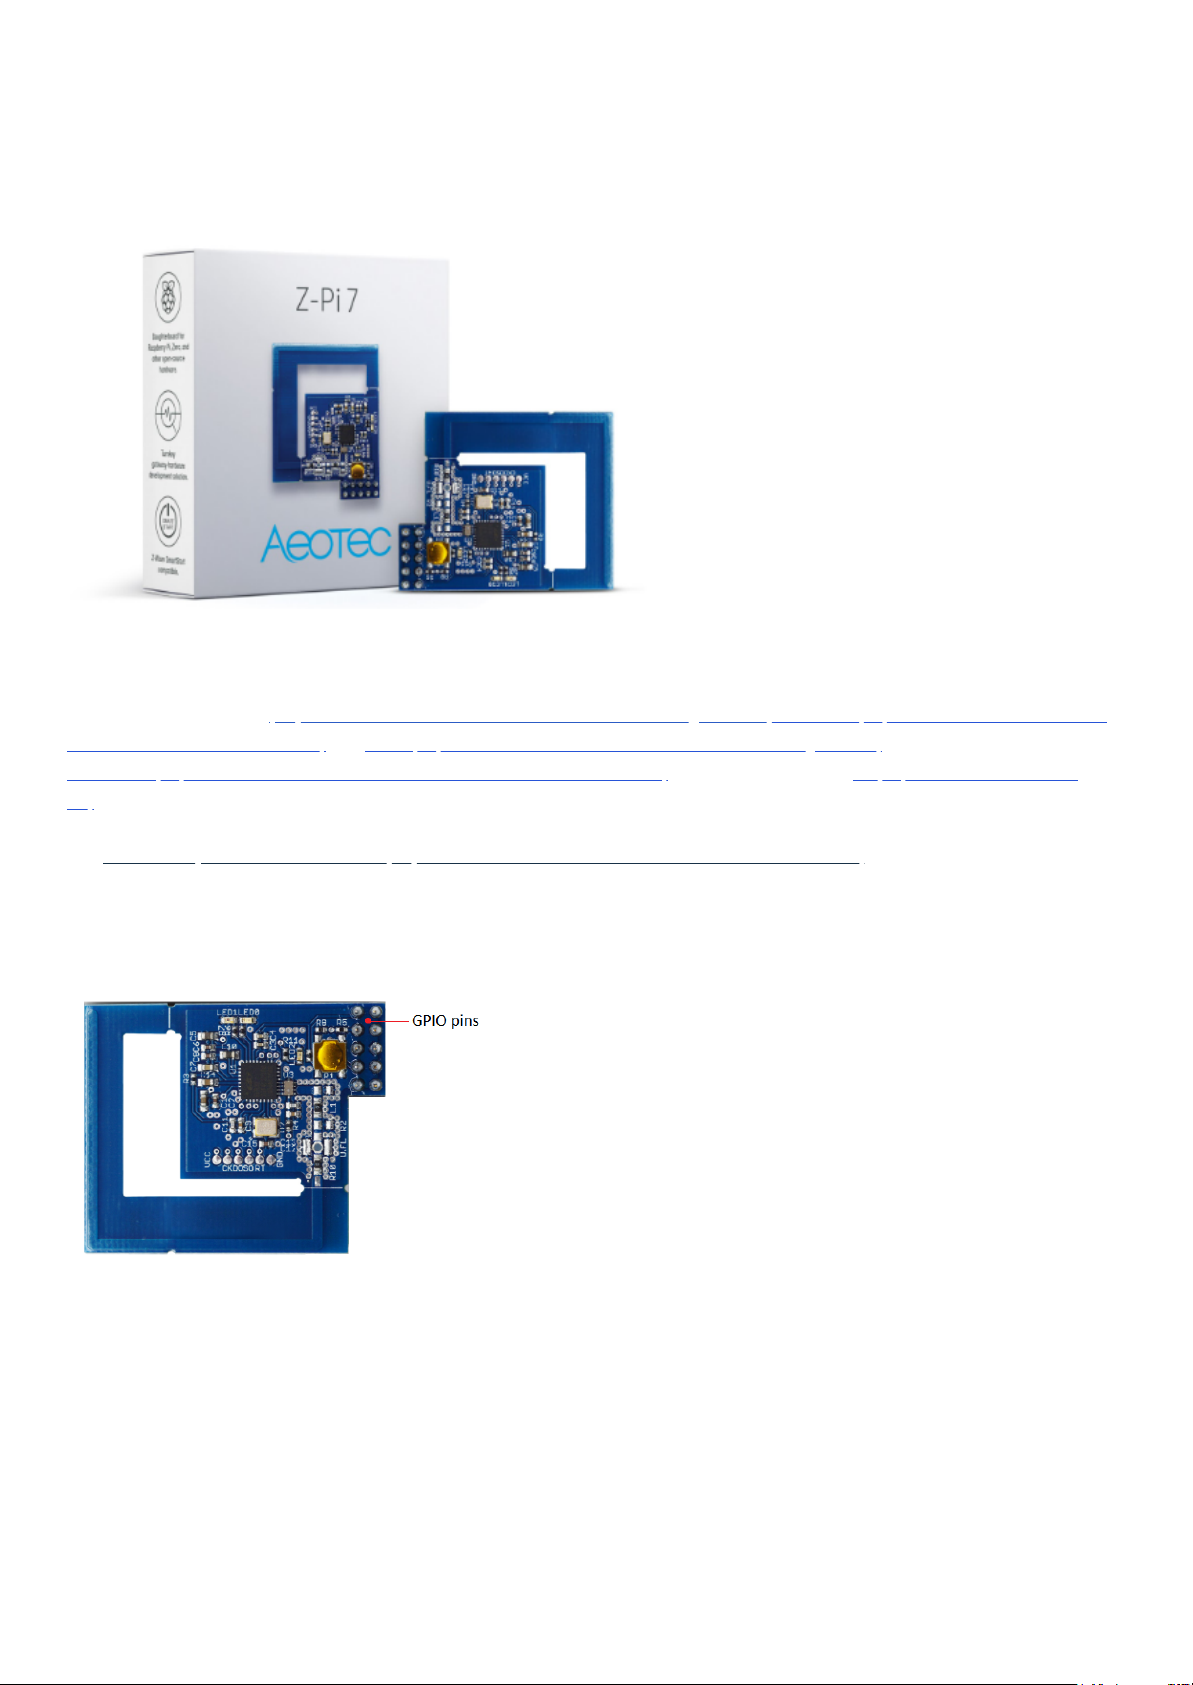
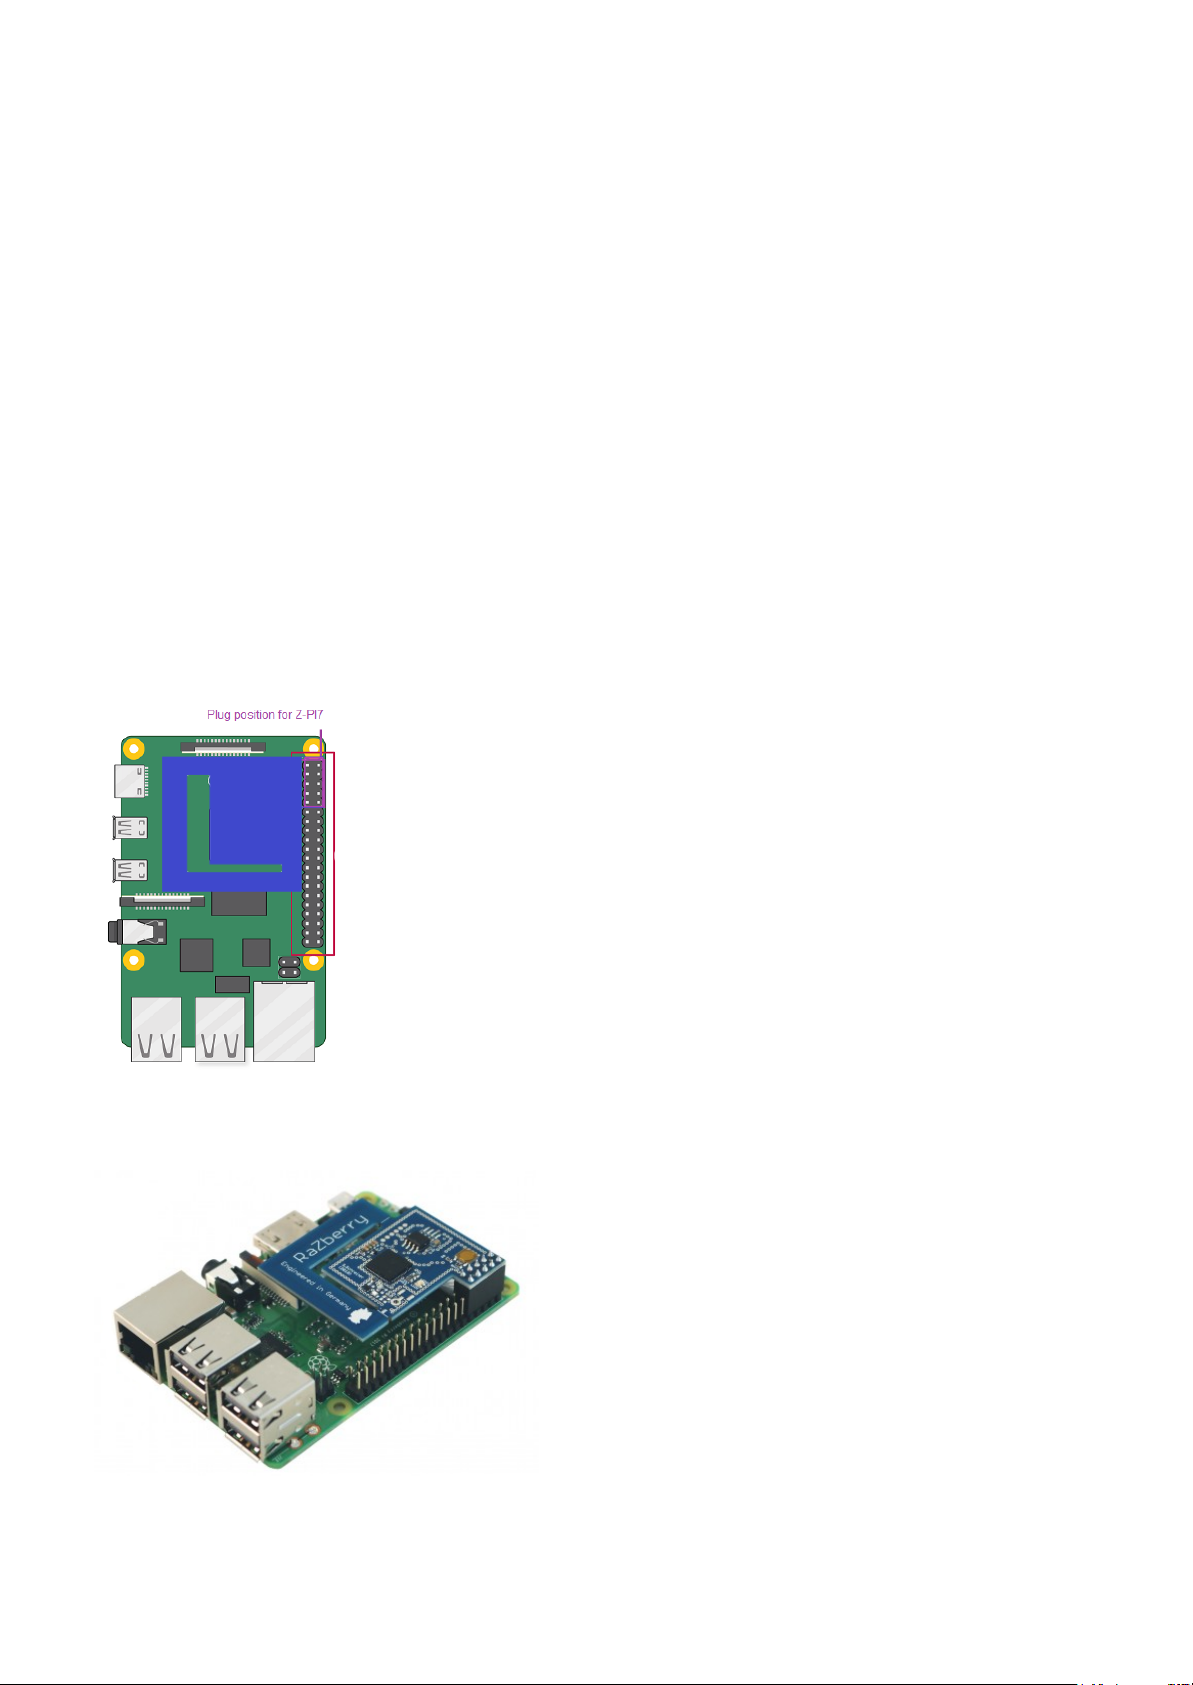
Z-Pi 7 Pinout
Below are the pinouts for the Z-Pi 7.
Using this pinout, you may wire Z-Pi 7 to USB using a Serial to USB Adapter. You may find out more about how to do this
following this guide here: https://aeotec.freshdesk.com/support/solutions/articles/6000253071-z-pi-7-to-usb-
connection (https://aeotec.freshdesk.com/support/solutions/articles/6000253071-z-pi-7-to-usb-connection)
Adding Z-Pi 7 to a pre-existing Z-Wave network
This must be done through the host software which takes control of Z-Pi 7. Please consult the instruction manual of the
host software to add the Z-Pi 7 to a pre-existing Z-Wave network (i.e. “Learn”, “Sync”, “Add as Secondary Controller”,
etc.).
This function can only be performed through a compatible host software.
Reset your Z-Pi 7
Z-Pi also can be reset to the factory defaults settings via the host software (host software can be any third-party software such
as Homeseer, Domoticz, Indigo, Axial, etc).
The host software must take control of Z-Pi.
Find the Reset Z-Wave controller option in your third-party software.


