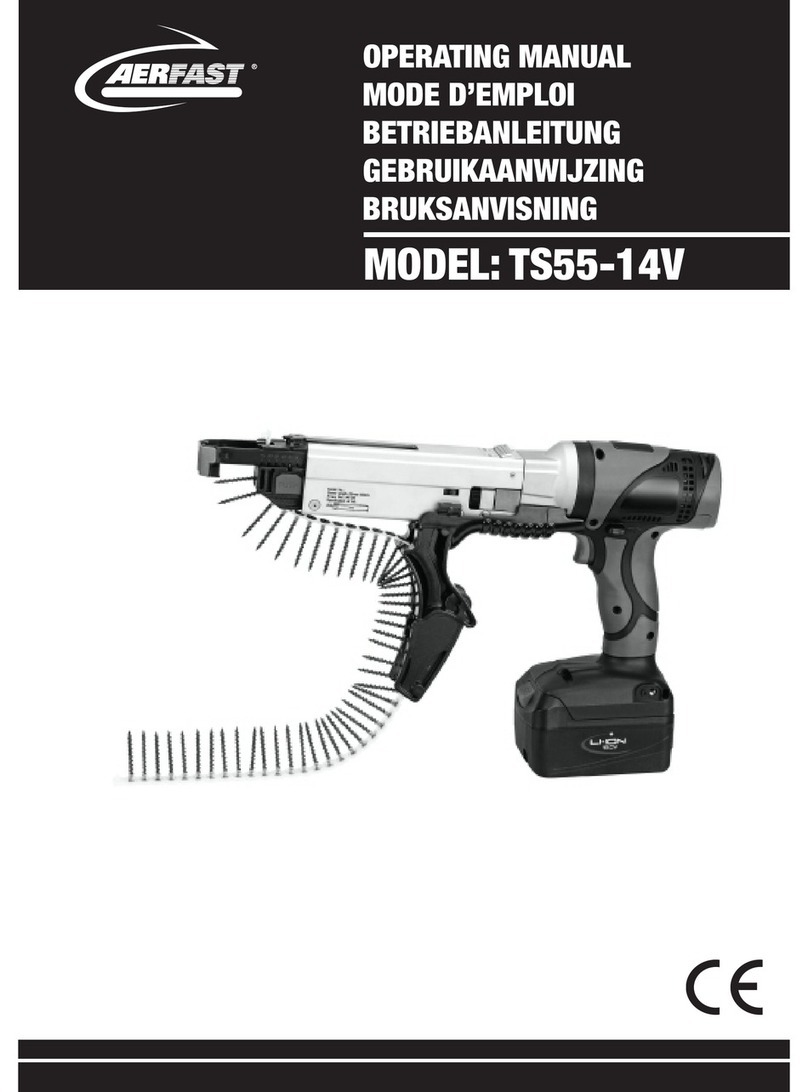
Aerfast TS55-14V User manual

MODEL: TS55-14V
1

DÉCLARATION «CE » DE CONFORMITÉ
NOTIFICATION OF EC CONFORMITY
EG-KONFORMITÄTSERKLÄRUNG
Le constructeur / l’importateur / le responsable de la mise sur le marché :
Der Verkaüfer / der Importeur / der Verantwortliche für die Einführung auf dem Markt
The manufacturer / the importer / the person in charge of marketing
SOFRAGRAF
29, rue de la Gare
Saint Amé
88125 Vagney Cedex –France
Nous déclarons sous notre propre responsabilité que l’appareil désigné ci-dessous
We declare on our own responsibility, that the undermentioned tool
Wir erklären unter unserer eigenen Verantwortung, daß das nachstehend bezeichnete Gerät
Marque / Trademark / Marke / Merk :Aerfast
Type / Type / Typ /TS55-14V -AFK0000
Visseuse à batterie /Cordless screwgun
Matricule ; Seriennummer ; Number : ------
Année de construction ; Baujahr ; Year of construction
est conforme aux dispositions des Directives suivantes :
is in accordance with the following specifications and standardised documents :
mit den folgenden harmonisierten Normen und Unterlagen übereinstimmt :
2004/108 CE
2006/42 CE
2002/95 CE
Saint Amé, le :26 mai 2011
Nom du signataire : Estelle THIRIET
Fonction :Service qualité / Quality Department
Signature :
Processus : Sécurité, environnement, réglementation Page 1/1
Sous processus :Indice C
Document : Déclaration de conformité "CE" Par : E. Thiriet
2

0BOperating
4BInstructions
1BCORDLESS AUTOFEED SCREW DRIVER
MODEL :
TS55-14V
3

△,!WARNING
Operational Precautions
General Safety Instructions
1. Consider work area environment. Do not expose tools to rain. Do not
use tools in damp or wet locations:Keep work area clean and well lit. Do
not use tools in the present of flammable liquids or gases.
2. Guard against electric shock. Avoid body contact with earthed or
grounded surfaces.
3. Keep children away. Do not let visitors touch the tools or extension cord.
All visitors should be kept away from work area.
4. Store idle tools. When not in use, tool should be stored in a dry locked
up place, out of reach of children.
5. Do not force the tool. It will do the job better and safer at the rate for
which it was intended.
6. Stay alert. Watch out what you are doing:Use common sense. Do not
operate tool when you are tired. Check damaged parts. Before further
use of the tool, a guard or other part is damaged should be carefully
checked to determine that it will operate properly and perform its
intended function.
7. Check for alignment of moving parts, blinding of moving parts, breakage
of parts, mounting and any other condition that may affect its operation.
8. A guard or other parts that is damaged should be properly repaired or
replaced by an authorized service center unless otherwise indicated in
this instruction manual. Have defective switches replaced by an
authorized service center. Do not use tool if switch does not turn it on.
9. To ensure the designed operational integrity of power tools, do not
remove installed cover or screws.
10. Use your tool at lower input than specified on the nameplate, otherwise,
the finish may be spoiled and working efficiency reduced by motor
overload.
11. Do not wipe plastic parts with solvent. Solvents such as gasoline,
thinner, benzene, carbon tetrachloride, alcohol, ammonia and oil
containing chloric annex may damage and crack plastic parts. Do not
wipe them with such solvent. Wipe plastic parts with a soft cloth lightly
dampened with soap water.
12. Dress properly. Do not wear loose clothing or jewelry. Contain long hair
keep your hair, clothing, and gloves away from moving parts.
13. Use safety equipment. Always wear eye protection, non-skid safety
shoes, hard hat, or hearing protection.
14. Do not overreach. Proper footing and balance enables better control of
the tool in unexpected situations.
4

△,!WARNING
1. Disconnect battery pack from tool or place the main switch in the locked
or off position before making any adjustments, changing accessories, or
storing the tool. Such preventative safety measures reduce the risk of
starting the tool accidentally.
2. Remove adjusting keys or wenches before turning the tool on . A wrench
or a key that is left attached to a rotating part of the tool may result in
personal injury.
3. Use clamps or other practical way to secure and support the work piece
to a stable platform. Holding the work by hand or against your body is
unstable and may lead to a loss of control.
4. Maintain tools with care. Keep cutting tools sharp and clean. Properly
maintained tools, with sharp cutting edges are less likely to bind and are
easier to control.
5. Use only accessories that are recommended by the manufacturer for
your model. Accessories that may be suitable for one tool may create a
risk of injury when used on another tool.
Product Safety Instructions
△,!WARNING
1. Caution:To reduce risk of injury, charge only specific type rechargeable
battery packs. Other types of battery packs may burst causing personal
injury and damage.
2. Before using charger, read all instructions and cautionary markings on
battery packs and chargers.
3. Do not expose charger to rain or snow.
4. To reduce the risk of damage to electric plug and cord, pull by plug
rather than cord when disconnecting charger.
5. Use of an attachment not recommended or sold by the charger
manufacture may result in a risk of fire, electric shock, or injury to
persons.
6. Make sure cord is located so that it will not be stepped on, tripped on,
tripped over, or otherwise subjected damage or stress.
7. Do not operate charger with damaged cord or plug. Replace them
immediately.
8. Do not operate charger if it has received a sharp blow, been dropped, or
otherwise damage in any way, take it to qualified center.
9. To reduce risk of electric shock, unplug charger from outlet before
attempting any maintenance or cleaning. Turning off controls will not
reduce this risk.
10. Do not disassemble charger or battery pack, take it to a qualified service
center while repair is required. Incorrect reassembling may result in a
risk of electric shock or fire.
Important Safety Instructions for Charger & Battery Pack
5

△,!WARNING
1. Do not charge battery pack when temperature is below 10°C (50°F) or
above 40°C (104°F).
2. Do not attempt to use a set-up transformer, an engine generator or DC
power receptacle.
3. Do not allow anything to cover or clog the charger vents.
4. Always cover the battery pack terminals with the battery pack cover
when the battery pack: is not used.
5. Do not short the battery pack:
6. Do not touch the terminals with any conductive material.
7. Avoid storing battery pack in a container with other metal objects
such as nails, coins, etc.
8. Do not expose battery pack to water or rain, A battery pack short can
use large current flow, overheating, possible burns and even a
breakdown.
9. Do not store the machine and battery pack in locations where the
temperature may reach or exceed 50°C (122°F)
10. Do not incinerate the battery pack even if it is severely damaged or
completely worn out. The battery pack can explode in a fire.
11. Be careful not drop, shake or strike battery pack.
12. Do not charge inside a box or container of any kind. The battery pack
must be placed in a well ventilated area during charging.
13. For extension of the battery lifetime, the lithium-ion battery is designed
with the protection function to stop the output.
In the case of described below, when using this product, even if you are
pulling the switch, the motor may stop.
This is not malfunction but the result of protection function.
When the battery power remaining runs out, the motor stops.
If the tool is overloaded, the motor may stop.
In this case, release the switch of tool and eliminate causes of
overloading. After that you can use it again.
If the battery is overheated under overload work, the battery power
may stop. In this case stop using the battery and let the battery cool.
After that you can use it again.
14. Do not leave batteries unused for extended period of time. Recharge
the battery every 3~6 months and bring Li-Ion battery to 40~80%
charge level before storage.
15. Li-Ion batteries are sensitive to high temperature and should be kept in
a cool, dry and out of direct light exposure. Ideal temperature for
operation and storage is below 77°F.
Additional Safety Rules for Charger & Battery Pack
6

Specifications
Model No.
TS55-14V
Voltage
14.4 V d.c.
No-Load Speed
4500 r.p.m(/min)
Max Torque
17.6 kg-cm(1.27ft-lb)
Size
L376 x W80 x H254 mm
Tool Weight
(With Battery)
2.17 kg
(Battery0.53kg)
Fastener Range
25-55 mm length
Bit Spec.
1/4”x154L mm
Charging Time
1 Hour Auto Cut-Off
Specific Safety Rules and/or Symbols
--------Recycle ------Class II Tool
--------Do Not Throw In Garbage V--------Volts
a.c.------Alternating Current Hz-------Hertz
W--------Watts kg-------Kilograms
mm------Millimeter d.c. -----Direct Current
kg-cm--Kilograms Per Centimeter ft-lb------Foot-Pound
/min-----Revolutions or Reciprocations Per Minute
7

6BView of the Major Components
Accessories
Forward/Reverse Rod
Battery Pack
Main Switch
Battery Knob
Conduction Ass’y
Bit
Wrench
Hook
Hook Screw
Charger
Screw Length Adjust Knob
Non Slip Pad
Reverse Knob
Depth Control Knob
8

Operating Instructions (Slide-In)
Installing or Removing Battery Pack
(See Fig.1 Fig.2 )
1. Always switch off the machine before insertion or
removal of the battery pack.
2. To remove the battery pack, push the button on the
battery pack and pull the tool unit from the battery
pack in the direction.
3. To insert the battery pack, align the tool unit slides
with the battery pack sliding groove and push the tool
unit into place.
The tool unit can be slide into battery pack in two
directions.
4. Do not force the battery pack in sliding it into tool unit.
If the battery pack does not slide in easily, it is not
being inserted correctly.
Charging the Battery Pack (See Fig.3)
1. Plug the fast charger into the power source.
2. Slide the battery pack into the charger as the arrow
direction shown on the charger.
3. Push the battery pack into place and make sure the
red light on the charger is “ON”. The battery pack is
now starting the charging cycle.
4. After finish the charging cycle, the light will turn into
green. The battery pack is now ready for use.
5. Your new battery pack is not charged. You need to
charge it before use.
6. If you try to charge a battery pack from a just-operated
machine, sometimes the charging light will not come
on. If this occurs, let the battery pack cool for a while
then re-insert it and try to charge again.
7. When you charge a new battery pack or a battery
pack which has not been used for a long period, it
may not accept a full charge. This is a normal
condition and does not indicate a problem. You can
recharge the battery pack fully after discharging it
completely a couple of times.
8. While charging the second battery, allow the charger
to cool down for 15 minutes before start the second
charging process.
9. Unplug the charger from the power source after finish
the charge.
Fig.1
Fig.2
Fig.3
1
2
9

LED Indication Function
The Battery Pack has a “SW” button and 4-step green LEDs for indicating
remaining capacity status and Over temperature condition.
The remaining capacity (RC) and temperature protection status green LED
indications ( 3 second ) when the “SW” button is momentarily pressed.
Power On (Green light flashes slowly)
Battery Low (Red light stays illuminated)
Battery charged 80% (Green light flashes rapidly)
Battery charged 100% (Green light stays illuminated)
Battery Pack temperature is too hot or too cold (Red light flashes slowly)
Battery Pack malfunction (Red and Green lights stay illuminated)
Remaining Capacity LED Indication
RC Status
LED 1 (green)
0%- 25%
LED 1, 2 (green)
26%-50%
LED 1, 2, 3 (green)
51%-75%
LED 1, 2, 3, 4 (green)
76%-100%
LED 1 Blinking (0.25Sec/green)
Fully Depleted
LED 1, 2, 3, 4 Blinking (0.5sec/ green)
Over Temperature condition
The LED Light on the Charger
10

△,!WARNING
1. Charger is plugged into a 100-240V a.c outlet only.
2. If the battery pack is too hot or too cold, the charger will not fast charge the
battery pack and the red Indicator light is “blinking”. When the battery pack
temperature returns to between 0°C (32°F) and 50°C(122°F), The charger
will automatically begin charging.
3. If both red and green indicator lights are “ON” the battery pack either does not
comply or is defective. Please contact your retailer.
4. Do not charge the battery pack in the rain, snow or high temperature
environment.
5. Do not charge battery pack when environment temperature is below
0°C (32°F)or above 40°C(104°F).
6. While charge the cool battery pack (below 0°C(32°F) in the warm indoor, keep the
battery pack in the room for one hour to warm up before starting the battery
pack.
A cool battery may charge unsaturated.
7. Remove the plug after finishing the charge.
8. The charger should be cooled at least one hour after continue charging three
times.
9. Do not use generator for charging the battery pack.
11

2BStrip Installation
1.Check the scale of the adjust is
totally consistent with length of the
screw.
This tool can be used in the following screw sizes.:
d(mm)
Φ3.5~Φ4.5mm
(#6~#8)
L(mm)
25
30
35
40
45
50
55
3. Feed the strip into the strip guide.
Screw Length
Screw Length Adjust Knob
Scale
Press
2.Press the screw length adjust knob
for the correct length of the screw.
Release the knob when the auto feed
assembly has adjusted to the proper
position. Please adjust the length of
screw first. Do not adjust the length
when the collated screw is on.
12

Tool Operation
4. Move the strip forward until the
2nd empty slot is aligned with
the bit. This will allow for the
proper strip advancement once
the nosepiece is depressed.
2. Whenever possible, hold the
tool at a right angle to the
work surface.
Forward/Reverse Rod
(2)
(1)
Main Switch
1. Make sure the forward/reverse
rod direction ( )。
3.
(1)Pull the main switch to start
the motor.
(2)Press the conduction, with
constant force, against the
work surface.
Do not remove the tool from
the work surface until the
clutch disengages and the
bit stops rotating, signaling a
fully driven screw.
13

Depth Control Knob
6. This tool has a depth sensing
clutch. When the screw is
countersunk to the pre-set
depth, it automatically
disengages and makes a
click or racheting sound. This
is normal and signals
completion of the drive.
4.Continue to allow the motor
to run.The next screw will be
automatically fed into place
when the tool is depressed
against the work surface.(3)
(3)
Depth Display
5. The depth display shows the
depth level. Adjust the depth
control knob for appropriate
depth. Please do not adjust
the depth control knob when
the depth display shows the
maximum level.
14

To Remove the Screws
Replaceable Non Slip Pad
Caution
When the battery pack is low or the drive requires too much torque, the
tool may stall at the bottom of the drive (before the clutch can disengage).
Continuous operation in this manner can cause over-heating and
permanent damage.
Reverse direction
Reverse knob
Press
1.
(1)Remove the strip, pull it through
from the top of the nosepiece.
Pull the collated screw upward
for removing.When the screw
is out of position or stuck, push
the reverse knob while pulling
the collated screw downward at
the same time.
Push the forward / reverse rod
to reverse side ( ).
Depress nose piece while
inserting bit into screw.
(2)Maintain forward pressure on
tool.
(3)Pull the main switch to start
motor. Continue operation until
screw is completely
disengaged.
(2)
(1)
(3)
Main Switch
Forward /Reverse Rod
1. The non slip pad is self
replaceable if damaged or
dirty.
15

Change the Driving Bit
Note: Use the bit provided by the manufacturer.
`
1. Use 4mm hex wrench to
loose screw.
2. Remove conduction
ass’y.
3. Pull the ring-pull and
replace the bit.
After replacement
assemble conduction
ass’y and lock in
screw.
Conduction Ass’y
Screw
Bit
Ring-Pull
4. Hex wrench can be
placed here after use.
16

Installing Or Removing Hook
1. Installing Hook:
Use Phillips or slotted bit size bit and tighten in clockwise.
2. Removing Hook:
Use Phillips or slotted bit size bit to loosen the hook.
(1)
(2)
17

18

4BInstructions
utilisateur
1BVVisseuse automatique à batterie pour vis
en bandes.
19

PRECAUTIONS
Lire ce manuel utilisateur avant d’utiliser la machine. Une mauvaise utilisation
pourrait entraîner des risques de blessure.
Conserver ce manuel pour un éventuel besoin future.
Les termes “appareil “ ou « machine » ou « outil » employé ci-après désigne
la visseuse automatique.
1) Zone de travail
a) Garder la zone de travail propre, éclairée correctement et dégagée.
b) Ne pas utiliser l’outil en atmosphère potentiellement explosive,
comme en présence de liquide ou gaz inflammables.
Un appareil électrique peut en effet produire des étincelles.
c) Tenir les enfants et les personnes non nécessaires au chantier à
distance.
2) Sécurité électrique
a) La fiche électrique doit être compatible avec la prise réseau
disponible. Ne jamais modifier une prise électrique.
b) Ne pas exposer l’appareil à la pluie ou le plonger dans l’eau. De
l’eau entrant dans un ajpareil électrique accroît le risque de chocs
électriques.
c) Ne jamais détériorer le cordon. Ne pas utiliser le cordon pour porter,
tirer ou débrancher l’appareil du réseau électrique. Préserver le cordon
de la chaleur, des produits pétroliers, angles vifs coupants ou pièces
en mouvement.
d) En cas d’utilisation en extérieur, utiliser une rallonge électrique
adaptée à une telle utilisation.
3) Sécurité individuelle
a) Rester vigilant et attentif avec un outil en main.
b) Porter tout EPI (Equipement de Protection Individuel) requis par le
type de travail effectué.
20
Other manuals for TS55-14V
1
Table of contents
Languages:
Other Aerfast Nail Gun manuals
Popular Nail Gun manuals by other brands
BEA
BEA 71/16-421S Additional instructions
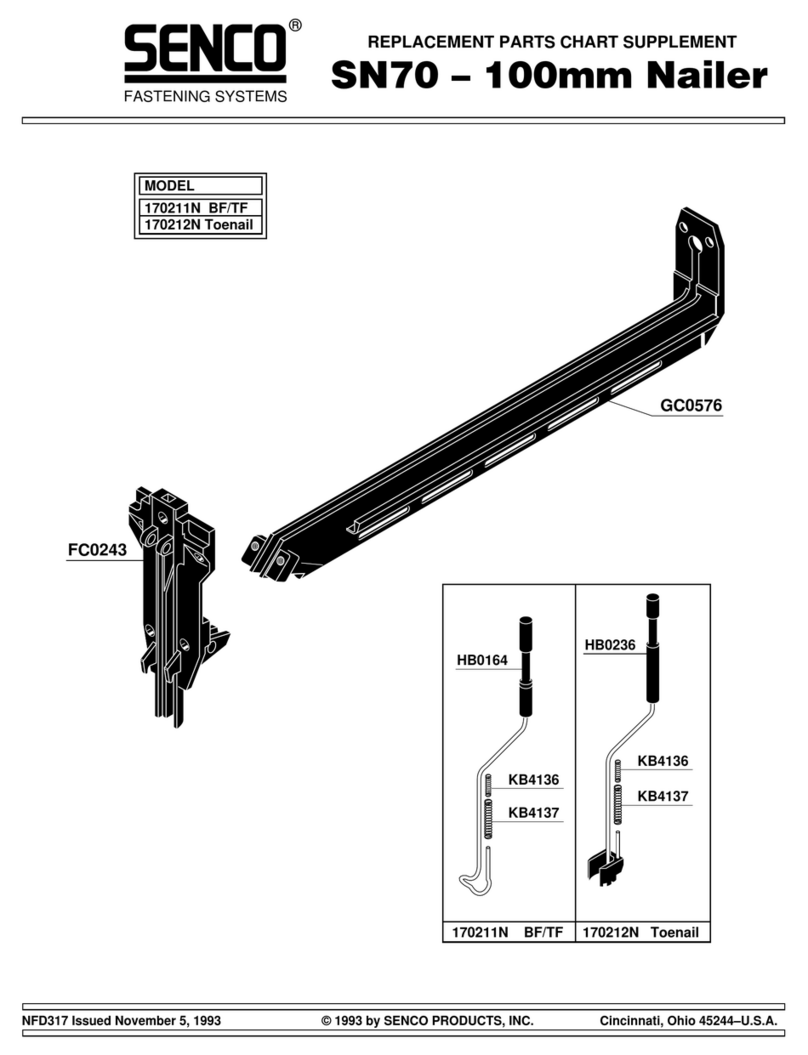
Senco
Senco 100mm nailer SN70 Replacement parts
Campbell Hausfeld
Campbell Hausfeld IN180300AV Specifications and parts list

Bostitch
Bostitch N79WW Operation and maintenance manual

Bosch
Bosch FNH180K-16 Operating/safety instructions
Husky
Husky H125BN Operator's manual
Schneider Airsystems
Schneider Airsystems KLG 90-40 SYS Original operating manual
Senco
Senco Fusion F-15XP operating instructions
DeWalt
DeWalt DWFP12569 instruction manual
Bostitch
Bostitch N62FN Operation and maintenance manual
Asist
Asist AE2ST03DN Instructions for use
Campbell Hausfeld
Campbell Hausfeld SB504000 operating instructions
