Factory: 9 Norfolk Court, North Coburg VIC 3058 Ph: (03) 9355 7100 Fax: (03) 9355 7166
Email: info@agradefinish.com.au Web: www.agradefinish.com.au
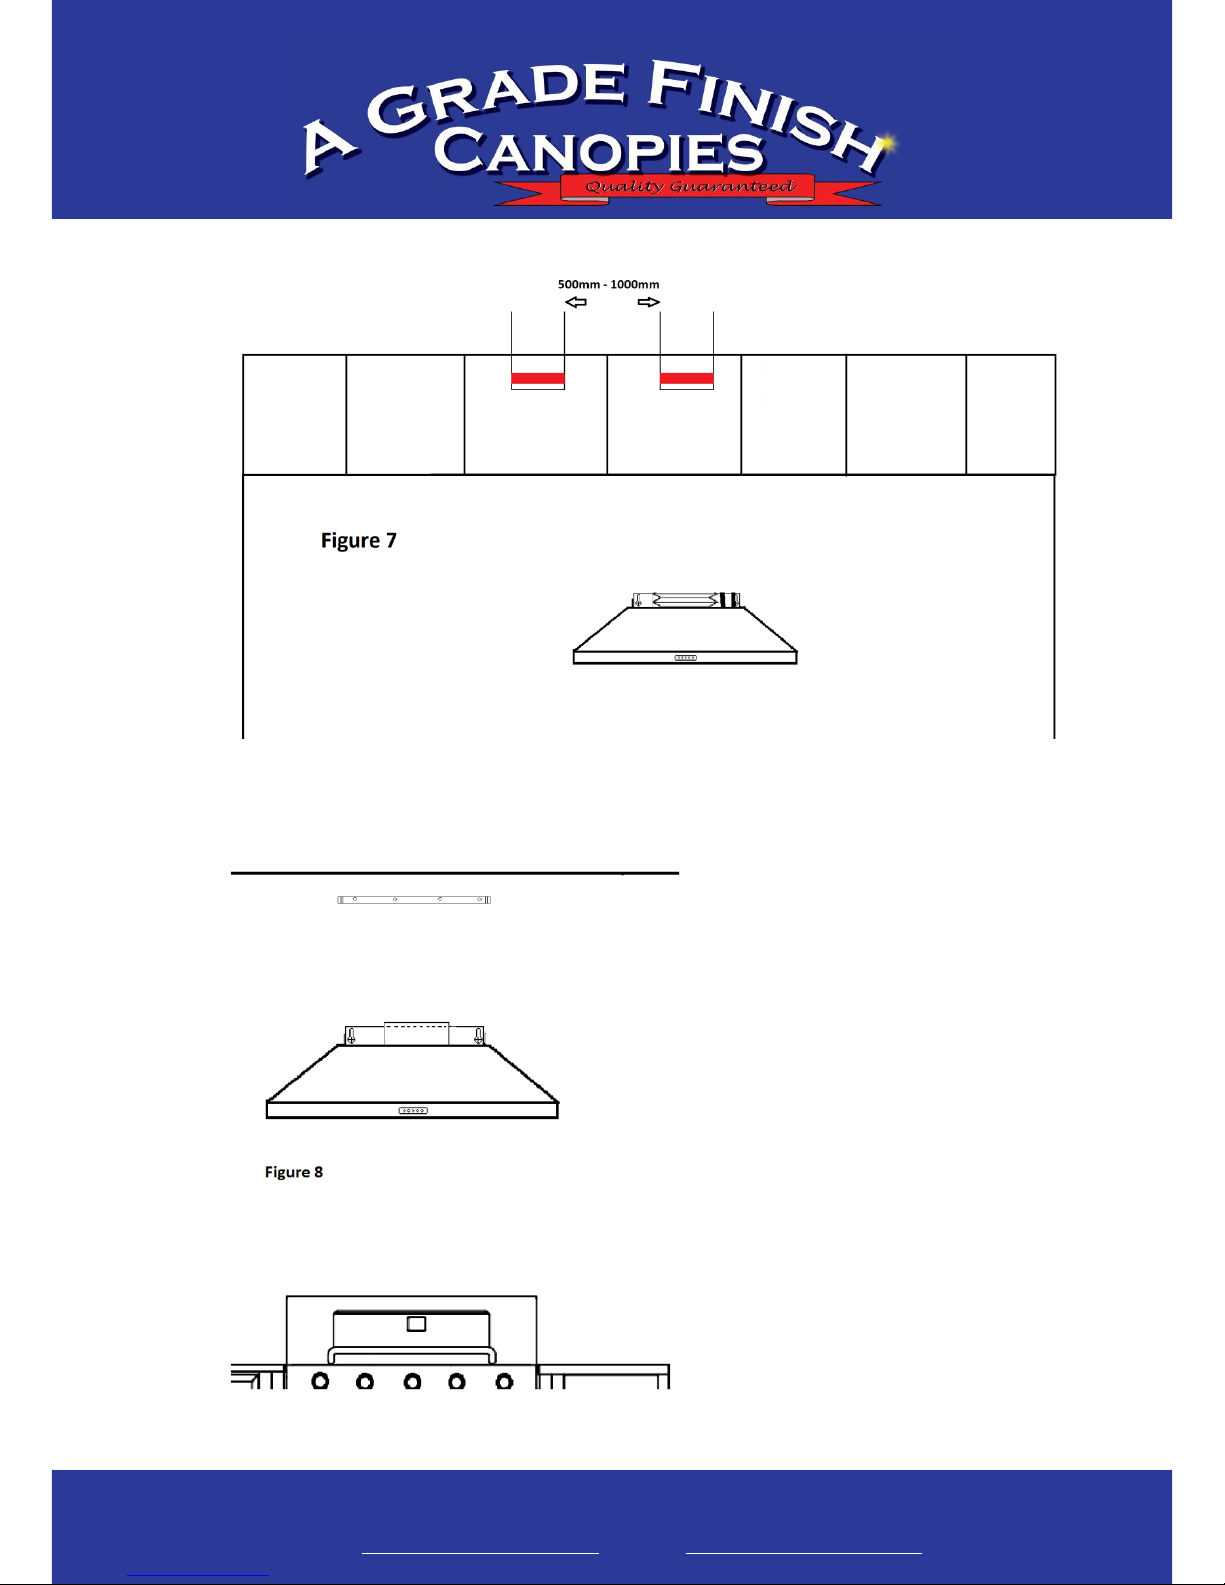
2. Safety
Please read this section prior to operating this unit.
If you find the rangehood is damaged in anyway please do not install and
contact A Grade Finish Canopies ASAP on (03) 9355 7100.
This appliance is not intended for use by young children or infirm persons
without adequate supervision.
There is a fire risk if cleaning is not carried out in accordance with the
instructions.
Do Not Flambé under the rangehood
There should be adequate ventilation of the room when the rangehood is used
at the same time with appliances burning gas or other fuels.
You must read the details concerning the method and frequency of cleaning.
The appliance is supplied with an approved power cable. If the supply cord of
this equipment is damaged, it must only be replaced by the manufacturer, its
service agent or similarly qualified person in order to avoid hazard.
Always switch power off prior to installing, servicing or cleaning the appliance.