INSTALLING AIG4, AND AIG6 SUPPLY GRILL WITH MOUNTING COLLAR
WITH BACKDRAFT DAMPER
Step 1 -Select the grill mounting point within the area to be ventilated. To ease installa-
tion, locations of framing beams within the walls or joists supporting the ceiling should
be considered. Collar is provided with a perforated hanging strap for attachment directly
to a beam or joist. if the location of the grill does not allow direct attachment, a cross-
member mounted to the framing should be used.
Step 2 -Place the mounting collar in the selected location and trace a circle onto the sur-
face. From the interior side of the room, cut through the surface. Please note: In order to
assure a smoother finish when mounting through a sheetrock or tile type ceiling, it is rec-
ommended that a razor knife be used to make the cut.
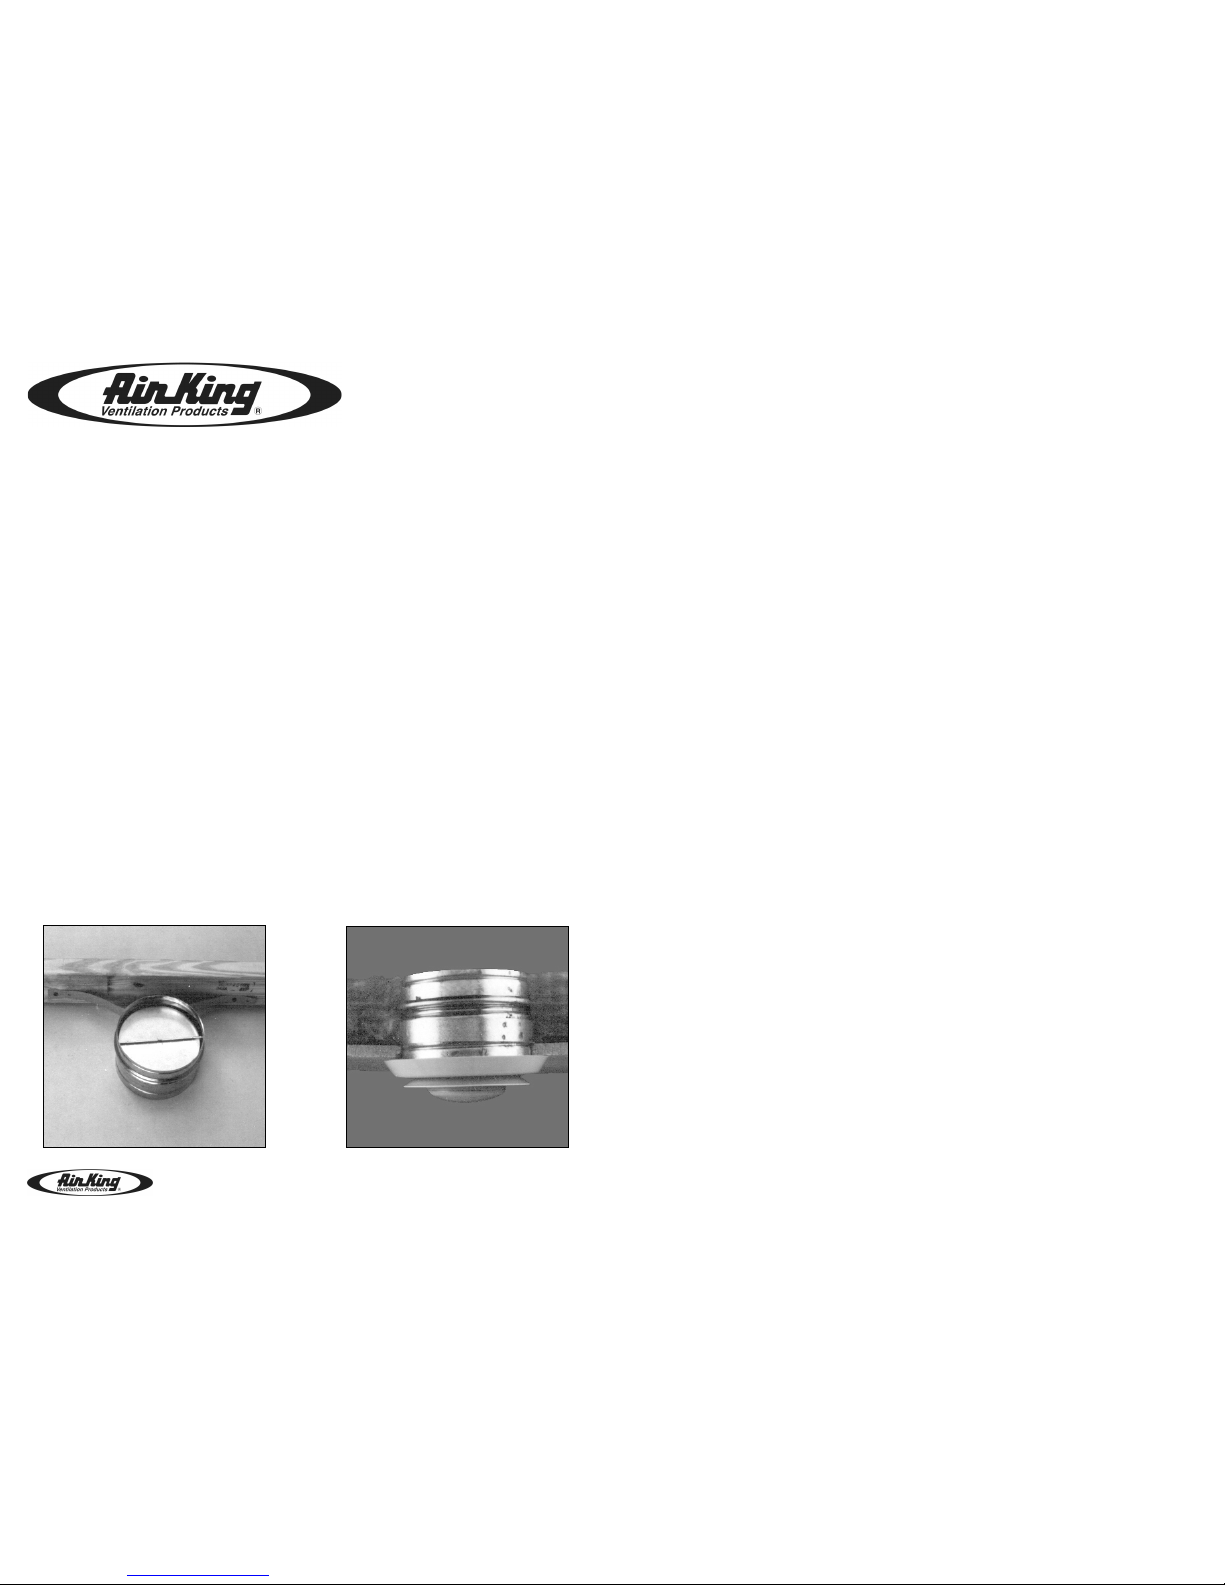
Step 3 -From within the attic or crawl space, place the mounting collar into the hole until
the edge of the collar is flush with the interior wall or ceiling surface. Attach collar to the
support beam with the 1" wood screws provided. Attach duct work. Please note: If beam
or joist exceeds the height of the collar, allow sufficient space between the collar and the
beam to attach the duct work. Also, when attaching flex duct to the collar/damper combi-
nation and an immediate elbow is necessary,be certain that the elbow is installed with a
"soft" bend to allow damper to operate preperly.
Step 4 -Snap the grill into the mounting collar.Grill should be pushed tightly into place
for an airtight fit.
FOR PARTS OR TECHNICAL ASSISTANCE - Please call: 1-800-465-7300
MONDAY THROUGH FRIDAY, BETWEEN THE HOURS OF 8 AM AND 4:00 PM EST.
DO NOT RETURN PRODUCT TO PLACE OF PURCHASE.
FOR more information please visit our website: www.airkinglimited.com
INSTALLER LA GRILLE AIG4, ET AIG6 AVEC LE COLLIER DE FIXATION
AVEC LE RÉGULATEUR DE DÉCHARGE
Étape 1 -Sélectionner le lieu d'installation de la grille au sein de l'espace être ventilé. Pour faciliter
l'installation, on devrait tenir compte de l'emplacement des colombages dans les murs ou encore
des solives supportant le plafond. Le collet est accompagné d'une courroie performée pour l'instal-
lation directement aux colombages ou aux solives. Si l'emplacement de la grille ne permet pas une
fixation directe, on doit utiliser une traverse attachée à la structure.
Étape 2 -Placer le collet de montage au lieu choisi et tracer un cercle sur la surface. De l'intérieur
de la pièce, découper la surface. Veuillez noter qu'afin d'assurer un fini plus unis lors de l'installa-
tion dans un plafond en gypse ou en tuiles il est recommandé d'utiliser un couteau à lame à gypse.
Étape 3 -De l'intérieur de l'entre-toit ou de l'espace restreint, placer le collet de montage dans l'ou-
verture jusqu'ce que le rebord du collet soit égal avec le mur intérieur ou la surface du plafond.
Fixez le collet une poutre avec les vis à bois de 1 po qui sont fournis. Attacher les conduits. Veuillez
noter: Si la poutre ou la solive dépasse la hauteur du collet, laissez suffisamment d'espace entre le
collet et la poutre afin d'y fixer le conduit. De plus, lorsqu'on attache un conduit flexible à la combi-
naison collet/registre et qu'un coude immédiat est requis, assurez-vous que l'angle soit installé de
façon à permettrie aux lamelles du registre de bien fonctionner.
Étape 4 -Enclenchez la grille dans le collier de fixation. La grille devrait être poussé étroitement
dans l'endroit pour un ajustement hermétique.
INSTALACION DE REJILLAS DE ENTRADA AIG4, Y AIG6 CON COLLARIN DE MONTAJE,
CON MARIPOSA DE CONTRATIRO.
PASO 1 -Seleccione et sitio de montaje de la rejilla dentro del ambiente a ventilar. Para facilitar hay
que tener en cuenta la ubicación de las vigas estructurales de las parededs y del cielo raso. El col-
larín viene con un tirante perforado para fijación directa a una viga o vigueta. Si la ubicación de la
parrilla no permite une fijación directa, habrá que usar travesaños adosados a las vigas.
PASO 2 -Coloque el collarín adaptador en el sitio slecccionda y trace un círculo en la superficie.
Deste el interior del cuarto, haga un corte a través de la superficie. Nota: Para logar un acabado
más uniforme al atravesar un cielo raso compuesto de cartón de yeso o de losaas acústicas, enre-
comendable usar una navaja para harcer el corte.
PASO 3 -Desde la buhardilla o especio de "gateo" encima del cielo raso, inserte el collarín de mon-
taje en el agujero hasta que quede el borde del collarín al ras de la pared interior o superficie del
cielo raso. Conecte el conducto. Favor tomar nota: Si la viga o vigueta excede la altura del collarín,
deje un espacio adecuado entre el collarín y la viga para conectar el conducto. Asimismo, al conec-
tar un conducto frlexible al conjunto de collarín y regulador (mariposa), si hay que instalar un codo
contiguo, tenga cuidado de montar el codo con una curva "suave" a fin de que las hojas del regu-
lador funcionen lebremente.
PASO 4 -Enganche la rejilla a presión en el collarín de montaje. La rejilla se debe aprisionar firme-
mente para que quede hermética. .