Art nr. 66.000.000.15 9
Instructions Manual-Gebruiksaanwijzing-Manuel d'instruction
FR - Instructions importantes
Mesure de sécurité
1. Lire attentivement la totalité des instructions avant toute utilisation de
l'appareil.
2. Retirer les emballages et s'assurer que l'appareil n'est pas endommagé. En
cas de doute, ne pas utiliser le ventilateur et contacter son fournisseur.
3. Ne pas laisser les enfants jouer avec des éléments de l'emballage (tels que
des sacs en plastique).
4. Avant de brancher dans la prise, contrôle si la tension du secteur correspond
à la tension indiquée sur la plaque signalétique de l'appareil.
5. Avant d'assembler ou de démonter le ventilateur, s'assurer qu'il est
débranché.
6. Avant de débrancher le cordon d'alimentation, s'assurer de couper
l'alimentation.
7. Ne pas insérer d'objet dans la protection pendant le ventilateur fonctionne.
CELA PROVOQUERA DES BLESSURES CORPORELLES.
8. Le ventilateur doit être utilisé dans des climats tempéré, ne pas le mettre en
œuvre dans des zones à forte humidité ou poussiéreuses. Ne pas utiliser le
ventilateur aux endroits où des acides ou des bases sont entreposés.
9. Ne pas accrocher de vêtements ou d'habits sur les protections du ventilateur.
10.Ne pas utiliser le ventilateur en extérieur.
11.Ne pas orienter directement le flux d'air sur un bébé ou un patient pendant
une période prolongée.
12.L'appareil n'est pas destiné à une utilisation par de jeunes enfants ou des
personnes infirmes sans supervision.
13.Les jeunes enfants doivent être supervisés pour assurer qu'ils ne jouent pas
avec l'appareil.
14.Cet appareil n'est pas destiné à une utilisation par des personnes (y compris
des enfants) avec des capacités mentales, sensorielles ou physiques réduites,
ou manquant d'expériences ou de connaissances, à moins d'avoir reçu une
supervision ou une instruction relative à l'appareil par une personne
responsable de leur sécurité.
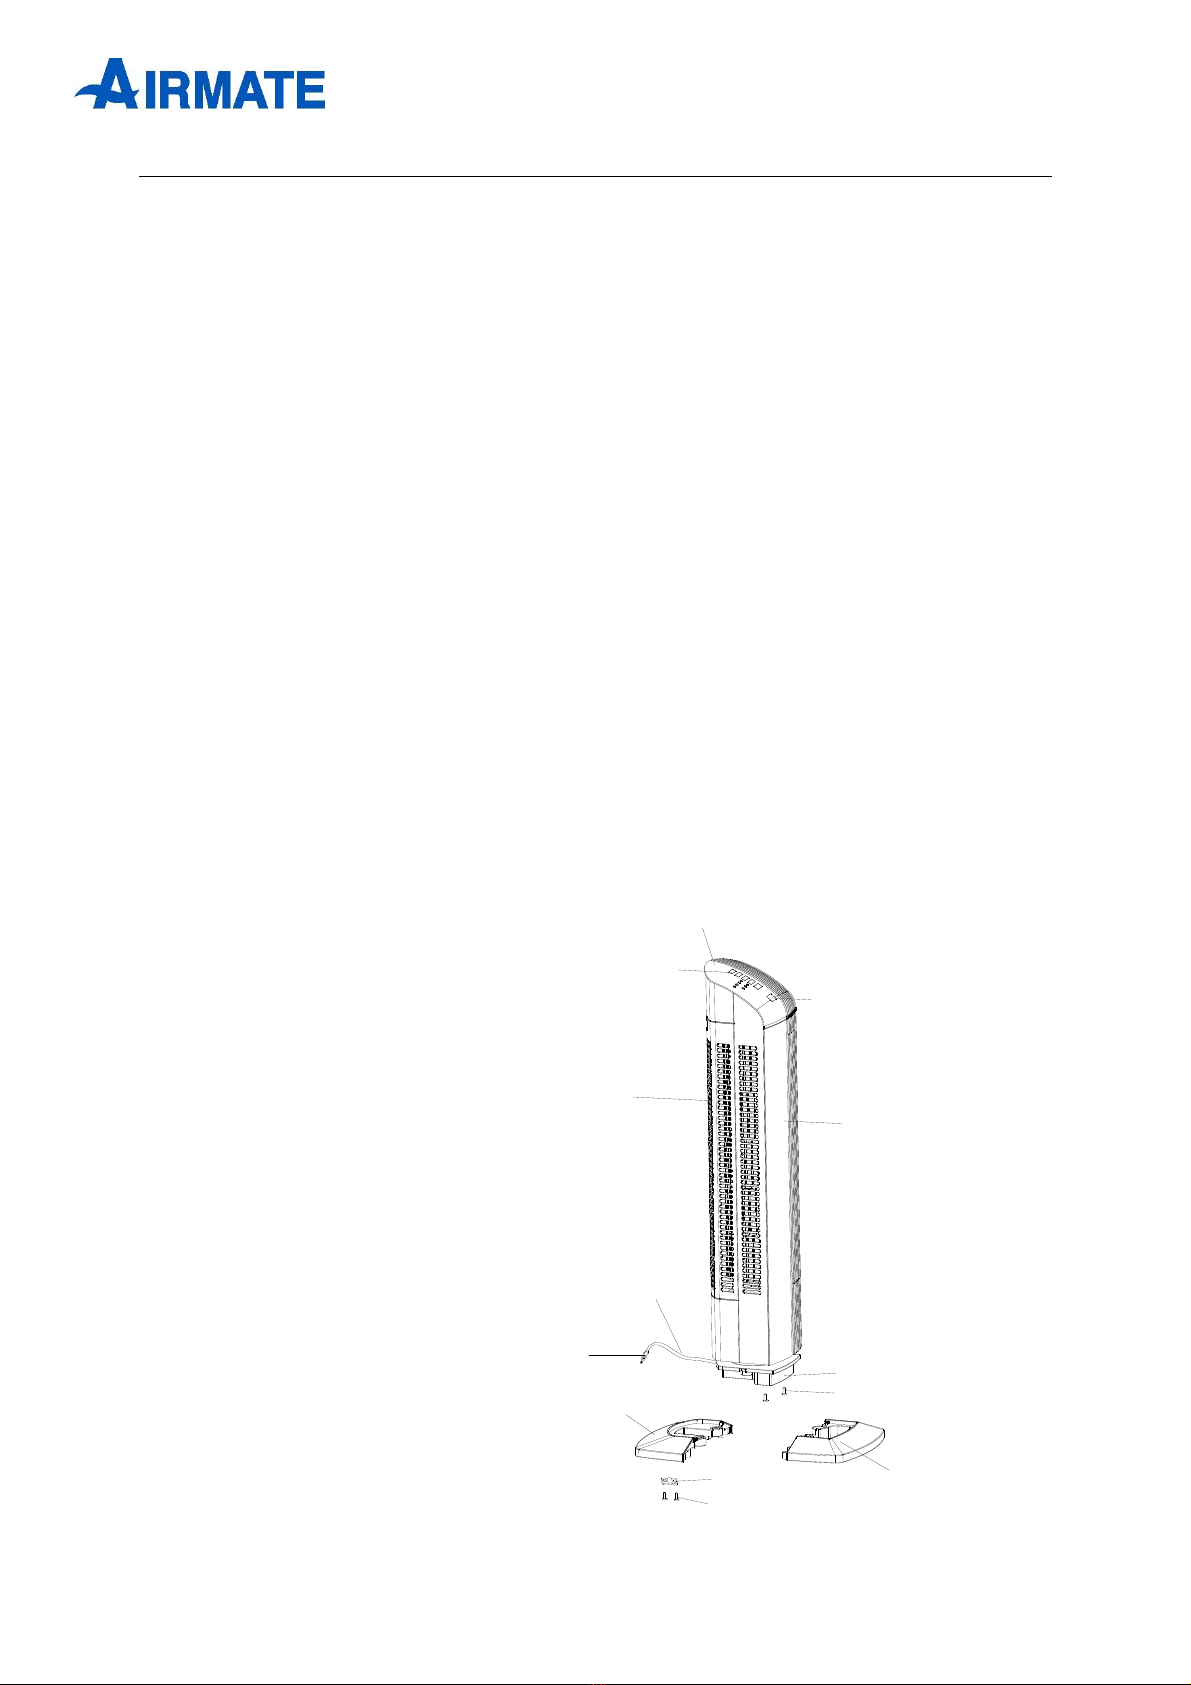
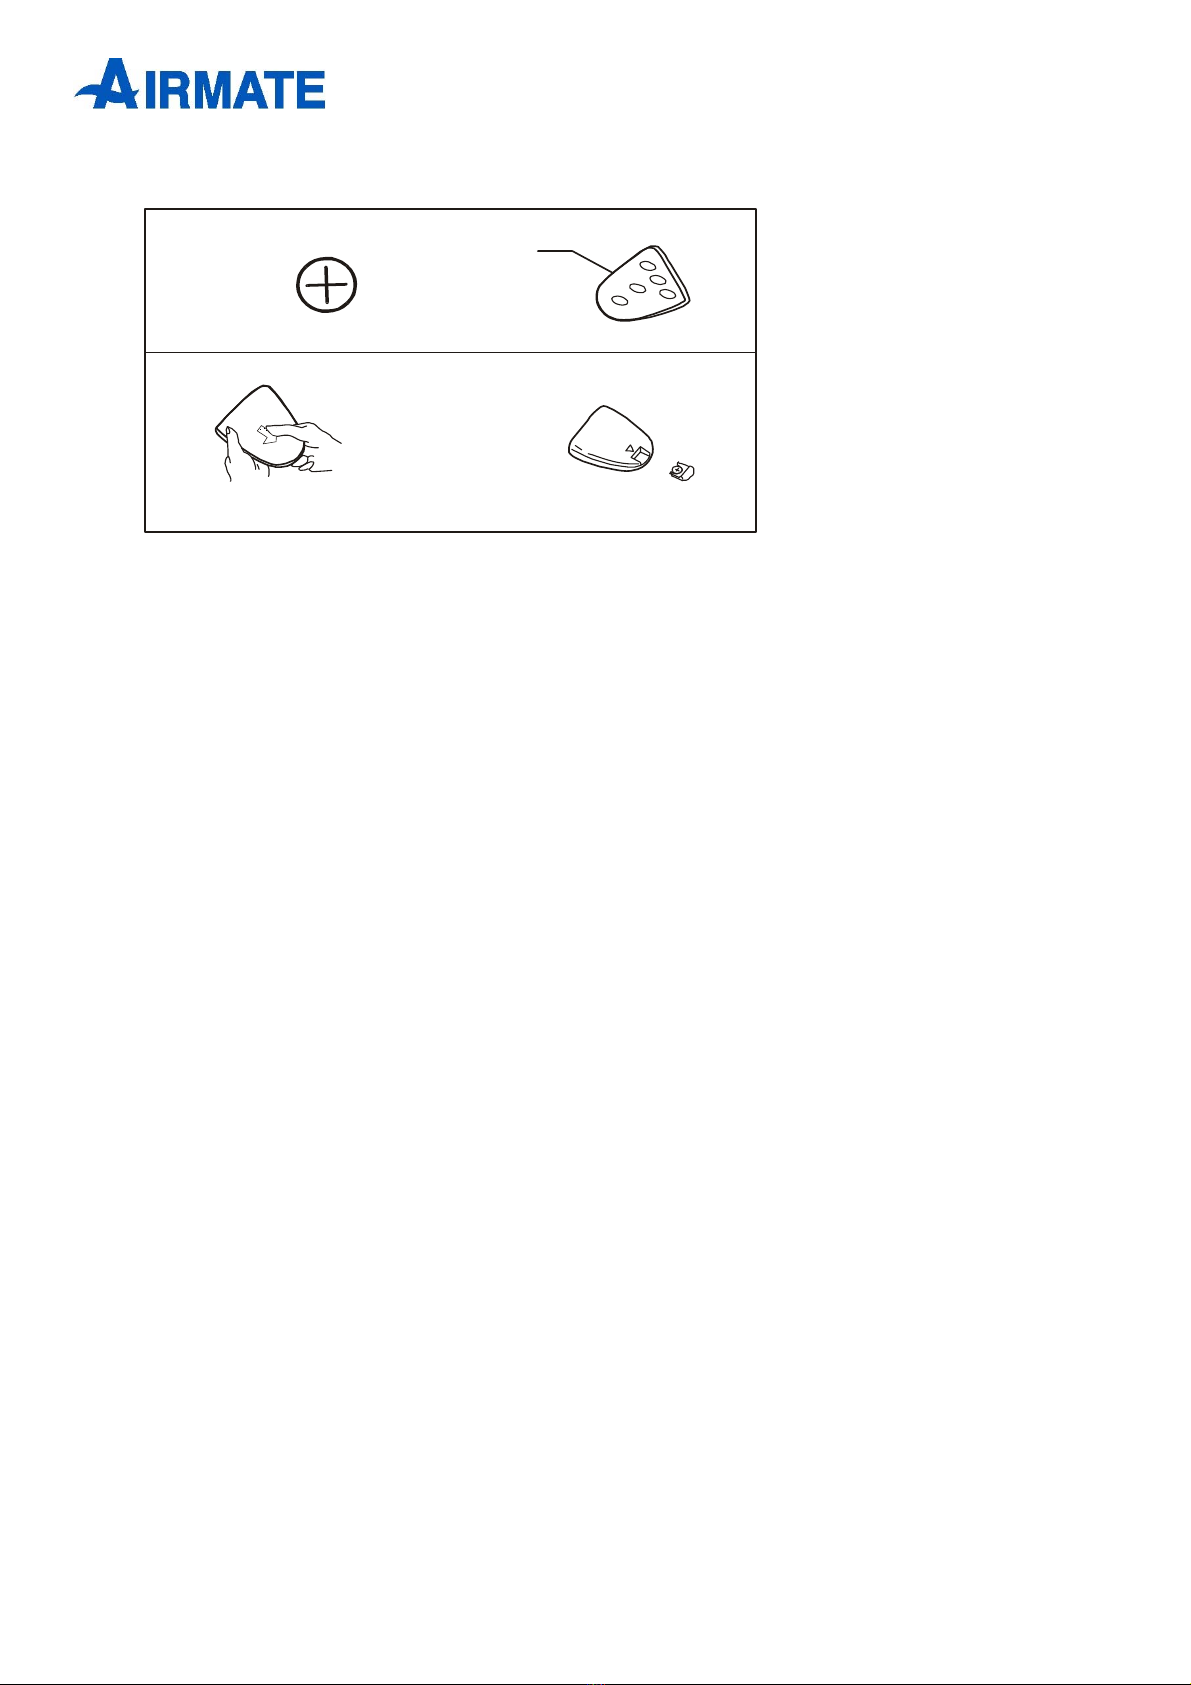
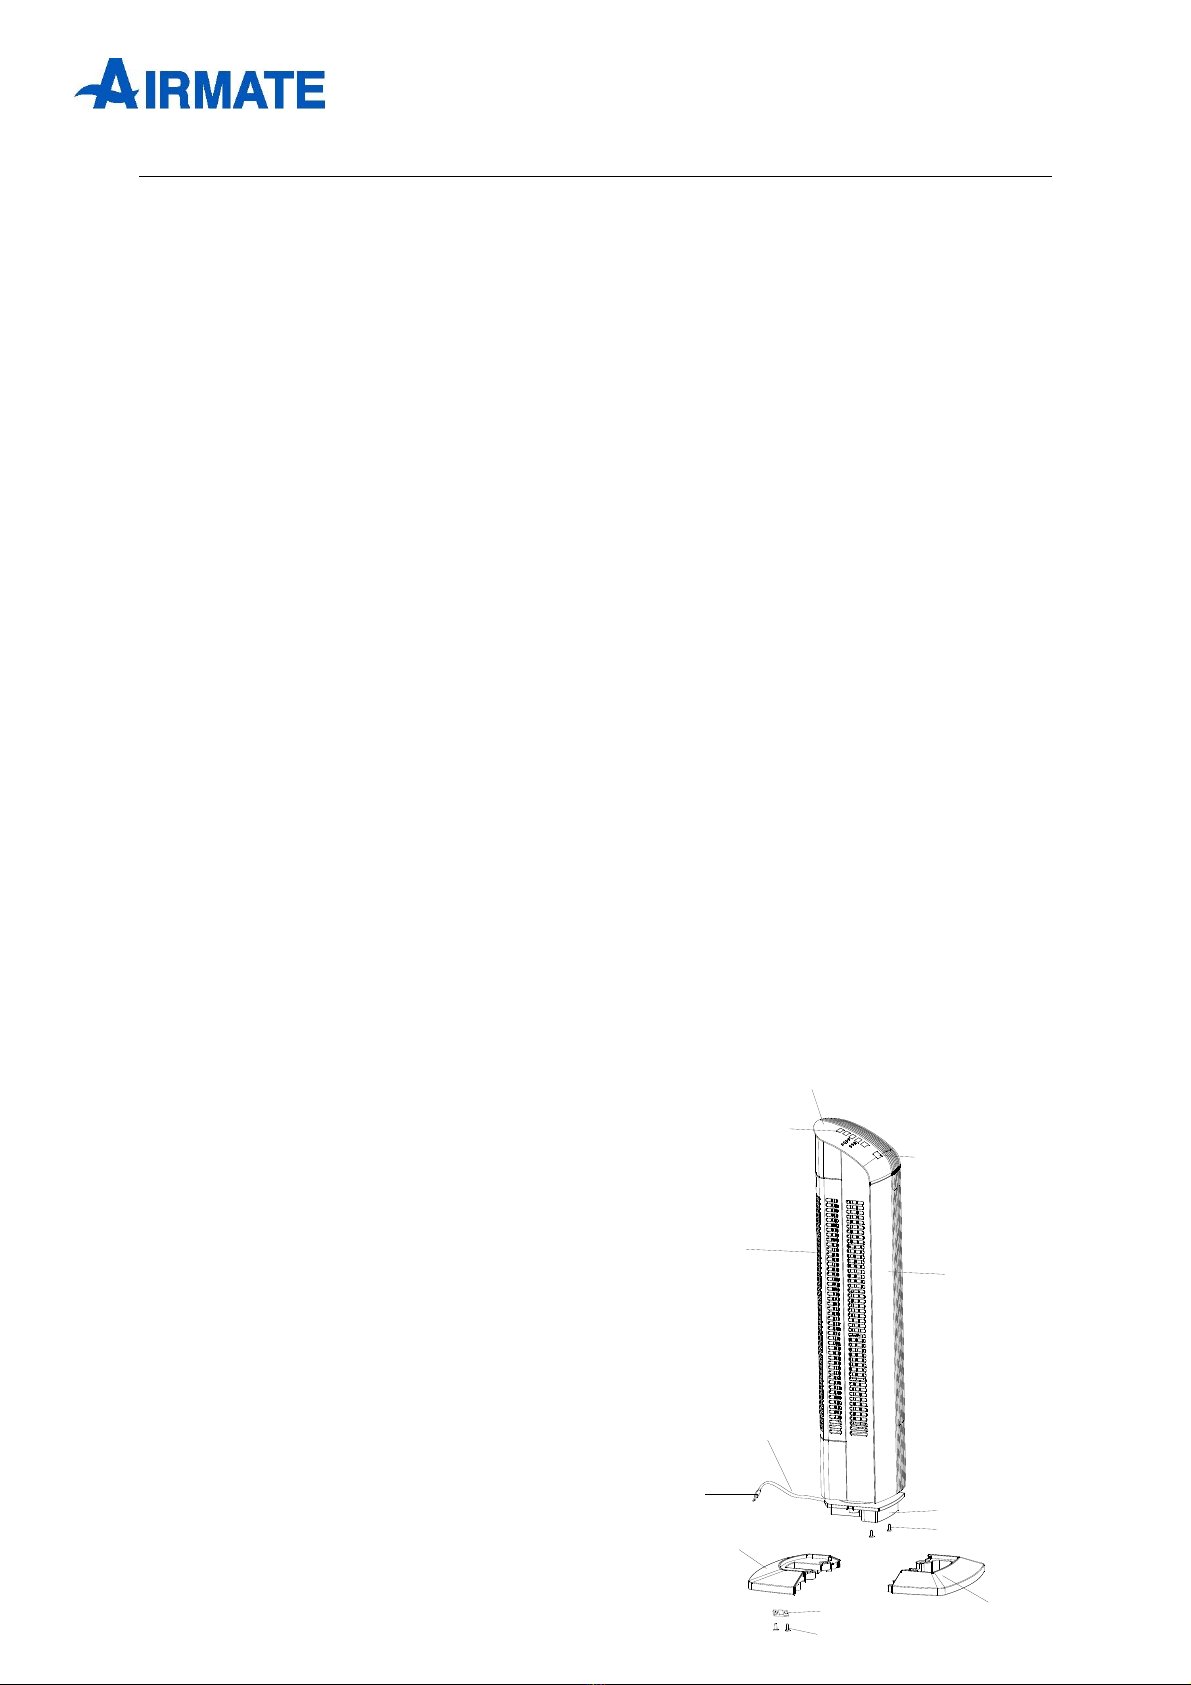
Description des pièces
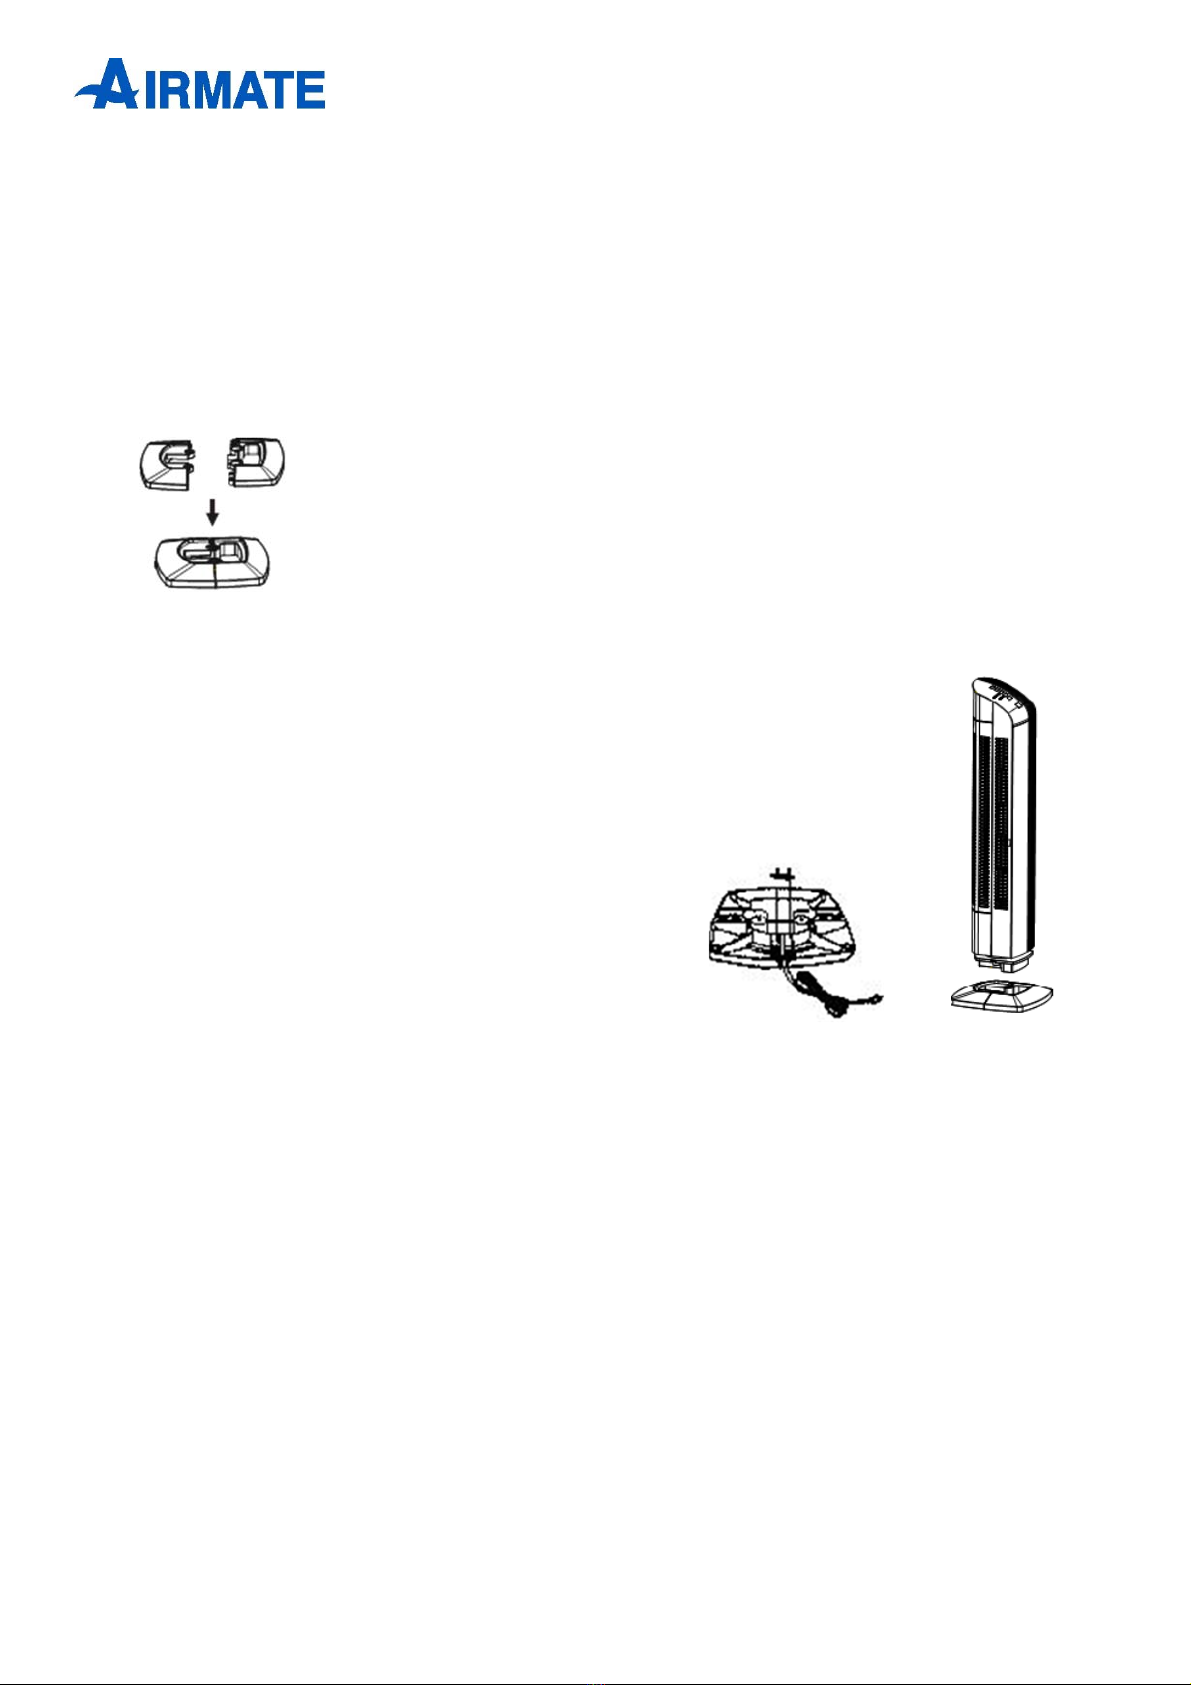
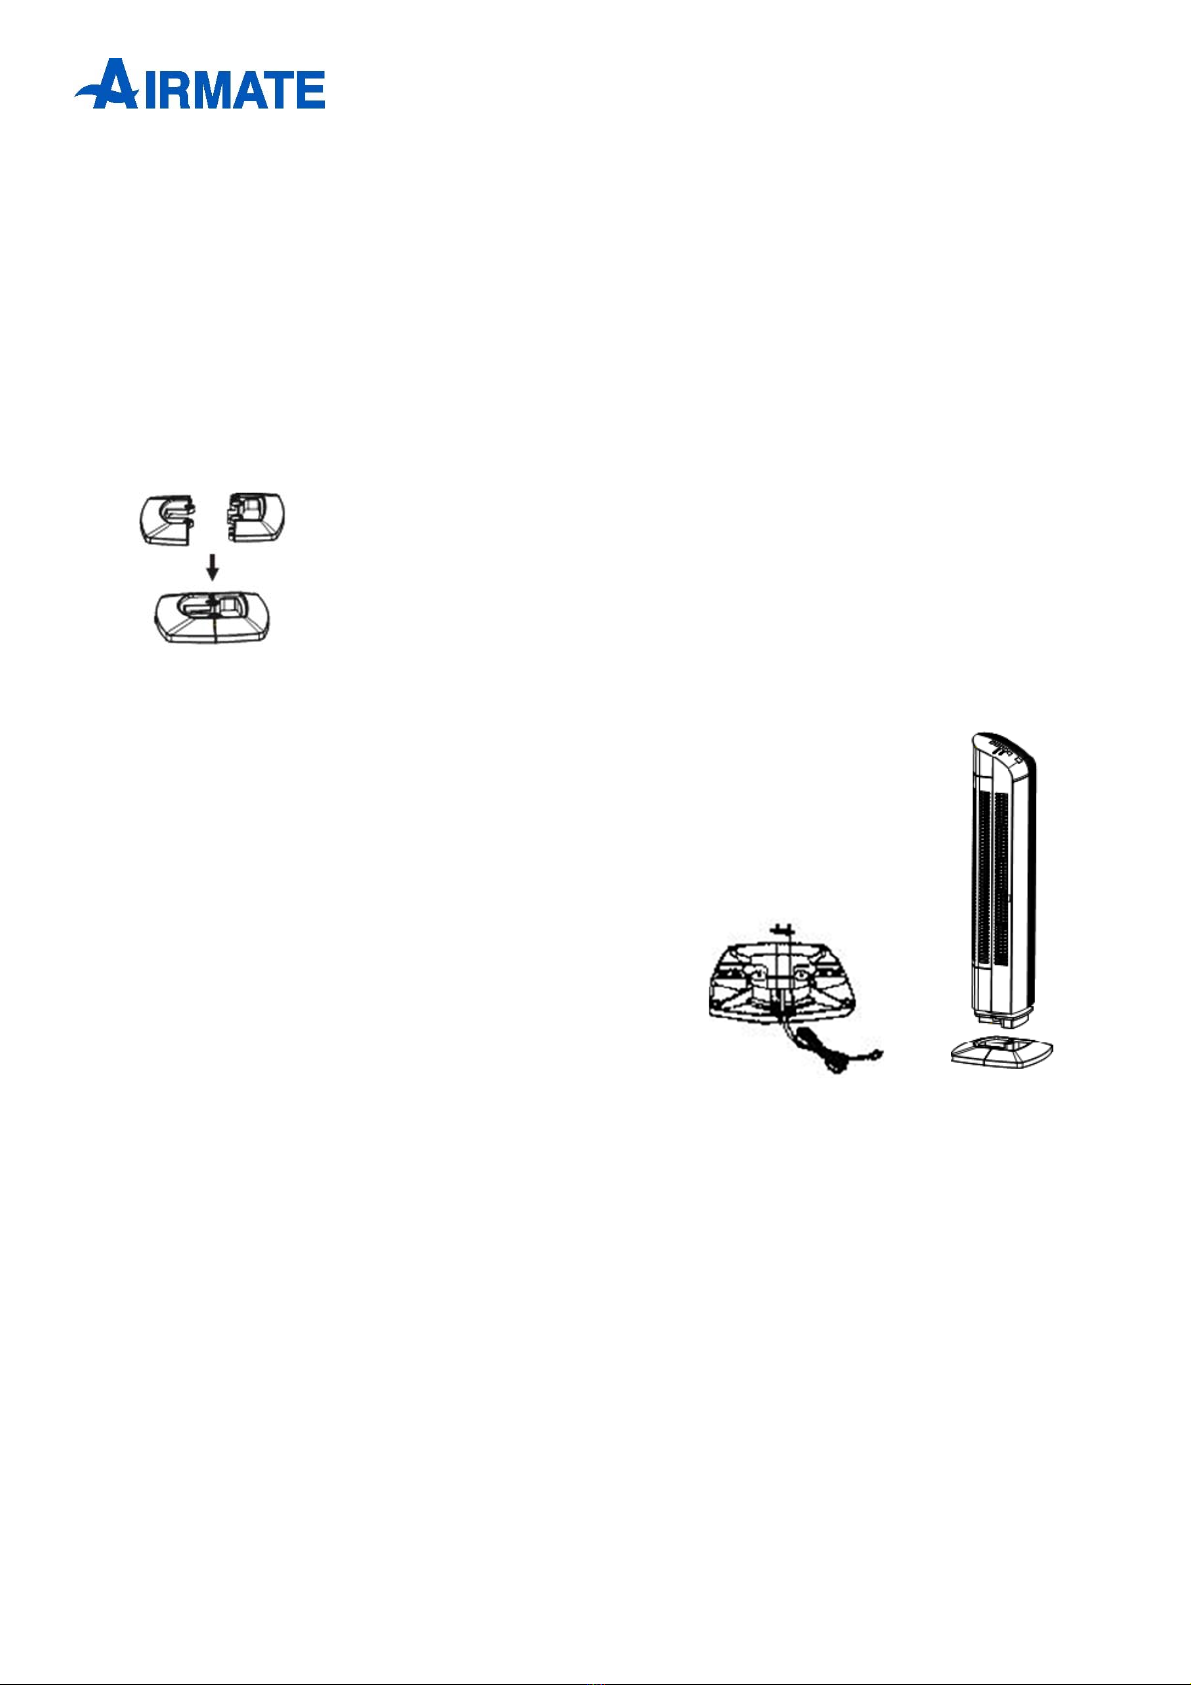
Screw
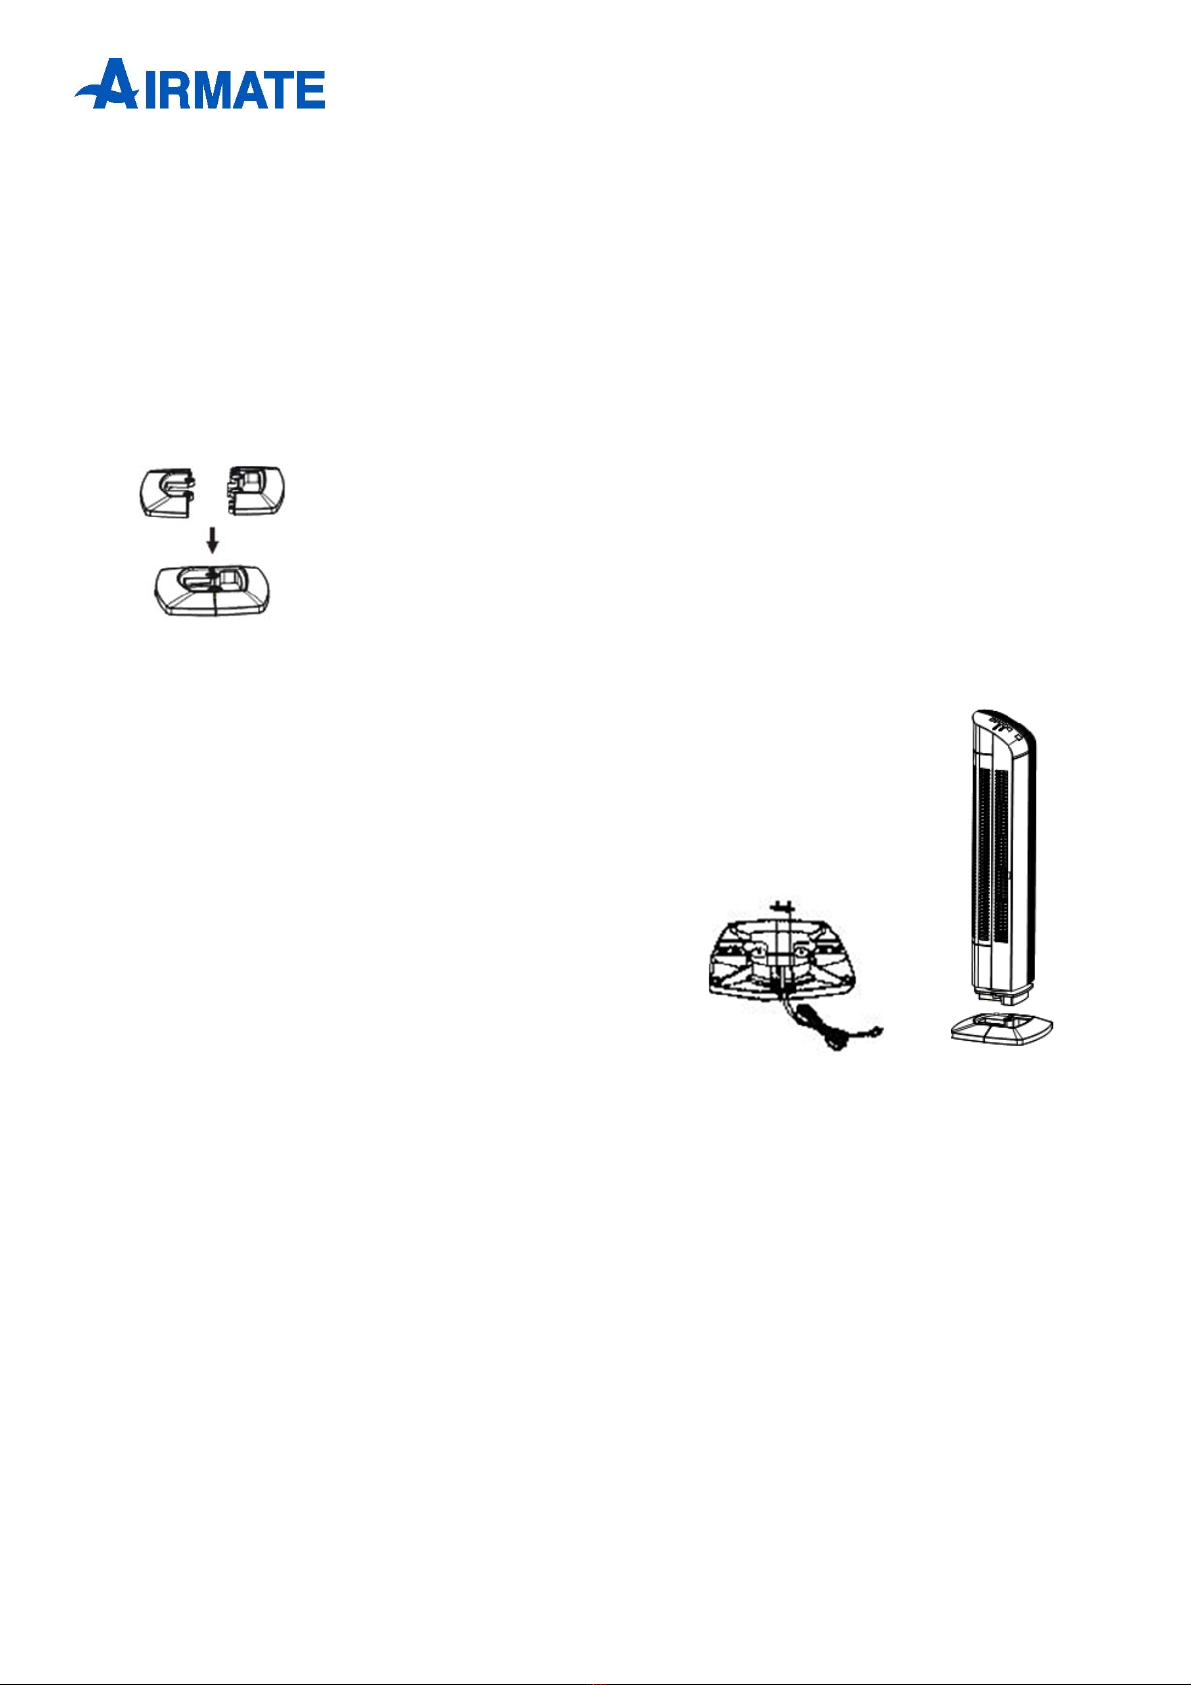
Rear base
Power cord
Plug
Clip
Rear enclosure
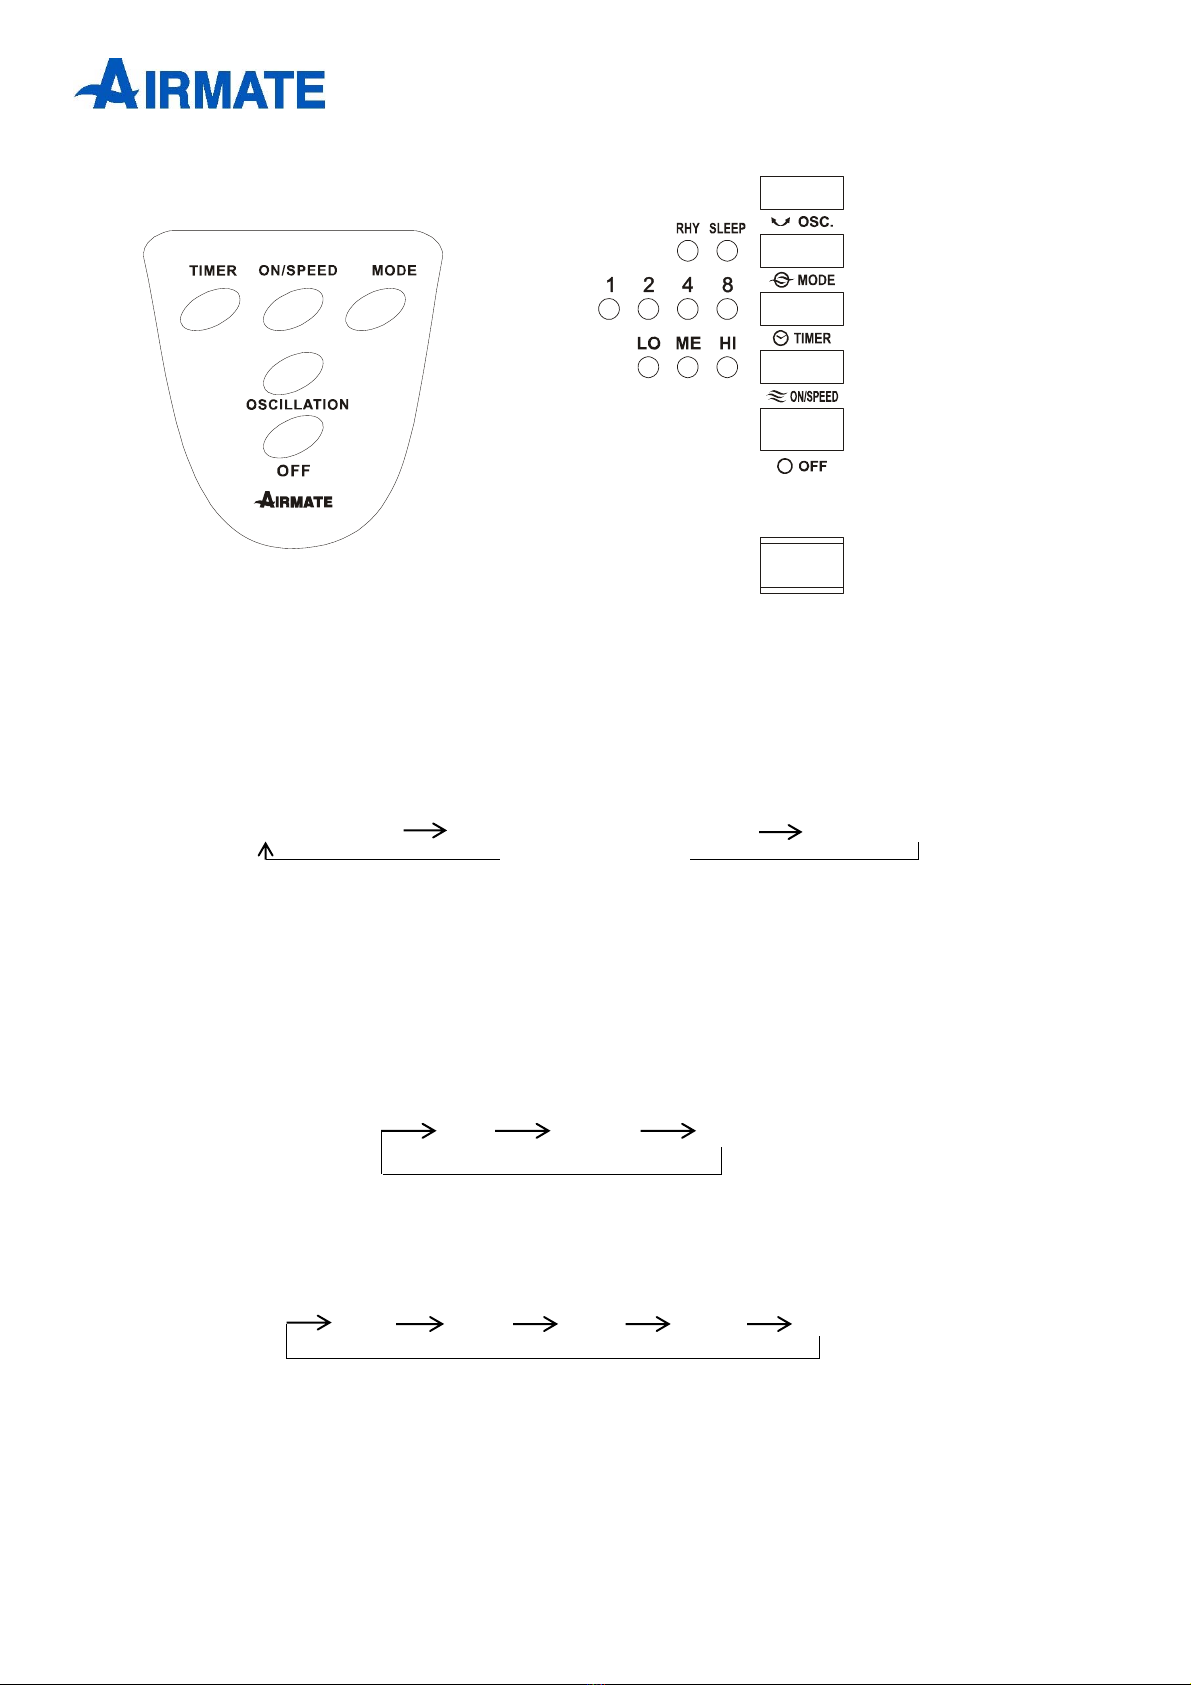
Speed control button
Control panel
Screw
Turn desk
Front base
Front enclosure
Sensor zone