7
Priming the Gun
In most cases the gun will prime simply by
operating the Trigger several times.
Should grease fail to appear, air must be bled.
Force Prime
This process manually assists air within the gun to
be bled at the Bleed Valve.
1. Pull the follower rod and engage the follower by
rotating the rod.
2. Depress Bleed Valve (48) and at the same time
push on the follower rod.
Once the air is eliminated, operate the gun several
times.
Once grease appears, disengage the follower rod
from the follower and push into the Grease Cylinder.
Gun Operation
Battery Pack (37) is intentionally shipped with a
low charge.
Charge Battery Pack prior to use.
• Refer to the following section for details.
NOTE: The Battery Pack must be dis-
charged and recharged several times
before achieving a full charge.
CAUTION
Air pockets in the grease can cause the gun
to lose prime. Check for prime after each refill
and before lubrication.
The gun is equipped with a thermal protector to
prevent the motor from overheating. When a
blocked bearing, line, or grease fitting causes
the gun to stall, the thermal protector will stop
and restart the motor every 2 to 3 seconds. For
maximum motor life, avoid operating at stall.
Check Valve Contamination
Should the gun fail, the outlet check may be held
open. Remove Plug (41), clean Ball (44), and the Ball
seat of Head (16).
Battery Pack and Charger Safety Rules
This manual contains important safety and operating
instructions for Battery Pack part number 340912 and Battery
Chargers340913, 340914, 340915.
WARNING
Before using the Battery Charger read all
instructions and cautionary markings on Battery
Charger (55), Battery Pack (37), and products using
the Battery Pack.
To reduce the risk of injury, charge only Nickel-Cad-
mium type rechargeable batteries. Other types of bat-
teries may burst causing injury.
An extension cord should not be used unless abso-
lutely necessary. Use of an improper extension cord
could result in a risk of fire and electric shock. If an
extension cord must be used, make sure it is 16-
gauge. Check to ensure that the pins on the plug of
the extension cord are the same number, size, and
shape as those of the plug on the Charger. Make sure
that the extension cord is properly wired and in good
electrical condition.
Do not incinerate the Battery Pack, even if it is
severely damaged or completely worn out. The Battery
Pack may explode in fire.
CAUTION
Do not expose the Charger to rain, snow, or frost.
To reduce the risk of damage to electric plug and
cord, pull by the plug rather than the cord when
disconnecting the Charger.
Make sure the cord is located so that it will not be
stepped on, tripped over, or otherwise subjected to
damage or stress.
Do not operate the Charger with damaged cord or plug.
Replace immediately.
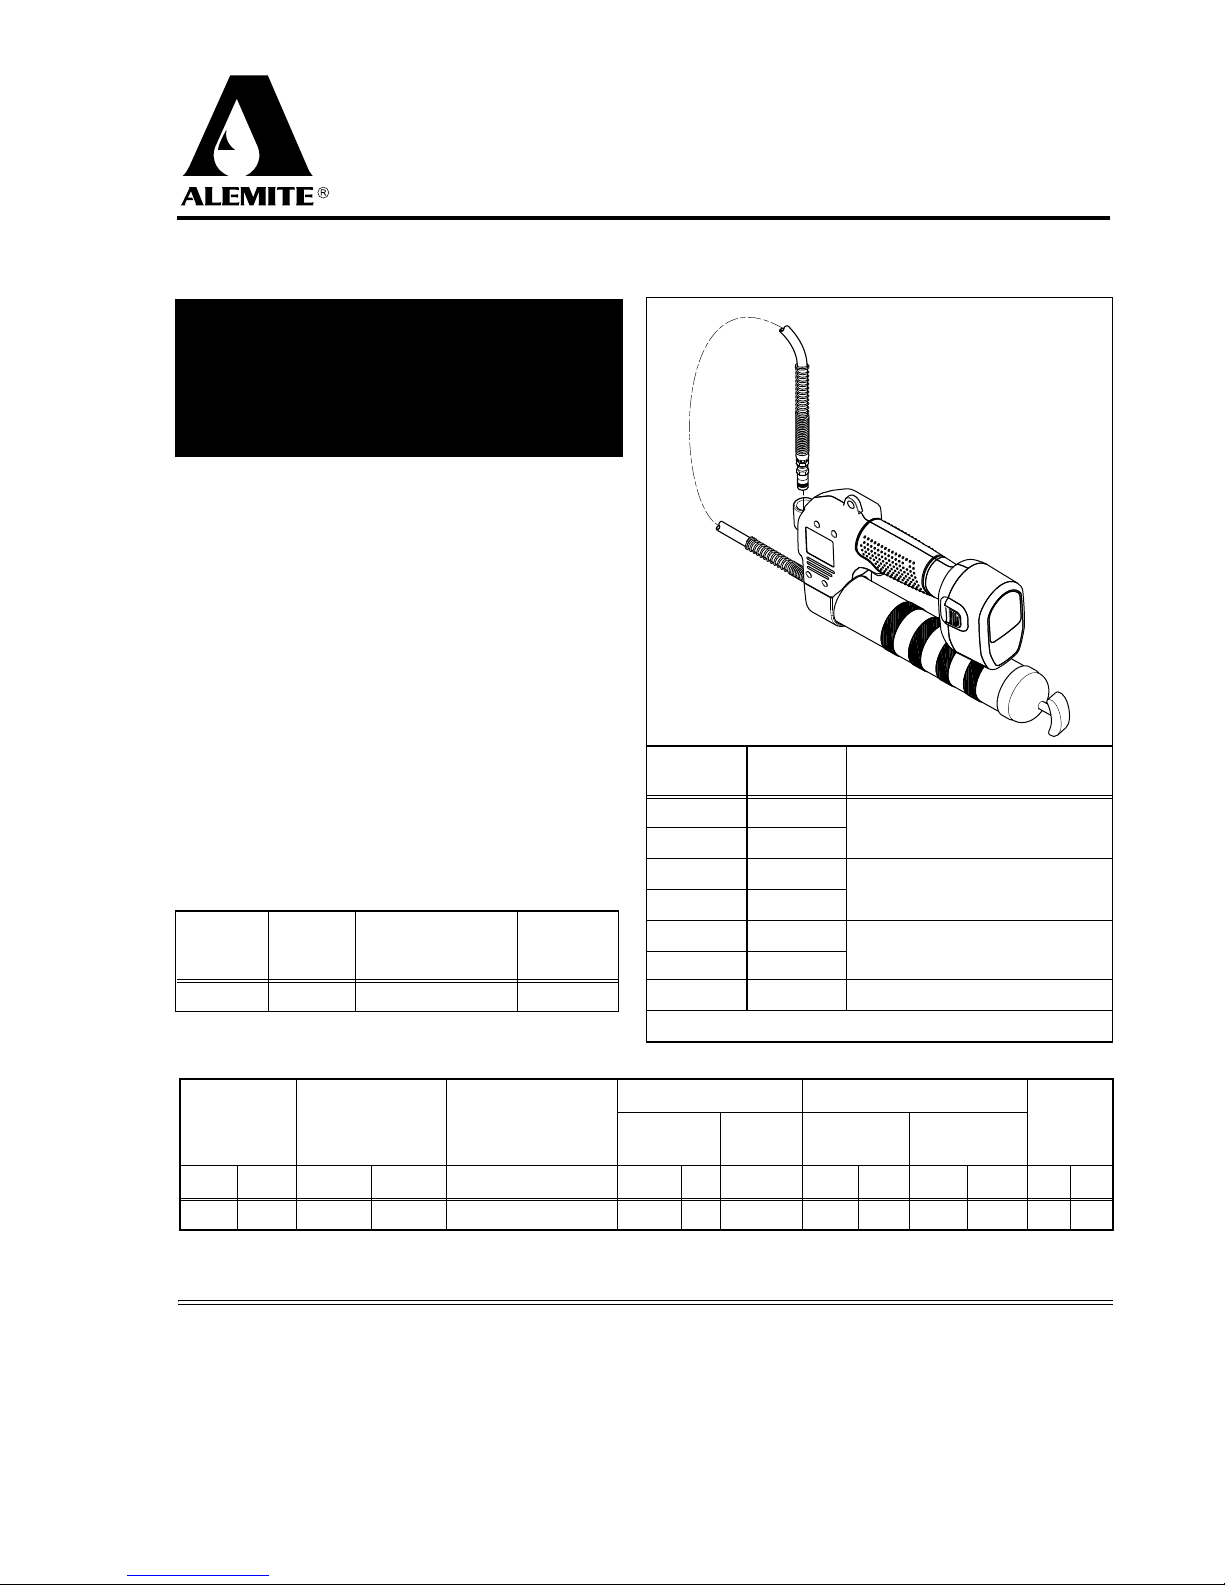
Cordless Grease Gun SER 585-A1
Alemite, LLC Revision (9-09)