Aleratec DVD/CD Shredder XC User manual

USER GUIDE
Aleratec
DVD/CD Shredder XC™
Part No. 240145

www.aleratec.com
Copyright/Model Identification
The content of this manual is for informational purposes only and is subject to
change without notice.
This manual is copyright with all rights reserved. Under copyright laws, this
manual and the software described within may not be copied, except in the
normal use of the product(s) described within or to make a backup copy.
Copyright© 2009
Aleratec, Inc.
9851 Owensmouth Avenue
Chatsworth, CA 91311 U.S.A.
www.aleratec.com
Aleratec™ and DVD/CD Shredder XC™ are trademarks of Aleratec, Inc.
Please record the following information to help expedite any warranty claim:
Model No. _______________________________
Date Purchased __________________________________________________
Place of Purchase ________________________________________________
www.aleratec.com 3
Introduction
Thank you for purchasing the DVD/CD Shredder XC. Please read this User
Guide thoroughly before using this product.
Precautions
Before operating your DVD/CD Shredder XC, please read the following.
Warning:
When shredding DVDs or CDs, keep eyes and ngers away from •
the feed opening to avoid possible injury.
Always unplug the shredder prior to moving, cleaning, or emptying•
the wastebasket.
Continuous shredding of form fed computer paper should not•
exceed two minutes.
Do not attempt to repair the shredder yourself.•
Keep the shredder in the OFF position when it is not in use for an•
extended period of time.
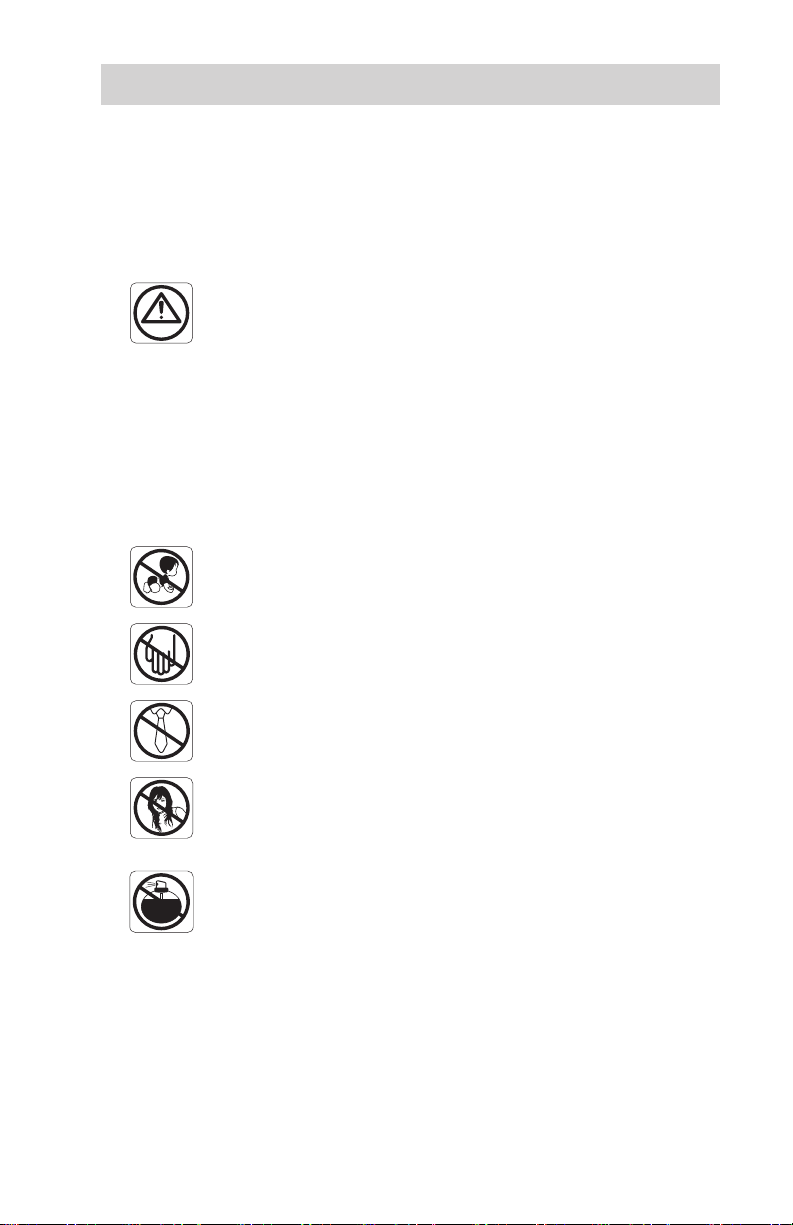
Product is not intended for use by children (product is not a toy).•
Keep shredder out of the reach of children.
Avoid touching the document feed opening with hands. Do not•
place hands or ngers into shredder opening to avoid serious injury.
Avoid clothing touching the document feed opening. Keep all•
loose articles of jewelry, and other small items away from the feed
opening to prevent injury.
Avoid hair touching the document feed opening. Keep all loose•
articles of jewelry, and other small items away from the feed
opening to prevent injury.
Keep aerosol products away.•

www.aleratec.com
4
Introduction
Key Items
Note: Choose a Good Location
Allow adequate clearance for moving parts.1.
Do not place near heat sources such as radiators or air ducts, or in a place2.
subject to direct sunlight, excessive dust, mechanical vibration or shock.
Good care will help assure maximum product life. Improper operating3.
environment and misuse may void the warranty.
Entry slot for
full size sheet
of paper
Entry slot for
Blu-ray/DVD/CDs
and Credit Cards
Control Switch
Waste
Receptacle

www.aleratec.com 5
Introduction
Unpacking your Shredder
Place the shredder on a at level surface.1.
Remove all packing materials from the shredder.2.
Powering Up your Shredder
Plug the shredder into a 120V electrical outlet.1.
Place the slide switch in the AUTO position.2.
The power LED will illuminate and the shredder is now ready for3.
operation.

www.aleratec.com
6
Shredder Operation
This shredder is equipped with an Auto Start/Stop smart sensor, which
allows the unit to automatically start when an item is placed into the feed
opening and stop as soon as the item travels completely through the feed
opening.
Shredder Capacity
The shredder will shred up to ve letter size sheets of 20 lb. bond paper. •
When shredding Blu-ray, DVD or CD discs or credit cards, only insert
one piece at a time.

www.aleratec.com 7
Problems and Solutions
Basic Paper Jam
The shredder should automatically eject any minor excess material from the
feed opening. Manually remove any unshredded material from the top of the
feed opening.
Minor Paper Jam
Place the slide switch in the REV position and pull the remaining sheets of
paper out of the feed opening. Remove the unshredded portion of paper from
the top and clear any excess paper shreds from the feed opening.
Major Paper Jam
Turn off or unplug the power cord from the AC outlet and wait at least 201.
minutes for the thermal overload protection to reset.
Plug in the AC power cord and place the slide switch in the AUTO2.
position. If paper was left inside the feed opening prior to the overload,
place the slide switch in the REV position, grasp the excess paper from
the top, and pull it out. Be careful to not place your ngers near the feed
opening or serious harm could result. Clear any excess paper shreds from
the feed opening. Press the power button. You are now ready to resume
normal shredding.
Paper Jams and Motor Overload Situations
The shredder is equipped with an automatic motor overload protection
circuit. The duty cycle for the shredder is rated for continuous shredding.
Recommended running time at maximum capacity is 2 minutes on and 20
minutes off. The shredder will automatically terminate power if any of the
following abnormal situations occur:
Operating the shredder at the maximum ve-sheet capacity continuously 1.
for a prolonged period of time, e.g., more than 2 minutes without stopping.
Exceeding the shedding capacity, e.g., inserting more than ve sheets of 2.
20-lb paper in one pass, or if the paper is not fed squarely into the feed
opening.
Both abnormal operations may result in the activation of the automatic thermal
motor overload protection circuit, which terminates power to the shredder. A
paper jam could cause the thermal motor overload protection to terminate AC
power to the motor. Never allow the shredder to remain in a jammed condition
with the AC power turned on.

www.aleratec.com
8
Specifications
Shredding Capacity 1 Blu-ray, 1 DVD, 1 CD, 1 Credit Card, or 5 sheets•
of paper per pass
Shred Type Blu-ray/DVD/CD/Credit Card: Strip Cut•
Paper: Cross Cut•
Shred Size Strip Cut 40 mm: Blu-ray/DVD/CD•
Cross cut 4 x 43 mm: Paper•
Strip Cut 23 mm: Credit Card•
Feed Opening Paper: 220 mm (8.66 in.)•
Blu-ray/DVD/CD/Credit Card: 123 mm (4.8 in.)•
Weight 7.0 kg (15.4 lbs.)•
Dimensions L: 292 mm, W: 172 mm, H: 354 mm•
L: 11.5 in. x W: 6.8 in. x H: 13.9 in.•
Power Requirements 120 Volt AC, 1.6Amp•

www.aleratec.com 9
Technical Support
After reading this User Guide, if you need additional assistance with this
product, please contact Aleratec Technical Support. Our technical staff will
be happy to assist you, but they may need your help to better assist you.
Troubles - your questions about the DVD/CD Shredder XC. Please•
provide enough information about your problems so our technical staff
can recreate and diagnose it.
Technical Support Addresses and Phone Numbers
By Telephone:X1-818-678-0484
Technical Support Group can be reached 8:00 AM to 5:00 PM, Pacic
Time, Monday through Friday, excluding U.S. holidays.
Please try to call from a phone near your computer system.
Access is available 24 hours a day, 365 days a year, via:X
The World Wide Web at: www.aleratec.com
FAX at: 1-818-678-0483

www.aleratec.com
10
Technical Support FAX Back Form
Aleratec, Inc.
Technical Support Fax Back Form
To: Technical Support Group FAX: 1-818-678-0483
FROM: _____________________FAX: ___________________________
E-MAIL ____________________________________________________
RE: ________________________TEL: ___________________________
DATE: _______________# OF PAGES: ___________________________
I am experiencing the following problems with my DVD/CD Shredder XC:
_____________________________________________________________
_____________________________________________________________
_____________________________________________________________
_____________________________________________________________
_____________________________________________________________
By answering these questions, your problem will be solved more rapidly.
Make copies as necessary. You can reach us electronically at: www.aleratec.
com on the internet.

www.aleratec.com
Notes:

www.aleratec.com
Notes:

Le choix pour les
professionnels et particuliers
GUIDE DE L’UTILISATEURE
Aleratec
DVD/CD Shredder XC™
Part No. 240145

www.aleratec.com
Droits D’auteur Et Identification Du Modèle
Le contenu de ce manuel est à titre documentaire seulement et est sujet à
modications sans préavis.
Ce manuel est protégé par les droits d’auteur. En vertu de la loi sur les droits
d’auteur, ce manuel et le logiciel qui y est décrit ne doivent pas être copiés,
excepté lors de l’utilisation normale des produits décrits par la présente ou
pour faire une copie de sauvegarde.
Copyright© 2009
Aleratec, Inc.
9851 Owensmouth Avenue
Chatsworth, CA 91311 U.S.A.
www.aleratec.com
Aleratec™ et DVD/CD Shredder XC™ sont des marques de commerce
d’Aleratec, Inc.
Veuillez noter les informations suivantes pour faciliter toute réclamation de
garantie:
No. Modèle
: _____________________
Date D’Achat:
________________________________________________
Lieu D’Achat
: _________________________________________________
www.aleratec.com 15
Introduction
Félicitations pour avoir acheté notre produit Aleratec DVD/CD Shredder
XC. En suivant les instructions données dans ce guide, vous utiliserez votre
destructeur au mieux de ses capacités.
Précautions D’emploi
Avertissement:
Lorsque vous détruisez des CD ou des DVD, éloignez le visage •
et les doigts de la fente d’introduction pour éviter tout risque de
blessure.
Débranchez toujours le destructeur avant de déplacer, nettoyer •
ou vider le bac à déchets.
La destruction continue de papier d’ordinateur ne doit pas •
dépasser deux minutes.
N’essayez pas de réparer le destructeur vous-même.•
Gardez le destructeur en position OFF lorsqu’il n’est pas utilisé •
pendant une longue période.
Tenez le destructeur à l’écart des enfants.•
Ne placez pas vos mains ou vos doigts dans la fente •
d’introduction du destructeur pour éviter de vous blesser.
Faites attention à ne pas coincer de vêtements, cravates, cheveux •
et autres petits objets dans la fente d’introduction pour éviter les
blessures.
Éviter que vos cheveux n’entrent en contact avec la fente •
d’introduction des documents. Faites attention à ne pas coincer
de bijoux et autres petits objets dans la fente d’introduction pour
éviter les blessures.
Tenez les produits aérosol à l’écart.•

www.aleratec.com
16
Introduction
Éléments Clés
Note: Choisir un emplacement approprié
Laisser suffisamment d'espace pour pouvoir actionner les pièces1.
mobiles.
Ne pas placer près d'une source de chaleur comme un radiateur ou un2.
conduit d'aération, ni à un endroit susceptible de recevoir la lumière directe
du soleil, une poussière excessive, des vibrations mécaniques ou des
chocs.
Un bon entretien contribuera à assurer une durée de vie maximale du3.
produit. Un environnement de fonctionnement incorrect ou une mauvaise
utilisation peuvent entraîner une annulation de la garantie.
Fente
d’introduction
pour feuilles de
papier pleine
taille
Fente
d’introduction
pour Blu-ray/
DVD/CDs et
cartes de crédit
Bouton de commande
Bac à
déchets

www.aleratec.com 17
Introduction
Déballage Du Destructeur
Placez le destructeur sur une surface plane.1.
Enlevez tout le matériel d’emballage.2.
Mise En Marche Du Destructeur
Branchez le destructeur à une prise électrique 120 V.1.
Placez le commutateur coulissant en position AUTO.2.
Le voyant marche/arrêt s’illuminera, indiquant que le destructeur est 3.
prêt à fonctionner.

www.aleratec.com
18
Fonctionnement Du Destructeur
Ce destructeur est équipé d’un capteur intelligent Auto Démarrer/Stop, qui
lui permet de se mettre en route automatiquement lorsqu’un objet est placé
dans la fente d’introduction et de s’arrêter dès que l’objet est complètement
détruit.
Capacité Du Destructeur
Le destructeur peut détruire jusqu’à cinq feuilles pliées de papier bond •
de 75 g/m≤ (20 lb). Lorsque vous détruisez des Blu-ray, des DVD, des
CD ou des cartes de crédit, n’insérez qu’un élément à la fois.

www.aleratec.com 19
Problèmes Et Solutions
Bourrage Papier Basique
Le destructeur doit normalement éjecter l’excédent mineur de matériau de la
fente d’introduction. Enlevez à la main tout élément non détruit du haut de la
fente d’introduction.
Pour Un Bourrage Papier Mineur
Placez le commutateur coulissant en position REV et retirez les feuilles de papier
restantes de la fente d’introduction. Enlevez la partie de papier non détruite qui
dépasse du dessus et enlevez tout excédent de papier déchiqueté du dessous de la
fente d’introduction.
Pour un bourrage papier important :
Mettez le destructeur hors tension ou débranchez le cordon d’alimentation 1.
de la prise secteur et attendez au moins 20 minutes que la protection contre
la surcharge thermique se réinitialise.
Branchez le cordon d’alimentation et placez le commutateur coulissant en 2.
position AUTO. Si du papier est resté à l’intérieur de la fente d’introduction
avant la surcharge, placez le commutateur coulissant en position REV,
saisissez l’excédent de papier du dessus et retirez-le. Prenez garde à ne pas
placer vos doigts à proximité de la fente d’introduction, sinon vous pourriez
vous blesser gravement. Enlevez tout excédent de papier déchiqueté de la
fente d’introduction. Placez le commutateur coulissant en position AUTO.
Vous êtes prêt à reprendre la procédure de destruction normale.
Bourrages Papier Et Surcharges Du Moteur
Le destructeur est équipé d’un circuit de protection automatique contre la
surcharge du moteur. Le cycle de charge du destructeur est donné pour une
destruction en continu.
Le régime préconisé à capacité maximale est de 2 minutes d’utilisation pour 20
minutes de repos.
Le destructeur se mettra automatiquement en arrêt si l’une des situations
suivantes se présente :
Fonctionnement du destructeur à la capacité maximale (cinq feuilles) en 1.
continu sur une période prolongée (par exemple, plus de 2 minutes sans
interruption).

www.aleratec.com
20
Problèmes Et Solutions
Bourrages Papier Et Surcharges Du Moteur - continué
Dépassement de la capacité de destruction, par exemple lors de 1.
l’insertion de plus de
cinq
feuilles de 75 g/m≤ en un passage ou si le
papier est plus large que la fente d’introduction.
Ces opérations anormales peuvent déclencher l’activation du circuit de
protection automatique contre la surcharge thermique du moteur, ce qui a
pour effet de mettre le destructeur hors tension. Un bourrage papier pourrait
entraîner la protection contre la surcharge thermique du moteur à couper
l’alimentation du moteur. Ne laissez jamais le destructeur sous tension en
cas de bourrage.
This manual suits for next models
1
Table of contents
Languages:
Other Aleratec Paper Shredder manuals


Popular Paper Shredder manuals by other brands


Fellowes
Fellowes Powershred C-420 instructions

Rexel
Rexel Auto+ 100X Start here

UNITED OFFICE
UNITED OFFICE UAV 300 A1 Operating instructions and safety instructions

Fellowes
Fellowes Powershred 46Ms instructions

Kobra
Kobra 245TS operating instructions

Nobili
Nobili BNG 230 Instructions for use and maintenance


