Parachuting is a hazardous activity that can result in injury or death. An altimeter is a mechanical device and may malfunction,
even when properly designed, built, assembled, maintained and used. Do not rely upon an altimeter for your safety. Your
altimeter must only be considered as an aid when checking your altitude.
The needle can stick during both ascent and descent – a visual cross reference with the ground should be used in combination
with the altimeter.
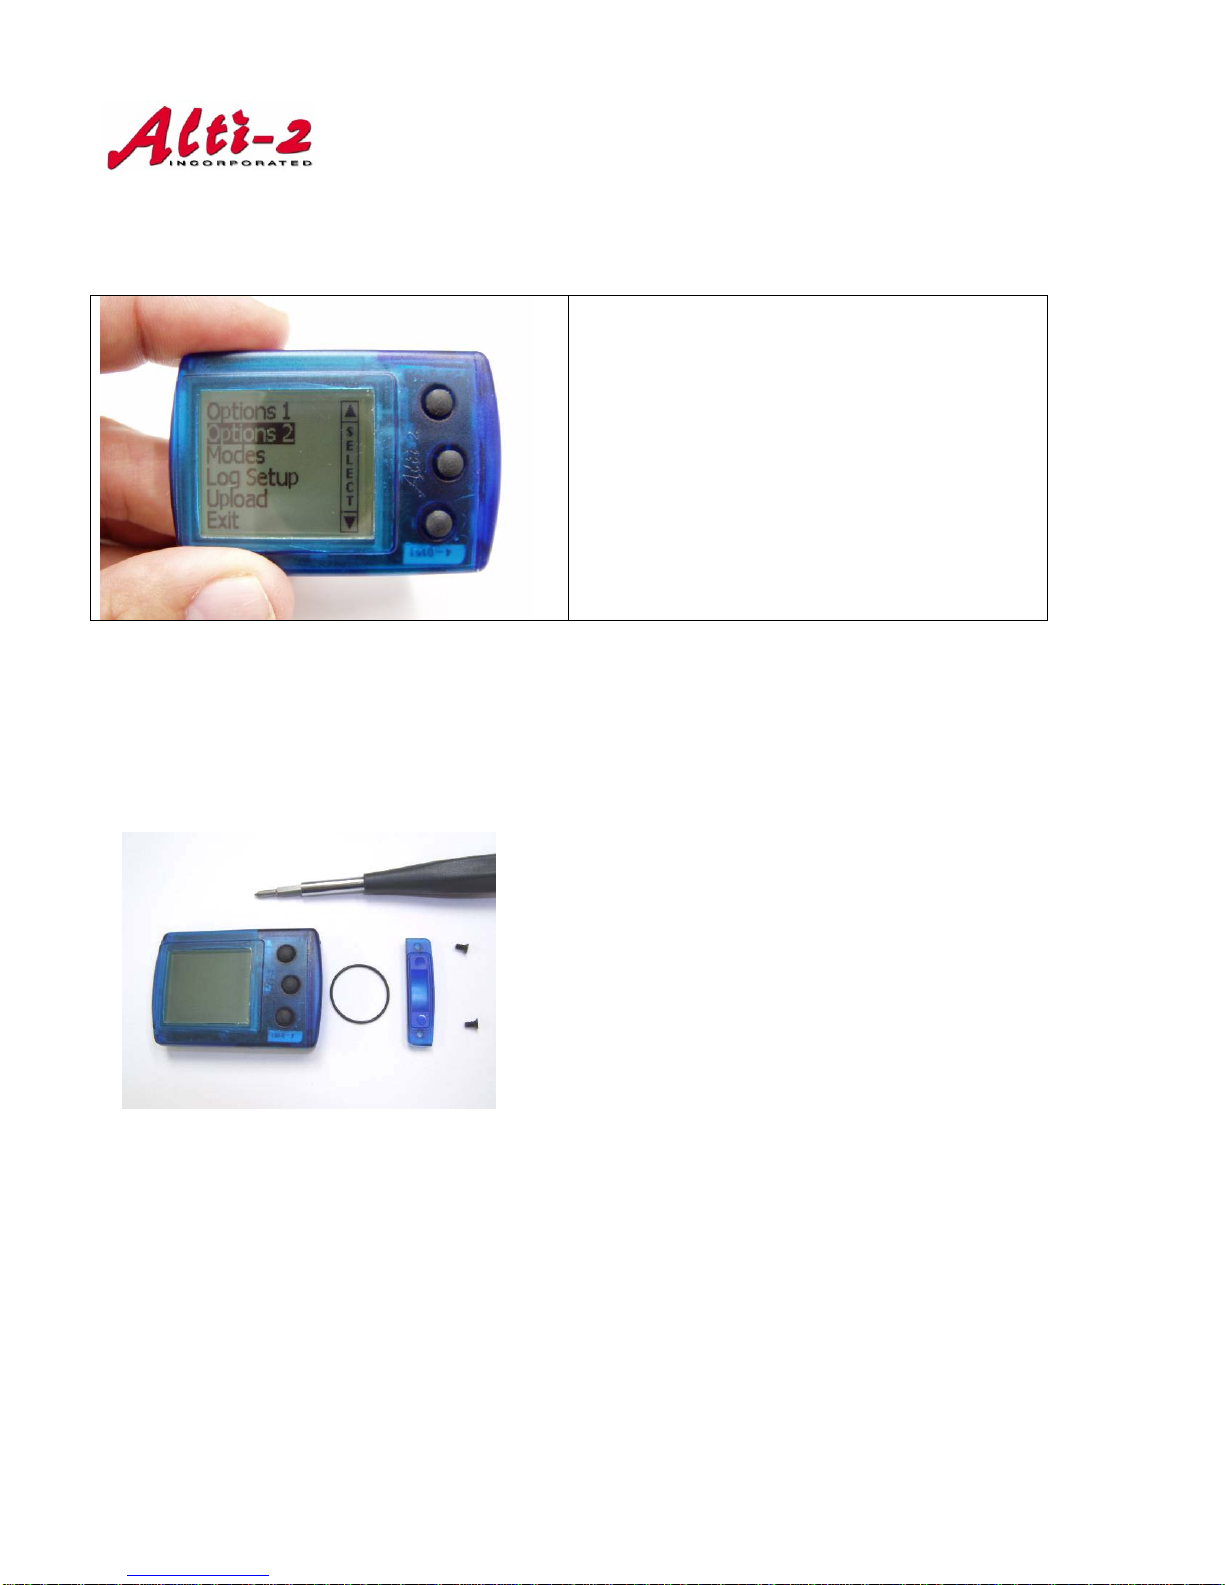
Lay the hand mount across the back of the Neptune.
Line up the four (4) holes with the threaded inserts
in the back of the Neptune and insert the screws
provided, with the washers between the fabric and
the screws.
You may use Loctite to hold the screws securely in
place.
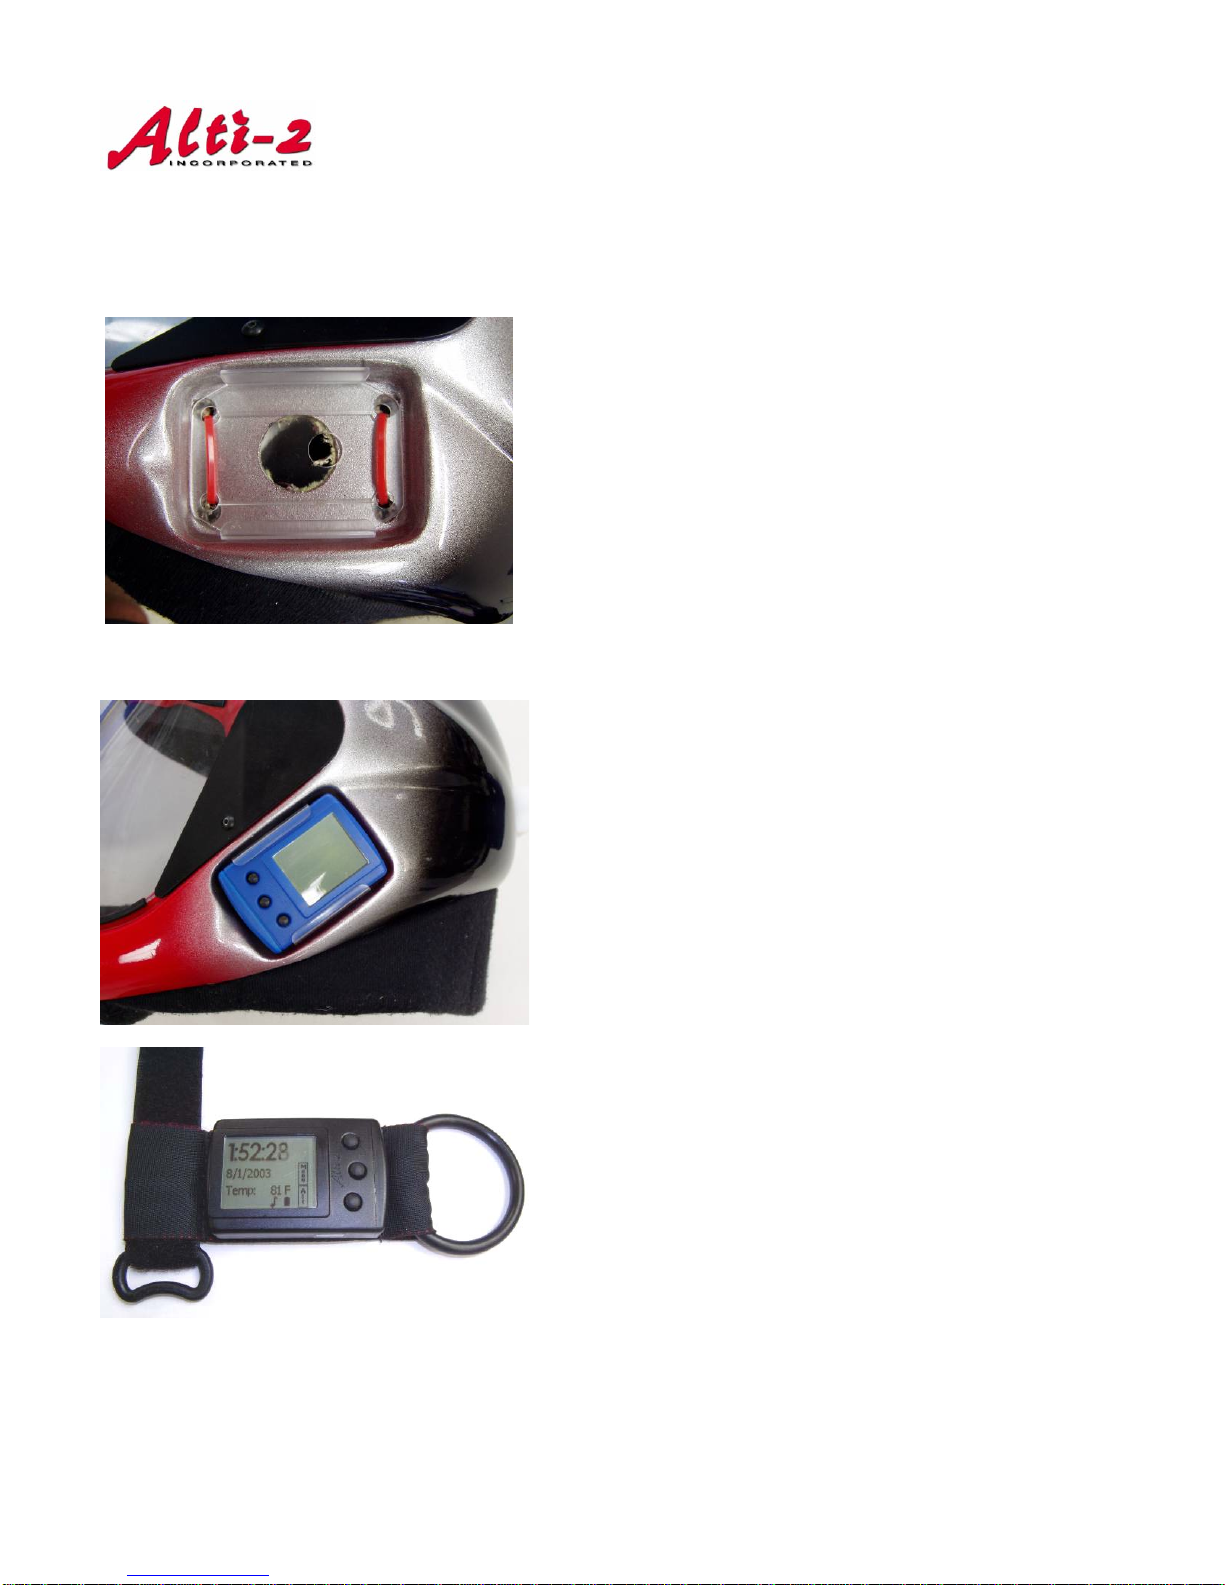
If you wish to wear the Neptune on your wrist, like a
watch, use the wrist mount provided.
The fabric wrist mount is attached to the back of the
Neptune in the same way as the hand mount. The
narrow wrist strap is then fed through the channel in
the wrist mount.
Metal backplates were previously issued with
Neptunes. Do NOT use one of these backplates
alone with the narrow wrist strap; this setup will
crack the display!
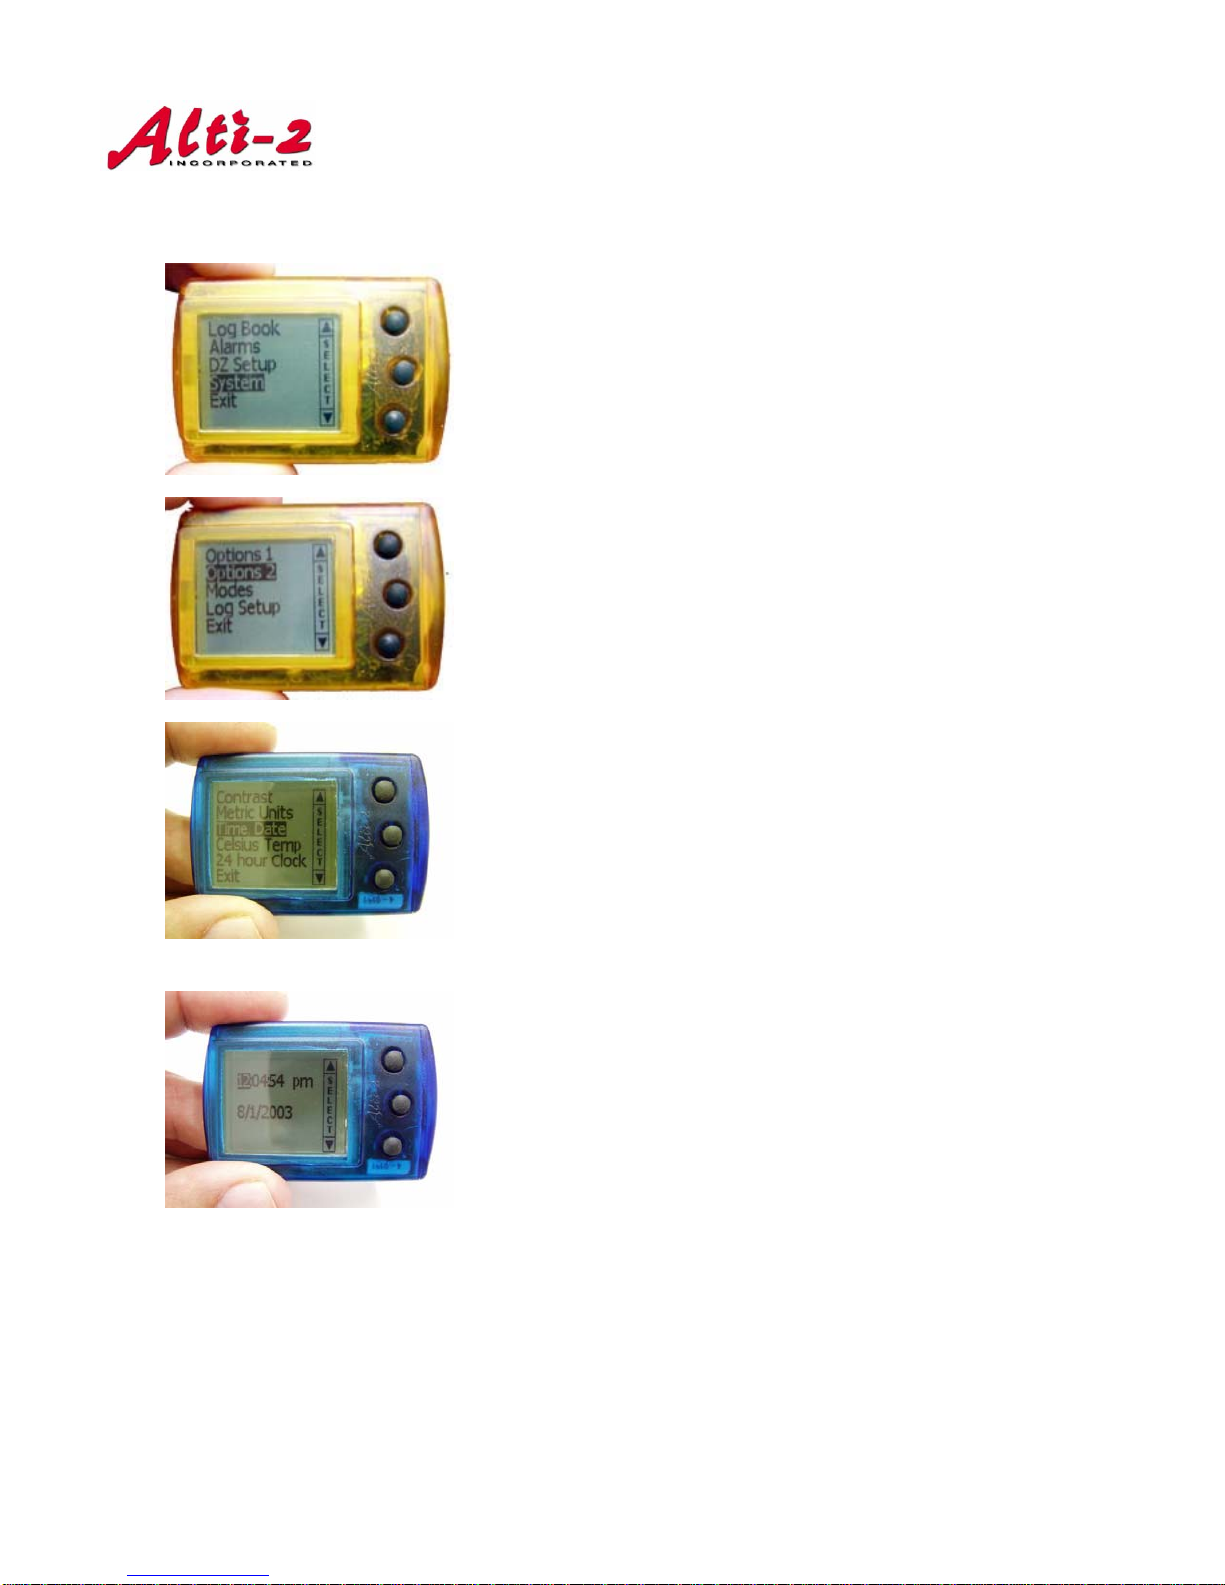
TIME AND DATE
Setting the time and date is typical of many Neptune setup menus.
This adjustment is explained in detail to familiarize you with the menu system.
The system starts up in the Ground mode screen. It
displays time, date and temperature.
Icons indicate:
•the battery state
•alarms enabled or disabled
•logbook enabled or disabled
•backlight enabled (no icon for disabled)