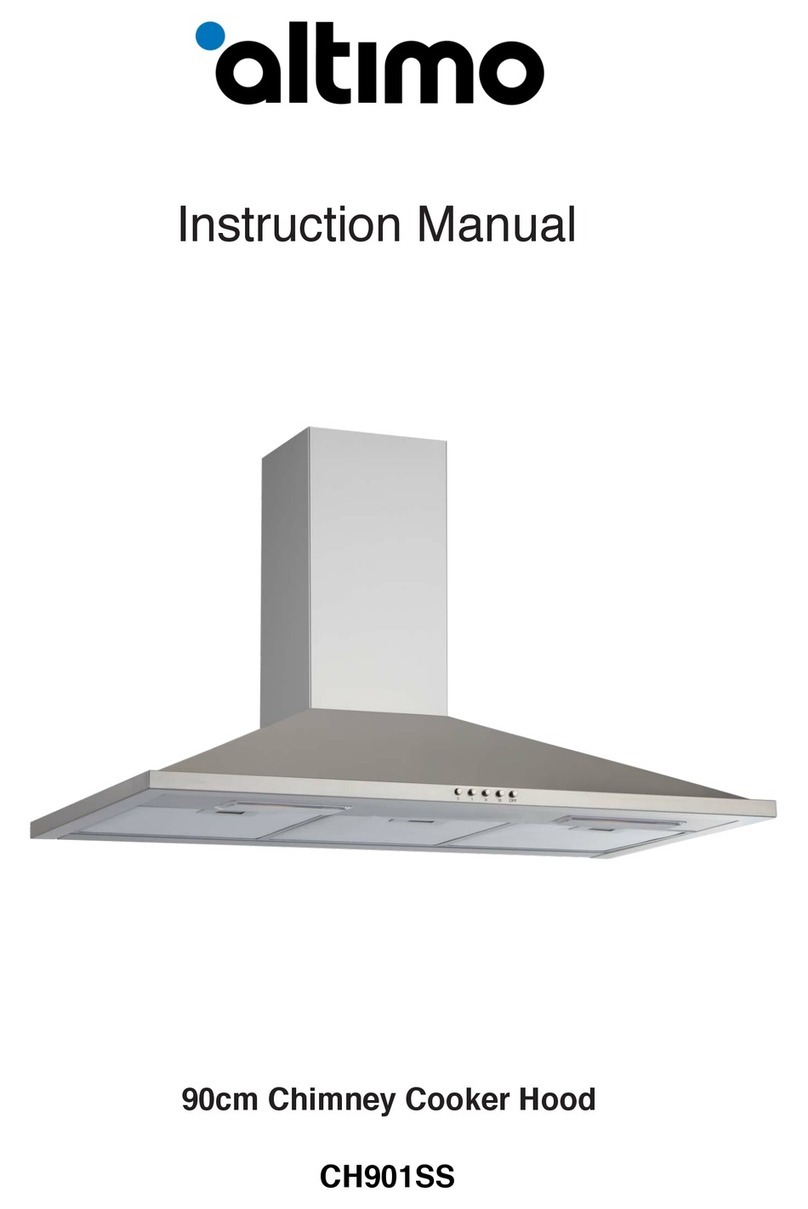
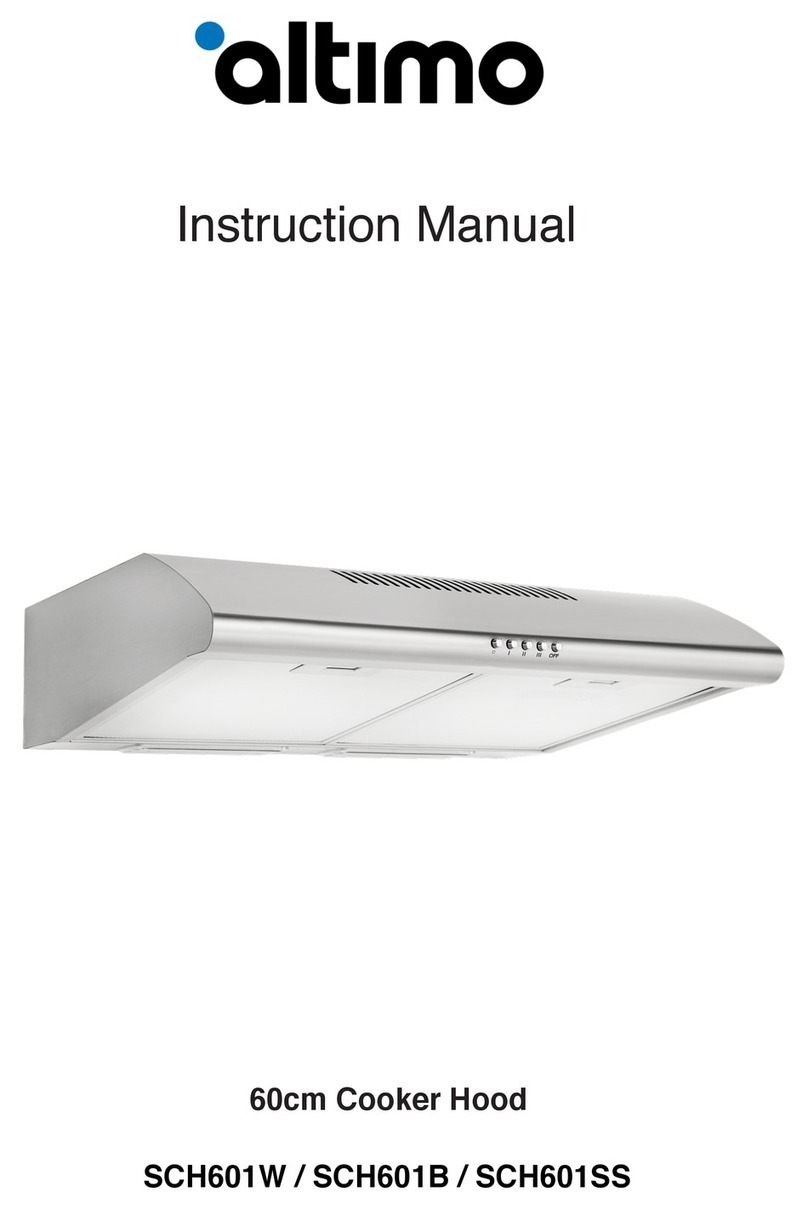
altimo CH601SS User manual

1
Instruction Manual
60cm Chimney Cooker Hood
CH601SS

2

3
Contents
1 TECHNICAL DRAWING 4
2 WARNING AND SAFETY PRECAUTIONS 5
2.1 LETHAL RISK, DANGER OF POISONING 7
3 USING WITH OR WITHOUT A CARBON FILTER 10
4 CARBON FILTER REPLACEMENT 11
5 CLEANING AND PREVENTIVE MAINTENANCE 12
5.1 ALUMINIUM FILTER CLEANING 13
5.2 WASHING YOUR FILTER IN A DISHWASHER 13
5.3 WASHING YOUR FILTER BY HAND 13
6 APPLIANCE POSITIONING 14
6.1 INSTALLATION PLAN 14
6.2 UNPACKING THE APPLIANCE 15
6.3 ENERGY SAVING AND EFFICIENT USE 15
7 PACKAGE CONTENTS 16
7.1 OVERVIEW OF YOUR COOKER HOOD 17
8 ASSEMBLY OF YOUR HOOD 18
8.1 INSTALLATION DIAGRAM AND COMPONENTS 19
8.2 CONNECTING THE AIR DUCTING 20
8.3 INSTALLATION OF THE CHIMNEY 20
9 OPERATING YOUR PRODUCT 21
10 REPLACING THE LAMPS 22
11 AUTHORISED SERVICE 23
12 TECHNICAL TABLE 24
13 PRODUCT SUPPORT 24

4
1 TECHNICAL DRAWING
Fig. 1
This instruction book includes all the information you need for safe installation, use
and care of your new hood.
• Please read all the information before installing and using your device
• Keep this instruction book in a safe place so you can refer to it later
• If you transfer the ownership of this hood, pass on these instructions too
• Disregarding the information in these instructions could result in severe injuries
or harm
• The information in these instructions will ensure best practice in using your new
hood, to prolong the life of the hood and keep it in good order
• Failure to follow these instructions will render warranty void
The figures in these instructions are intended as a generic visualisation guide and
are not intended to exactly portray a scenario. All kitchens are different, if in doubt
you must refer to a specialist.

5
2 WARNINGS AND SAFETY PRECAUTIONS
WARNINGS AND SAFETY PRECAUTIONS
This appliance can be used by children of 8 years and older, people with physical,
sensory or mental capability deficiency or people with lack of experience or
knowledge; as long as they are provided supervision or instructions for the safe use
of the appliance and they comprehend the dangers.
• Children should not tamper with the appliance. Cleaning and user maintenance
operations must not be performed by children unless supervised.
• This product is designed for home use.
• Usage voltage of your product is 220-240 Volt~50-60 Hz.
• Power cable of your product is fitted with a grounded plug. This cable must be
plugged into a grounded outlet.
• All electrical wiring must be installed by a qualified electrician.
• Installation should be carried out by a competent person. Failure to do so could
lead to poor operational performance, damage to the product, and accidents.
• The power supply cable to the appliance must be carefully routed. Take care not
to jam the cable or leave it exposed. The power cable must be safely routed
away from heat sources to avoid melting, a possible cause of exposure and risk
of fire.
• Do not plug in the appliance before the installation is complete.
• Make sure that the installation method allows a user to easily unplug the power
cable in case of a need to isolate the unit.
• Do not touch the lamps when they are in use as they can get very hot and could
lead to burning.
• Domestic kitchen hoods are designed and manufactured for normal domestic
household use. They are not intended for extended, heavy duty or commercial
use. Doing so increases risk of malfunction and product guarantee will be void.
• Comply with the guidelines and rules regarding the discharge of air, as stipulated
by the relevant authority. (This warning does not apply to recirculation without
flue).
• Do not cook flammable foods under the appliance.
• Start your hood at the same time as you start cooking to avoid a build-up of heat
that may cause some parts of your product to deform.
• Turn off the heat source before taking the saucepan or pan off the cooker.
• Do not leave oil on a heat source unattended. Pans containing boiling oil can
catch fire.
• Use care when cooking with hot oils as they can ignite badly positioned cloth.
• Ensure you keep filters clean and regularly replaced. Build-up of accumulated
grease deposits increase the likelihood of malfunction and fire risk.
• Do not use unspecified filter materials as in place of genuine parts for
operational and safety reasons.
• Do not operate your product without a filter and do not remove the filters when
the product is in operation.

6
WARNING AND SAFETY PRECAUTIONS
• In case of fire, isolate the power to the hood and any other cooking devices.
(unplug the appliance or turn off at the main switch).
• Keep your product clean. Build-up of deposits can increase the risk of fire.
• Isolate the appliance before any maintenance operations.
(Unplug the appliance or turn off at the main switch.)
• When extracting air using an electric cooker hood or other devices operating
simultaneously, the negative pressure in the room must not exceed 4 Pa (4 X 10
bar). Ensure adequate ventilation.
• Care and attention must be observed when using this appliance simultaneously
with other appliances affecting ambient air. By its nature of discharging ambient
air in a limited environment this hood could adversely affect the levels of air
increasing risk of combustion. Items to be considered include burners of gas,
diesel, coal, wood, burning heaters, and shower heaters. This warning applies to
discharged air only and does not apply to re-circled uses without flue. Gas or fuel
oil burning appliances, such as room heaters, which share the same
environment with your product, must be fully insulated from the exhaust of this
product or they must be hermetical.
• When connecting a flue to your product use ducting pipes with a diameter of
150mm or 120mm. Minimise both the length and number of connections to the
outside to promote good flow and improved operation.
• Children must not play with the appliance.
• For your safety use a fuse rated ‘MAX 6A’ for your hood.
• Handle and dispose of packaging materials safely, as they pose a risk keep
them away from children.
• Any damage to the power supply cable must be replaced by the manufacturer,
an authorised service location or any other qualified person, to avoid any
dangerous situation.
• In case of fire, isolate the cooker hood and cooking appliances, cover the flame
with a damp cloth. Never use water to extinguish the fire.
• When cooking appliances are in operation accessible parts could be hot.
• This appliance is not intended to be used by people with physical, sensory and
mental disabilities (including children) or those who have not adequate
experience and knowledge regarding its use, unless they are under the
supervision of a person responsible for the safety of the appliance.
• It is a requirement that installation of the hood must provide minimum distance of
65cm between the bottom surface of the hood and any electric cook top and
75cm between any gas ranges or cookers burning other fuels.
• Output air must be ducted unique to this product, do not connect to shared air
ducts.

7
2.1 LETHAL RISK, DANGER OF POISONING
Ventilated goods (e.g. gas, oil, wood or coal burning heaters, shower heaters, water
heaters) take combustion air from their installation location and discharge the waste
gases through a waste gas system (e.g. flue). When the cooker hood is active, by
nature it removes air from the kitchen and adjacent rooms. Unless adequate fresh air
is provided a vacuum is created and with it a risk of toxic gases being taken back in
the room from the waste flue of any of these units. (Fig. 2)
Fig. 2: Poisoning Danger
Therefore, it is imperative adequate fresh air ingress is confirmed. (Fig. 3)
Fig. 3
DANGER! Warning - Choking Hazard
The packaging materials are dangerous for children. Never allow children to play with
packaging materials.
DANGER!
Warning - Death Hazard
Danger to life and danger of poisoning due to reabsorbed combustion gases.
When used in extraction mode (via ducting) you must ensure there is adequate
ventilation for sufficient fresh air. Do not use this hood in extraction mode
simultaneously with devices that discharge toxic gases through flue such as ventilated
gas, oil, wood or coal burning heaters, shower heaters or water heaters, unless you
have provision for fresh inlet air. (Fig. 2)

8
WARNING!
Fire danger!
–Clean the oil filter at least every 3 months.
–Build-up of oily residue from poor cleaning regime will lead to an increased fire
risk.
–Never operate the device without an oil filter.
–Oil residue is captured in the filter during operation therefore creating increased fire
risk. Other activities exacerbating the risk should be avoided, for example never
work with an open flame such as flambe near the device.
–This unit is suitable for use near a solid fuel (e.g. wood or coal) heater, provided any
unit has a non-removable cover preventing any sparks from escaping.
–Hot oils and fats catch fire easily and should never be left unattended.
–Never try to put out a fire with water. Always turn off the cooker first then smother
the flames carefully using a fire blanket, damp tea towel or similar material.
–Operating a cooking zone without a saucepan or pot in place creates higher heat
that can damage your cooker hood, especially in the case of gas. Turn off the heat
before removing the pan.
–Operating multiple gas burners simultaneously creates high heat, which can
damage your hood. Never operate two or more gas zones longer than 15 minutes
on a high flame setting. A large burner over 5kW (Wok) has the power of two gas
burners.
WARNING!
Electrocution hazard!
–Never use a malfunctioning electrical item. If your hood appears to be operating
incorrectly turn off the device straight away by isolating the power or removing the
13a plug from the socket, then contact customer service.
–Unsuitable repairs pose hazards. Repairs and replacement parts, including power
cords, must be provided by Altimo approved technicians or other trained individuals.
–Do not use copious amounts of water to clean your hood. High pressure or steam
cleaners must not be used. Risk of electric shock.
WARNING!
Risk of burn, risk of electric shock!
–Allow the appliance to cool down after use before cleaning or performing
maintenance tasks. It is good to isolate the power or remove the 13a plug from
the socket before starting.
–Do not clean the control panel or switch area with a wet cloth as moisture can
damage electronical components.
–Do not use aggressive and/or abrasive cleaning agents. Select the right product,
the surface of your hood could be damaged by using unsuitable agents.
–For stainless steel surfaces, clean only their brushing direction. Do not use
stainless steel cleaner on the control panel or switch area.

9
NOTICE!
No not use your hood with a damaged power cable. If the power supply cable is
damaged for any reason it must be replaced by an authorised repair agent or
trained individual.
WARNING!
Dangers of fire and physical injury!
Do not use an adapted or non-authorised repair. Do not make repairs or modifications
to the design of your product. Repairs must be performed by authorised trained
individuals. Spare parts must be original as designed.
NOTICE!
If your hood appears to be faulty or damaged, stop use, turn off, isolate the power or
remove the 13a plug from the socket and contact customer service.
NOTICE!
Replace the defective bulbs swiftly to protect the remaining bulbs against overloading.
Turn off the unit, isolate or remove the 13a plug from the socket before removing the
spent bulb (leave bulbs to cool down first). Ensure the replacement bulb is of the
same type and values.
CAUTION!
Surfaces and components of items around cooking devices get very hot in use.
DANGER!
The air outlet of this hood must not be connected into any flue shared by other devices
that use gas or other burned fuels.
CAUTION!
Damage hazard due to corrosion.
When cooking, always operate the cooker hood to minimise the condensation
formation from pans. A repeated build-up of condensates can lead to corrosion
damage.
Moisture intrusion near electronic parts should be avoided. Never clean the control
area with a wet cloth as the electrical switches could be damaged.
Mitigate the possibility of damage caused by condensate liquid backflow by installing
the ducting with a slight downward inclination (1°) from the appliance.

10
3 USING WITH OR WITHOUT A CARBON FILTER
Extracted air mode
The cooking air is cleaned by grease filters and is discharged outside through
ducting. (Fig. 4)
Fig. 4: Air Outlet without Carbon Filter
• If you wish to transfer exhaust air to an inactive smoke or waste gas flue, you
must obtain authorization from a specialist.
• Exhaust air must travel without break to an external grill or cowl.
Recirculated air mode
Cooking air is cleaned in two stages, first a grease filter and secondly an (optional)
active carbon filter. Then filtered air is transferred back to the kitchen. (Fig. 5)
Fig. 5: Air Circulation with
Carbon Filter
]
You can use this appliance in extracted air mode or recirculated air mode.
NOTICE!
Exhaust air must not be sent via an active smoke
or waste gas flue; or a flue used for ventilation of
places where heat sources are installed.
Active Carbon Filter
Discs of carbon are used in the path of airflow to
help trap and hold the substances within cooking
air responsible for bad smells.
Carbon Filters in all hoods should be changed
regularly (guide 6 months), depending on use.
Consult your local dealer or visit
www.altimo.co.uk
The model number of your hood is on the front of
these instructions. The part number for the carbon
filters required for this hood is Altimo CF003.
Supplied in a pack of two (as two required)

11
4 CARBON FILTER REPLACEMENT
Use this method for installing (optional) carbon filters for the first time or when
replacing for new ones.
1. Remove the aluminium grease filters and carefully place to one side.
2. Locate the cylindrical motor assembly in the centre of the hood.
3. The carbon filters are fixed to each end of this central motor assembly by
placing the concave side towards the motor.
4. One carbon filter at a time, offer the filter up to its housing and rotate the filter
clockwise. Ensure that it is snugly fitted.
5. Repeat the exercise with the other filter on the other end of the motor assembly.
6. Replace the aluminium grease filters.
DANGER!
Never wash the carbon filters.
Keep carbon filters away from children.
Ensure the carbon filter is snugly fitted to prevent
it dropping out of position and damaging your
hood.
Fig. 6: Carbon Filter

12
5 CLEANING AND PREVENTIVE MAINTENANCE
• Do not use aggressive or abrasive cleaning agents as these could damage your
appliance. Take extra care around the switches and finished surfaces as these
are more sensitive to scratching.
• Clean the surfaces with a soft damp cloth with dish washing liquid or mild glass
cleaning agent. Soften tough to clean areas with a damp cloth but do not scrape.
• Do not use abrasive dry cloths, scourers or abrasive agents such as sand, acid
or chlorine as these could damage your unit.
• Clean any stainless-steel surfaces only in their brushed finish direction to avoid
permanent marking.
• Do not use wet cloths on or around the control unit.
• Do not use stainless-steel or abrasive cleaning agents in or around the control
unit.
• Clean the metal grease filters regularly, depending on usage. The metal grease
filters are designed to capture the greasy particles in the moisture and vapours
generated when cooking. It is recommended to clean the metal grease filters
about every three months under normal use and conditions (guide of 1 to 2
hours use a day).
• Do not use excessively effective, acidic or alkaline cleaning agents.
• During the cleaning of your metal grease filters is an ideal opportunity to clean
around the metal grease filter holder too. A cloth damp with washing up liquid
and water mix is suggested.
• It is possible to clean the metal grease filters by hand or in your dishwasher
(although some discoloration may appear over time).
• To avoid damage do not to apply cleaning products directly to the product.
• Do not keep flammable and/or heavy decorative items on your hood.
CAUTION!
Cleaning and user maintenance of the appliance
should not be performed by unattended children.

13
5.1 ALUMINIUM FILTER CLEANING
To remove the aluminium grease filter first locate
the opener tab (1) and press it gently sideways
against its spring in the direction shown (2). Then
pull the filter away from the hood gently in the
direction of the arrow as shown (3) (Fig. 7).
As you remove the aluminium filter, hold it with
your other hand to prevent it from dropping.
Take care as you remove the filter as it is likely to
be greasy and slippery. Take care to keep it
parallel to the floor to prevent accumulated oil
from dripping on the floor.
5.2 WASHING YOUR FILTER IN A DISHWASHER
It is possible to wash the metal grease filter in a dishwasher. This can be very
effective but could lead to a slight discoloration of the aluminium over time. This has
no effect on the function of the metal grease filter.
• Wash very dirty metal grease filters separately to avoid contamination with other
items.
• For best results position your grease filters in your dishwasher with space around
them for better cleaning.
5.3 WASHING YOUR FILTER BY HAND
Fig. 7
1
For heavy duty cleaning seek a specialist grease solvent from a specialist sales
centre.
–Soften the metal grease filters in a hot water with dishwashing liquid.
–Use a brush for cleaning and wait for the liquid in metal grease filters to flow off
completely.
–Rinse the filters thoroughly after cleaning.
2
3

14
6 APPLIANCE POSITIONING
The final installed position of the hood must exceed the minimum required distance
(Fig. 8).
The minimum distance between the bottom of the hood and a gas (or other burning
fuel) cook top is 75cm.
The minimum distance between the bottom of the hood and an electric cook top
must be at least 65cm.
6.1 INSTALLATION PLAN
Fig. 8
Fig. 9

15
6.2 UNPACKING THE APPLIANCE
• Check over your new appliance for damage.
• Check that you have all contents shown in section 7, on the following page.
• Do not install or use a damaged unit. Please advise the carrier and supplying
dealer straight away.
• NEVER allow children to play with packaging materials
6.3 ENERGY SAVING AND EFFICIENT USE RECOMMENDATIONS
Here, you can find some recommendations on how you can save more energy while
using your appliance.
• Use the lowest speed possible whilst adequately clearing cooking vapours.
Increase and decrease speed as needed during cooking.
• Keep your hood clean, especially the aluminium grease filters, to ensure efficient
air flow. Dirty filters can also contribute as a fire risk.
• Ensure you have adequate inlet (fresh) air into your room so that the cooking
vapours are exited easily.
• Start your hood on a low speed as soon as you start cooking, a hood needs to
work harder to clear a room already filled with smoke.
• If you are using your hood to recycle air (not ducting outside) and using
(optional) carbon filters, ensure they are changed regularly to ensure good air
flow.
• Turn off your hood when not in use.
• Good ducting will improve efficiency and reduce noise. 150mm ducting is best.
Minimise distance and the number of bends for best results.
By adopting best practice, you can ensure efficient operation of your hood.

16
7 PACKAGE CONTENTS
1. Hood Assembly
2. Chimney Extension
3. Chimney
4. Chimney Bracket
5. Operation Manual
6. Ø6mm Wall Plug
7. Ø10mm Wall Plug
8. 5.5x60 Wall Mounting Screw
9. 3.9x22 Chimney Bracket Screw
10. 3.5x9.5 Chimney Screw
11. Flue Flap (Option)
Fig. 10

17
7.1 OVERVIEW OF YOUR COOKER HOOD
1. Chimney Extension
2. Chimney
3. Hood Assembly
4. Lighting
5. Aluminium Grease Filter
6. Control Panel
Fig. 11

18
8ASSEMBLY OF YOUR HOOD
This is a suggested installation. All kitchens are
different. If you are unsure, please consult with a
trained person.
Fit the flue flaps (only if you are using ducting)
The flue flaps are designed to prevent air/wind
travelling from outside to your hood when not in use.
They comprise of two semi-circular plastic flaps that
are pushed open by escaping air when you turn on
your hood. Once fitted the plastic pins/tabs on the
flaps point upwards.
1. To fit each flap, locate the first hinge tab in the
locator hole on the motor assembly (area 1 in Fig.
12). Then bend the plastic flap slightly to locate the
second hinge tab in its own locator.
2. Repeat for the second flap
Fig. 12
1 Flap pin socket
2 Flap pin

19
8.1 INSTALLATION DIAGRAM AND COMPONENTS
1. Chimney Extension
2. Chimney
3. Hood Assembly
4. Wall Mounting Points
5. 2x 5.5x60 Wall Mounting Screw
6. 2x Ø10mm Wall Plug
7. 2x 3.9x22 Chimney Bracket Screw
8. Chimney Bracket
9. 2x Ø6mm Wall Plug
Mounting the hood
1. Plan where you want to mount your hood in conjunction with the installation plan
(Fig. 9). Make sure you adhere to the minimum height requirement from electric
or gas cook tops (Fig. 8).
2. Mark the drill points A and B.
3. Drill 10mm holes in points A & B, insert the wall plugs and the mounting screws
leaving them proud by 5mm for now.
4. Hang the hood body to the two screws A & B.
5. Tighten screws A & B.
Fig. 13

20
8.2 CONNECTING THE AIR DUCTING
Mount your own choice of ducting depending on the scenario in your kitchen. Ensure
the ducting joints are pressed in firmly and give a secure fixing.
Your hood is supplied with a 150mm ducting outlet as standard and an optional
125mm diameter step down collar. Various types of ducting are available, if you are
unsure please consult a specialist
Minimise the distance and number of angles in your ducting for best results.
8.3 INSTALLATION OF THE CHIMNEY
1. Chimney Extension
2. Chimney Extension Screws
3. Chimney Bracket
4. Chimney
5. Chimney Screws
1. Mark the position of the chimney bracket at the upmost point of where the
chimney is to be sited. Your hood is provided with a chimney extension that
slides up and down to provide a total height from the bottom of your hood to the
top of between 572mm and 902mm in standard form (Fig. 13).
2. Drill your holes, insert the wall plugs and secure the chimney bracket to the wall.
3. Remove any protective plastic covering from the hood and both sections of the
chimney.
4. Slide the chimney extension inside the chimney as shown in (Fig. 14) ensuring
the air slats are uppermost.
5. Carefully place and support the two items on the top of the hood and attach to
the points (at point 5 on Fig. 14) using the screws provided for the use.
6. Slide the chimney extension up over the chimney bracket and secure with two
provided screws (at point 2 on Fig. 14) in a similar way.
Fig. 14
Table of contents
Other altimo Ventilation Hood manuals
Popular Ventilation Hood manuals by other brands

ROBLIN
ROBLIN Lido / 2 Centrale Instructions for use and installation

Maytag
Maytag UXT2030ADW Installation Instructions and Use & Care Guide

ELICA
ELICA PRO EUROPA Instruction on mounting and use

Faber
Faber Hoo-B user manual

Whirlpool
Whirlpool RHH2600 SERIES Installation and operating instructions

D'KOCINA
D'KOCINA BCPBT60 instruction manual