A Ground Fault Interrupter (GFI) shall be used as required by NFPA-70 (National Electric Code), Federal / State / Local laws or
local ordinances.
• The required use of a GFI is normally related to the location of a receptacle to any signicant sources of water or moisture.
• American Range will not warranty any problems resulting from GFI outlets which are not installed properly or do not meet
the requirements below.
IF THE USE OF A GFI IS REQUIRED, it should be:
• The receptacle type (breaker type or portable type not recommended).
• Used with permanent wiring only (temporary or portable wiring not recommended).
• On a dedicated circuit (no other receptacles, switches or loads in the circuit).
• Connected to a standard breaker or appropriate size (GFI breaker of the same size not recommended).
• Rated for class (5mA + 1mA trip current) as per UL 943 standard.
• In good condition and free from any loose-tting gaskets (if applicable in outdoor situations).
• Protected from moisture (water, steam, high humidity) as much as reasonably possible.
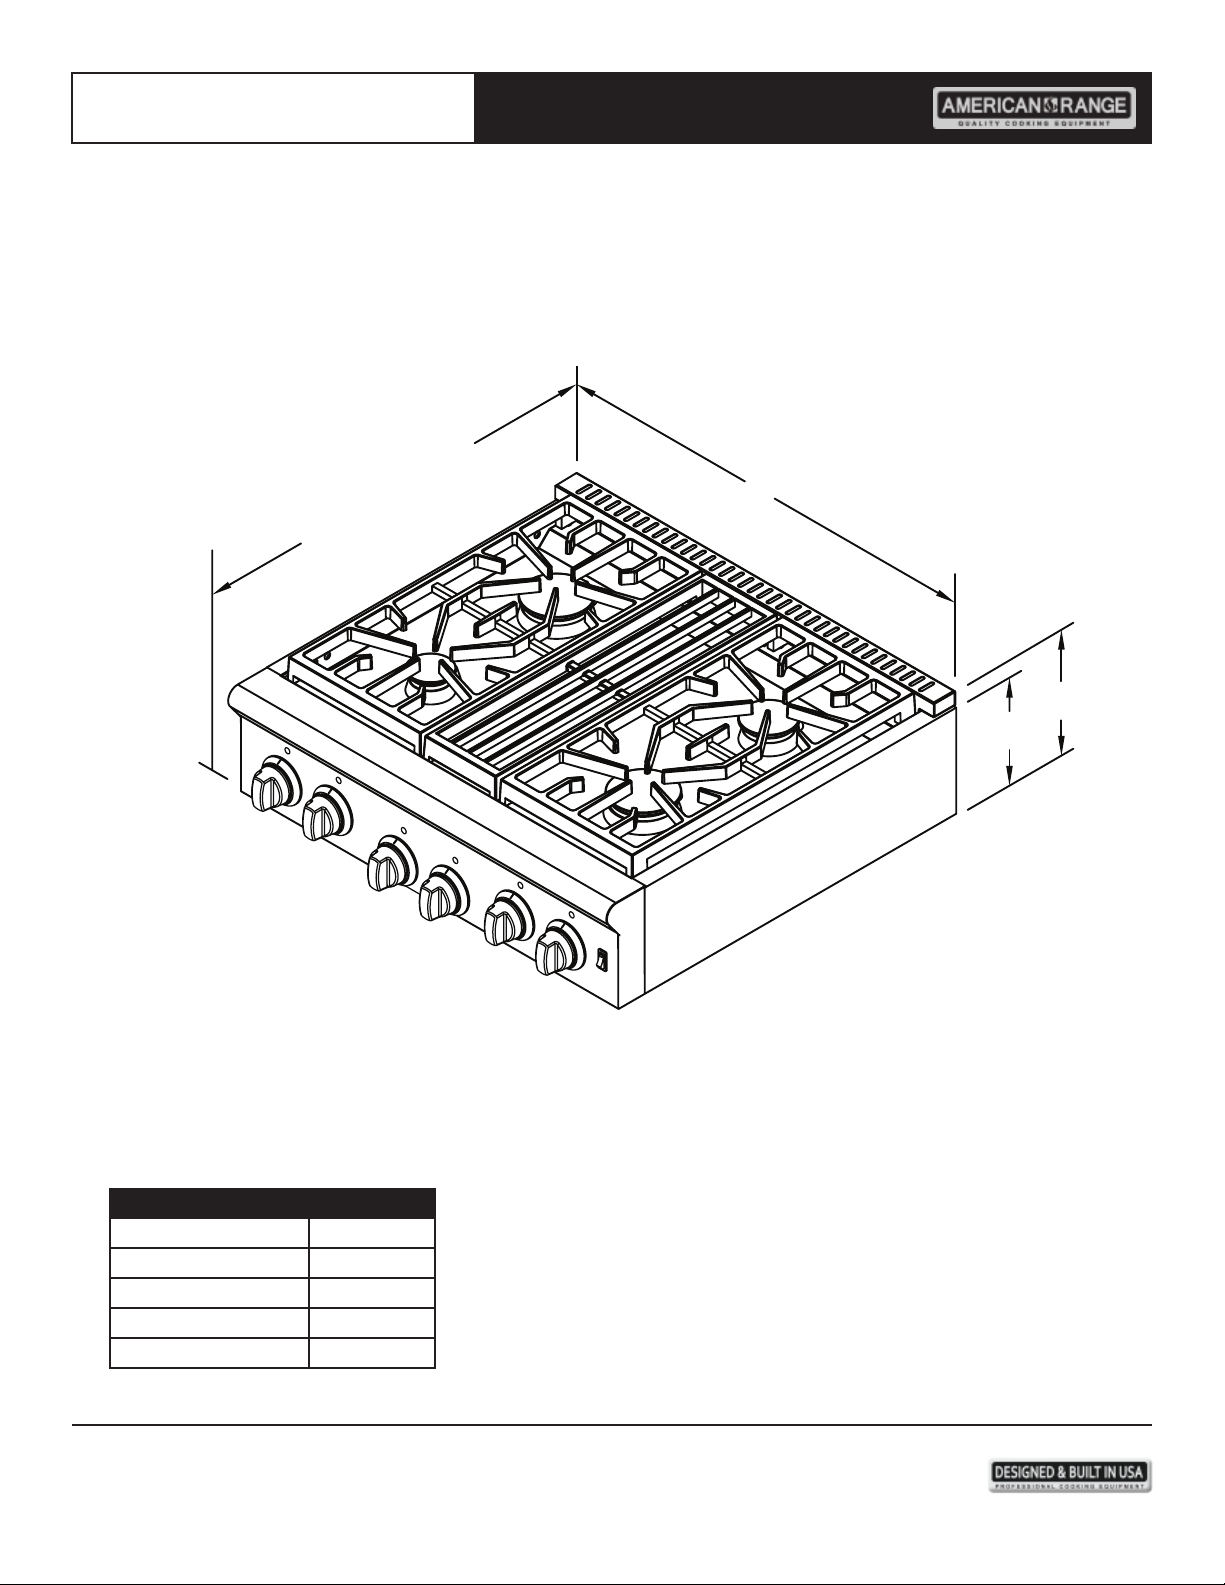
Slide-In Cook TopsInstallation Manual
13592 Desmond St., Pacoima, CA 91331 818.897.0808 tel 888.753.9898 toll free www.americanrange.com
3
IMPORTANT - PLEASE READ AND FOLLOW!
To prevent possible damage to cabinets and cabinet nishes, use only materials
that will not discolor or delaminate and will withstand temperatures up to 194ºF
(90ºC). Heat resistant adhesive must be used if the product is to be installed in
laminated cabinetry, check with your builder or cabinet supplier to make sure
that the materials meet these requirements.
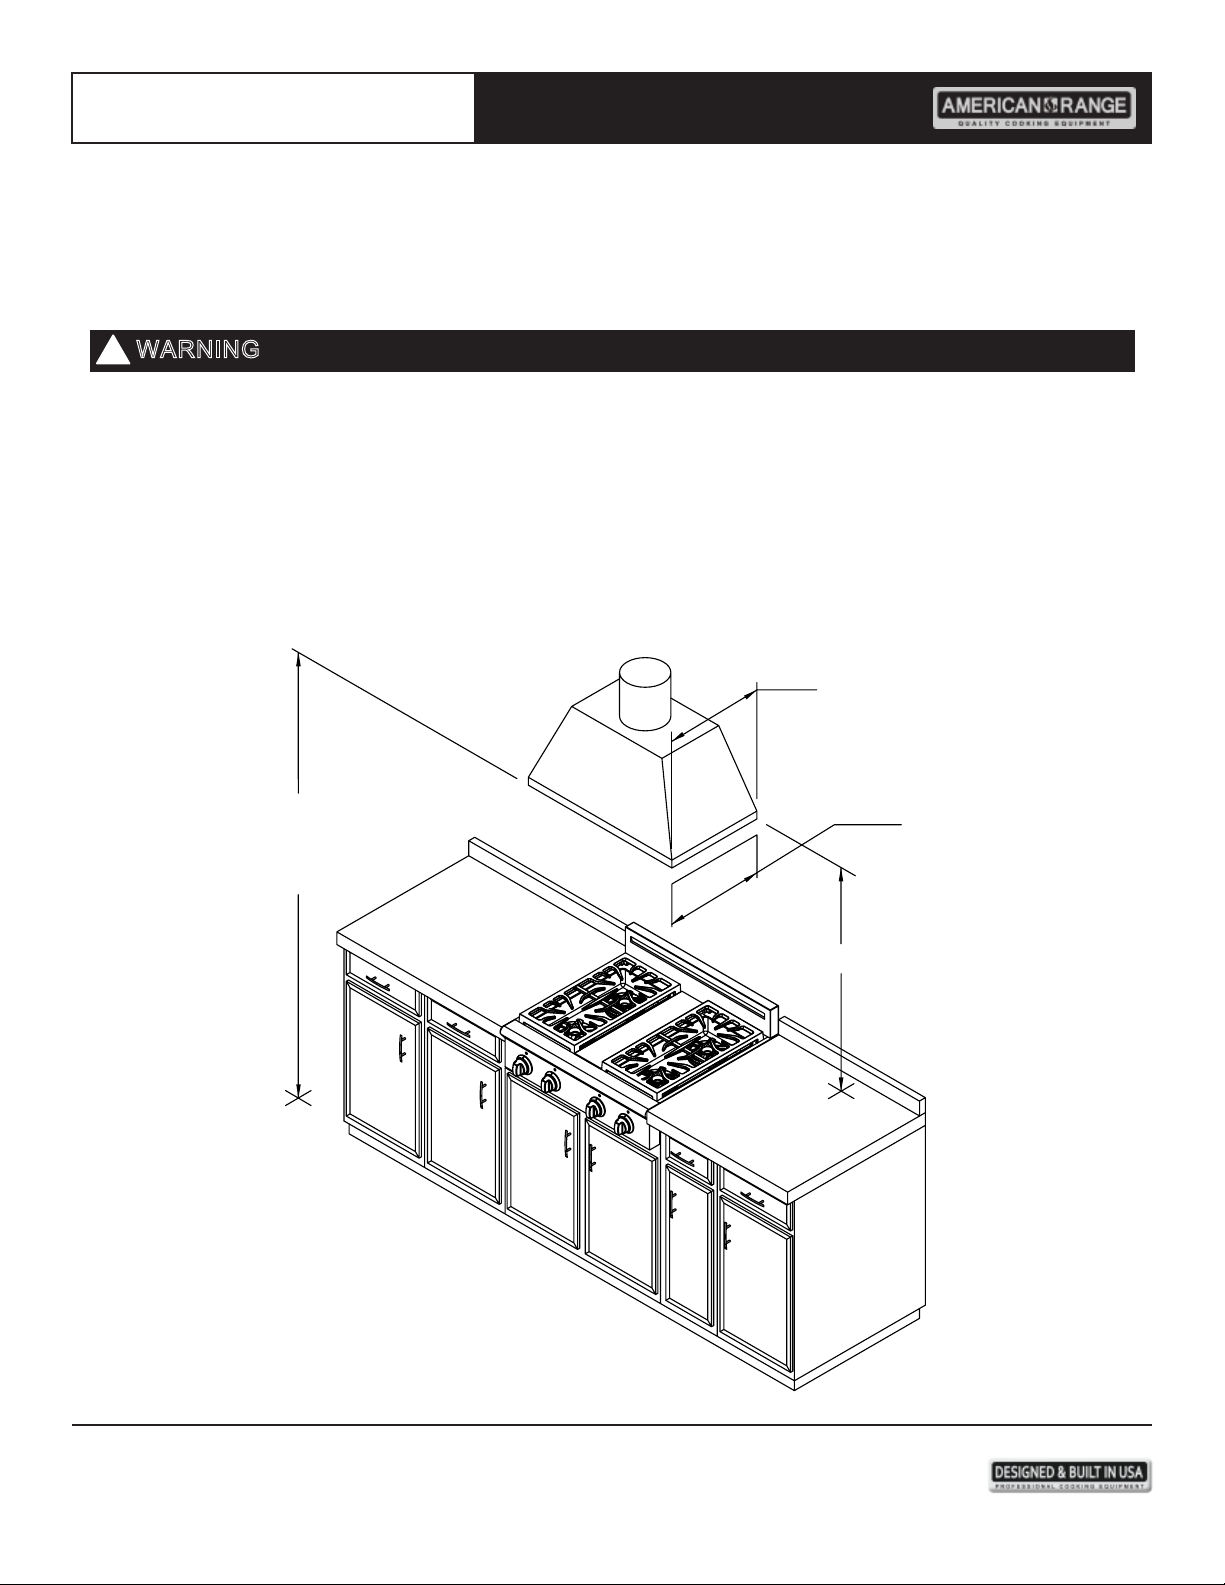
WARNING
The use of cabinets for storage above the oven may result in potential re
or burn hazard.
WARNING
To avoid risk of electrical shock, personal injury or death; verify your appliance
has been properly grounded in accordance with local codes or in absence of
codes, with the National Electrical Code (NEC).ANSI/NFPA 70 latest edition.
DANGER