.---------
WARRANTY
Warranty
service policy
is
printed
below
and
on the
warranty
registration card included
with
the
unit. The registration card must be
filled
in
and
mailed
to
the
manufacturer.
The card
is
postage
paid
.
Warranty
service
will
be
handled
by
all
authorized
AMF
Ski.Daddler dealers.
SERVICE
---------,
• •
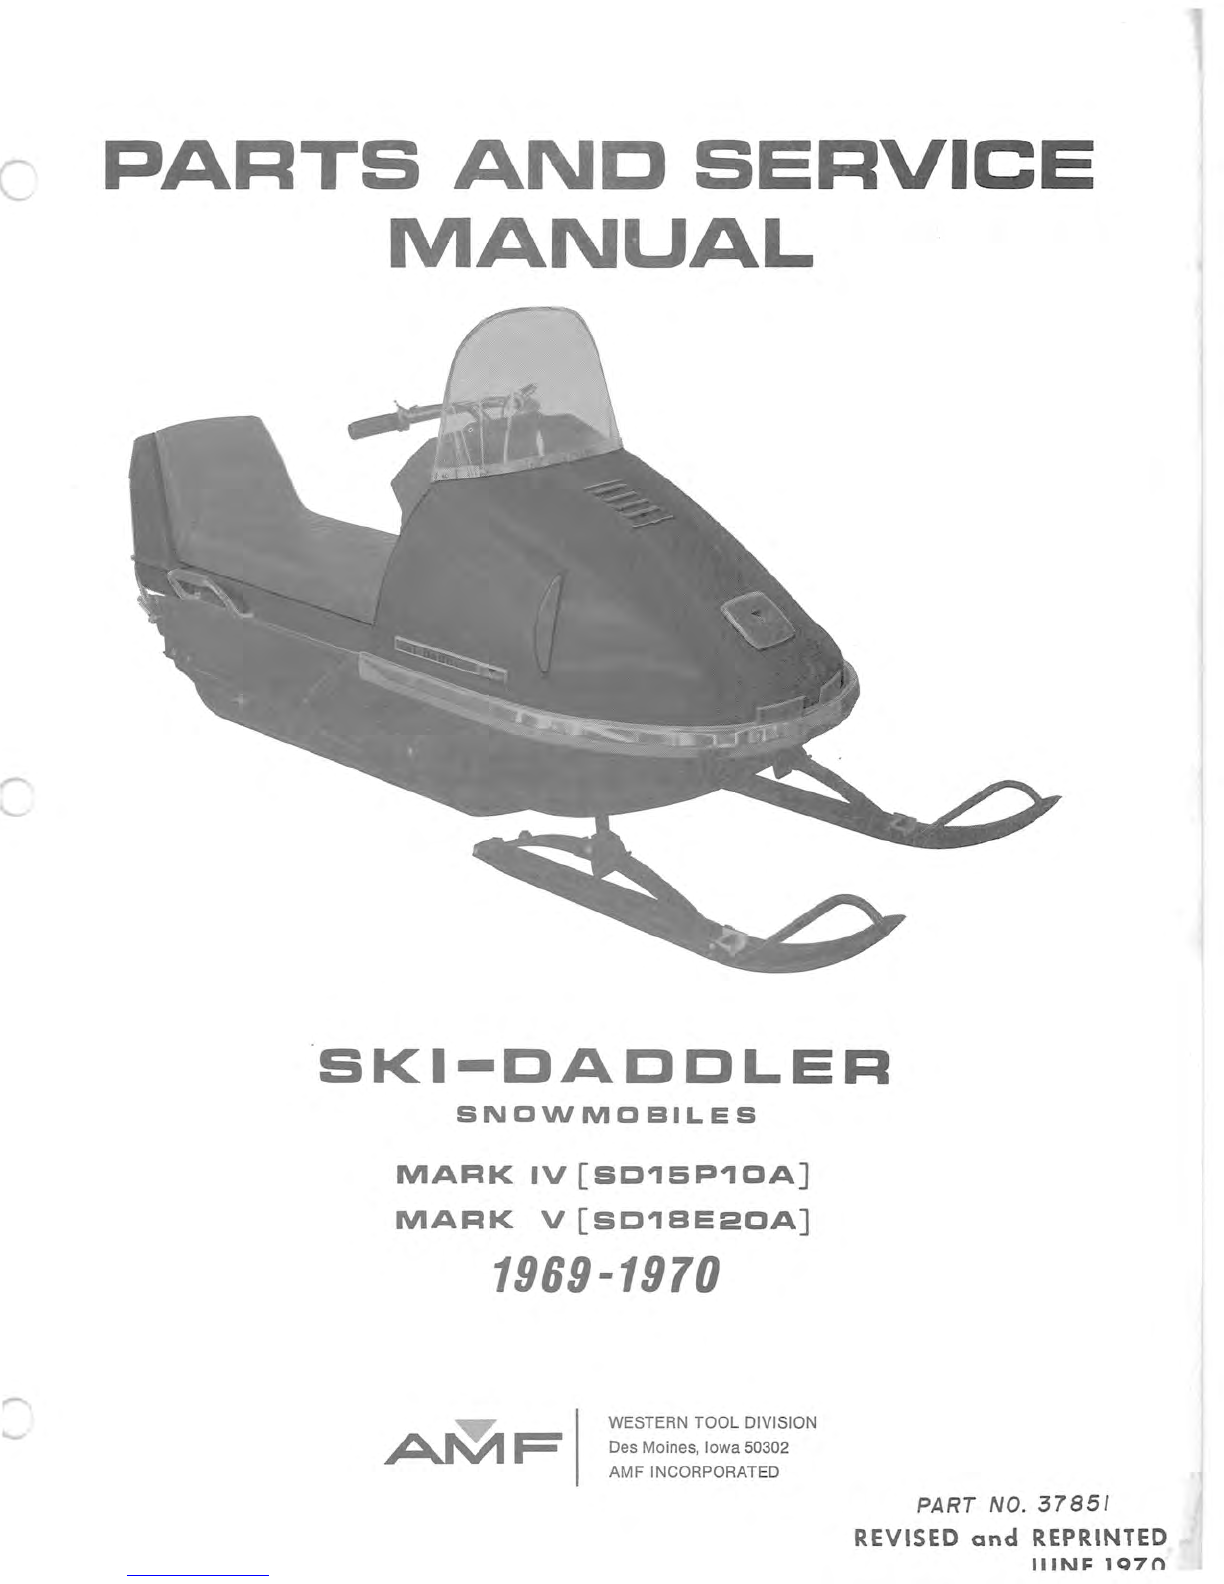
SNOWMOBILES
• •
Your
Manual
No.
_________
is
a registered number.
Additional
parts
and
service
information
will
automatically
be sent
to
you.
~~~~~~~~~~~~~~~~~~~~~~~~
~~
WARRANTY
CERTIFICATE
~t.
~~
AMF
SKI-DADDLER
SNOWMOBILE
~~
;
~
AMF
WESTERN
TOOL
DIVISION
warrants this vehicle
to
the first retailpurchaser
to
be
free from defects in
mao
~
~
terial
and
workmanship for a period
of
ninety days from its first operation (thirty day limit on commercial use
and
f~
thirty day limit on rental service). This shall
be
limited to replacing free
of
charge, F.O.B., Des Moines, Iowa,.any
~
~)
defective
part
provided that:
~,
~
1.
Vehicle has
not
been subject to accident or misuse.
;
~
2. No repairs or alterations have been made outside
of
our factory or factory approved service station in any
~
~
respect which in our judgment affects its condition or operation.
f~
3. Defective parts
must
be
returned by authorized dealer within
30
days after failure.
~
~)
4.
That
our examination
of
the
part
has disclosed to our satisfgction the defect.
r.;
.~
5.
Warranty does
not
apply,
if
the vehicle in question has been used by
an
authorized dealer or any otherperson
'\
.
~
prior
to
the original retail sale.
~
~
This warranty does
not
cover normal wear or apply
if
the sled has been subject
to
misuse, competition raci
,!g,
negli·
f~
gence, accident, or submersion under water, or operated on any surface other
than
snow or ice.
~
~)
AMF
WESTERN
TOOL
DIVISION
shall not
be
responsible for damage in transit or handling by any common
~,
~.
contract carrier.
\Jj Under no circumstances, within or without the warrantyperiod, will the Company
be
liable for damages, for loss
of
~f"
~~
use, or damages resulting from delay or any consequential damages.
f""
\~'
This warranty is in lieu
of
all other warranties expressed or implied,
and
all other obligations or liabilities on the
'
~~"i
~
part
of
AMF
WESTERN
TOOL
DIVISION.
The Company reserves the right
to
incorporate changes in design into
f'"
this product without obligation
to
make
these changes on units previously sold.
~
~
IMPORTANT
f~
~~
While
the
warranty
covers defects in material and
workman-
~~
~)
ship, certain
maintenance
items
as
listed
below
are considered
~,.
f4
normal
operating
expense items and are
not
covered
under
the
fl
~)
warranty.
?~
~
1. Engine
tune-up
cleaning
or
replacement
of
spark plugs.
clutch
or
traction
belt
damage
due
to
running
engine
at
~
~~
2. Ski
Alignment.
high
RPM
on
kickstand,
or
with
variable speed belt
~.
removed.
3 Brake, variable speed,
or
traction
belt
adjustment,
or
~
~)
. variable speed
belt
replacement. 7. Broken windshields.
f~
f4
4.
Brake
lining
or
ski
wear
rod replacement.
8.
Any
modifications
other
than
factory
recommendations.
~
~)
5. Paint,
body
dents,
damaged
fiberglass, and
chrome
Of
g. Use
of
sled
for
competition
racing
will
void
warranty
f~
~
trim
damage
due
to
use
10
. Traction belt failure
due
to
misalignment
or
abuse.
~
~)
6 Engine
damage
due
to
lack
of
suffiCient
od
In fuel
mlx-
r.;
l
'"".
000"'"''
",I.
'"" 1o,"
wbo,","'
,d,o"mo",.
"'
~
..
~
~~~~~~~~~~~~~~~~~~~~~~~
Include
the
complete
(8
digit)
model
number
as
shown
on
Model
Plate
when
ordering
parts
or
asking
for
information.
Due
to
slight
engineering
changes,
this
is
for
identification
purposes
only
.